Here is your free Weekly Meal Plan 18 for May 1-5. Each meal includes side dish recommendations, along with a beverage and dessert of the week along with weekend options.
Do you have any requests or special needs? If so, please let me know and I will do what I can to help!

🍽️ Meal Planning and Prep Tips
I'm here to share with you recipes to make during the week that aren't hard to make and take little prep. Most feed 4 so if there are just 1 or 2 to feed, you may want to scale down and halve a recipe OR just make a couple of these and enjoy leftovers throughout the week.
This weekly meal plan easy and most meals can be made very quickly the same night without a lot of prep time.
Here are some short cuts and tips to help you throughout the week.
- Prep the meatloaf on Sunday and keep refrigerated until ready to bake on Monday. Just remember to remove it from the fridge 15 minutes before baking so the dish doesn't break if you are using glass.
- The slaw and peanut sauce for the Thai hot dogs can be prepped on Sunday. I recommend warming the peanut sauce up in the microwave if you do this so it is easy to spread/drizzle on the hot dog.
- Wednesday's meal uses leftover ham if you have it from Easter. If not, you can buy diced ham or use leftover chicken or turkey.
- Make the Easy Tres Leche Cake on Wednesday night so it has time to set before dessert on Thursday (Cinco de Mayo).
- You can also assemble the enchiladas on Wednesday night so you can pull them out of the fridge to bake on Thursday evening.
- If you have leftovers, you can skip Friday night pizza night and serve those. If you want pizza though, I made it easy for you with a BBQ Chicken Naan Bread pizza.
Weekly Meal Plan 18
May 1

Vegetarian Meatloaf
Even the most die hard meat eater in my family loves this Vegetarian Meatloaf. It is packed with flavor. A great recipe for Meatless Monday! If you must have meat, then this Dill Pickle Meatloaf is highly recommended.
May 2

Thai Hot Dogs
My whole family LOVES these Thai Style Hot Dogs. You may be surprised at how delicious they are. I can never eat just one! Serve these with a side of potato chips and this Berry Banana Smoothie.
May 3

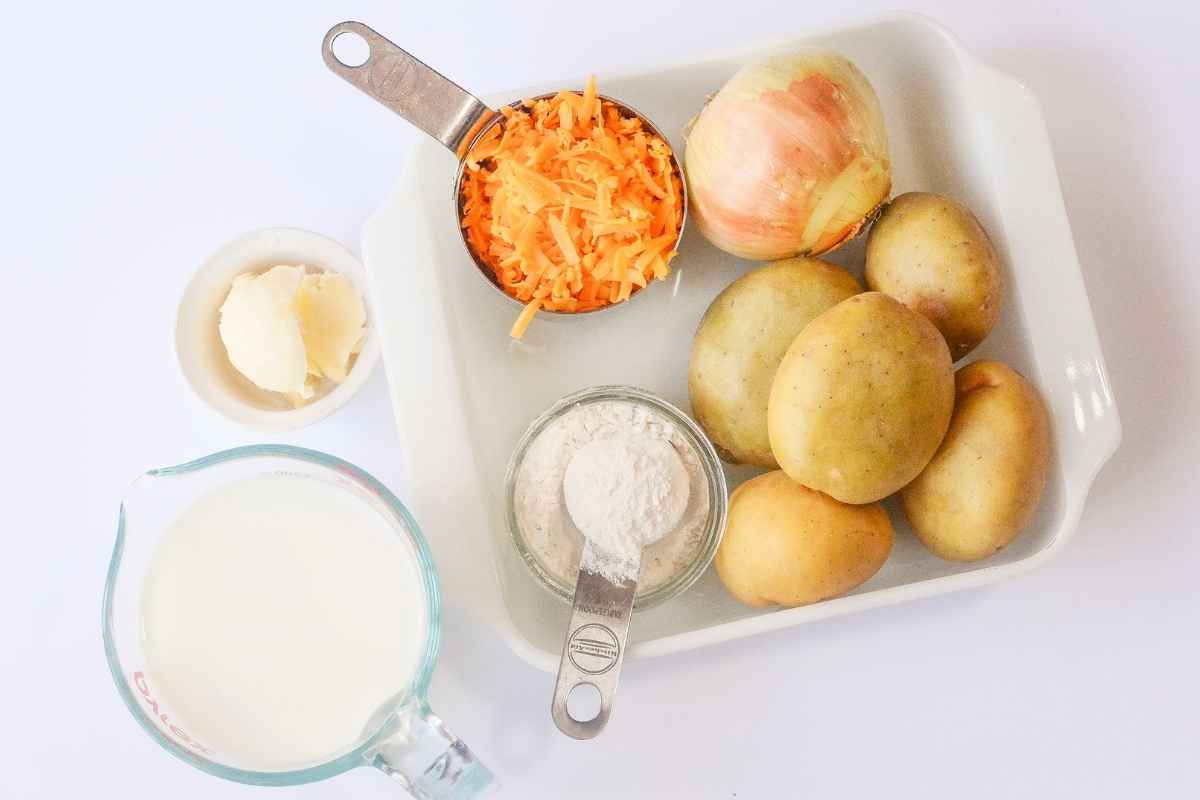
Ham and Noodle Casserole
If you froze any leftover ham from Easter, take it out and make this Ham and Noodle Casserole. No soup cans required, it's baked in a creamy cheese sauce instead. Substitute chicken or turkey for ham and serve with a green side salad. Use diced ham steaks if you don't have leftover ham.
May 4

BBQ Chicken Naan Pizza (optional)
If you don't have any leftovers, or want to stick to Pizza night, then try this BBQ Chicken Naan Pizza for an easy night of it.
May 5

Easy Green Chicken Enchiladas
For Cinco de Mayo, make Easy Green Chicken Enchiladas with a side of Mexican Street Corn Salad. These are made with low carb tortillas, or you can make the regular version and make your own Homemade Flour Tortillas.
Dessert of the week

Easy Tres Leches Cake
Easy Tres Leches Cake is loved by my kids! I was surprised at how good it was when I made it due to the fact is has 3 kinds of milk poured over top. This recipe feeds 20, so plan to feed a crowd or cut the recipe in half.
Cocktail of the week

Classic Margarita
Enjoy this creamy, sweet and tangy Coconut Lime Margaritas recipe to enjoy with your Cinco de Mayo meal or for the weekend!
Sunday Brunch

Bacon Maple Breakfast Rolls
Scrambled eggs, toast, and Bacon Maple Breakfast Rolls. Super easy to make with crescent roll dough. For the brunch beverage, try this Almond Coffee Cream made with Amaretto.
Sunday Supper

Air Fryer Rotisserie Chicken
Make Sunday easy with an Air Fryer Rotisserie Chicken and save leftovers to make sandwiches for lunch during the week. Serve with a side of Classic Potato Salad Recipe.
Grumpy's Honeybunch Shopping List

Related Posts


Don't forget to check out my Amazon storefront for some of my favorite products!
When you make these recipes, please comment below and let me know what you think. I'd love it if you tag me on Instagram @grumpyshoneybunch or #grumpyshoneybunch so I can see your photos!