
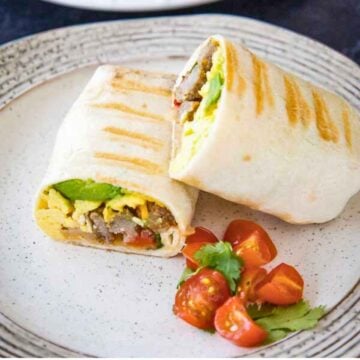
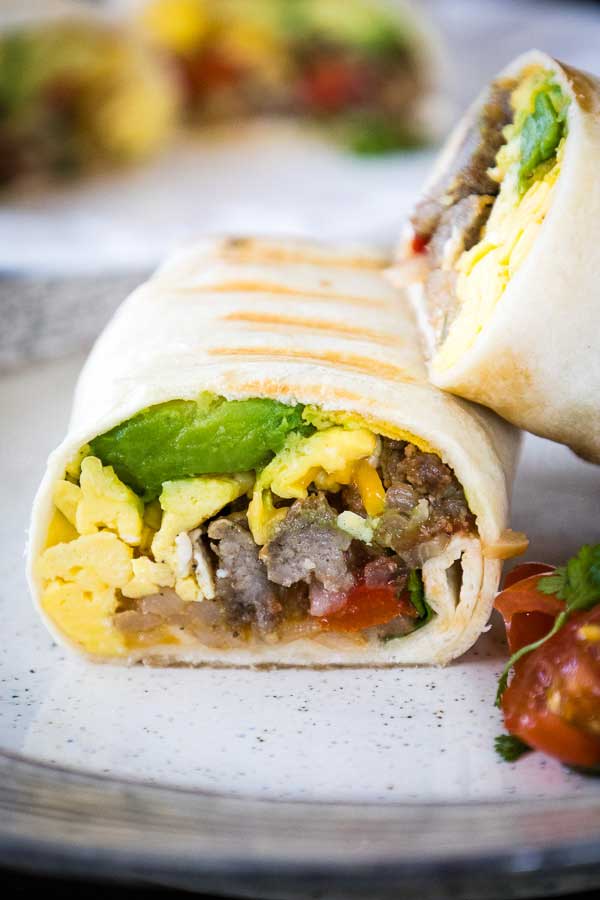
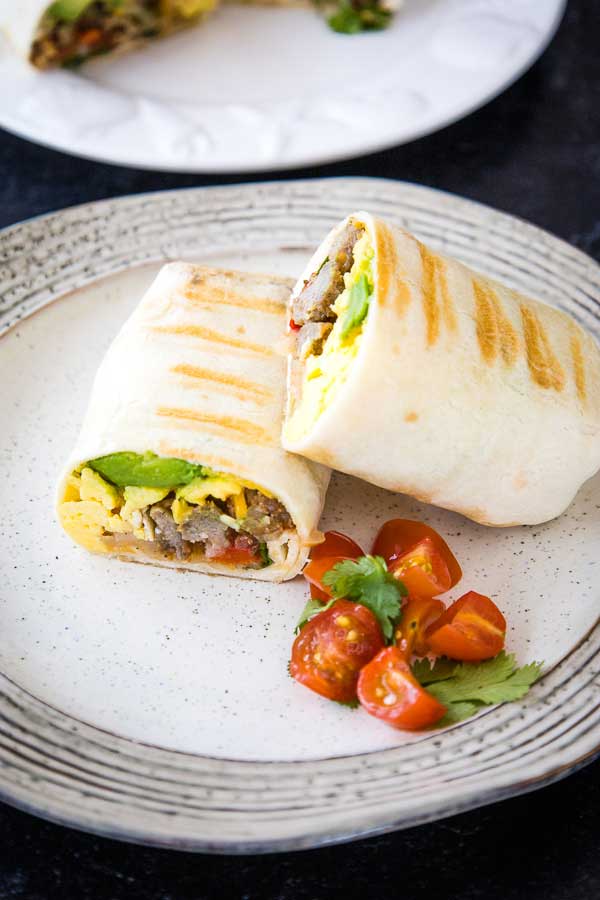
These Healthy Breakfast Tacos are easy to put together and pack some veggie nutrition into the morning with mushrooms and spinach. Wrapped in corn tortillas, this gluten free breakfast is packed with flavor and is super satisfying.
Breakfast Tacos are a great meal idea for breakfast, brunch, or brinner! They are super easy to make and by setting the ingredients out buffet style, they are a fun way to have your kids build their own tacos!

Healthy and Delicious Breakfast
Starting the day off with a healthy and delicious breakfast is very important to me. I want to see my family eat good whole foods and not fill up on processed foods. This Healthy Breakfast Taco is another addition to my files to serve my family.
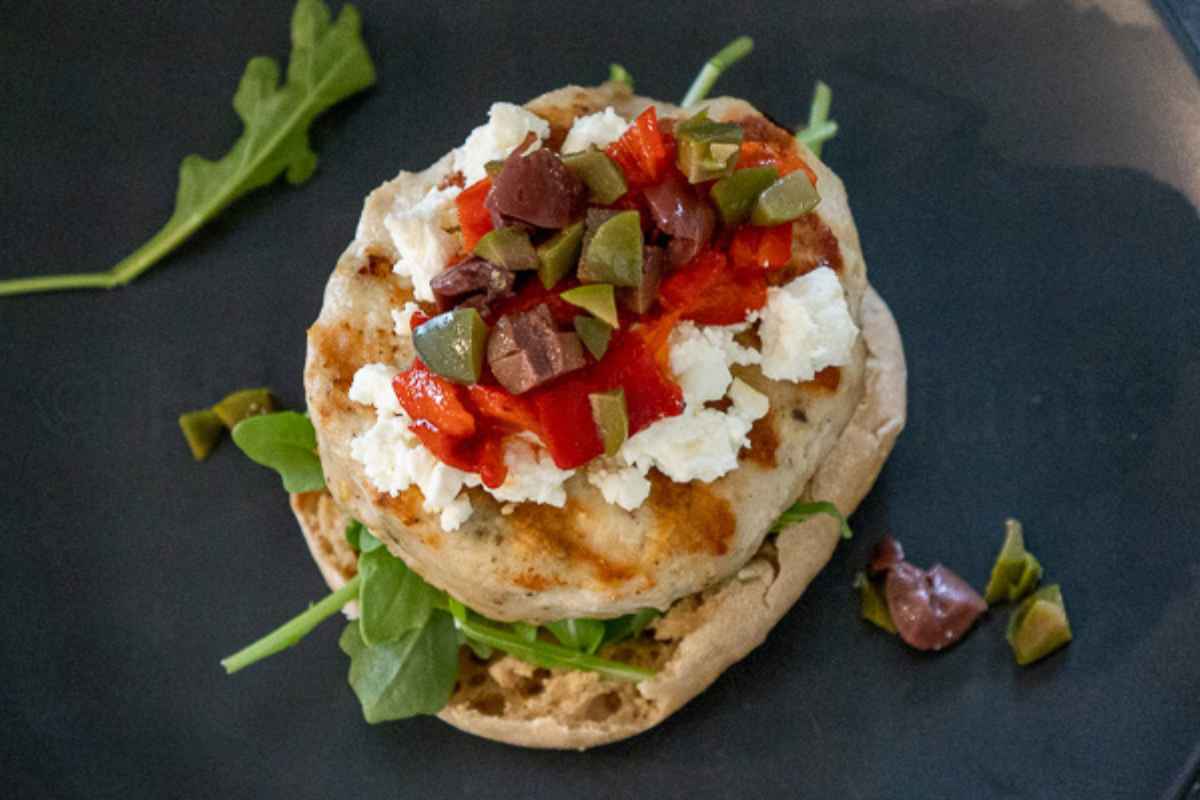
I really love this Breakfast Bruschetta recipe. And, I also love a good and hearty Breakfast Burrito. The combination of ingredients are so delicious. I love the fact that there is good for you ingredients that I won't feel guilty about feeding to my family. The same goes for this breakfast taco filled with spinach and mushrooms!

🥘 Ingredients
Corn tortillas, I like to use white corn tortillas.
Large eggs
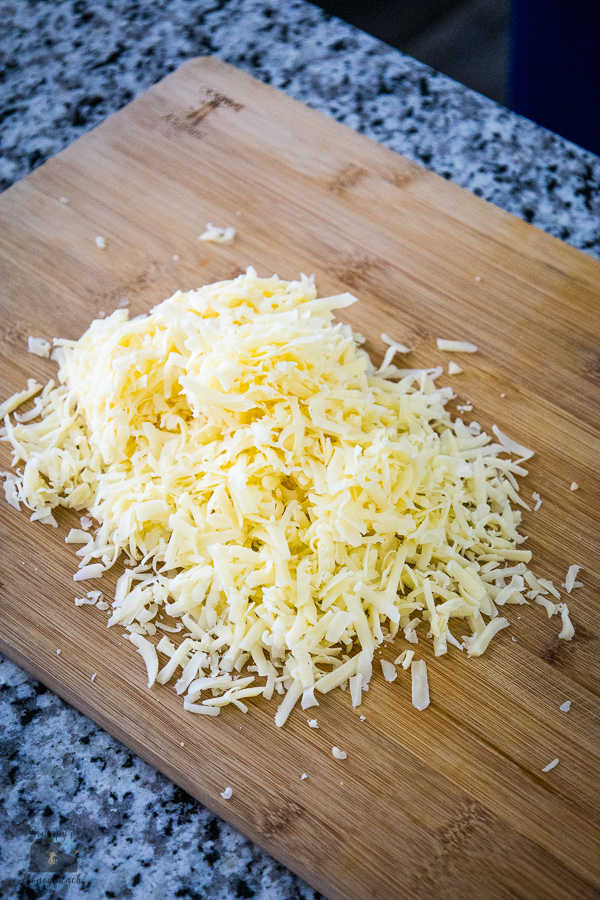
Colby jack cheese
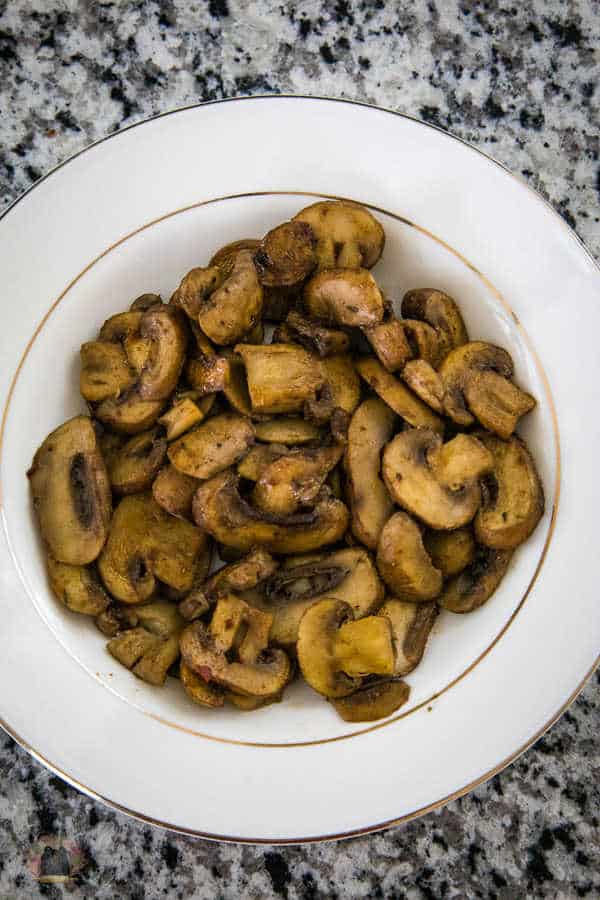
Mushrooms, these add a little more bulk to the filling and have an earthy flavor with a meaty texture. They are also packed with a ton of nutritional values!
Fresh spinach, full of folate and high in vitamins A and K, this is a great choice to add to the breakfast taco for nutrition and color.
White onion
Bacon
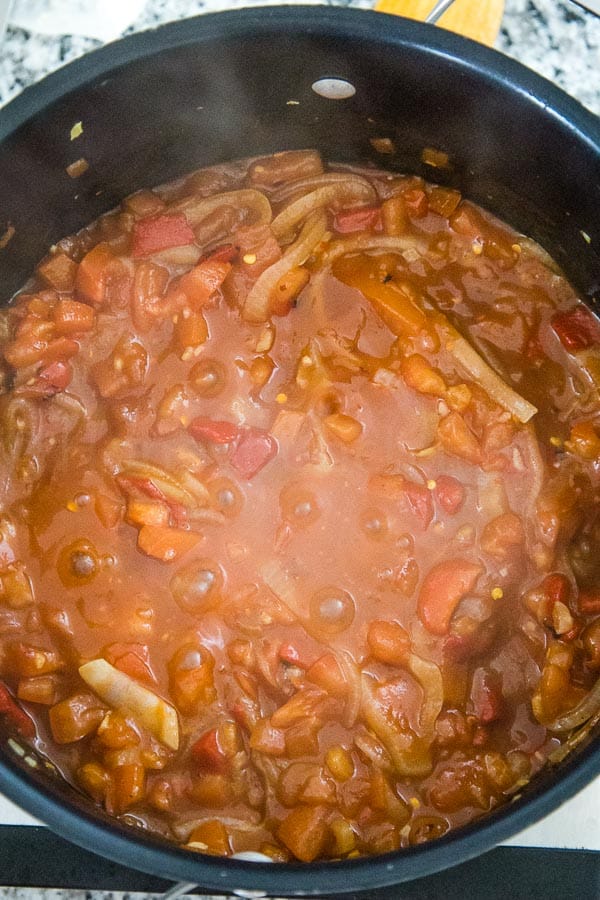
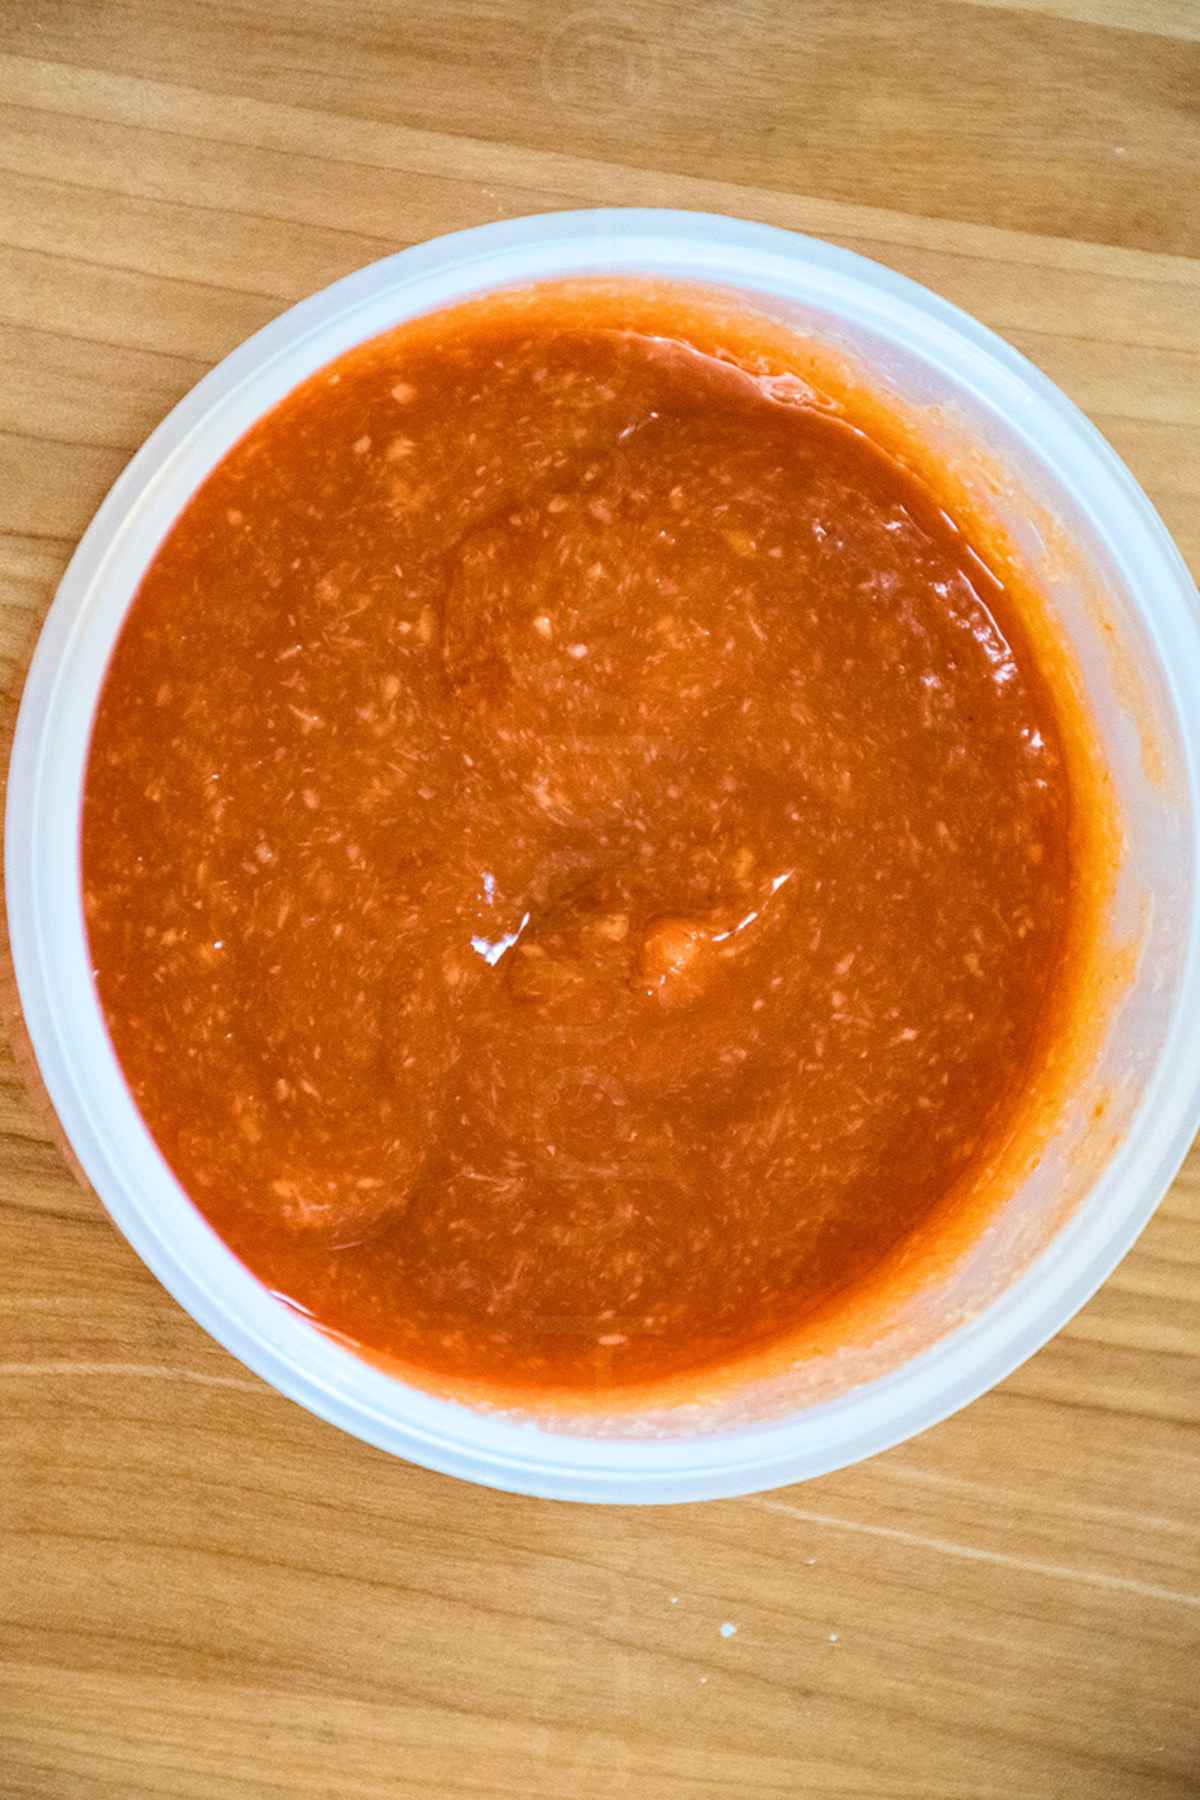
Salsa, I always have this homemade salsa for canning on hand, it is my favorite salsa recipe!

🍽 Equipment
Large skillet, I have been leaning away from non stick due to the fact I don't like how it wears off and using a stainless steel skillet.
🔪 Instructions
Step 1:
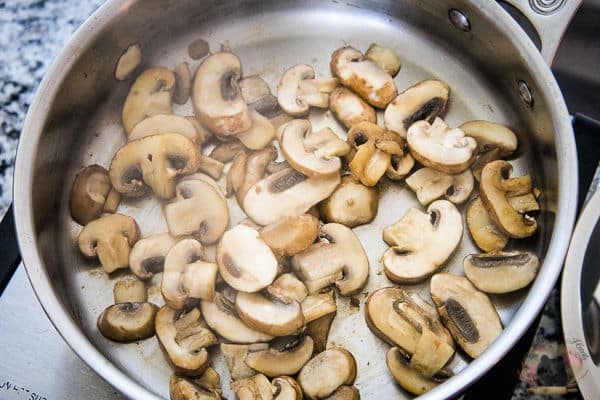
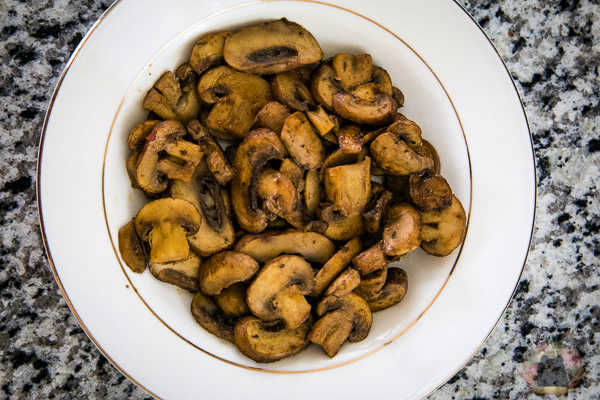
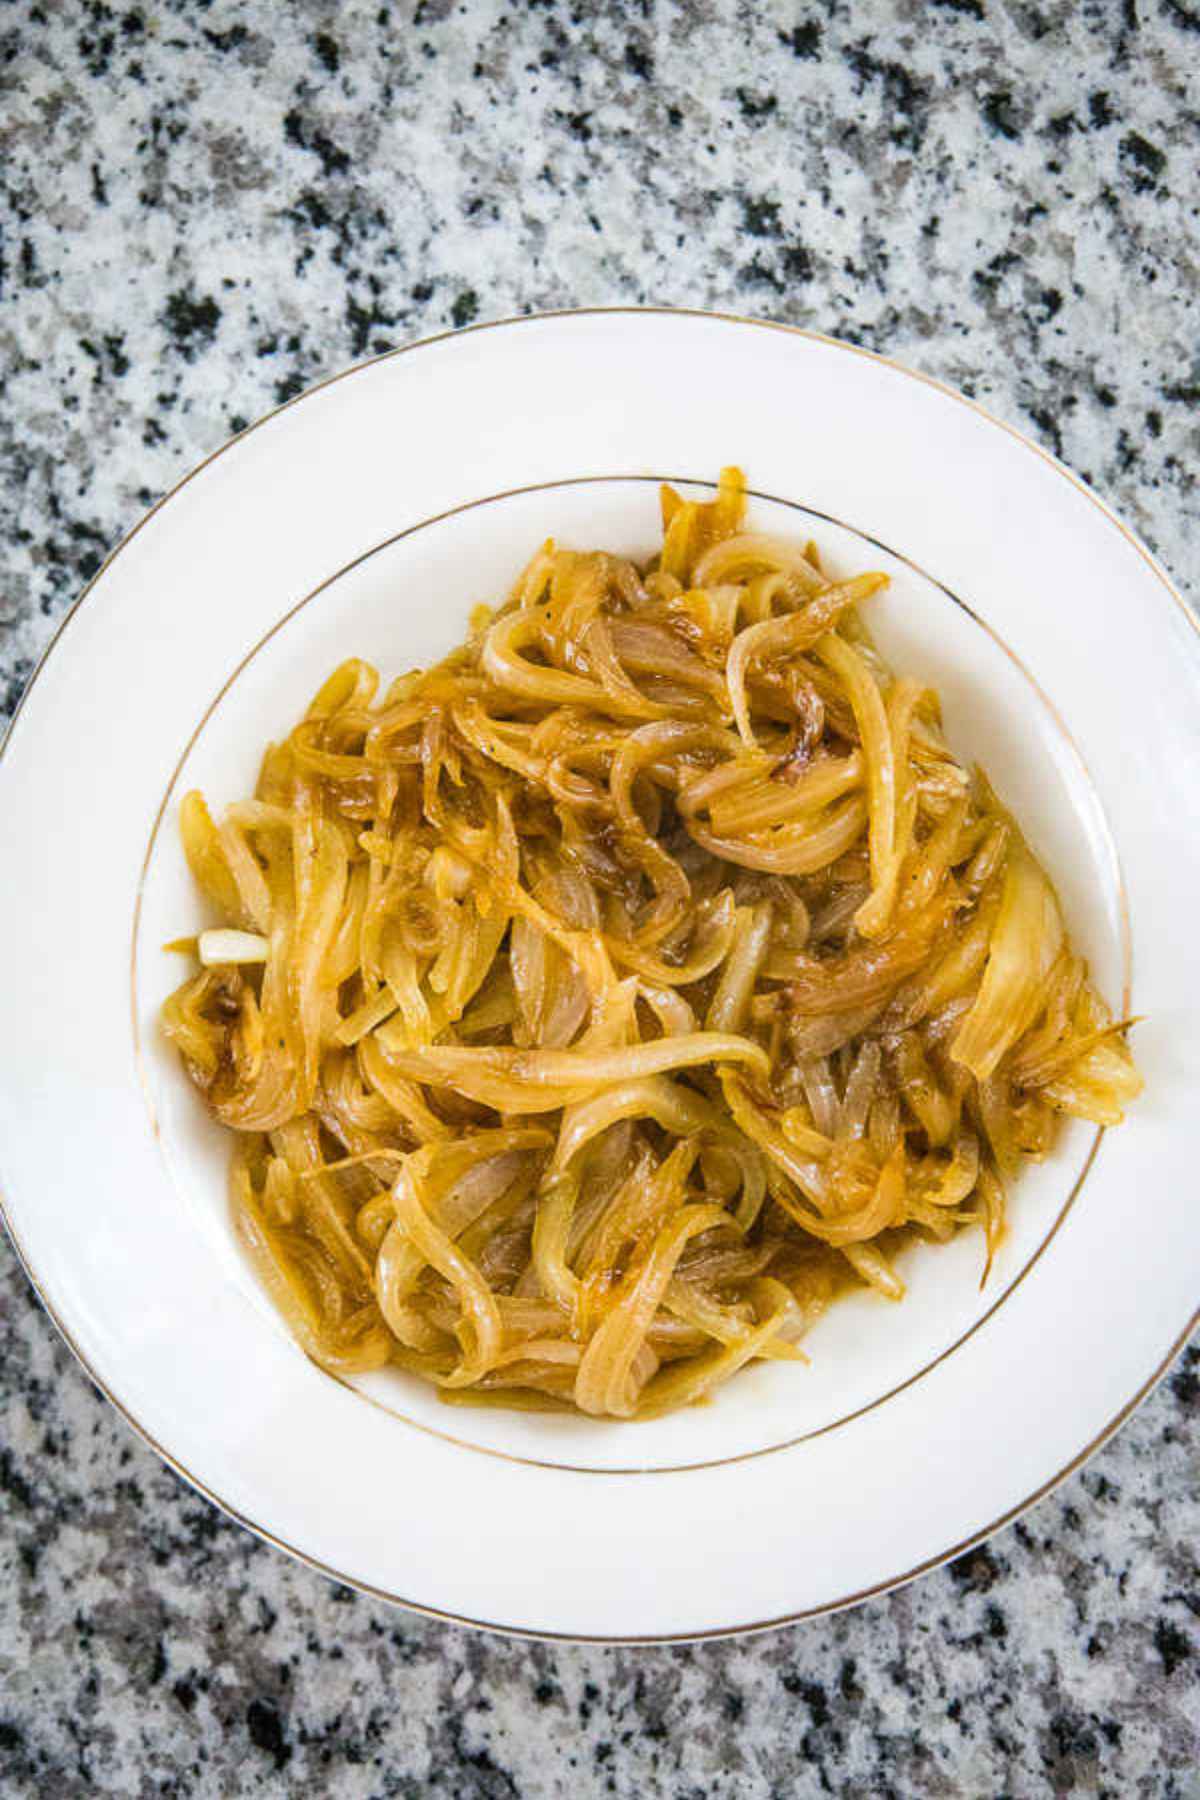
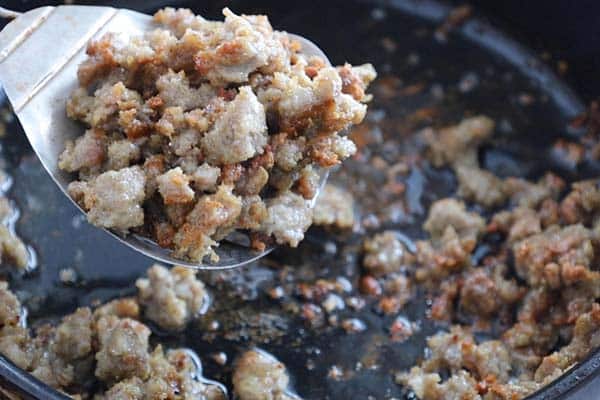
- Melt the butter in a large skillet, over medium high heat. Add the onions and mushrooms and cook for 3 minutes, or until mushrooms are softened and onion is translucent.
- Add the spinach and cook until spinach wilts. Remove the mixture from the skillet and set aside.
Step 2
- Add the remaining butter to the skillet and heat until bubbly. Add the eggs and scramble until they are fluffy. Season with salt and pepper.
- Return the mushroom mixture with the cooked bacon, to the skillet with the eggs and stir to combine.
Step 3
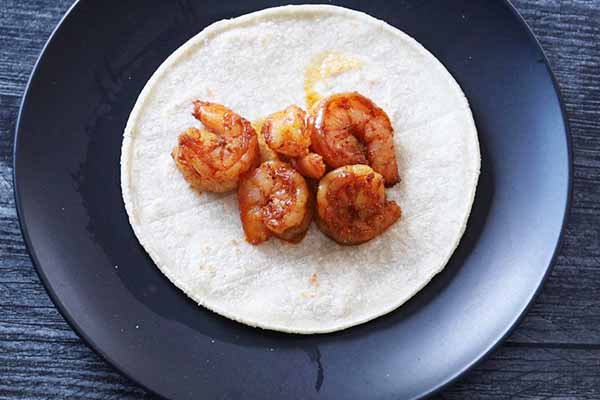
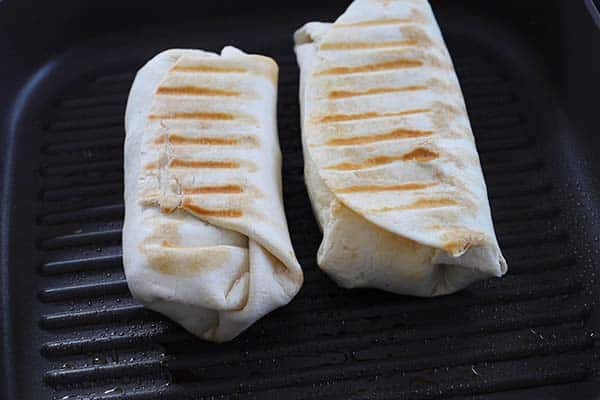
- Heat the tortillas in a pan over medium heat. Top each tortilla with 2 tablespoons of cheese. Top the cheese with the eggs and serve with salsa and bacon (if using).

💭 Top tip
- Heat the corn tortilla until crispy to prevent it from getting soggy after filling.
- Reduce the fat by substituting turkey bacon (if using bacon)
📖 Variations
- Substitute crumbled queso or feta cheese for the colby jack.
- Garnish with chopped cilantro and homemade guacamole.
- Top the assembled taco with a few slices of avocado.
Related Recipes
Sweet & Spicy Pulled Pork Tacos
Bacon, Egg and Cheese Breakfast Strudels
Mexican Street Tacos | With Flank Steak
Breakfast Bruschetta - Savory breakfast sandwich
If you give this recipe a try, I'd love to hear how it turned out! Please leave a comment and ⭐⭐⭐⭐⭐ rating below to let me know how you liked it. Don't forget to tag me on Instagram @grumpyshoneybunch so I can see your beautiful salad bowls!
📖 Recipe

Healthy Breakfast Tacos
As an Amazon Associate I earn from qualifying purchases.
Ingredients
- 2 cups sliced mushrooms
- ½ small onion chopped
- 1 tablespoon butter divided
- 15 ounces baby spinach
- 6 large eggs beaten
- 8 corn tortillas
- ½ cup colby jack cheese shredded
- 8 tablespoon salsa
- 4 slices cooked bacon chopped
Instructions
- Melt the butter in a large skillet, over medium high heat. Add the onions and mushrooms and cook for 3 minutes, or until mushrooms are softened and onion is translucent.

- Add the spinach and cook until spinach wilts. Remove the mixture from the skillet and set aside.
- Add the remaining butter to the skillet and heat until bubbly. Add the eggs and scramble until they are fluffy. Season with salt and pepper.
- Return the mushroom mixture to the skillet with the eggs and stir to combine.
- Heat the tortillas in a pan over medium heat. Top each tortilla with 2 tablespoons of cheese. Top the cheese with the eggs and serve with salsa and bacon (if using).


