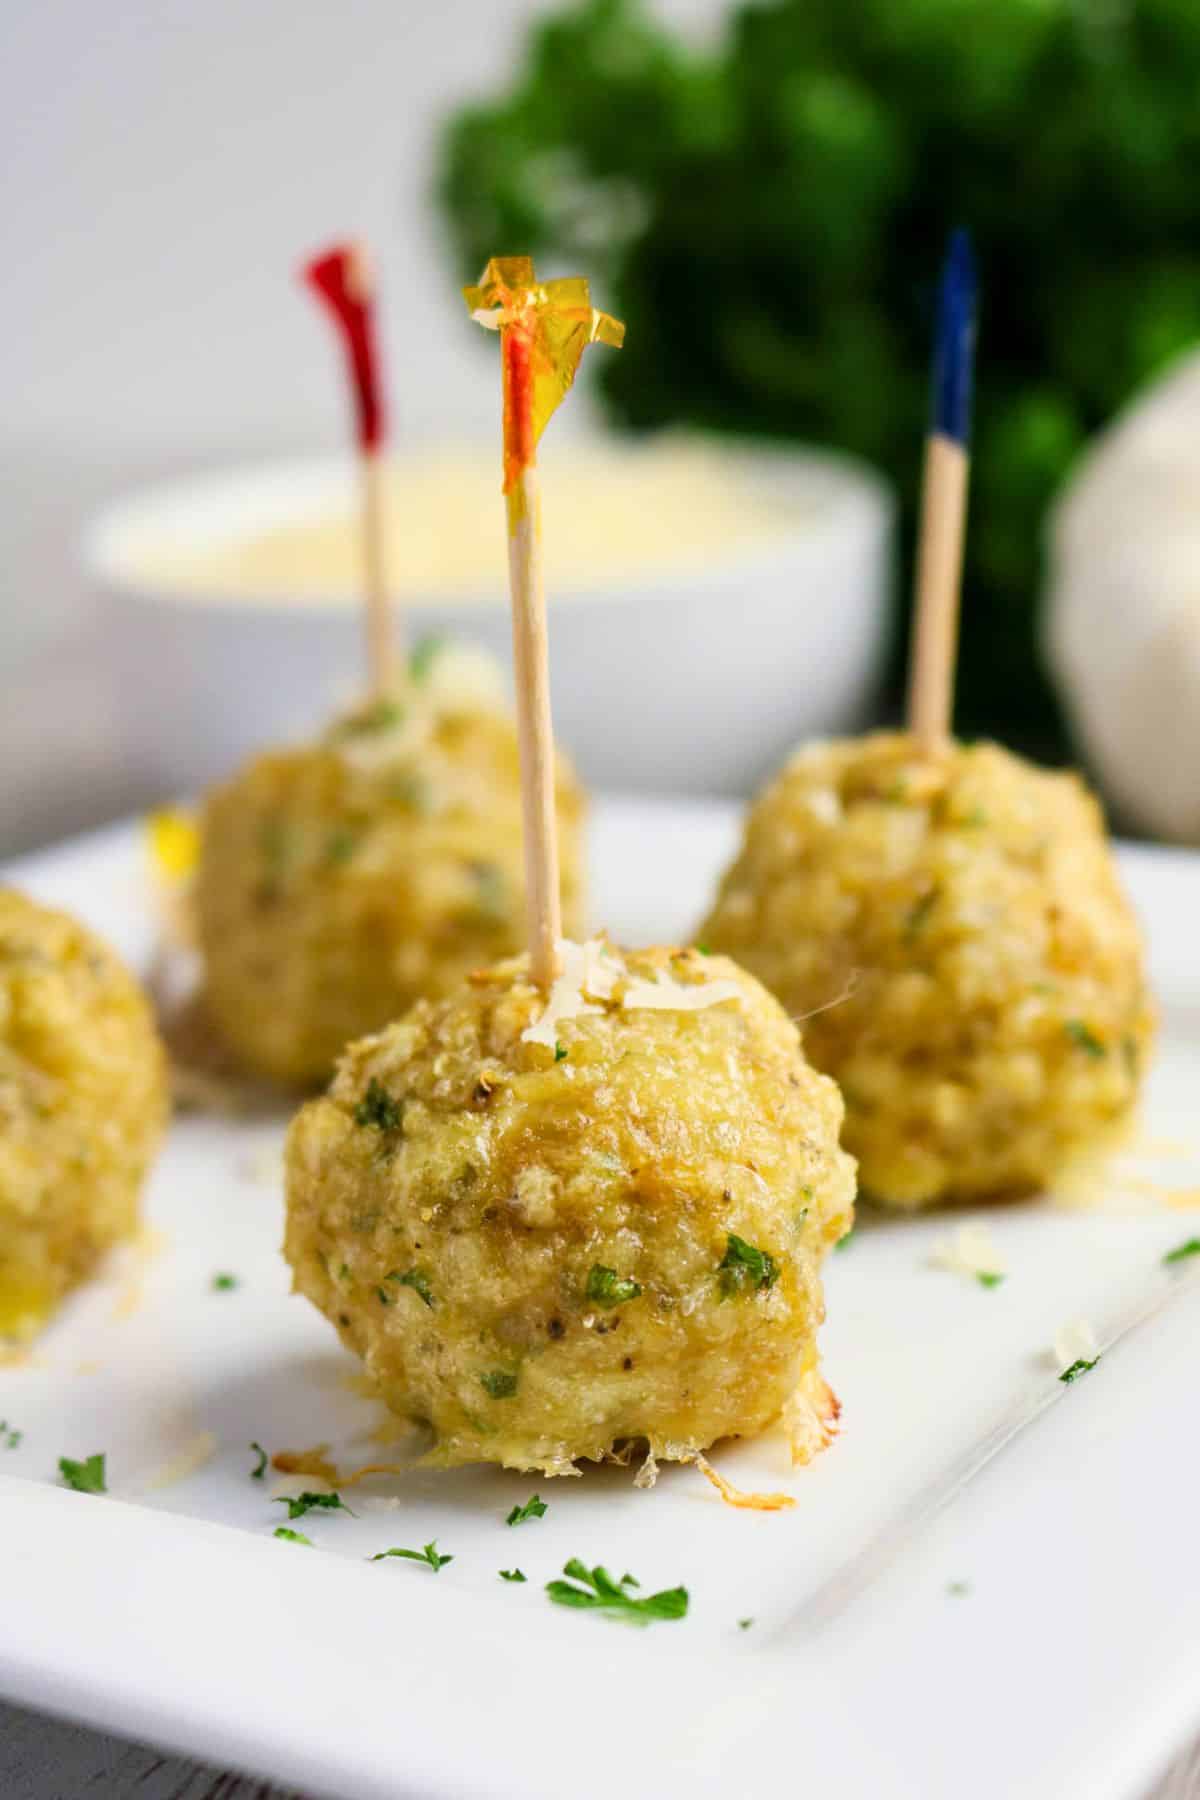
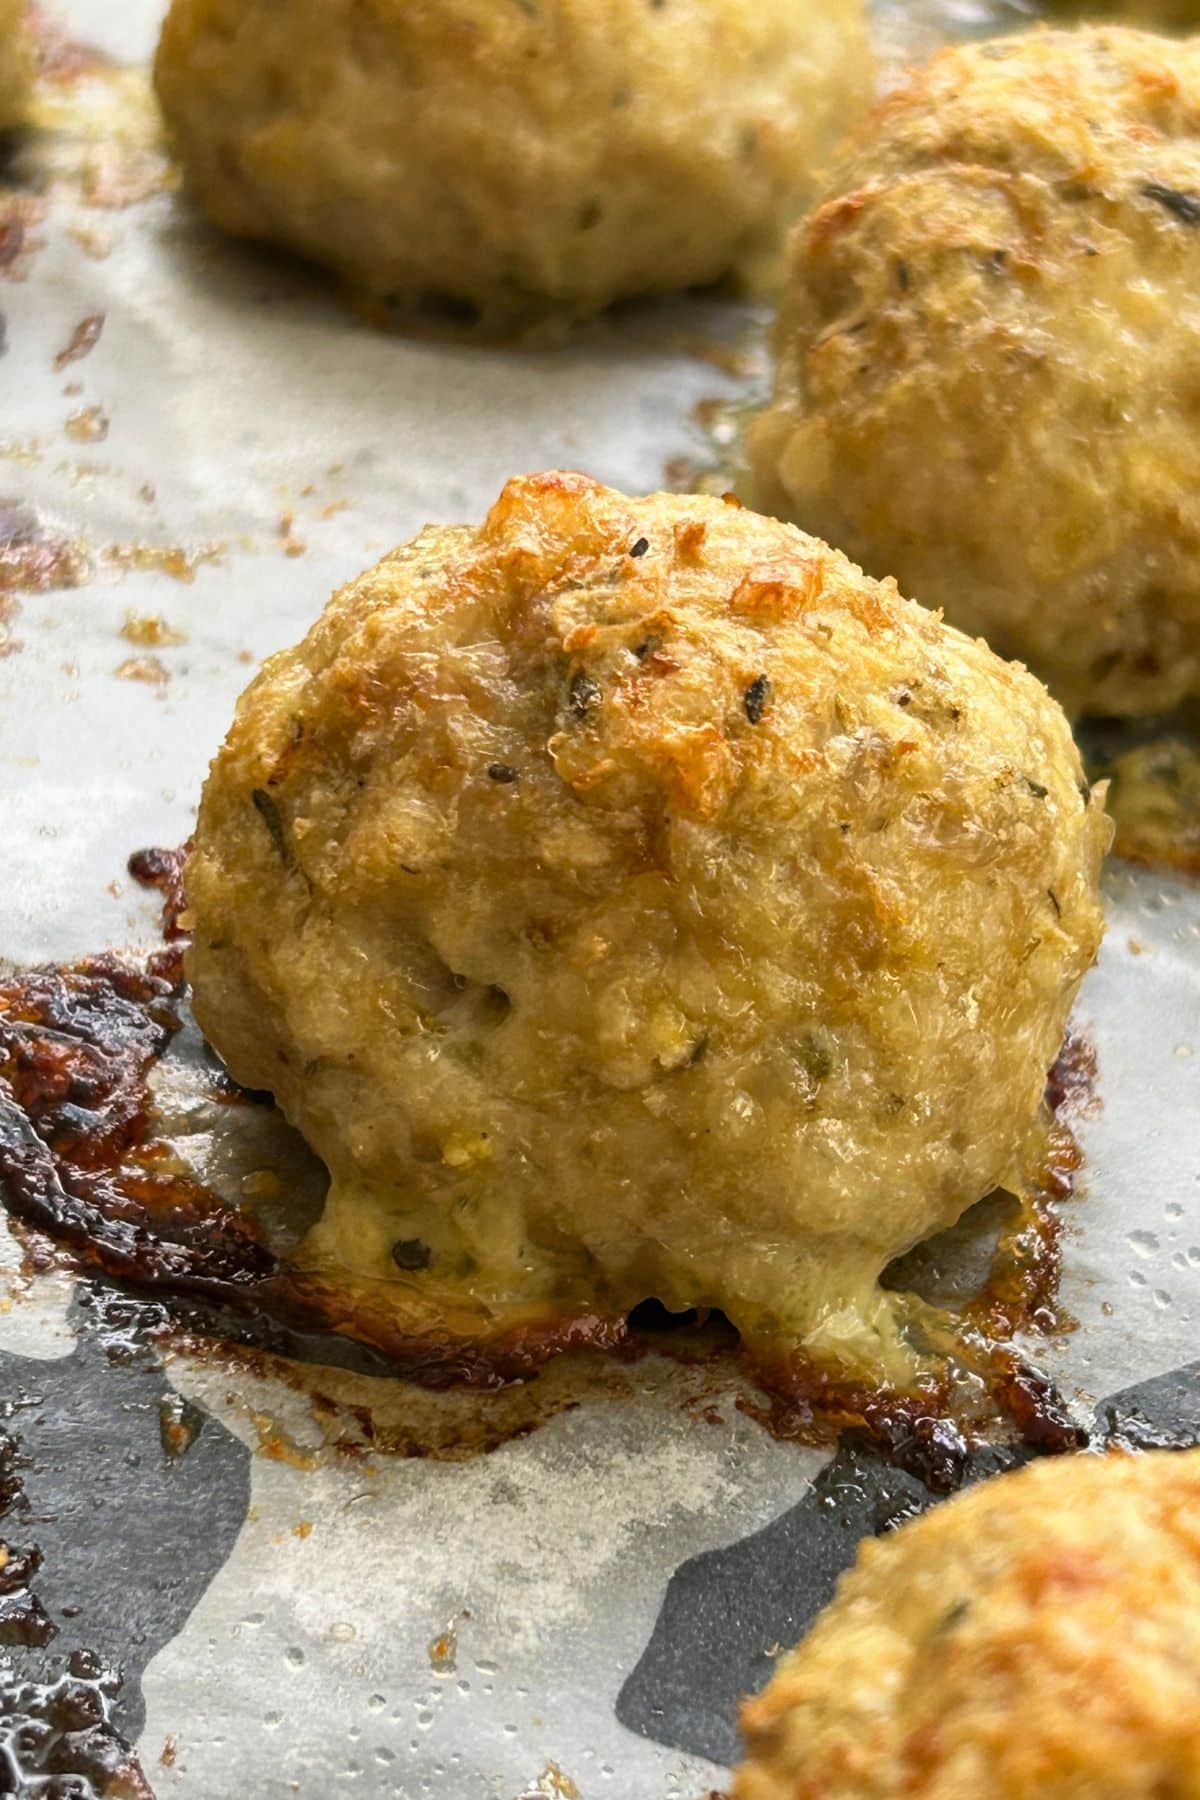
I don't know about your house, but in mine, you can never go wrong with a juicy meatball or a big plate of Chicken Parmesan. So I started thinking, why not just combine them? These Chicken Parmesan Meatballs are exactly that - all the savory garlic, rich Parm, and Italian herbs you love, but packed into tender, bite-sized chicken meatballs.
Why These are a Win in My Kitchen
You don't have to deal with a messy stovetop. Because these are baked right on a baking sheet, you aren't standing over a hot stove dodging popping oil.
They're a smart, high protein alternative to beef meatballs. Using ground chicken keeps these much lighter giving you a satisfying meal that won't leave you feeling weighted down.
You can serve them any way you want. Toss them in marinara over a big bowl of pasta, pile them into sub rolls for sandwiches, or just stick toothpicks in them for an easy party appetizer.
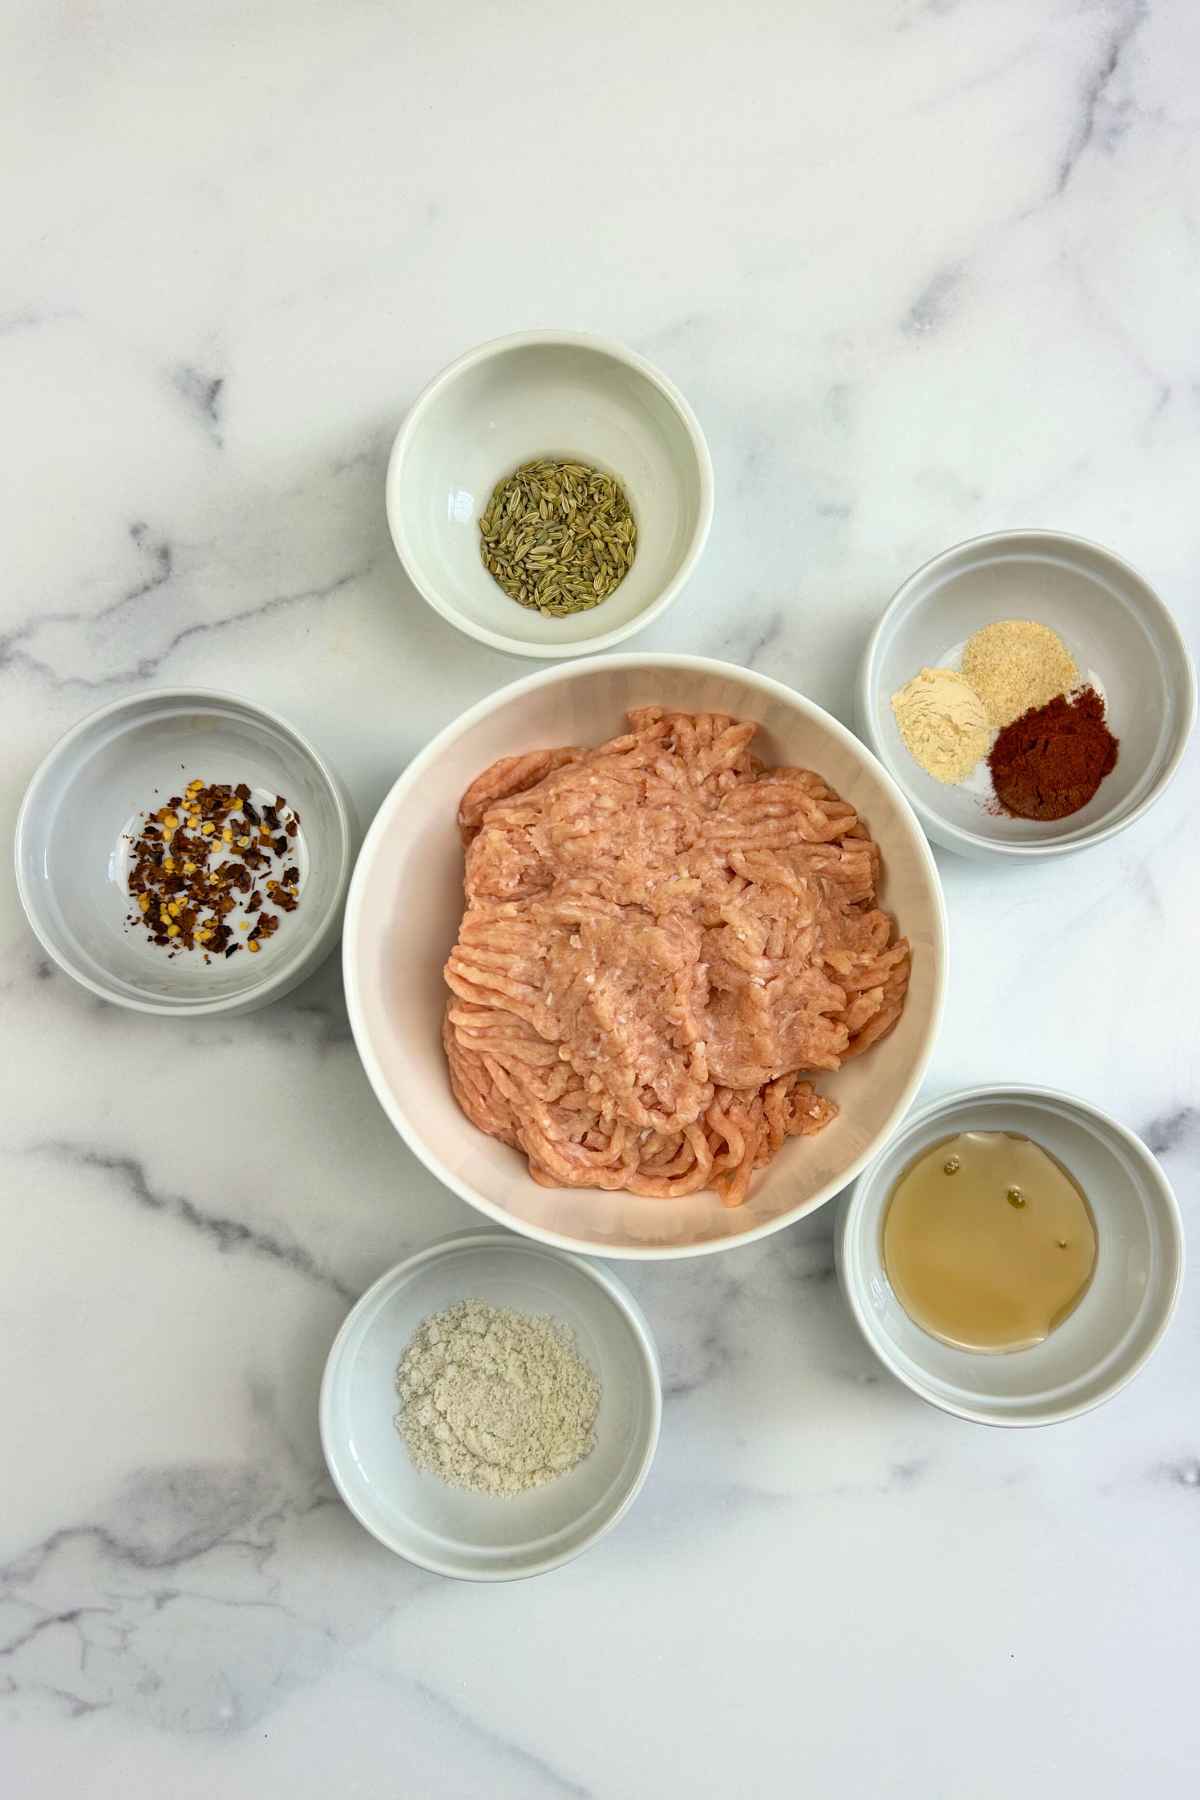
What You Need To Grab For These Meatballs
See the recipe card below for a full list of ingredients and instructions.
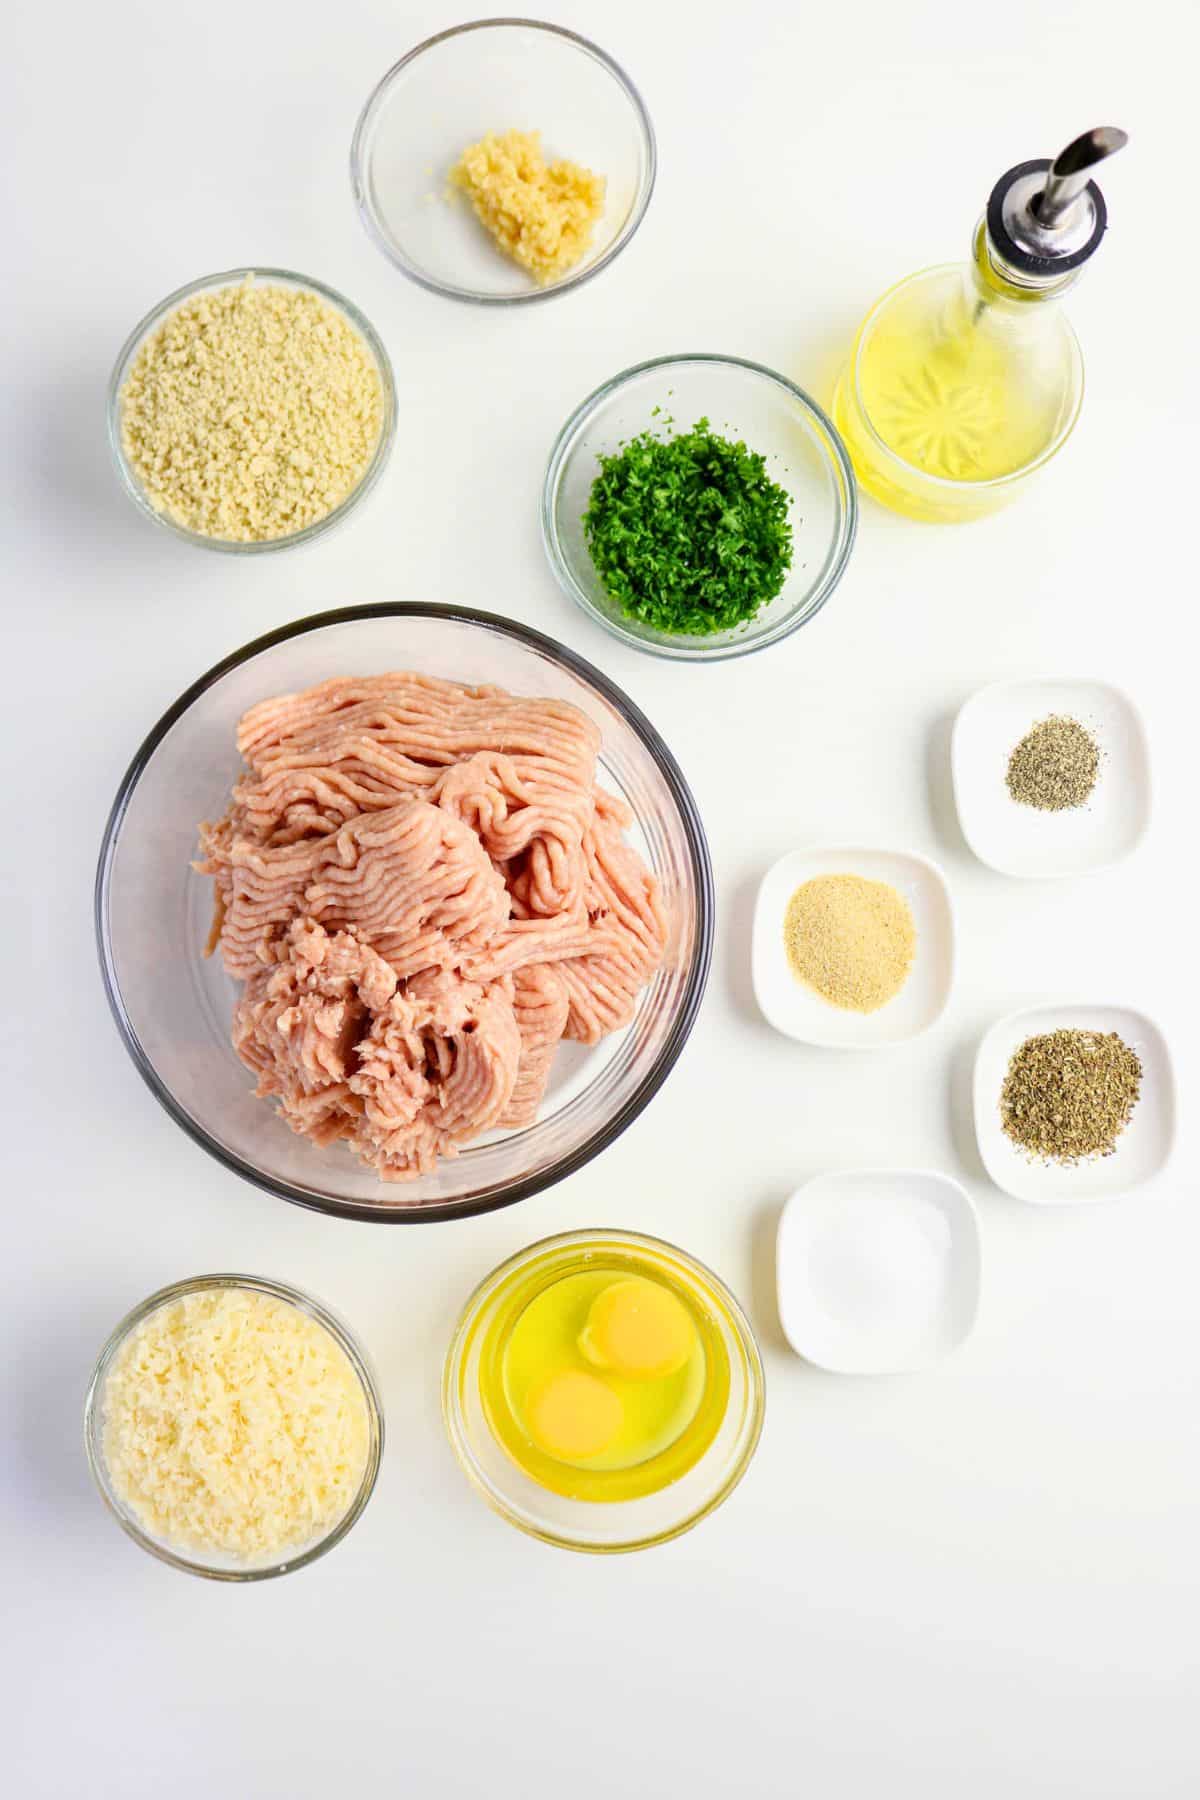
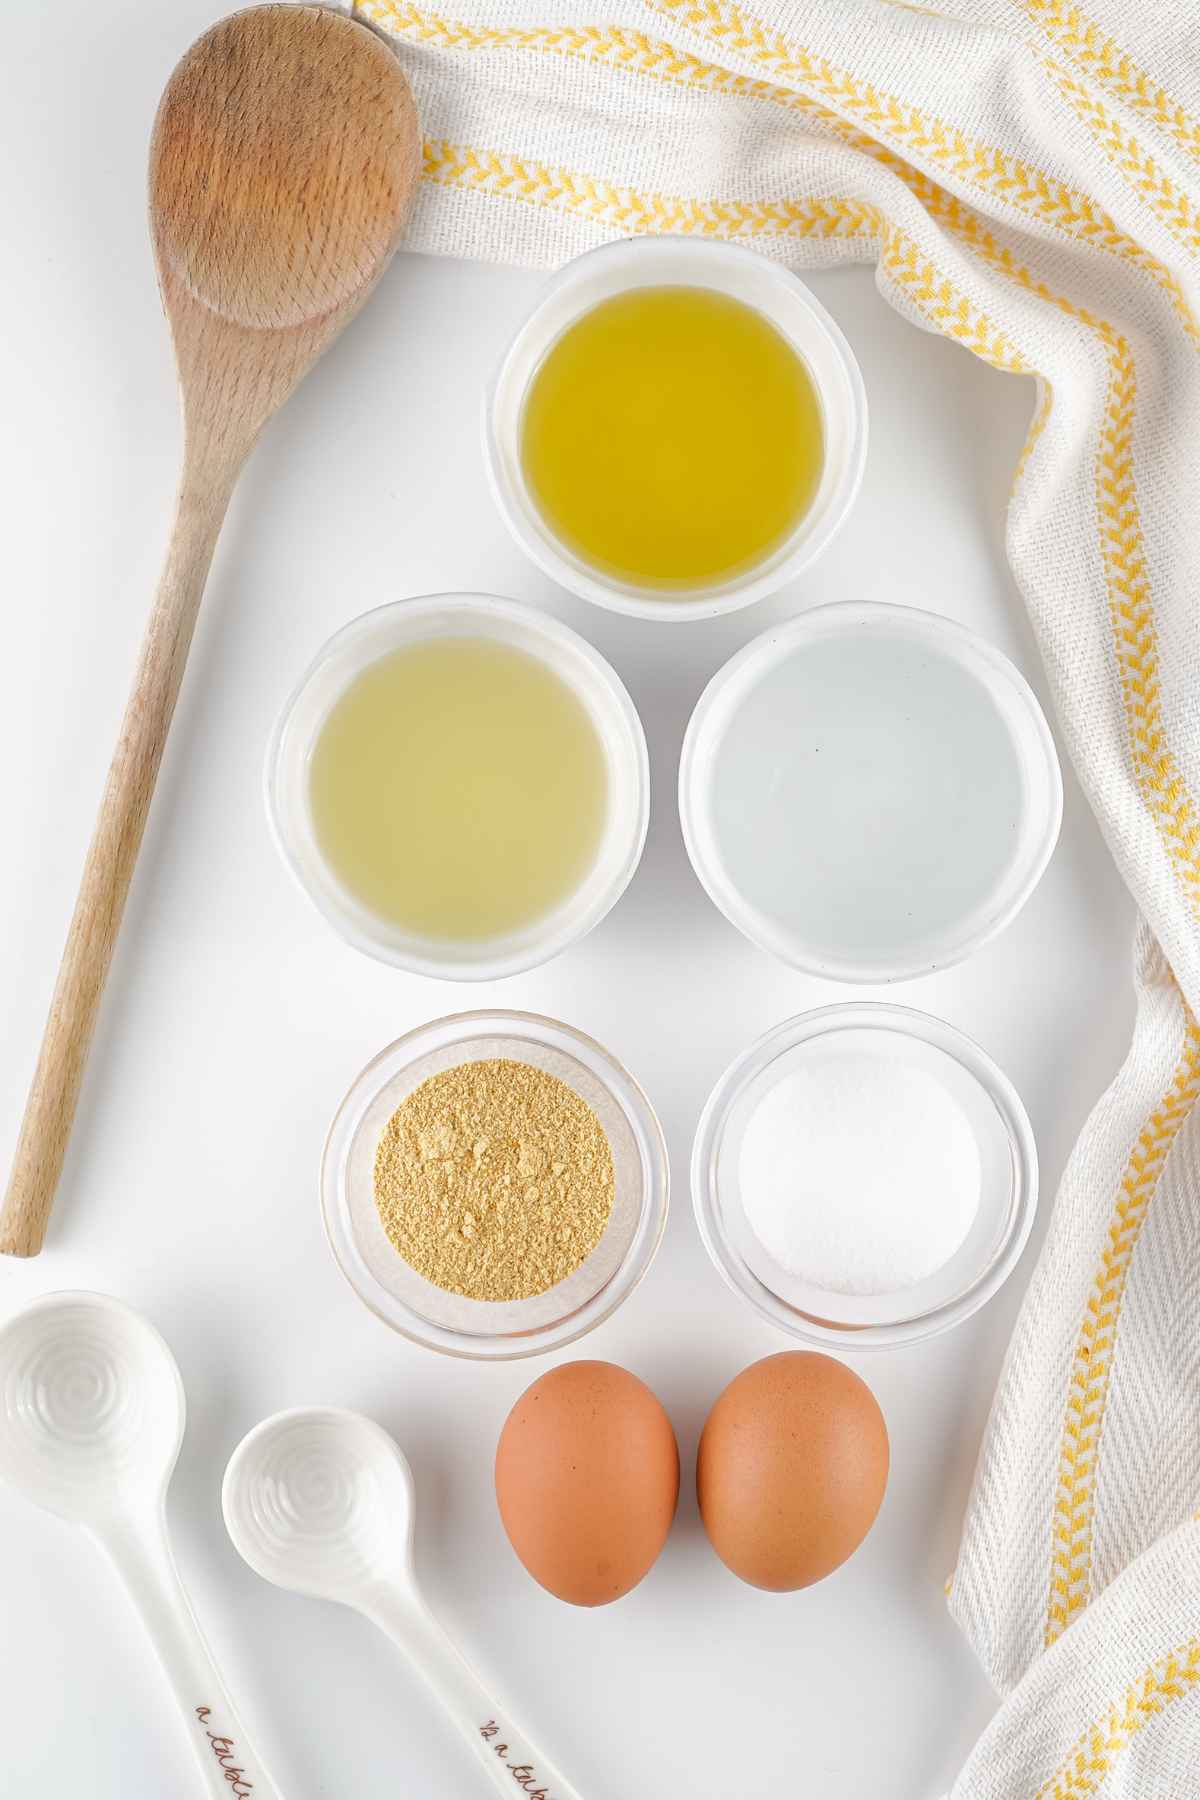
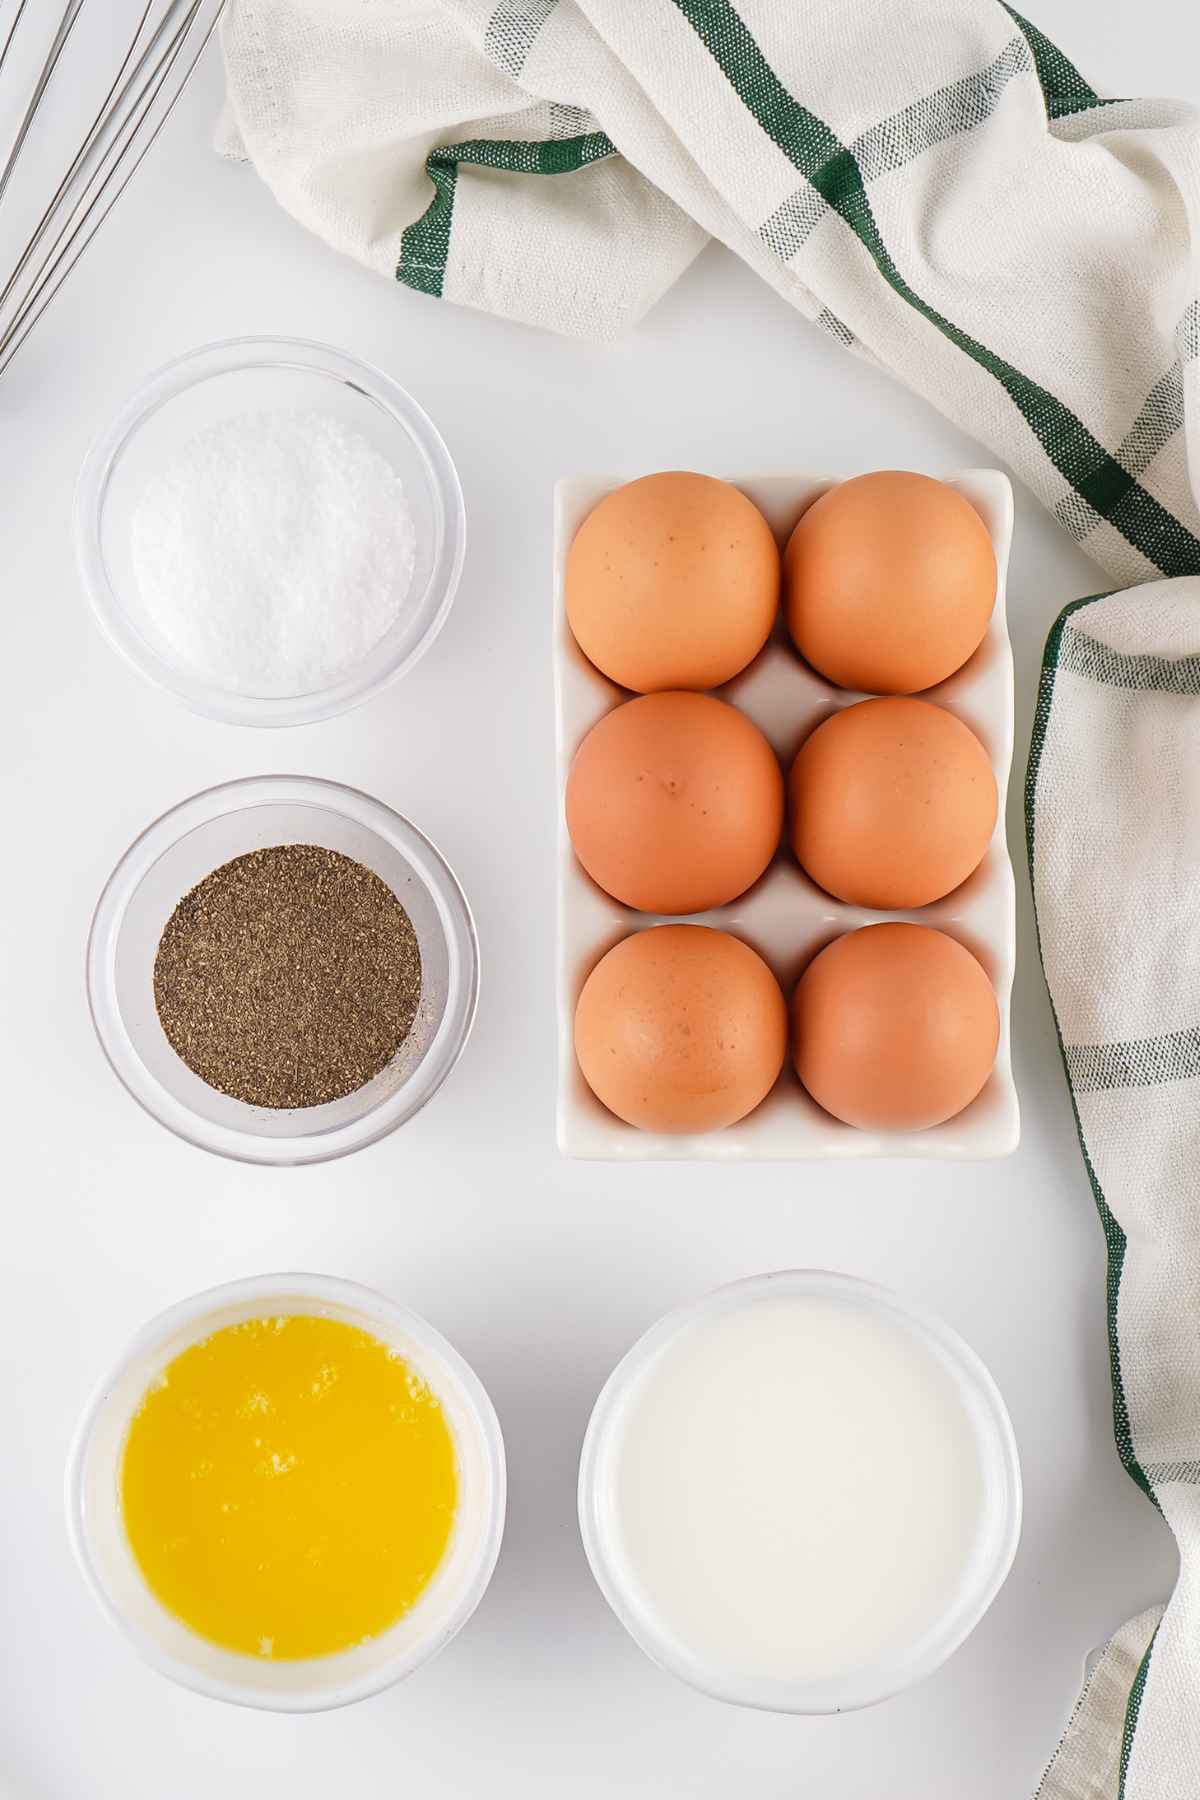
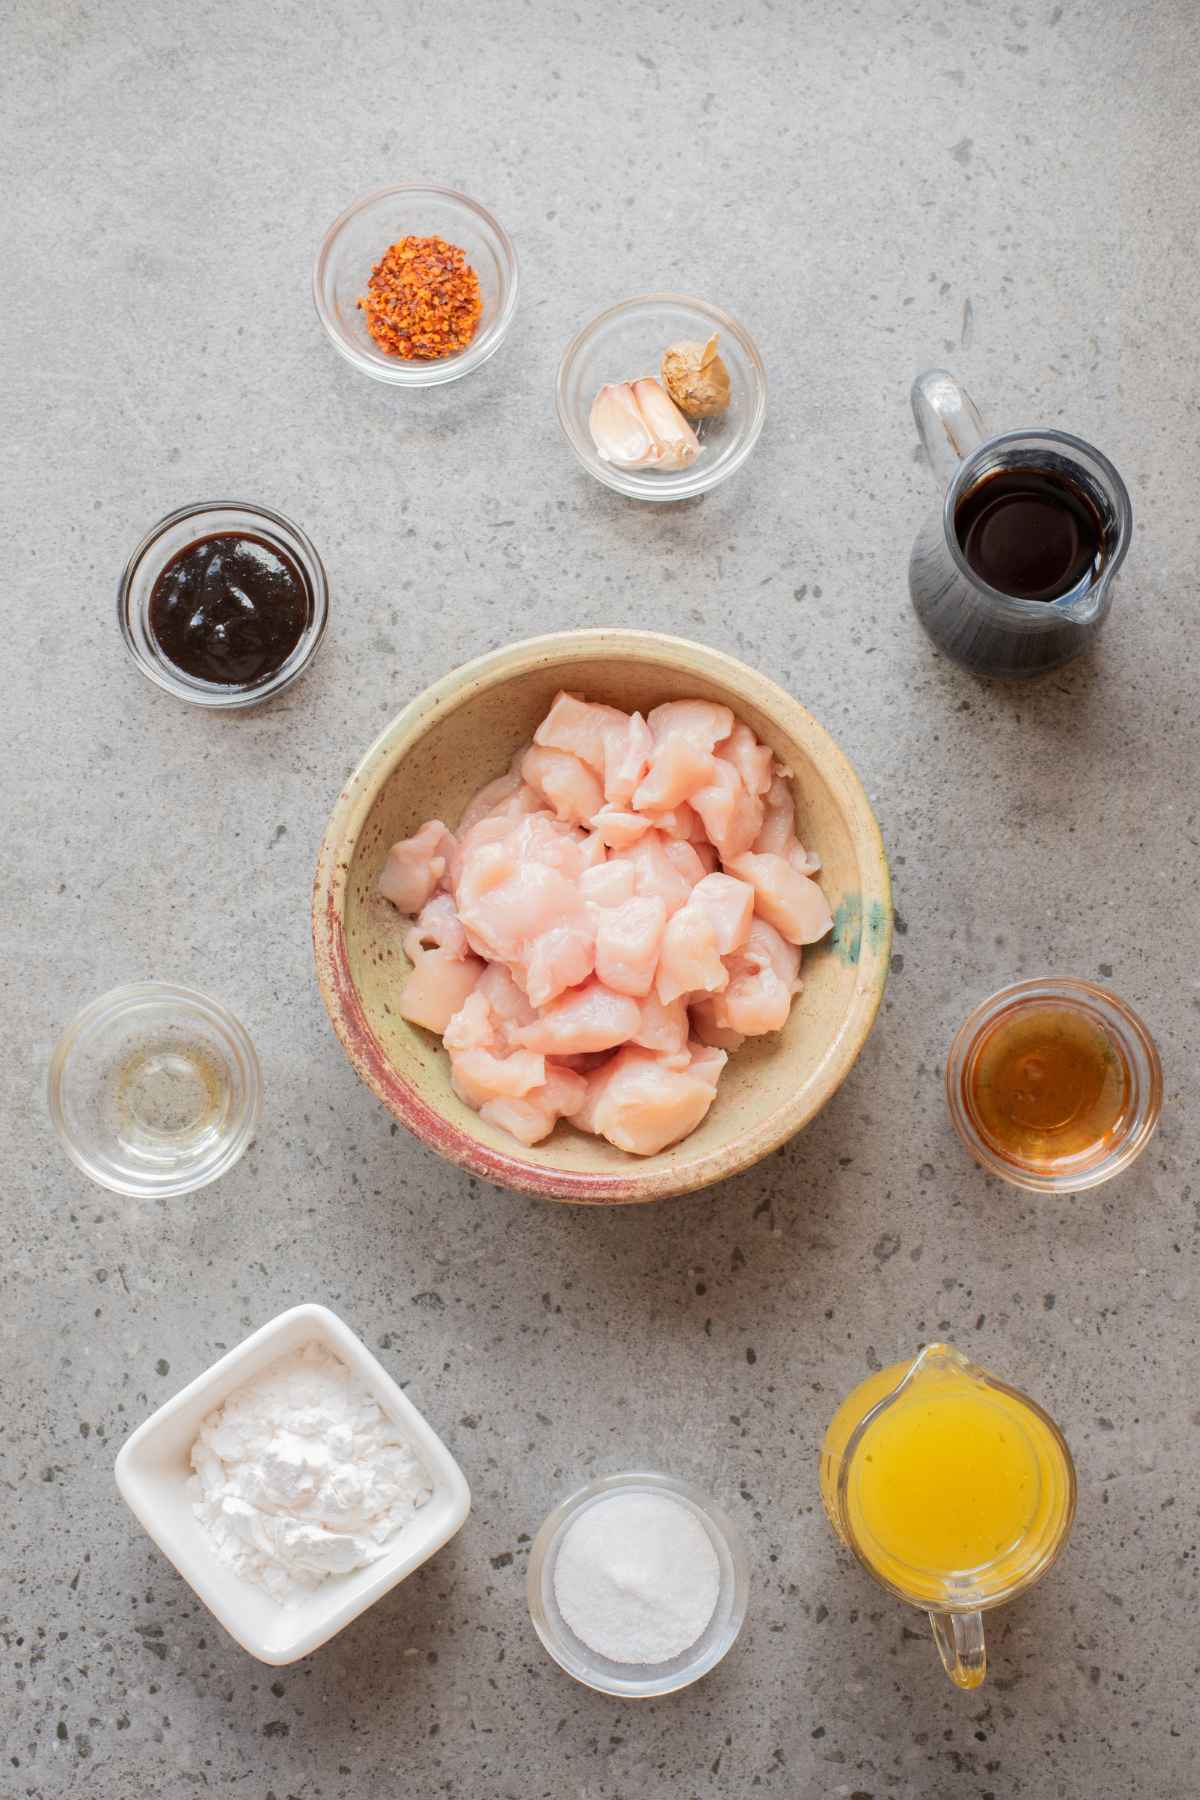
- Ground chicken: It keeps the meatballs nice and light but still packs plenty of protein.
- Freshly grated Parmesan: Don't skip the fresh stuff here. It what makes it taste like chicken parm right inside the meatball.
- Panko breadcrumbs and eggs: This is the secret duo that keeps the ground chicken from drying out so they stay tender and juicy in the oven.
My Go To Ingredient Swaps
Use ground turkey instead. Chicken is my ground meat of choice, but my dad prefers ground turkey, so go with your favorite.
Make them gluten-free. Just swap out the regular panko for your favorite gluten-free brand. (I like Kikkoman Gluten-Free Panko.)
Go with fresh herbs. The recipe calls for dried seasonings, but you can use fresh parsley or basil if you have them on hand.
What I Learned When Testing This Recipe
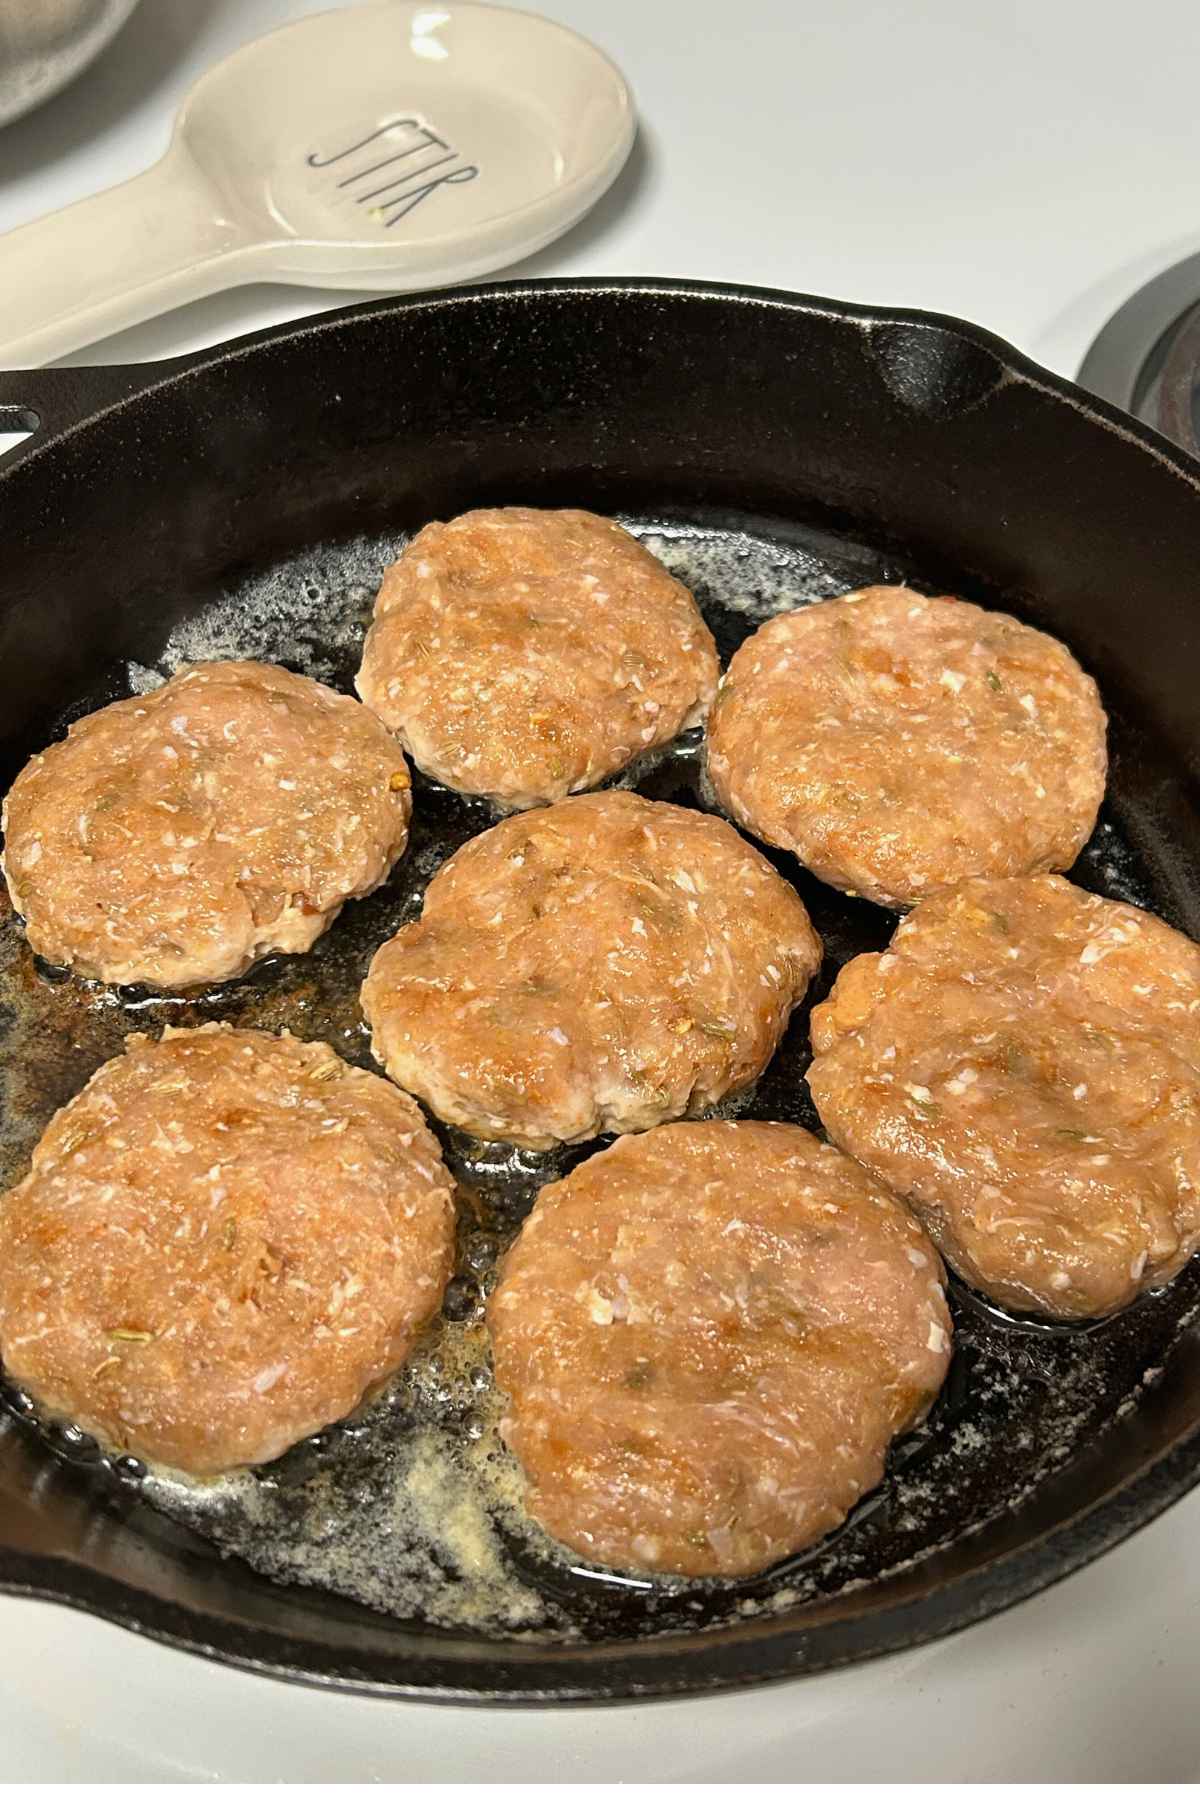
Don't overmix the meat. Mix ingredients until they are just combined. Overworking the meat makes it tough and dense instead of tender.
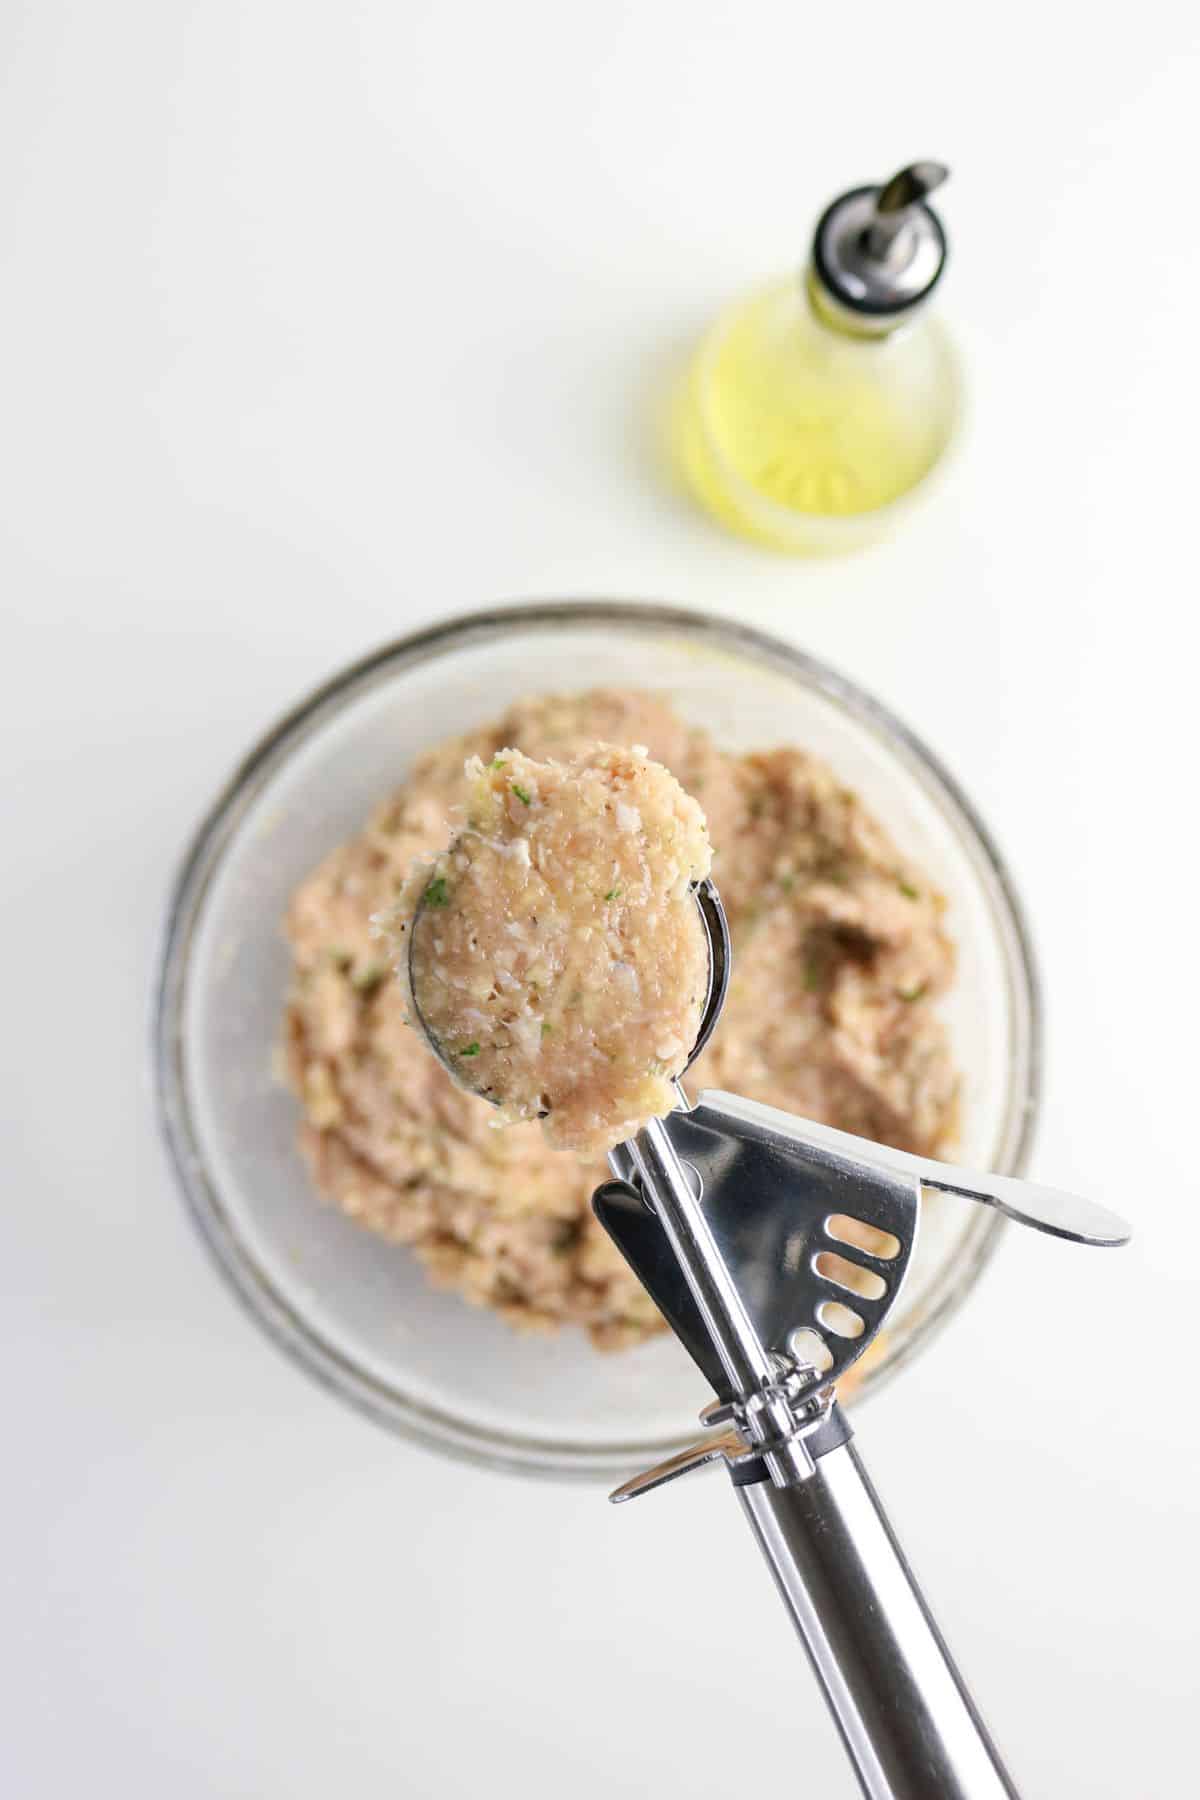
Use a cookie scoop: a small scoop makes it fast to shape the meatballs and makes them all the same size so they will cook evenly.
Keep your hands wet (or use gloves). Ground chicken is sticky to roll. Dampening your hands with a little water, or just wearing a pair of food-safe gloves keeps the meat from sticking to you.
Storing Leftovers
I keep leftovers in an airtight glass container in the fridge for up to 4 days. I sometimes will double the recipe and freeze half to have on hand for busy weeknights. To reheat, just microwave for a minute or warm them up in a saucepan with your favorite pasta sauce when you're ready to eat.
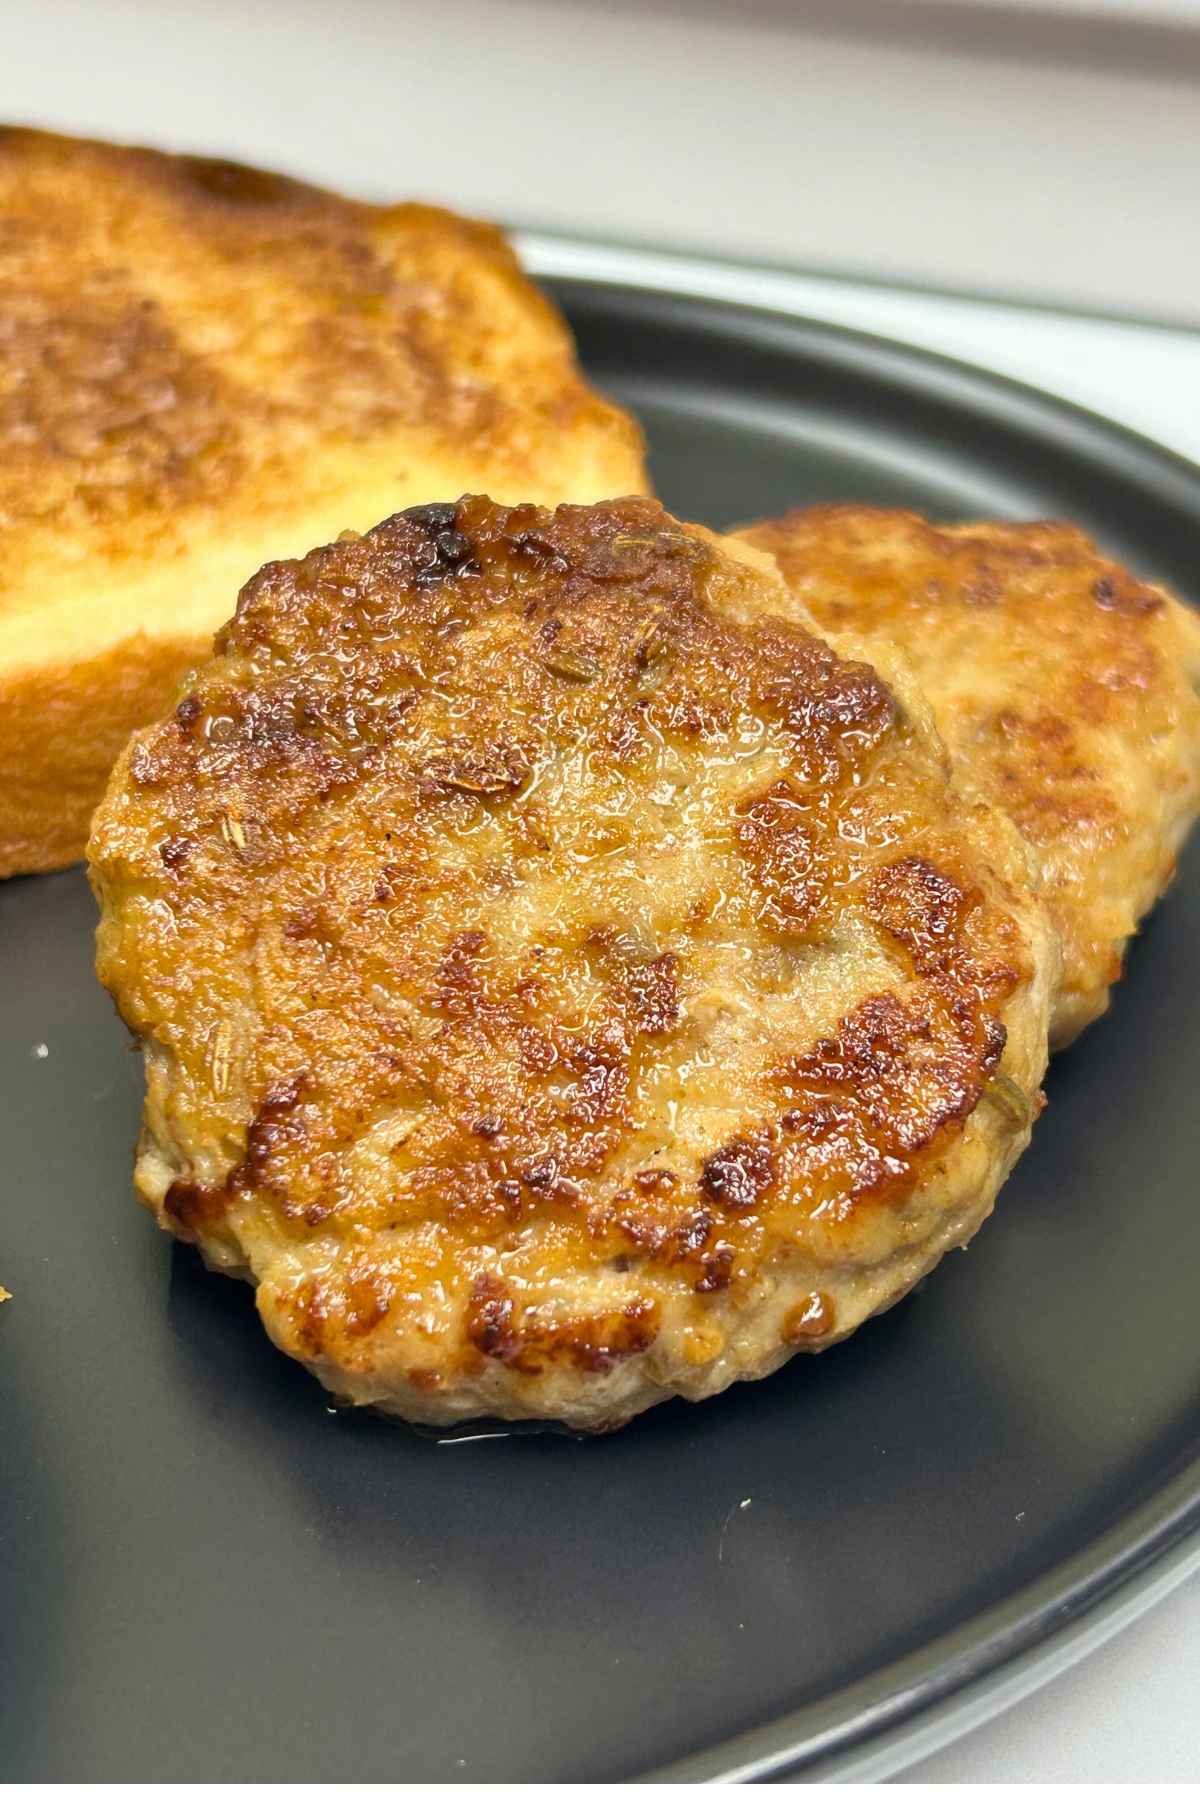
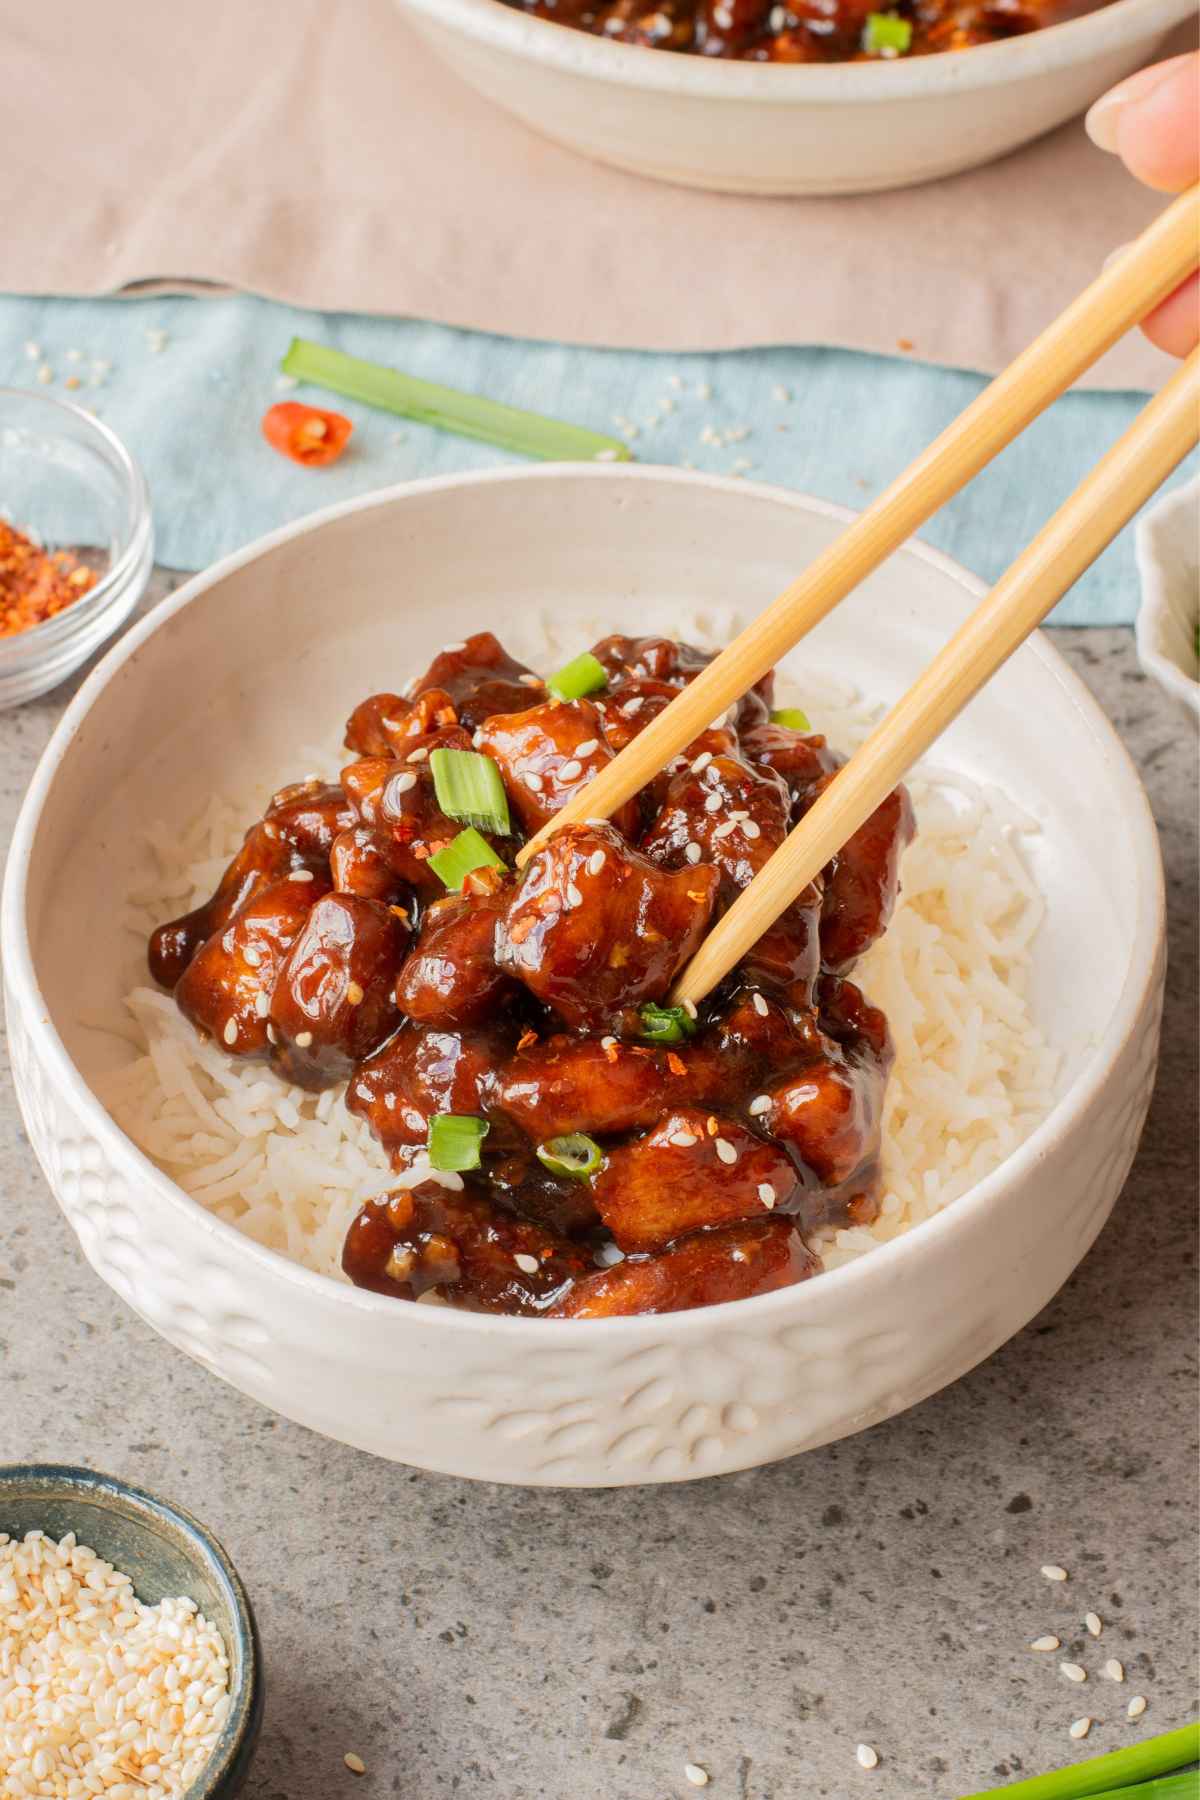
How I Like to Serve These Meatballs
Serve these chicken parmesan meatballs tossed with pasta sauce, or in a sandwich roll topped with sauce and cheese and broiled until the cheese is golden.
If you make these, come back and let me know by leaving a comment/review below. If you took pics, I'd love to have you tag me on Instagram @grumpyshoneybunch so I can see your recipe results! I love hearing how they turned out in your kitchen!
📖 Recipe

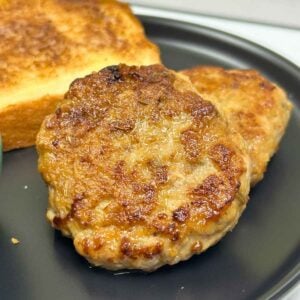
Chicken Parmesan Meatballs
As an Amazon Associate I earn from qualifying purchases.
Ingredients
- 2 pounds ground chicken
- 1 cup freshly grated Parmesan cheese
- 1 cup panko breadcrumbs
- 2 large eggs
- 3 cloves garlic minced
- 2 tablespoons chopped fresh parsley or 1 teaspoon dried
- 1 teaspoon Italian seasoning
- 1 teaspoon onion powder
- 1 teaspoon salt
- ½ teaspoon black pepper
- 3 tablespoons olive oil for brushing or drizzling
Instructions
- Preheat oven to 400°F and line a baking sheet with parchment paper.
- In a large bowl, combine ground chicken, Parmesan cheese panko, eggs, garlic, parsley, Italian seasoning, onion powder, salt, and pepper. Mix gently until everything is evenly combined.
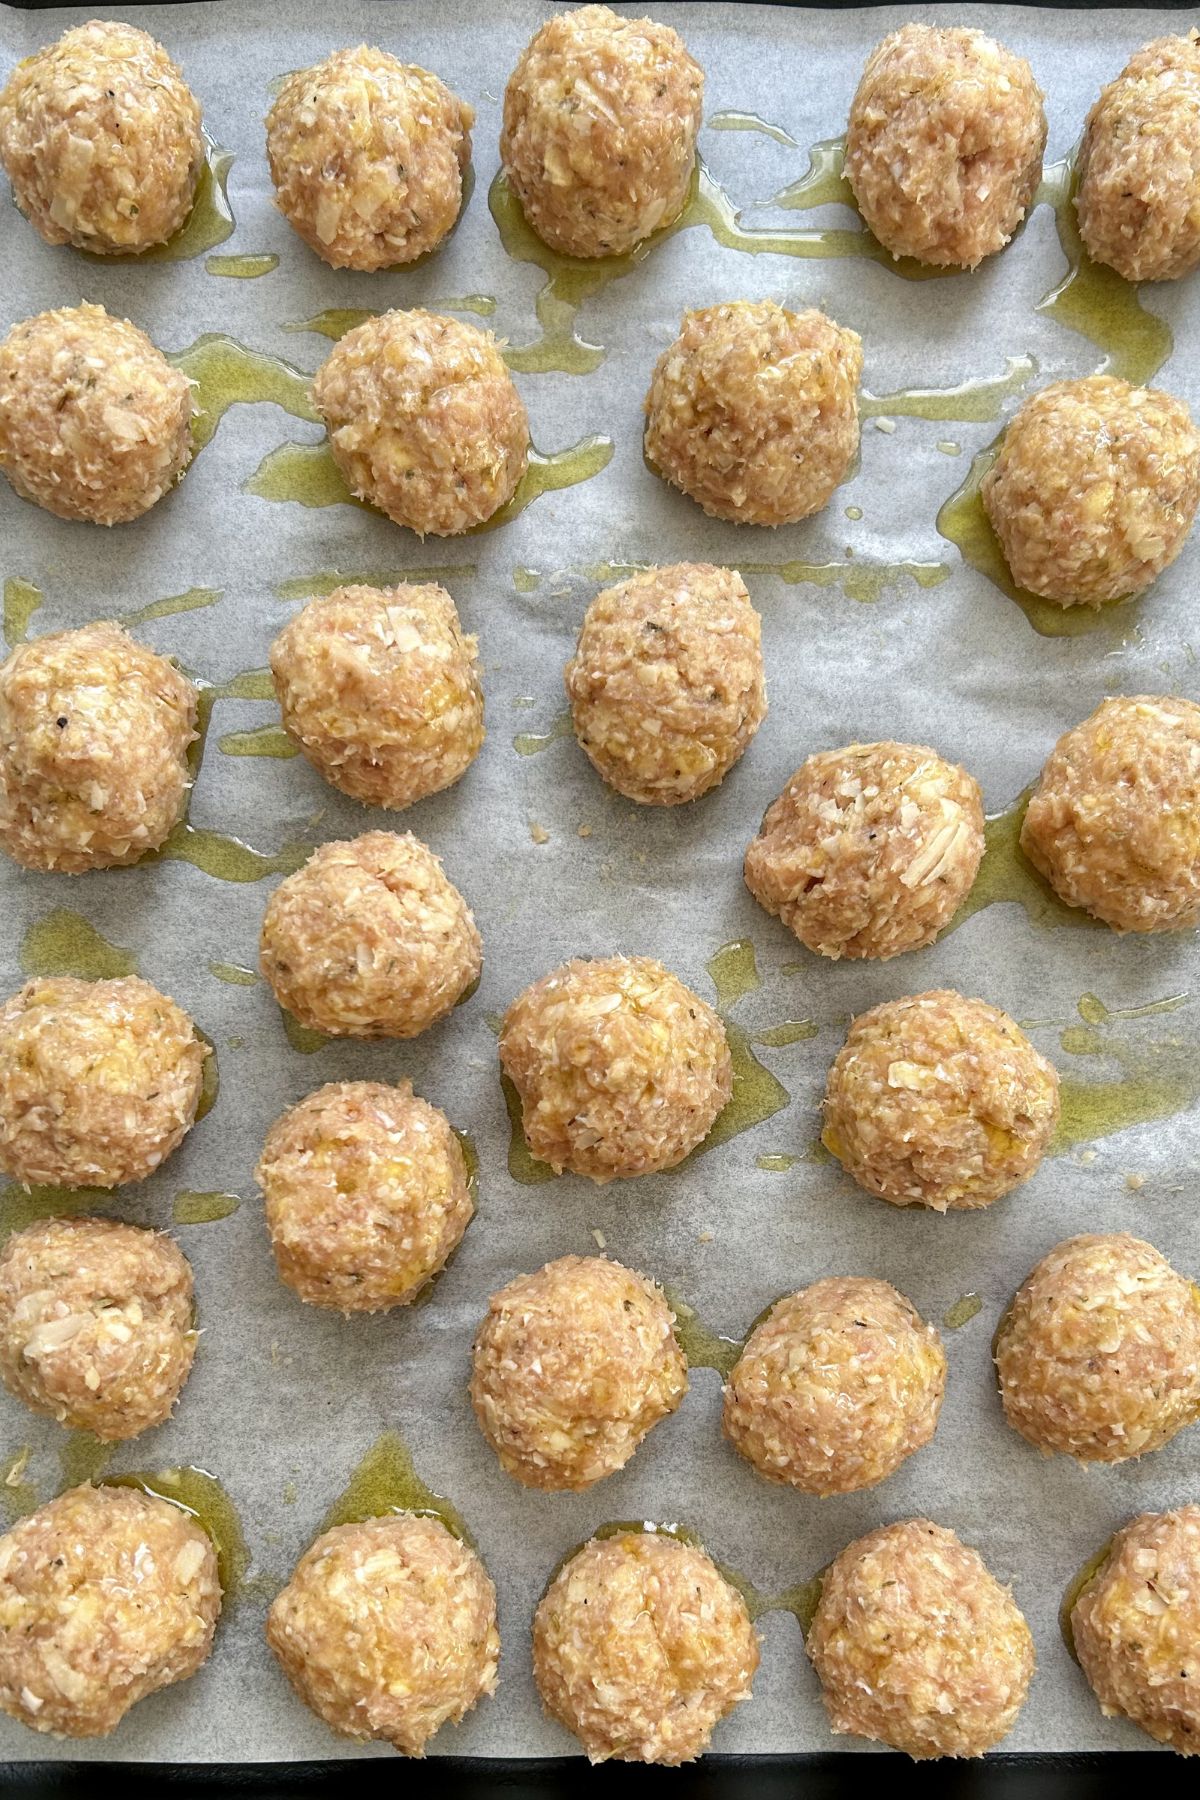
- Roll the mixture into 1 inch meatballs and place them on the prepared baking sheet.
- Brush or drizzle the tops lightly with olive oil.
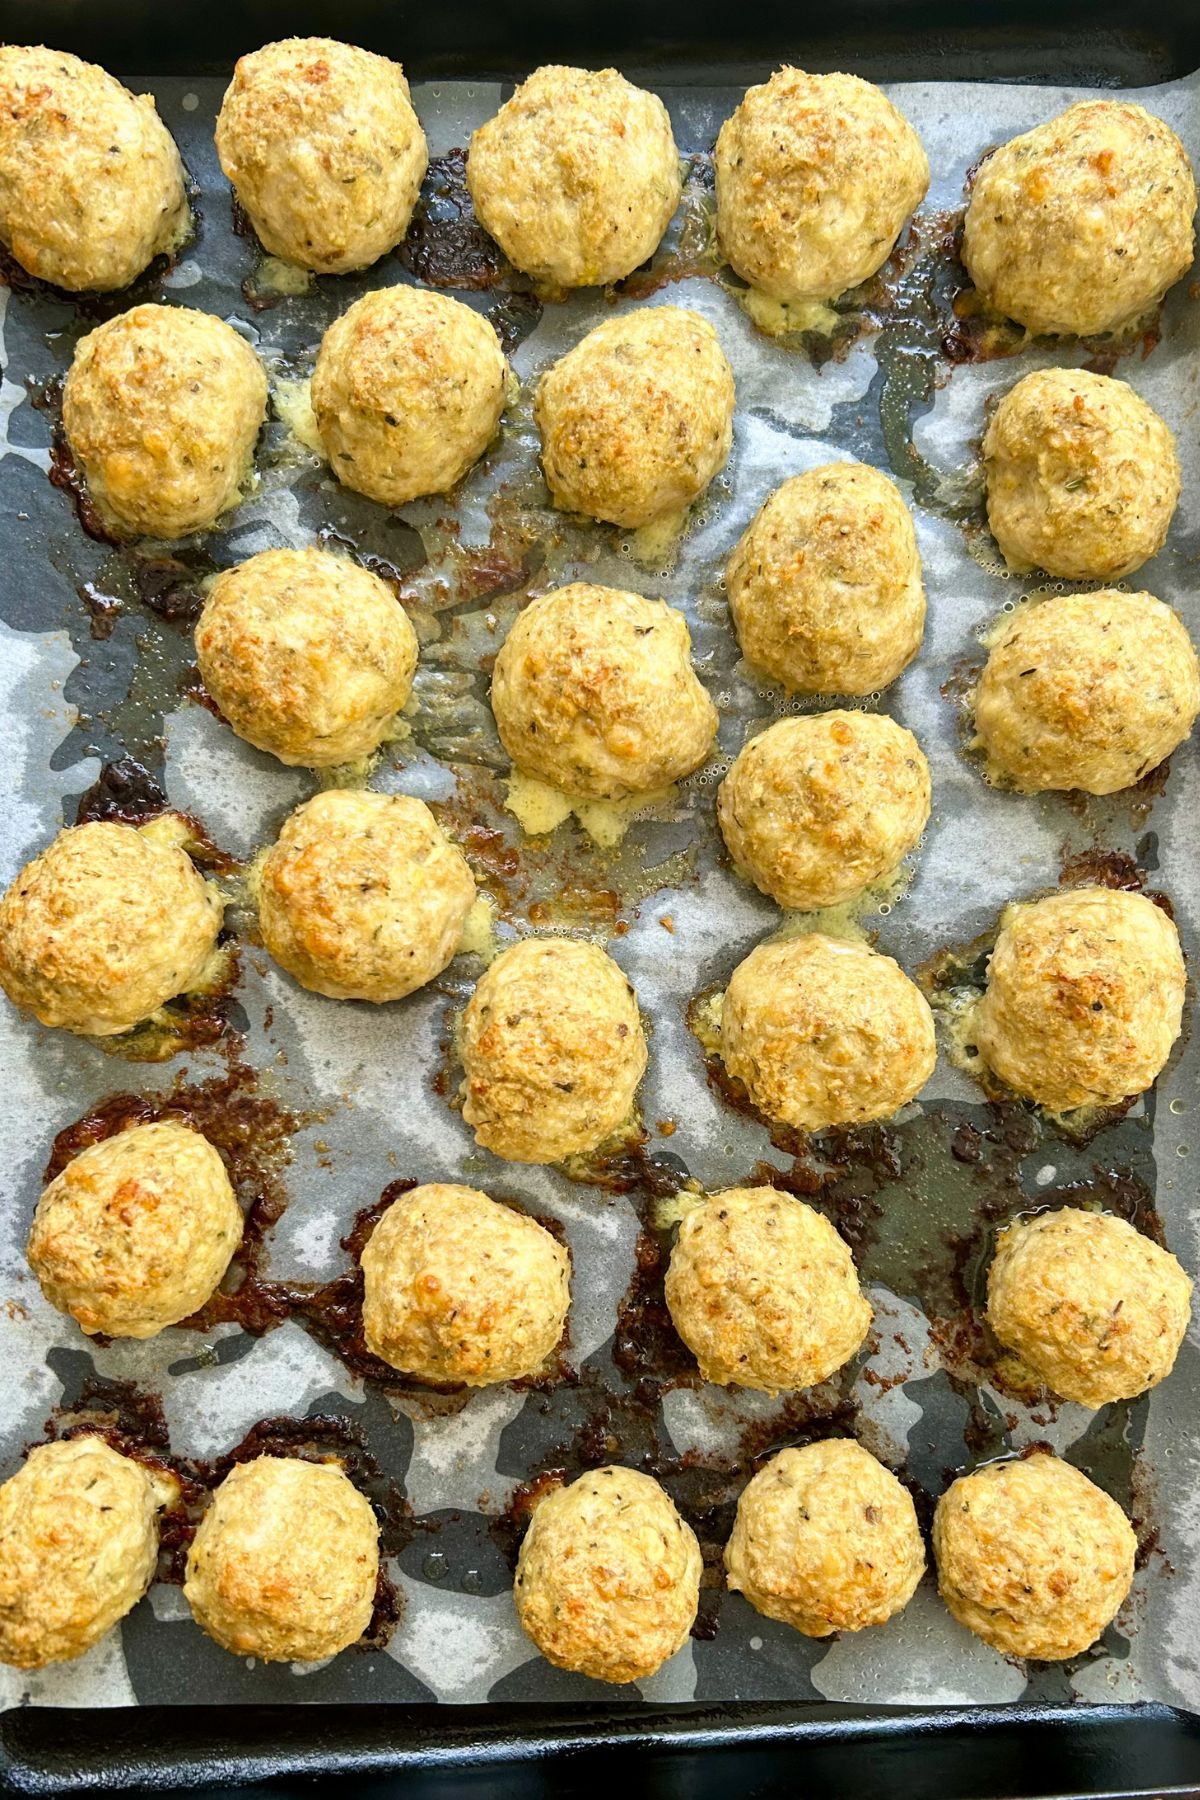
- Bake for 18-20 minutes, or until the meatballs are cooked through and lightly browned.
- Serve warm with marinara, pesto, or your preferred dipping sauce-or add them to pasta or sandwiches.