Mom's recipe for Lentil Tostadas is my very favorite vegetarian tostada recipe. It is an easy meal to make on those busy weeknights and a delicious recipe to serve the whole family for dinner. This particular tostada recipe is not the traditional way to make it in any way, but is is an American take on the way to make veggie tostadas.
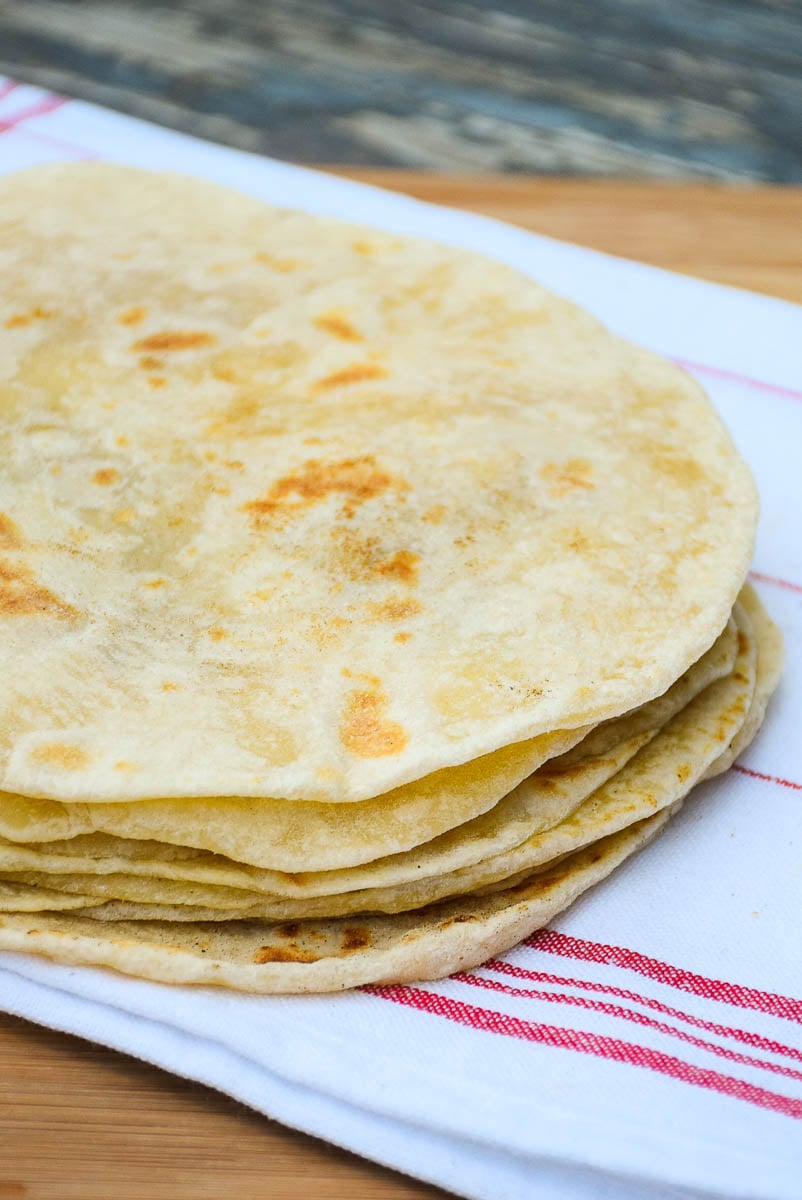
I love Mexican food, and this vegetarian tostadas recipe is my Mom's Americanized vegetarian version of the traditional Mexican dish. Her original recipe called for making toast as the base of the tostada.

I took a favorite childhood memory of toasting bread by frying it in the skillet with butter the way my dad would when we were camping. I love that version so much, I've kept it that way ever since.
❤️ Why I Love This Recipe
✔️ Vegetarian tostadas make a quick meal that is very budget friendly.
✔️ Lentils are packed with nutrition and high in B vitamins, making them an excellent meat alternative.
✔️ The lentils can be made ahead of time and reheated in the microwave for super easy dinners .

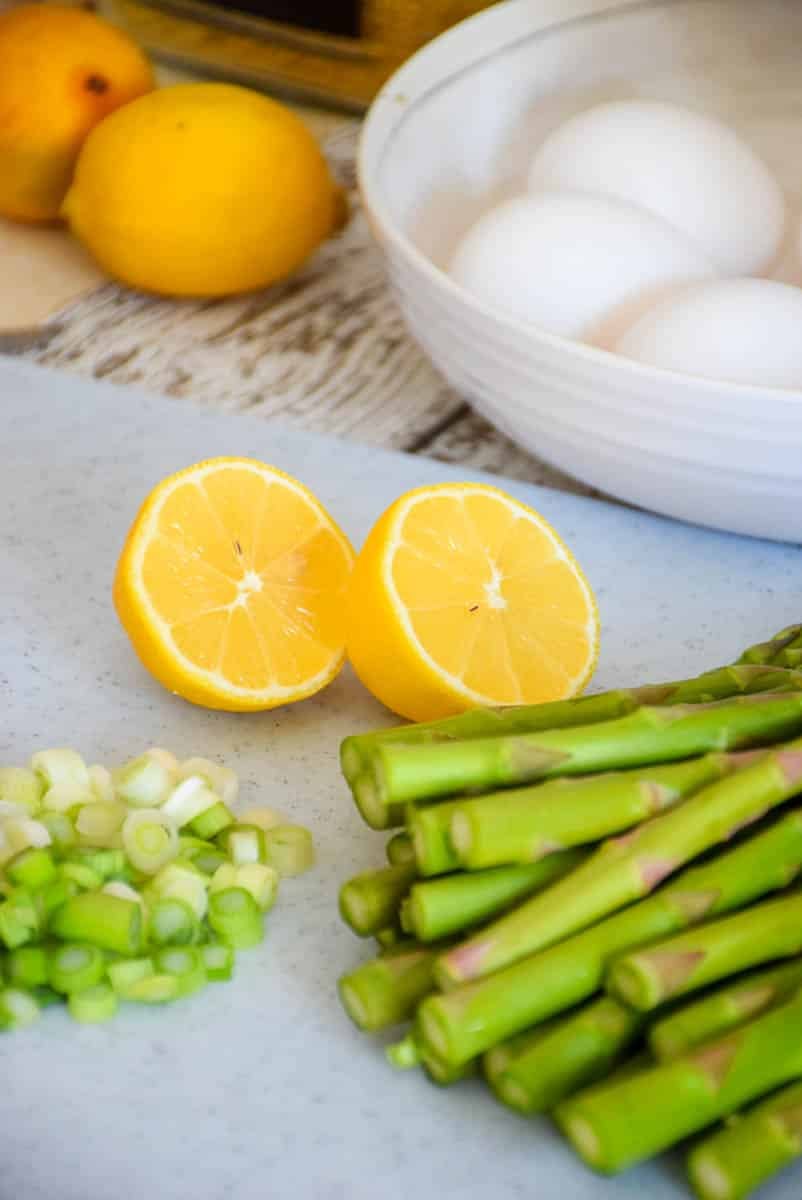
🥘 Ingredients
Lentils, be sure to use brown lentils, as they hold their shape the best when cooked.
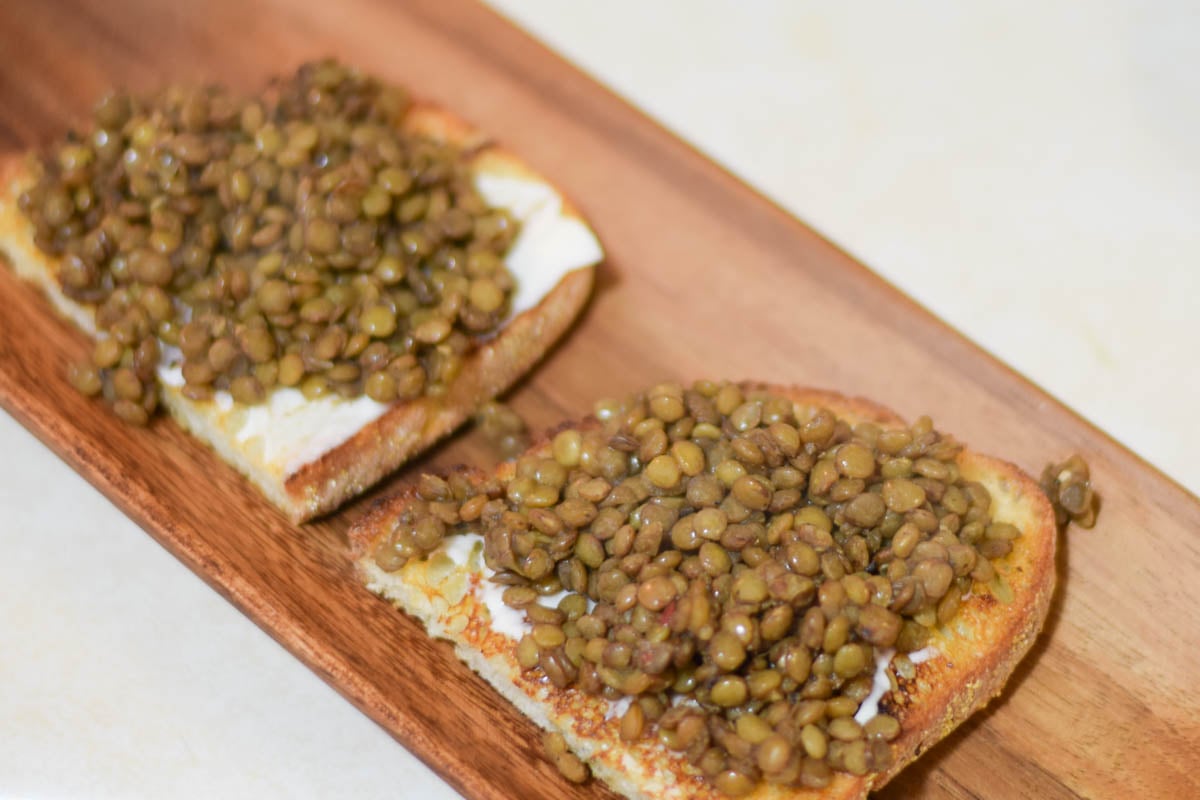
Bread, I like to use a tuscan pane bread because it is firmer and holds up well to the toppings.
Mayonnaise, this is an optional ingredient but it gives so much flavor that I always use it. This is my favorite brand.
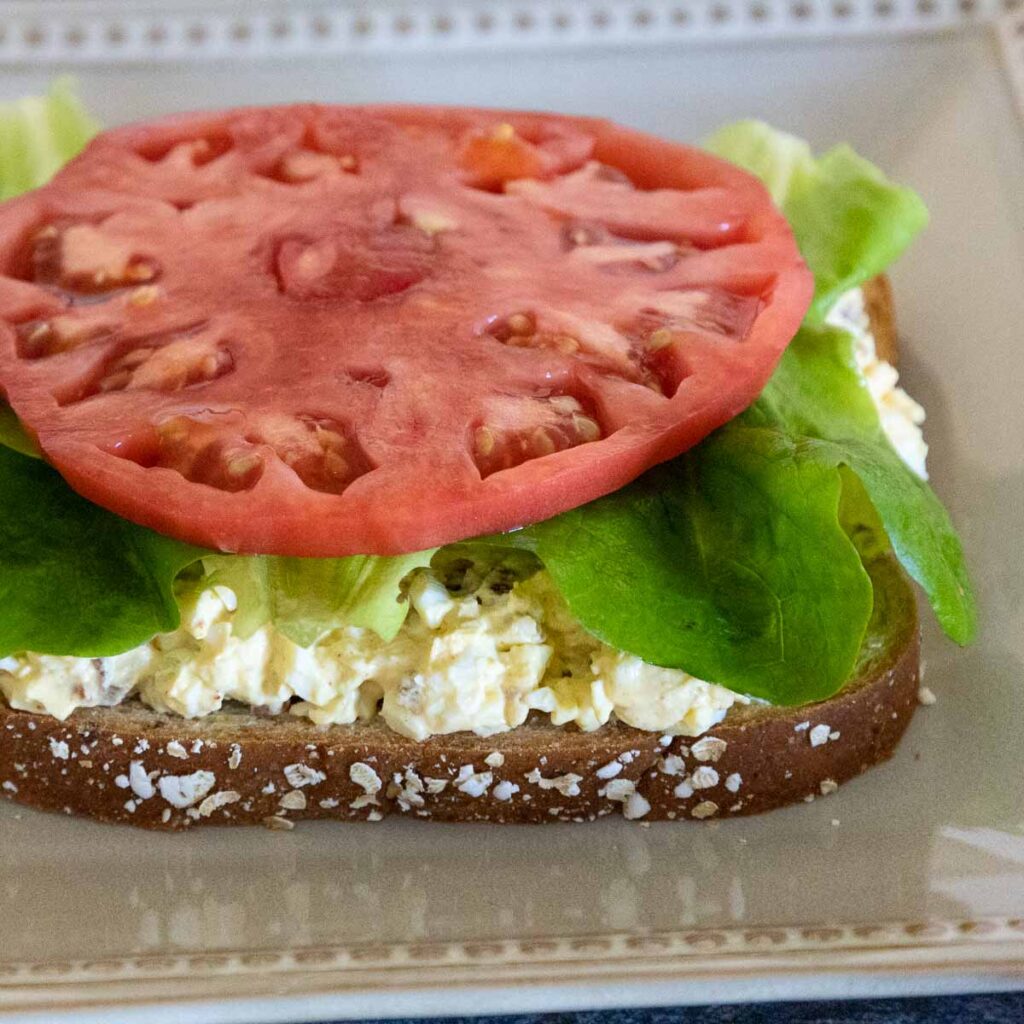
Veggie toppings: Lettuce, tomatoes, black olives , red onion, and ripe avocados for the toppings
Ranch dressing, my family loves to drizzle the top of the tostada with ranch. You can make your own homemade ranch dressing or buy it.
Mozzarella cheese, I use part skim shredded mozzarella.

🔪 Instructions
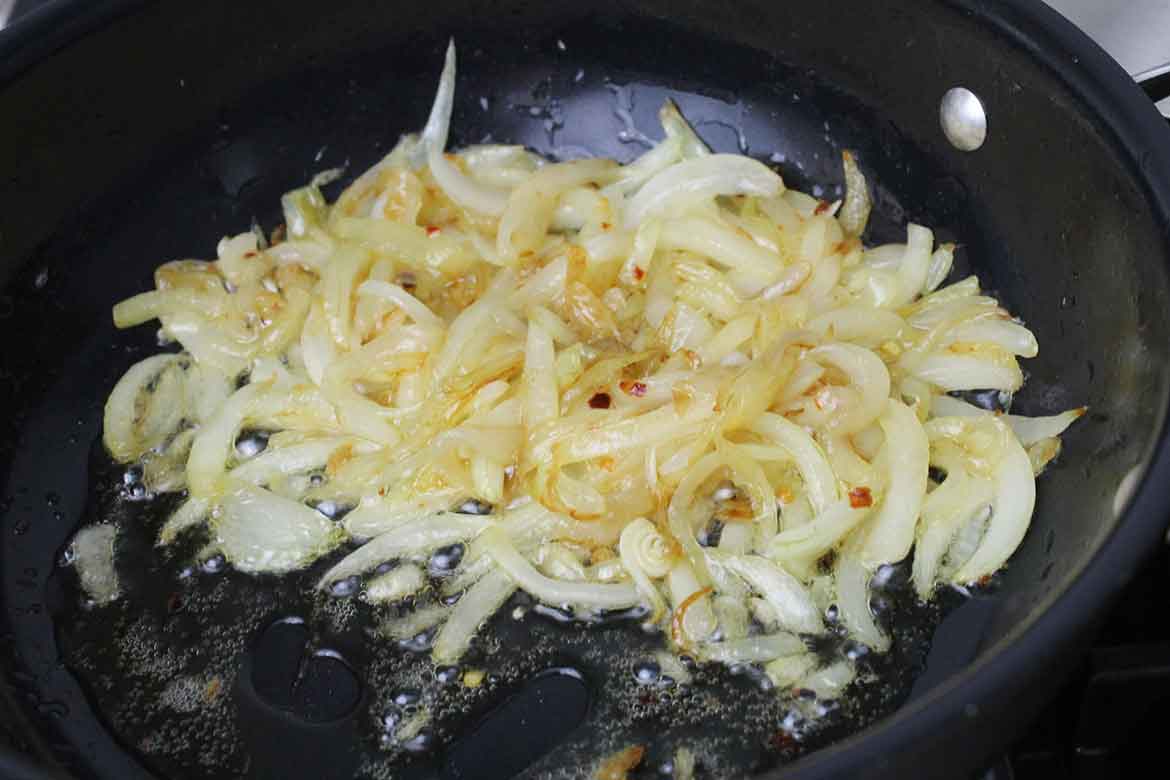
- In a large saucepan over medium high heat, bring the lentils, onions, salt, and pepper to a boil. Reduce the heat and simmer for 17 minutes, until the lentils are soft but not mushy. Remove from heat and set aside.
- Butter both sides of each slice of bread, place the bread in a large skillet over medium high heat and cook for 1 minute, or until golden brown. Flip the bread over and toast the second side for 1 minute, or until golden. Remove from skillet.
- Spread a thin layer of mayonnaise (if using) on top of each slice of toast then top with the hot lentils, cheese, lettuce, tomatoes, black olives, and red onion.
- Drizzle with the ranch dressing (if using) and serve.
🙋 Recipe FAQ's
A tostada is traditionally a fried corn tortilla shell topped with a seasoned meat protein and/or beans with fresh vegetable toppings along with salsa, sour cream, avocado, and/or guacamole.
Yes, you can use any lentil you wish, however I prefer the brown lentil for this tostada recipe because it holds its shape better than the others.
💭 Tips
- Make this a healthier recipe and toast the bread in the toaster instead of frying it in the skillet.
- Make a batch of lentils ahead of time and keep them in the fridge for a quick easy weeknight meal.
📖 Variations
- Use your favorite toppings in addition to or in place of any of the toppings in the recipe. Alternation delicious toppings would be bell peppers, green onions, fresh corn, a cabbage slaw, feta cheese, and taco sauce.
- Cook the lentils with a tablespoon of homemade taco seasoning or chili powder in place of the salt. (adjust the seasoning to taste if needed)
- Use regular tostada shells in place of the toast.
- Substitute Cotija cheese or queso fresco for the mozzarella cheese.
- Spread the toast with vegetarian refried beans or refried black beans in place of the lentils.
- Serve with a generous topping of homemade salsa.

🍽 Equipment
Large skillet or griddle, to fry the bread.
Large saucepan, for cooking the lentils.
Chef knife for chopping the veggies.
Serving Suggestions
Serve these vegetarian tostadas with a side of Mexican Street Corn Salad or Cauliflower Fried Rice.
Storage
Store cooked lentils in the fridge in a covered dish up to 7 days or in the freezer up to 6 months.
Simply reheat the lentils in the microwave or on the stove until warm and assemble the lentil tostadas as directed.
Related Recipes
Mom's Vegetarian Meatballs Recipe
If you give this recipe a try, I'd love to hear how it turned out! Please leave a comment and ⭐⭐⭐⭐⭐ rating below to let me know how you liked it. Don't forget to tag me on Instagram @grumpyshoneybunch so I can see your beautiful salad bowls!
📖 Recipe

Vegetarian Tostadas - Mom's Lentil Tostadas Recipe
As an Amazon Associate I earn from qualifying purchases.
Ingredients
- ½ cup uncooked lentils
- ½ onion diced
- 1¼ cup water
- Salt and Pepper
- 1 vegetarian boullion cube
- 2 slices tuscan pane bread
- 2 tablespoons mayonnaise
- ½ cup chopped lettuce
- ½ tomato diced
- ½ cup shredded part skim mozzarella cheese
- 6 large black olives sliced
- 1 tablespoon red onion diced fine
- 1 tablespoon ranch dressing
Instructions
- In a large saucepan over medium high heat, bring the lentils, onions, salt, and pepper to a boil. Reduce the heat and simmer for 17 minutes, until the lentils are soft but not mushy. Remove from heat and set aside.
- Butter both sides of each slice of bread, place the bread in a large skillet over medium high heat and cook for 1 minute, or until golden brown. Flip the bread over and toast the second side for 1 minute, or until golden. Remove from skillet.
- Spread a thin layer of mayonnaise (if using) on top of each slice of toast then top with the hot lentils, cheese, lettuce, tomatoes, black olives, and red onion.
- Drizzle with the ranch dressing (if using) and serve.