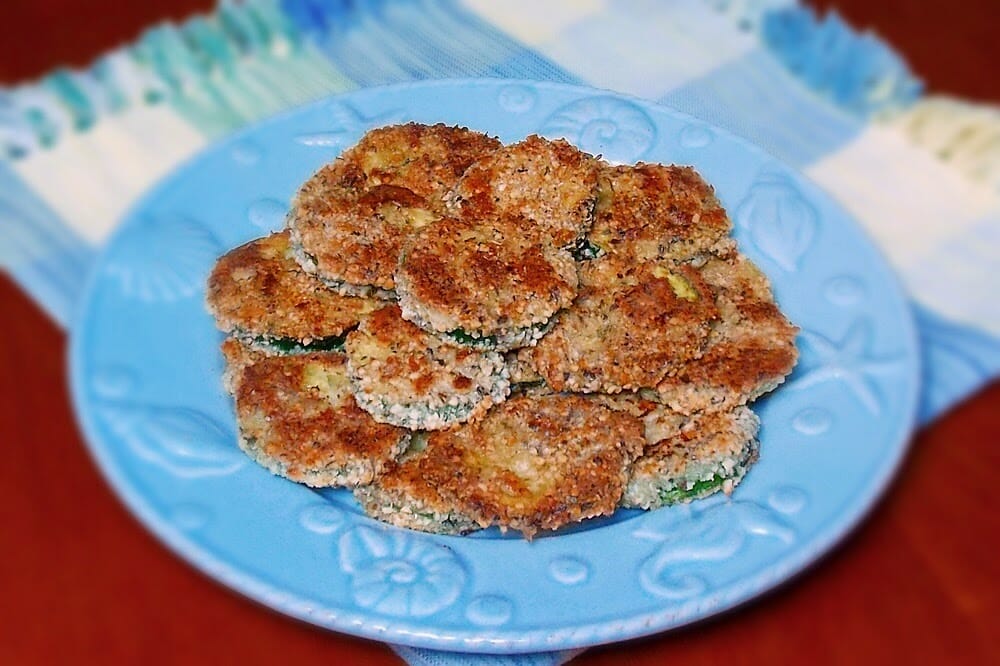
These Baked Zucchini Chips are a great way to enjoy zucchini in the summer! They make a delicious side dish that is crisp on the outside, tender and juicy on the inside, with a slightly sweet flavor from the cashew meal breading.

I love zucchini chips. As a kid, I could eat them as fast as my mom could fry them in the skillet! The great thing about this oven baked zucchini recipe is it all cooks at once, so no waiting until all the chips come out of the skillet in batches!
With zucchini so plentiful in the summer, this recipe will come in handy for those nights when you are looking for an easy side dish!
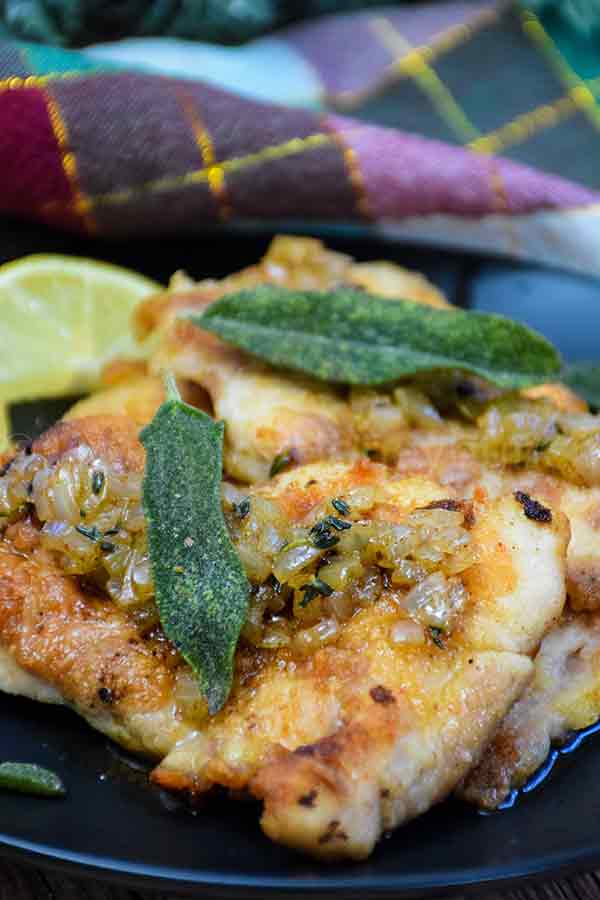
This baked zucchini recipe pairs well with this amazing grilled chicken recipe.
[feast_advanced_jump_to]Why You'll Love Baked Zucchini Chips
- Keto friendly: this low carb version eliminates bread crumbs or flour for coating and uses cashew meal for the crispy coating.
- Easy to make: no more frying and flipping in a greasy skillet, the sheet pan cooks the slices all at once without grease spatters.
- Versatile: this recipe can be easily adapted to make egg free or nut free with a few simple swaps.
Ingredients
Just a few basic ingredients are needed to make this easy side dish recipe.

- Cashew meal (you can substitute almond flour if desired)
- Large egg
- Water
- Salt
- Garlic powder
- Zucchini
- Cooking spray
See recipe card for quantities.
How to Make Baked Zucchini Chips
- Preheat oven to 400 degrees. Prepare baking sheet by lining with parchment paper and spray lightly with cooking spray.
- In a medium sized bowl, whisk together the egg and water until egg is well belnded. Set aside.
- In a large shallow bowl, combine the cashew meal, salt, and garlic powder.
- Dip zucchini chips in egg wash, then coat both sides with cashew meal. Place each chip in a single layer on foil lined sheet.
- When finished battering all chips, spray top of chips with cooking spray, then place in oven to bake.
- Bake for 5 minutes or until bottom of chip has browned. Carefully flip the chip over and brown the opposite side, 7 more minutes and zucchini chips. Serve hot.
Substitutions
- Nut free version - instead cashew flour, substitute panko crumbs to coat the zucchini.
- Spice substitution: feel free to use onion powder or any of your favorite spices for the garlic powder.
- Vegan version: eliminate the egg and water and use almond milk or cashew milk in place of the egg.
Variations
Change the recipe to make it spicy, cheesy, or kid friendly with the following suggestions:
- Spicy - add chili pepper flakes while cooking to imbue heat into the dish, or banana peppers
- Cheesy version - use half cashew meal and half Parmesan cheese
- Kid friendly - crush some cheesy puffs or potato chips and use that as the breading for your zucchini chips.
See this air fryer version on my website!
Equipment
It is important to use a wide, shallow bowl (affiliate link) to hold the beaten egg and cashew meal.
Storage
Store leftover baked zucchini chips in an airtight container in the fridge up to 3 days. To reheat, place zucchini chips in a single layer on baking sheet and heat in a 400 degree oven for 7-10 minutes, until hot.
Freezing leftovers is not recommended.
Top Tip
- You can make your own cashew meal by grinding raw cashews in a blender until they are fine crumbs.
- Use a dinner fork to easily dip the zucchini slices into the egg and cashew meal, then to place on the baking sheet.
More Zucchini Recipes
Looking for other zucchini recipes? Try these:


Serve with...
These are my favorite dishes to serve with baked zucchini chips:
Don't forget to check out my Amazon storefront for some of my favorite products!
When you make this baked zucchini chips recipe, please comment below and let me know what you think. I'd love it if you tag me on Instagram @grumpyshoneybunch or #grumpyshoneybunch so I can see your photos!
If you love this recipe, please leave a ⭐⭐⭐⭐⭐ rating
📖 Recipe

Baked Zucchini Chips
Equipment
- Hand whisk , or fork
- Fork , or tongs
As an Amazon Associate I earn from qualifying purchases.
Ingredients
- ⅔ cup cashew meal
- 1 large egg
- 1 tablespoon water
- ½ teaspoon salt
- ½ teaspoon garlic powder
- 2 small zucchini sliced into thin chips
- cooking spray
Instructions
- Preheat oven to 350 degrees. Prepare baking pan by lining with non stick foil and spray with cooking spray.
- Whisk egg and water in medium sized bowl. Set aside. Stir together cashew meal, salt, and garlic powder in another medium sized bowl. Dip chips in egg wash, then coat both sides with cashew meal. Place each chip in a single layer on foil lined sheet.
- When finished battering all chips, spray top of chips with foil then place in oven to bake.
- Bake for 7 minutes or until bottom of chip has browned. Carefully flip the chip over and brown the opposite side, 7 more minutes. Serve hot.