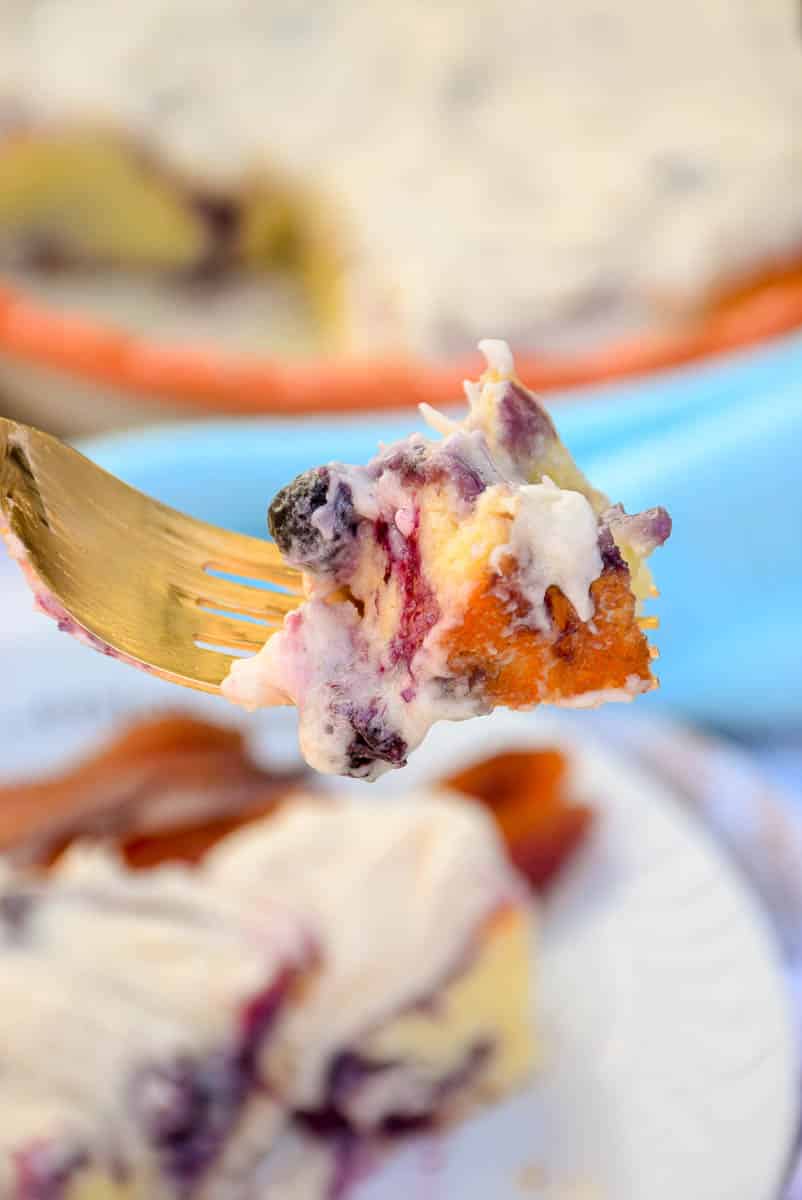
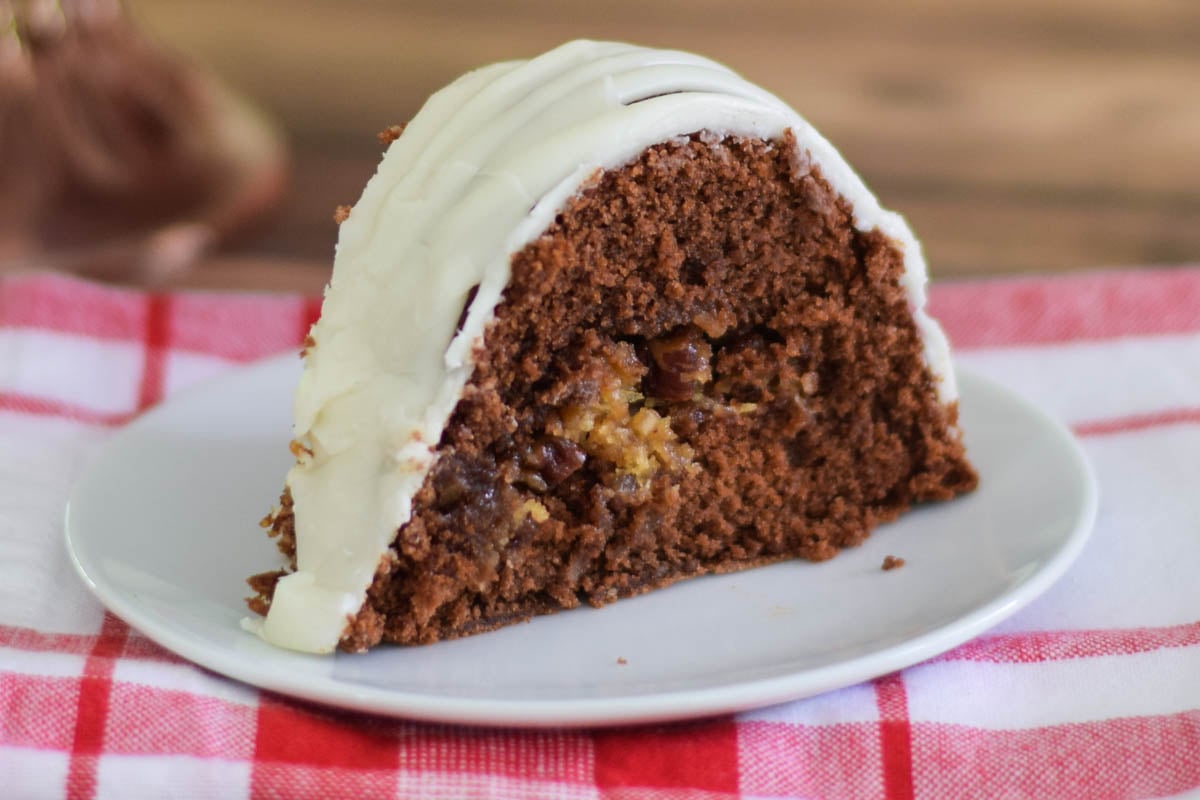
This German Chocolate Bundt Cake recipe is a delicious bundt cake version of the original German chocolate cake cake. It is one of the most delicious recipes with a coconut pecan icing inside the center of the cake instead of on top.

This chocolate bundt cake makes a special dessert night, birthday, or holiday celebration cake. It's my go to birthday cake for my mom and a great everyday cake as well!
[feast_advanced_jump_to]Why You'll Love German Chocolate Bundt Cake
Diet friendly: this easy, made from scratch cake recipe is a show-stopper dessert that is also lower in fat and calories than the traditional cake.
Tunnel of love: the filling inside the bundt cake is reminiscent of the coconut-pecan frosting.
Easy recipe: easy to make with just a few simple steps.
What is a Tunnel Cake?
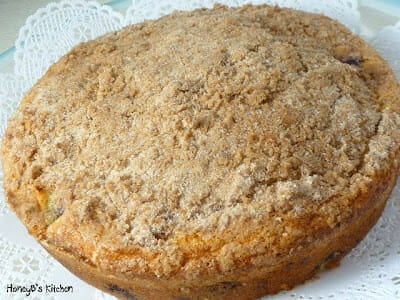
The original tunnel cake was a was a popular chocolate cake cake mix with a chocolate cake filling that was made in a bundt pan. Over the years, their popularity faded some, but theses filled bundt cakes are still absolutely delicious and this German Chocolate Bundt Cake is a must try recipe.

Key Ingredients for Coconut Pecan Cake
See the recipe card below for a full list of ingredients and instructions.
- German baking chocolate: gives the cake a classic, mild chocolate flavor you can't duplicate with cocoa alone.
- Unsweetened cocoa powder: deepens the chocolate base for a richer overall flavor.
- Buttermilk: adds tang and tenderness to the crumb.
- Brown sugar: works perfectly in the coconut-pecan mixture, giving it sweetness and warmth.
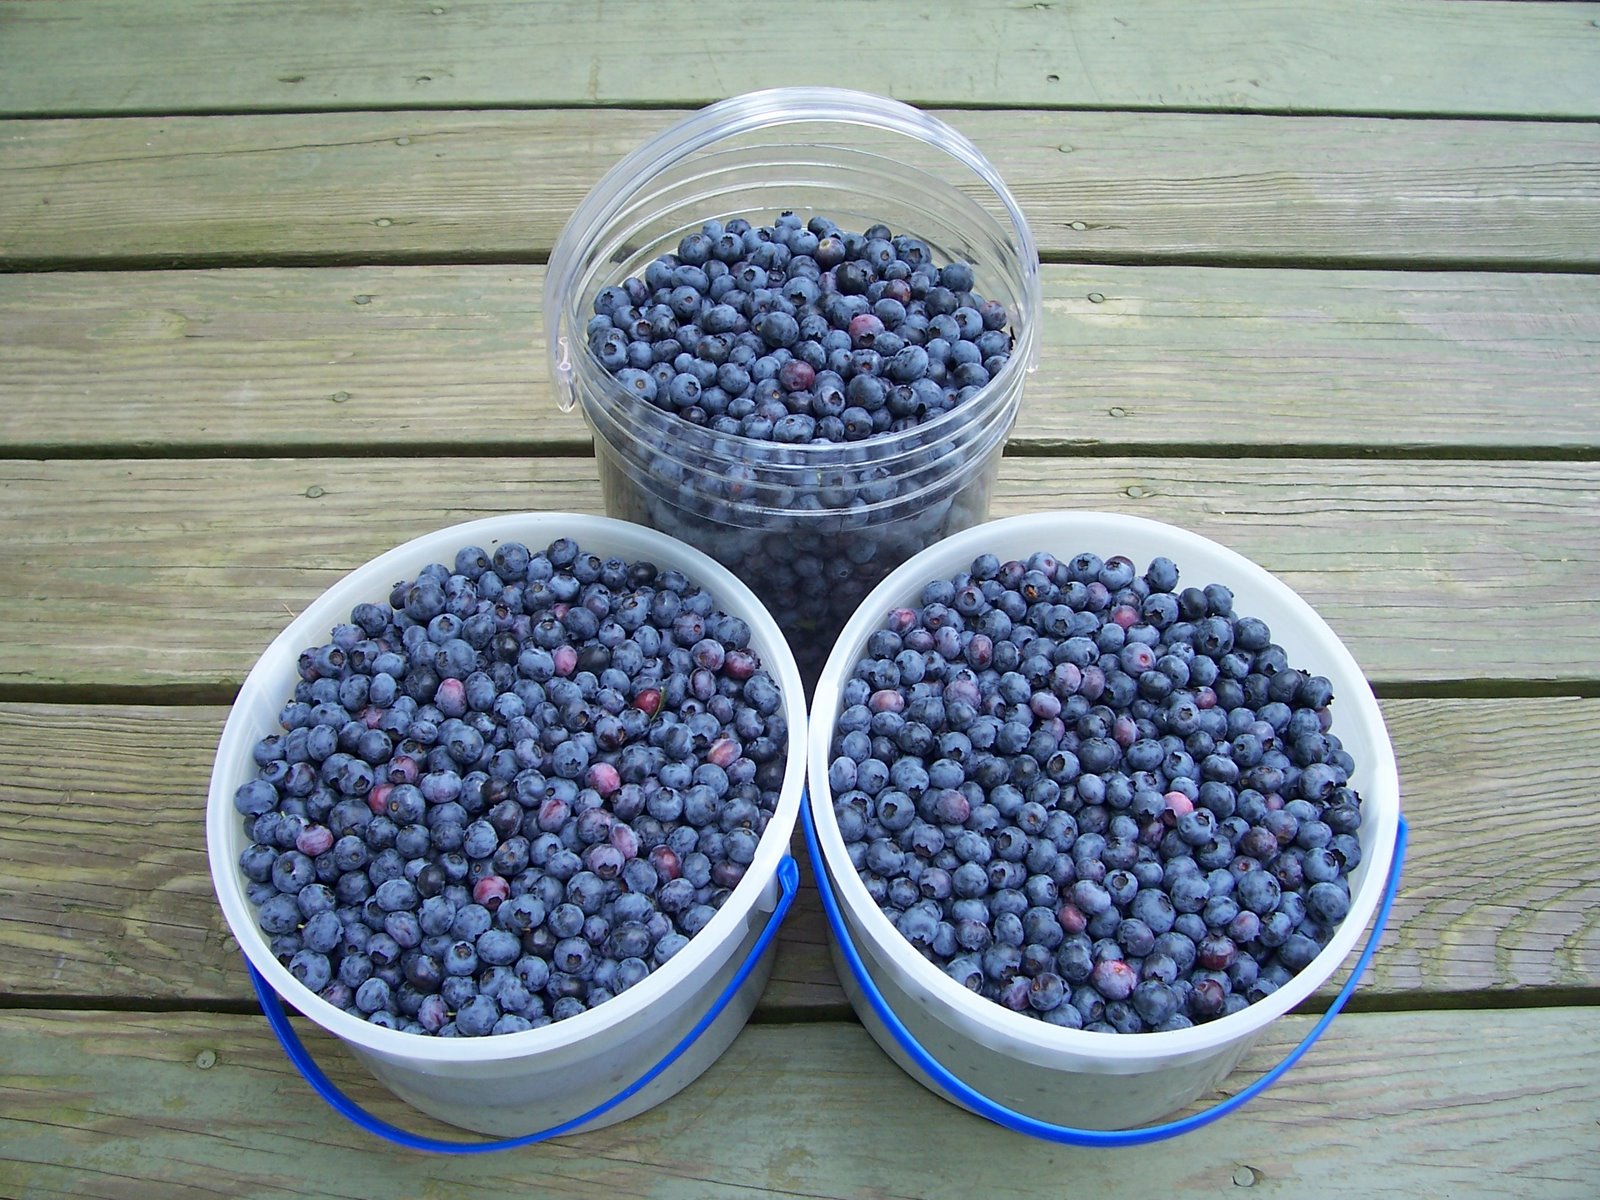
- Flaked coconut: brings the signature German chocolate cake persaonality.
- Pecans: add crunch and balance the sweetness of the filling.
Ingredient Substitutions
- Swap Greek yogurt for buttermilk.
- Use walnuts instead of pecans for a slightly earthier flavor.
- Replace German chocolate with semisweet chocolate if needed (the flavor will be deeper).
Variations on German Chocolate Bundt Cake
- Chocolate chip version: fold mini chocolate chips into the batter for extra chocolate pockets.
- Coconut lovers' version: add shredded coconut directly into the batter for a stronger coconut profile.
- Mocha version: add a teaspoon of instant coffee to the cocoa mixture for a light coffee note.
Tips for the Best Chocolate Cake Texture
- Room Temperature Ingredients: Ensure your butter and eggs are at room temperature for a smoother batter.
- Proper Greasing: Spray bundt pan liberally with the non stick cooking spray to ensure an easy release.
- Even Filling: Spoon the coconut-pecan filling evenly in the pan to achieve a uniform cake.
- German chocolate substitute: use 3 tablespoons cocoa powder and 1 tablespoon of melted butter for the 1-ounce sweet baking chocolate.
How to Store:
Room temperature: store bundt cake in an airtight container on the kitchen counter up to 3 days.
Refrigerate: store in an airtight container in the fridge up to 1 week.
Freezer: store in a freezer safe container up to 3 months.
🙋 FAQ's
A German Chocolate Cake is a chocolate-flavored layer cake that is filled with a coconut pecan frosting. The coconut pecan frosting is made from evaporated milk, egg yolks, coconut, and pecans.
A tunnel cake is a cake made in a bundt cake pan with a filling that is baked in the center of the cake.

Serve with...
Serve warm bundt cake with a scoop of homemade vanilla ice cream, a glass of milk, hot cup of coffee, or tea.
More Easy Cake Recipes You'll Love
If you enjoy chocolate desserts, you might love my Chocolate Bundt Cake. This Chocolate Chip Bundt Cake is light and airy vanilla cake with mini chocolate chips and chocolate drizzle. If you love boozy cakes, try this Irish Cream Pound Cake and this Chocolate Kahlua Bundt Cake. And, lemon lovers will love this Lemon Bundt Cake!
When you make this recipe, please comment below and let me know what you think. I'd love it if you tag me on Instagram @grumpyshoneybunch or #grumpyshoneybunch so I can see your photos!
If you love this recipe, please leave a ⭐⭐⭐⭐⭐ rating
📖 Recipe

German Chocolate Bundt Cake
Equipment
- Pastry blender , or fork
As an Amazon Associate I earn from qualifying purchases.
Ingredients
Streusel
- ¼ cup all-purpose flour
- ½ cup brown sugar , packed
- 2 tablespoon unsalted butter , chilled and cut into small pieces
- ⅓ cup flaked sweetened coconut
- ⅓ cup chopped pecans
Cake
- Cooking spray
- 1 tablespoon granulated sugar
- ½ cup unsweetened cocoa
- 1 ounce German baking chocolate
- ½ cup boiling water
- 1½ cups granulated sugar
- ⅓ cup butter , softened
- 2 teaspoon vanilla extract
- 2 large egg whites
- 2 cups all-purpose flour
- 2 teaspoon baking powder
- ½ teaspoon baking soda
- ½ teaspoon salt
- 1 cup low-fat buttermilk
Glaze (optional)
- 1 cup powdered sugar
- 1 tablespoon butter
- 4 teaspoon fat-free milk
- 1 teaspoon vanilla extract
Instructions
For the coconut-pecan filling:
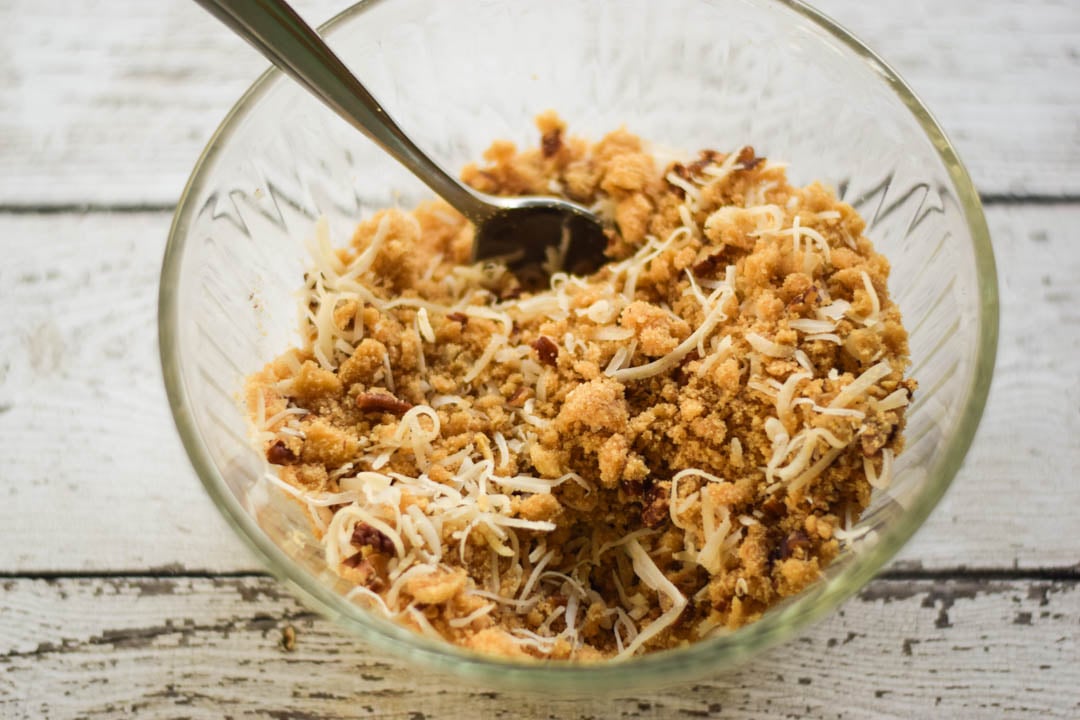
- In a small bowl, combine all-purpose flour and brown sugar.
- Using a pastry blender or fork, cut the butter into the flour mixture until it resembles a coarse meal. Stir in coconut and pecans. Set aside.
For the cake batter:
- Preheat oven to 325°
- Coat a 12-cup Bundt cake pan with non-stick cooking spray. Sprinkle 1 tablespoon granulated sugar on the inside of bundt pan. Set aside.
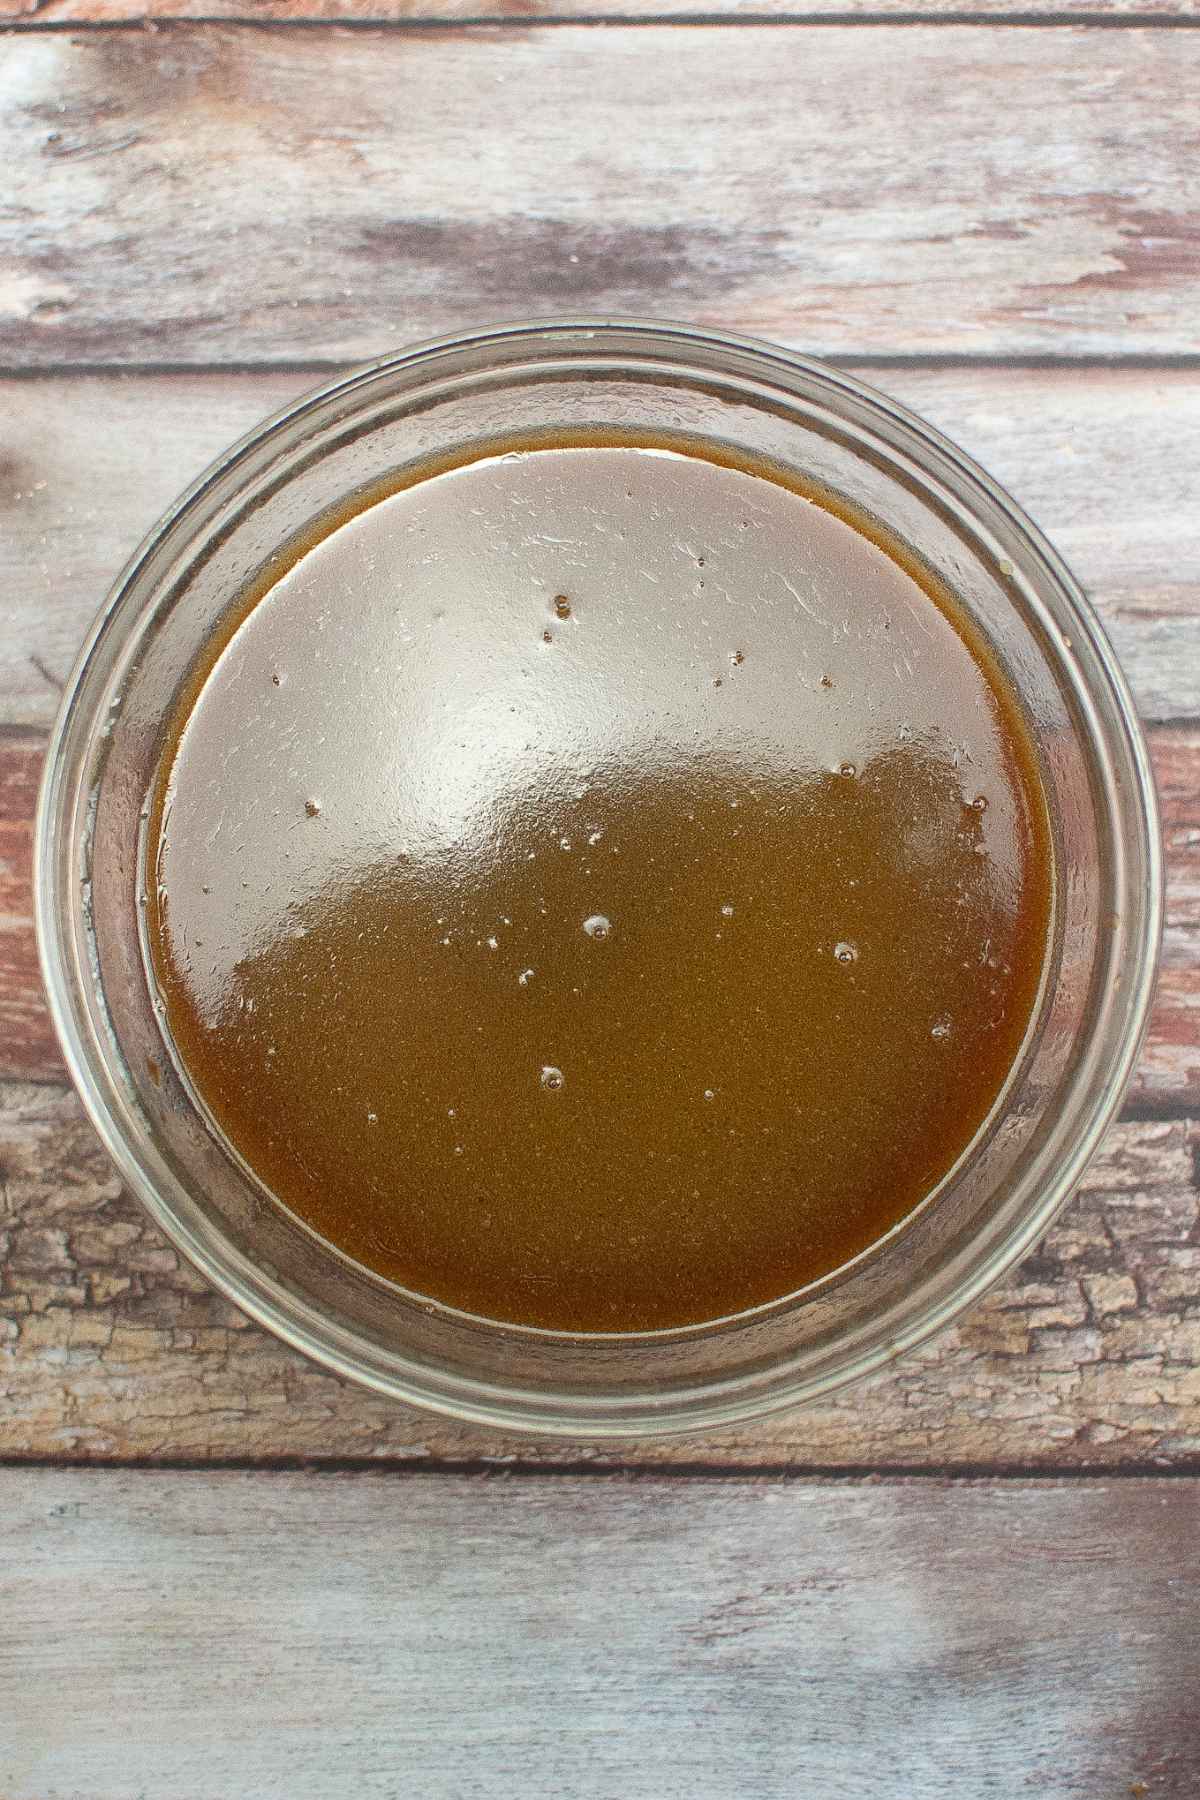
- In a small bowl, combine unsweetened cocoa powder and german chocolate. Add the boiling water and stir until chocolate melts. Set aside.
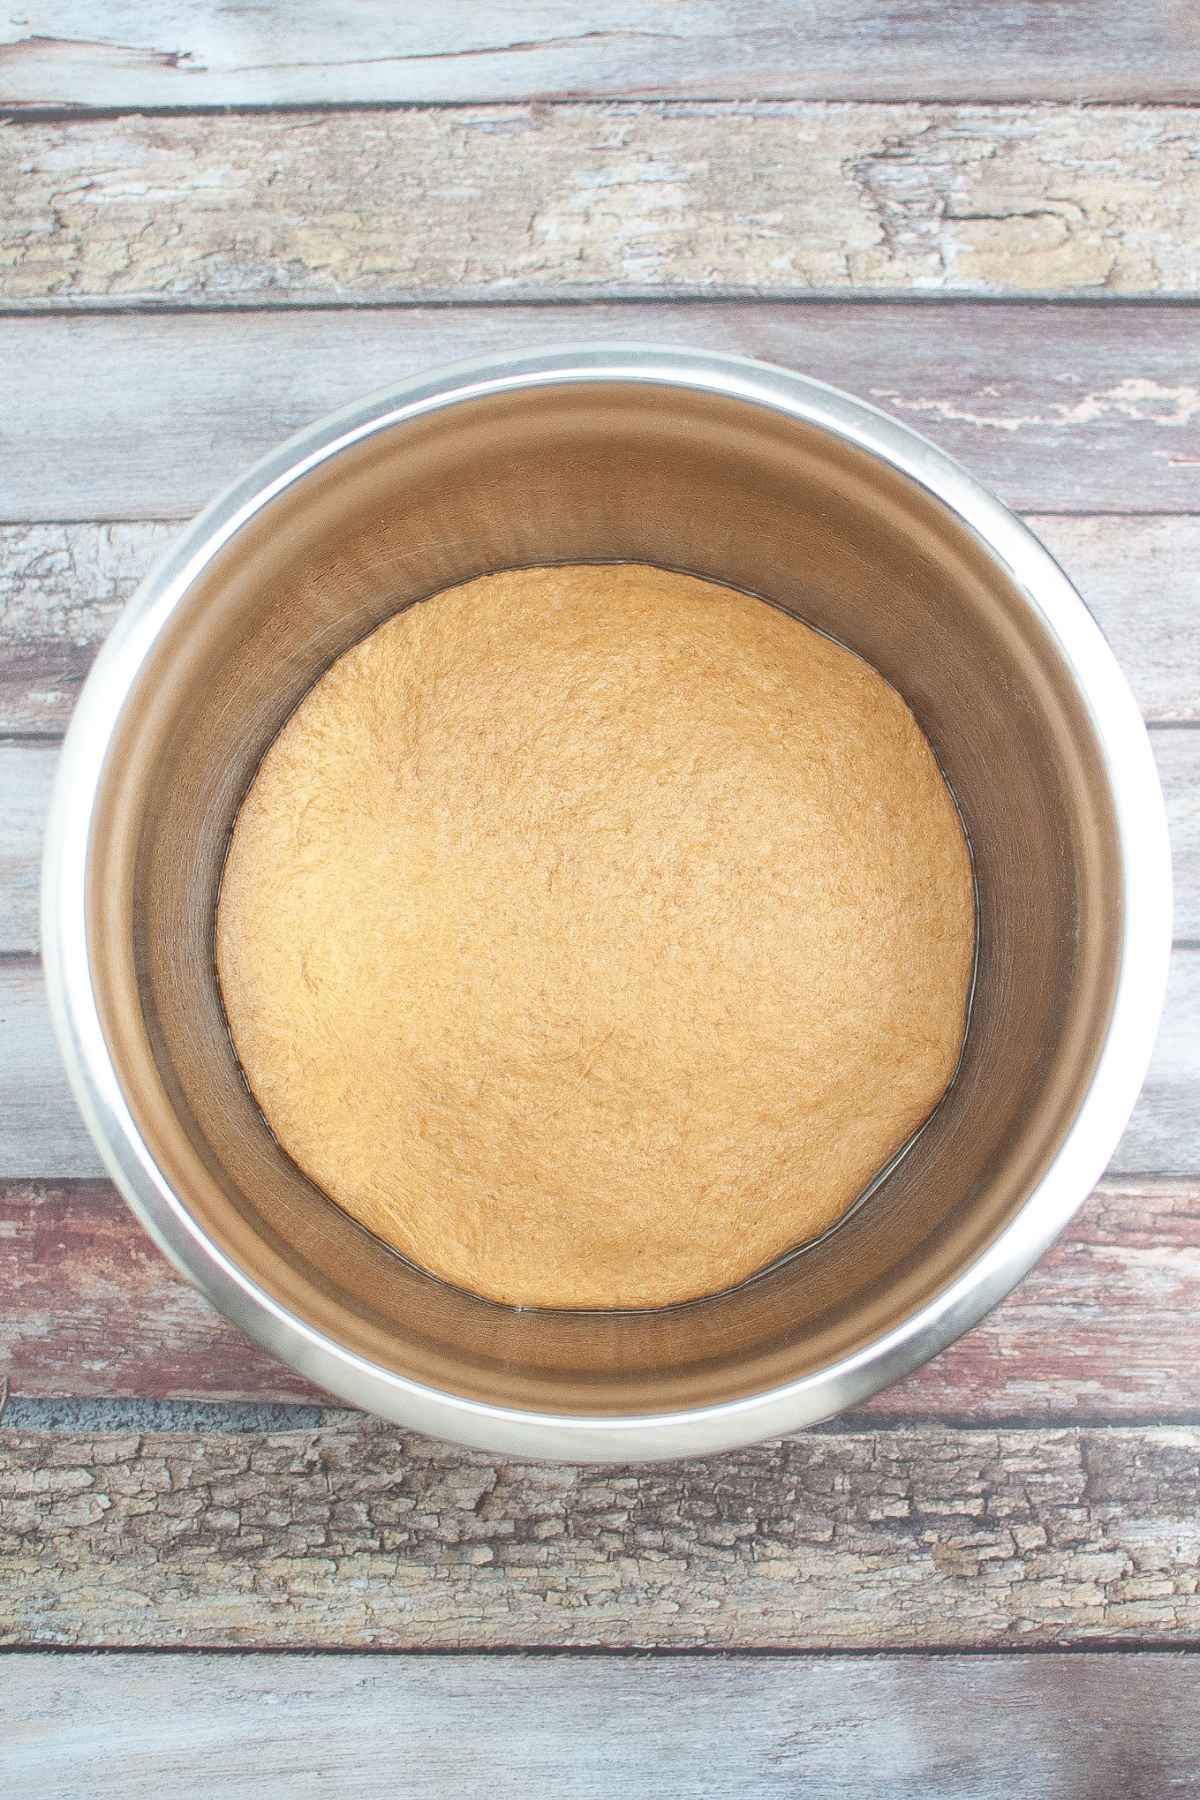
- In a large bowl, combine the granulated sugar and butter using an electric mixer at medium speed. Blend for 5 minutes, until well blended and creamy,
- Add the vanilla and egg whites, 1 at a time, to the butter mixture, mixing well after each addition.
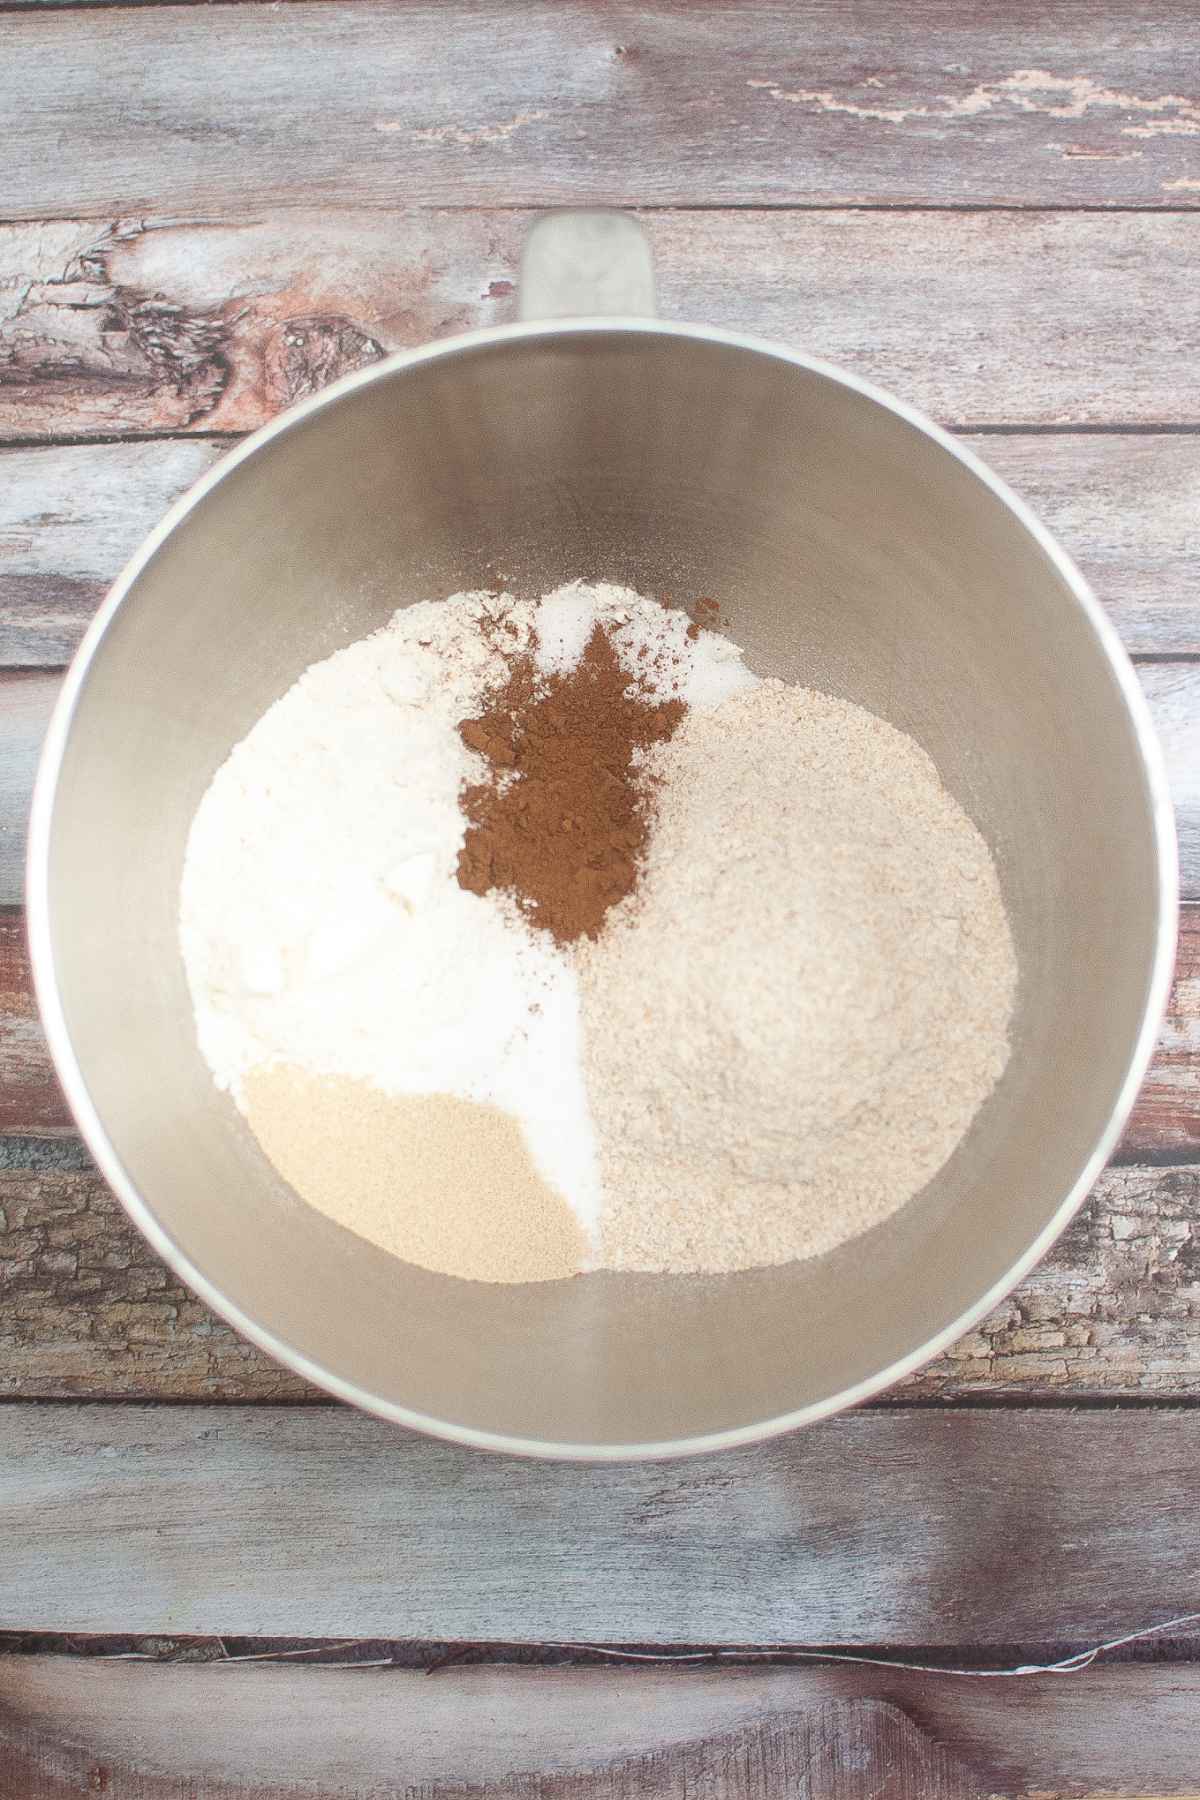
- In a large bowl, using a hand whisk, combine the flour, baking powder, baking soda, and salt.
- With the electric mixer at low speed, add flour mixture to the sugar mixture alternately with the buttermilk, beginning and ending with flour mixture.
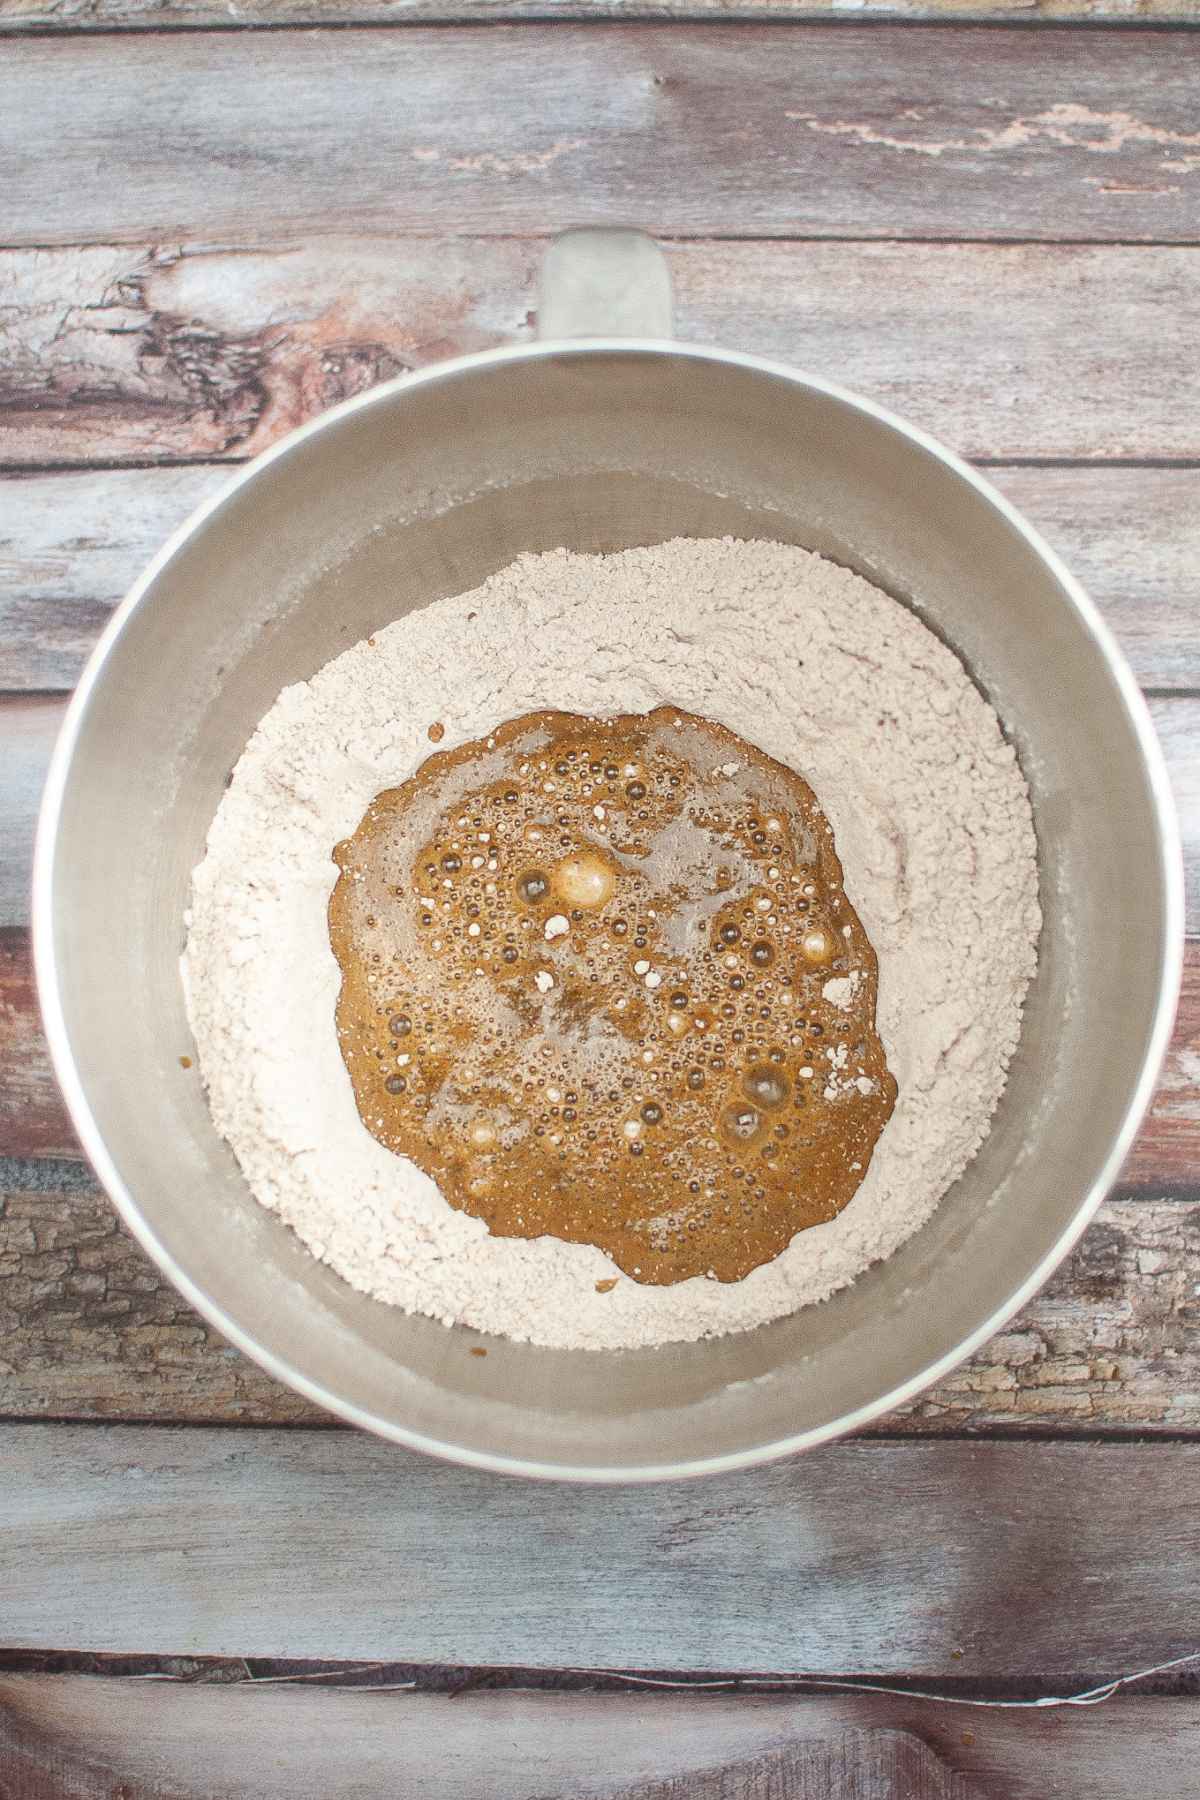
- Stir the melted chocolate mixture into the cake batter.
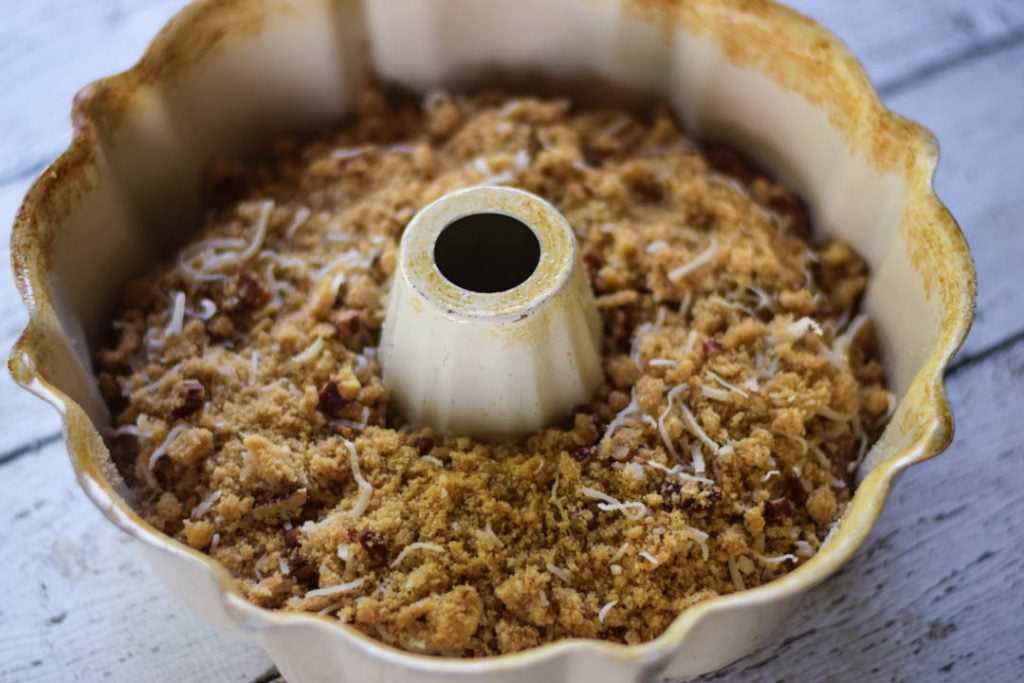
- Spoon half of batter into the prepared bundt pan and top with coconut-pecan filling.
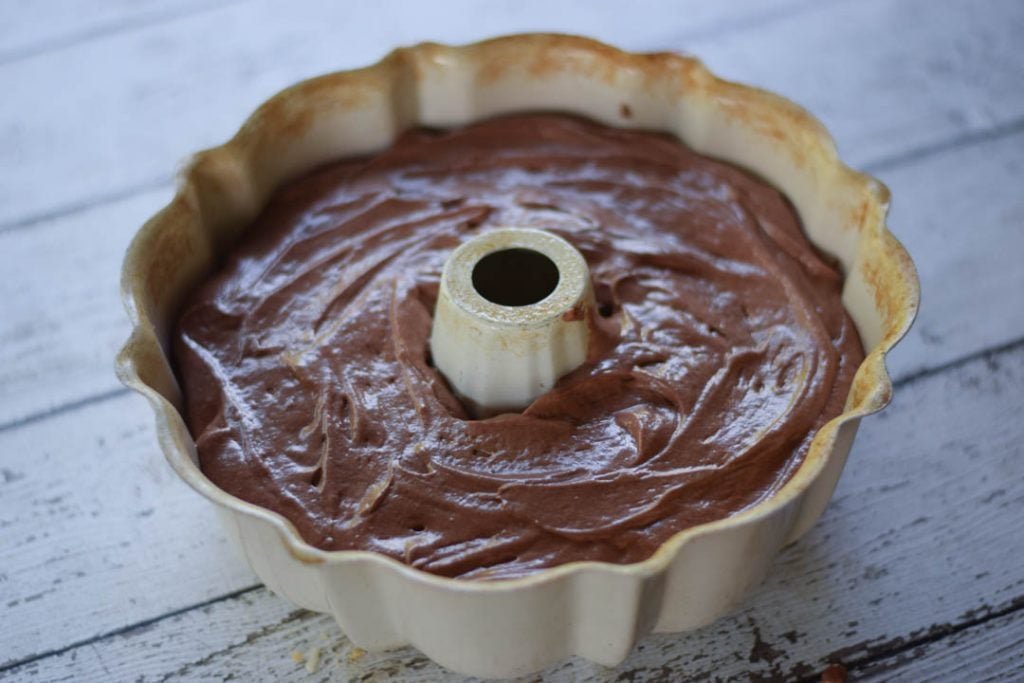
- Spoon the remaining batter over streusel and smooth the top of the cake batter with the back of a spoon, being sure to cover the streusel mixture.
- Bake at 325° for 1 hour or until a wooden pick inserted in center comes out clean.
- Cool cake in pan on a wire rack 10 minutes. Remove the cake from the pan and cool completely.
For the drizzle topping:
- Combine powdered sugar and melted butter in a small bowl. Add the fat-free milk and stir with a whisk until smooth.
- Drizzle glaze over top of cake.