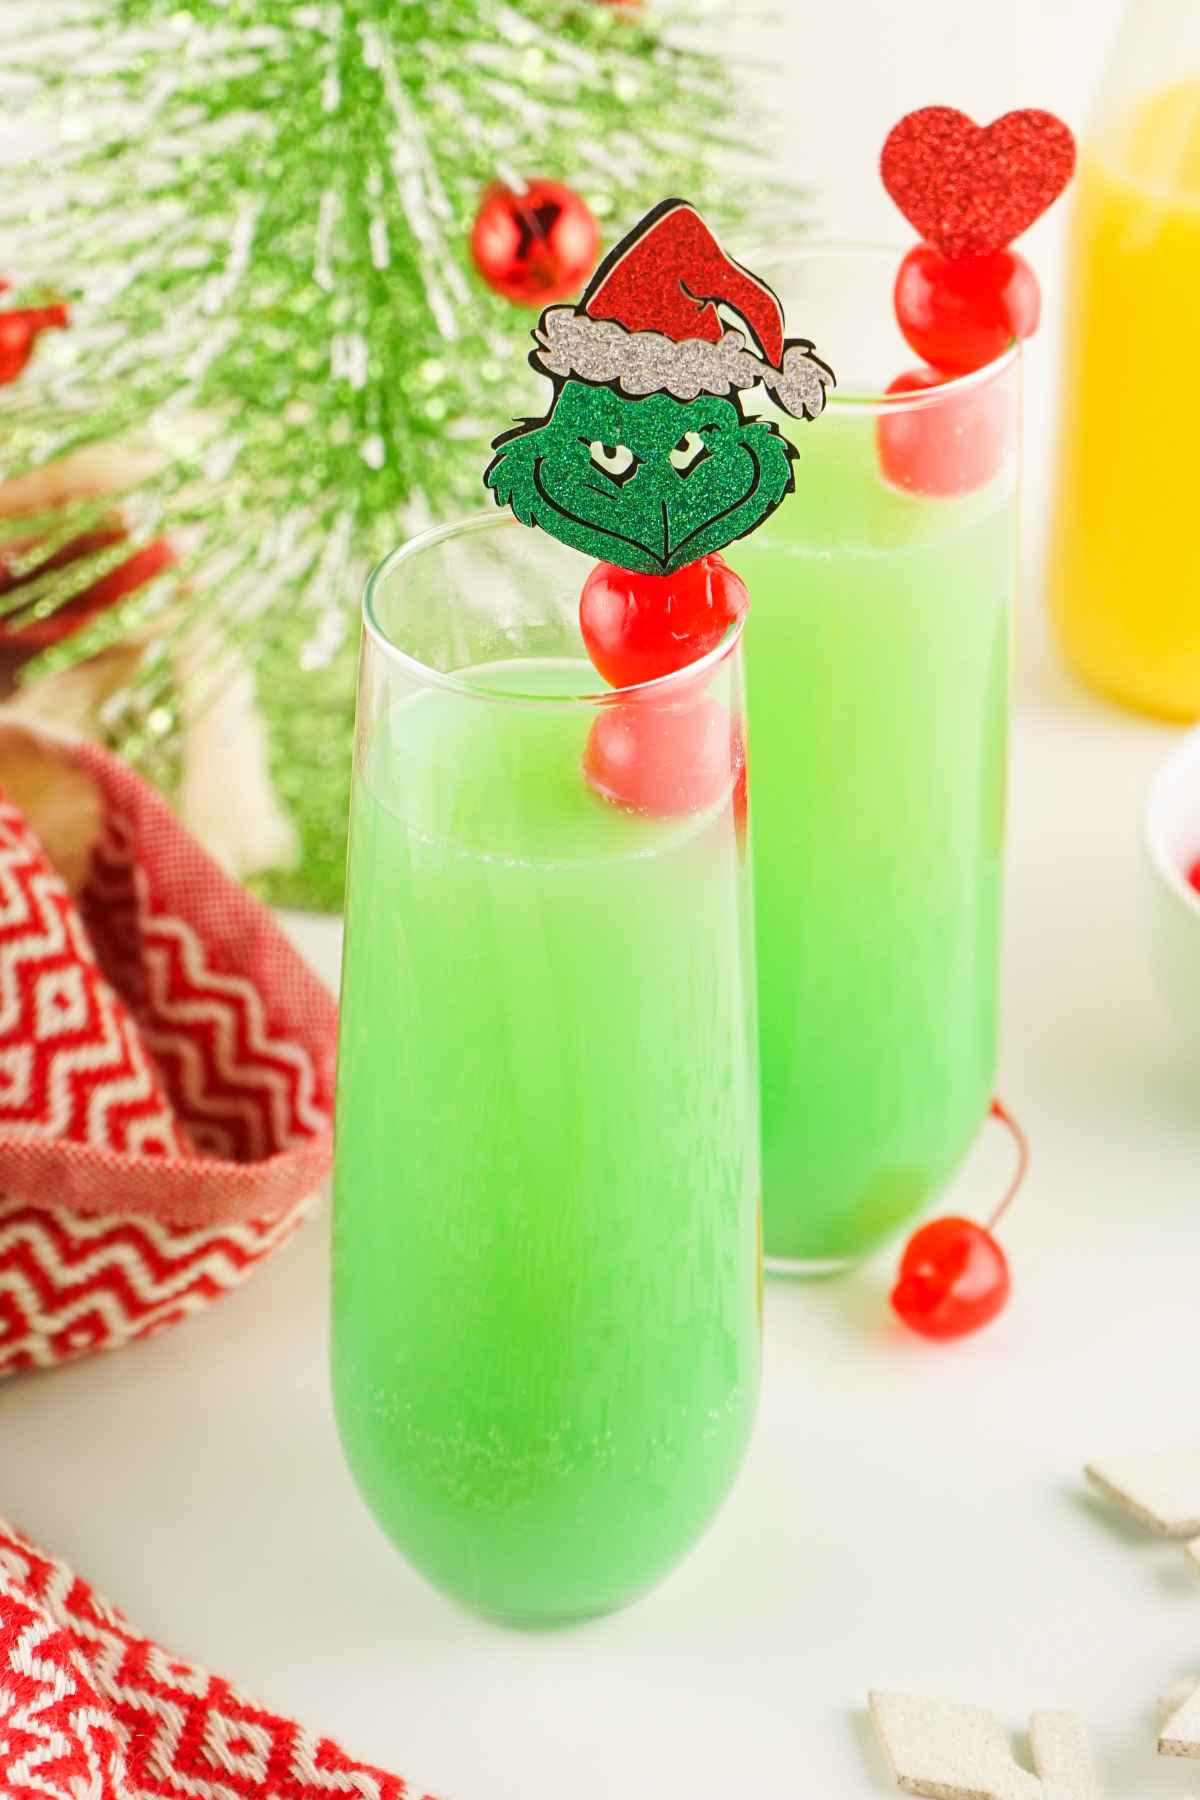
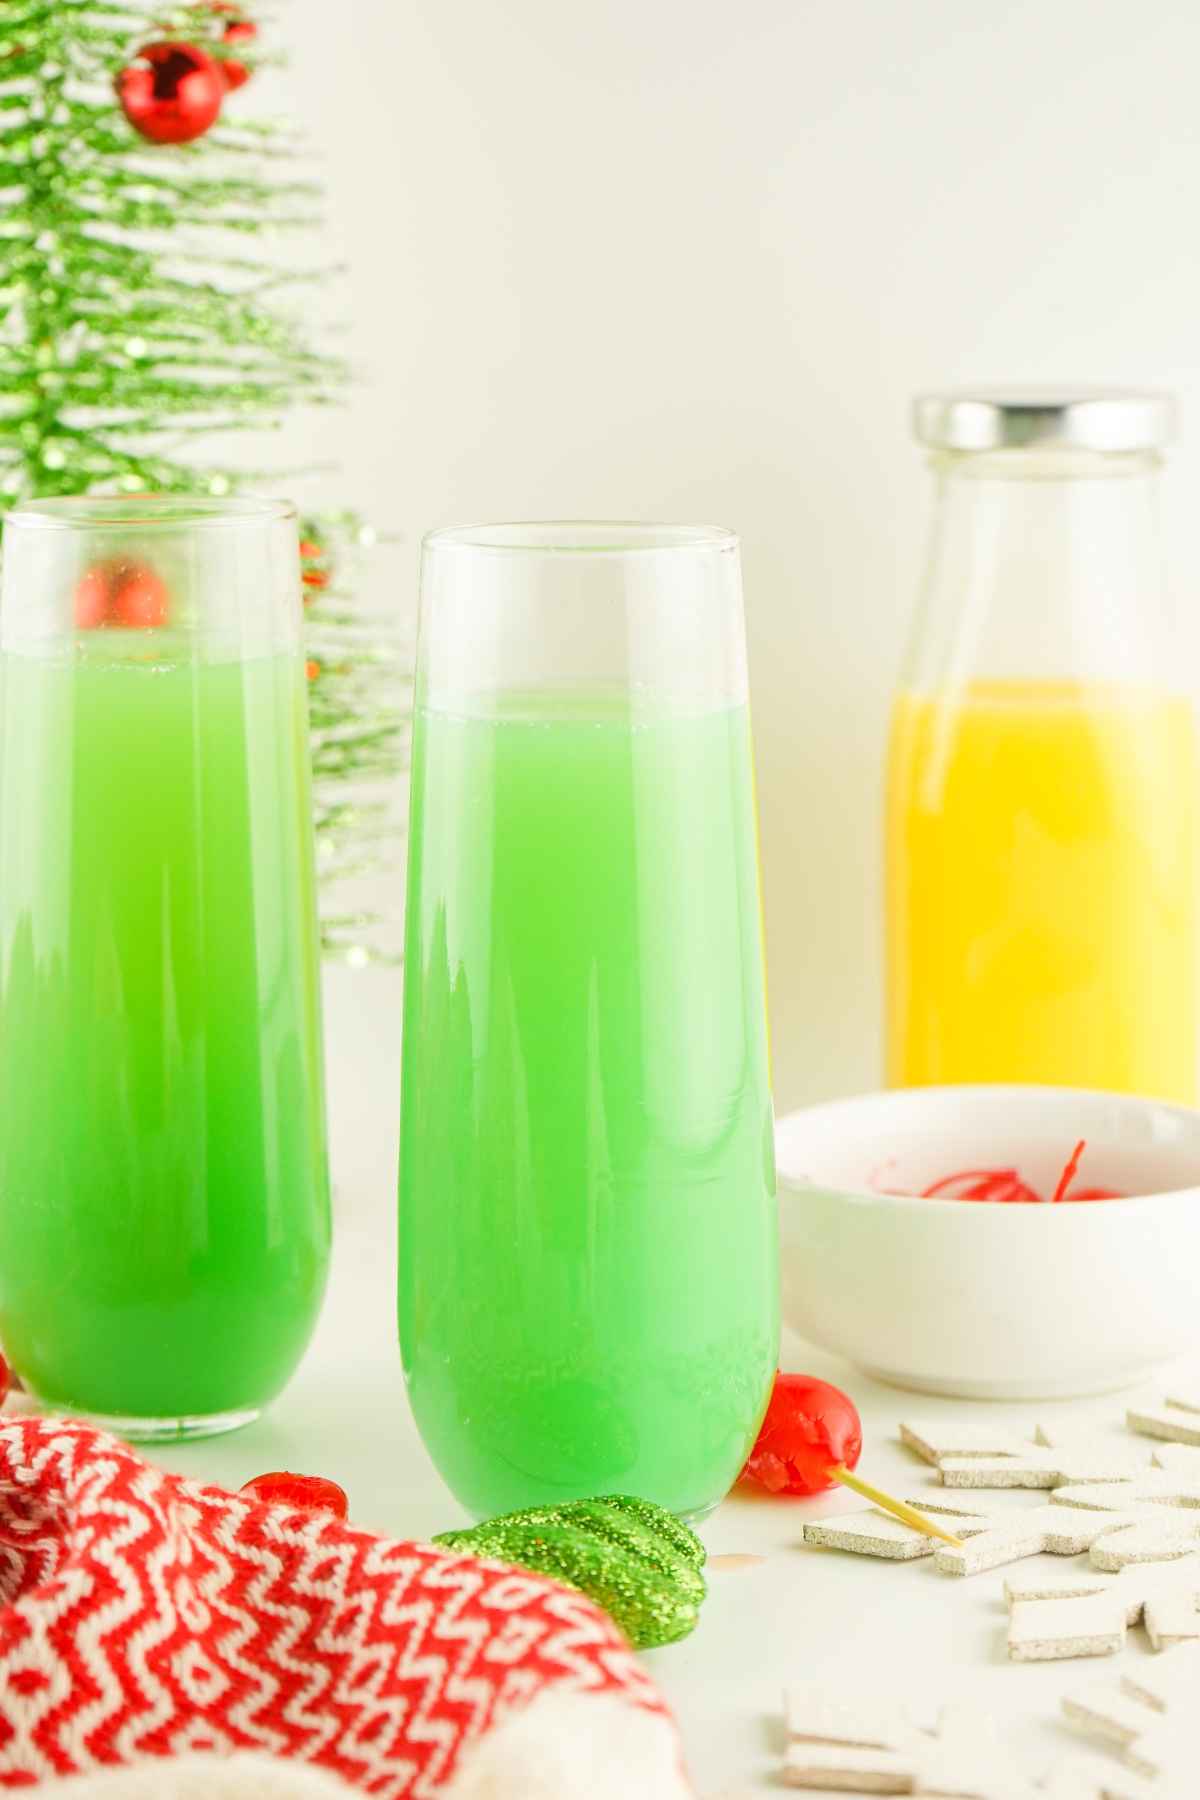
This festive Grinch Mimosa is a colorful holiday cocktail that's as fun to serve as it is to sip. With it's bright green base, bubbly champagne, and cherry garnish, it's a whimsical drink that makes any Christmas party feel special.
I love making themed drinks for holiday gatherings, and this one is always a hit with family and friends. If you enjoy creative cocktails, you might also like my recipe for Peppermint Vodka or Homemade Limoncello.
[feast_advanced_jump_to]Why You'll Love This Recipe
Festive look: the bright green color with cherry garnish makes it perfect for a Grinch themed Christmas drink.
Quick mix: only three ingredients and no fancy equipment needed.
Party ready: easy to batch for holiday brunches or gatherings.
Kid-friendly twist: swap champagne for lemon-lime soda and Blue Curaco for blue raspberry syrup (#affilatelink) to make it non-alcoholic.
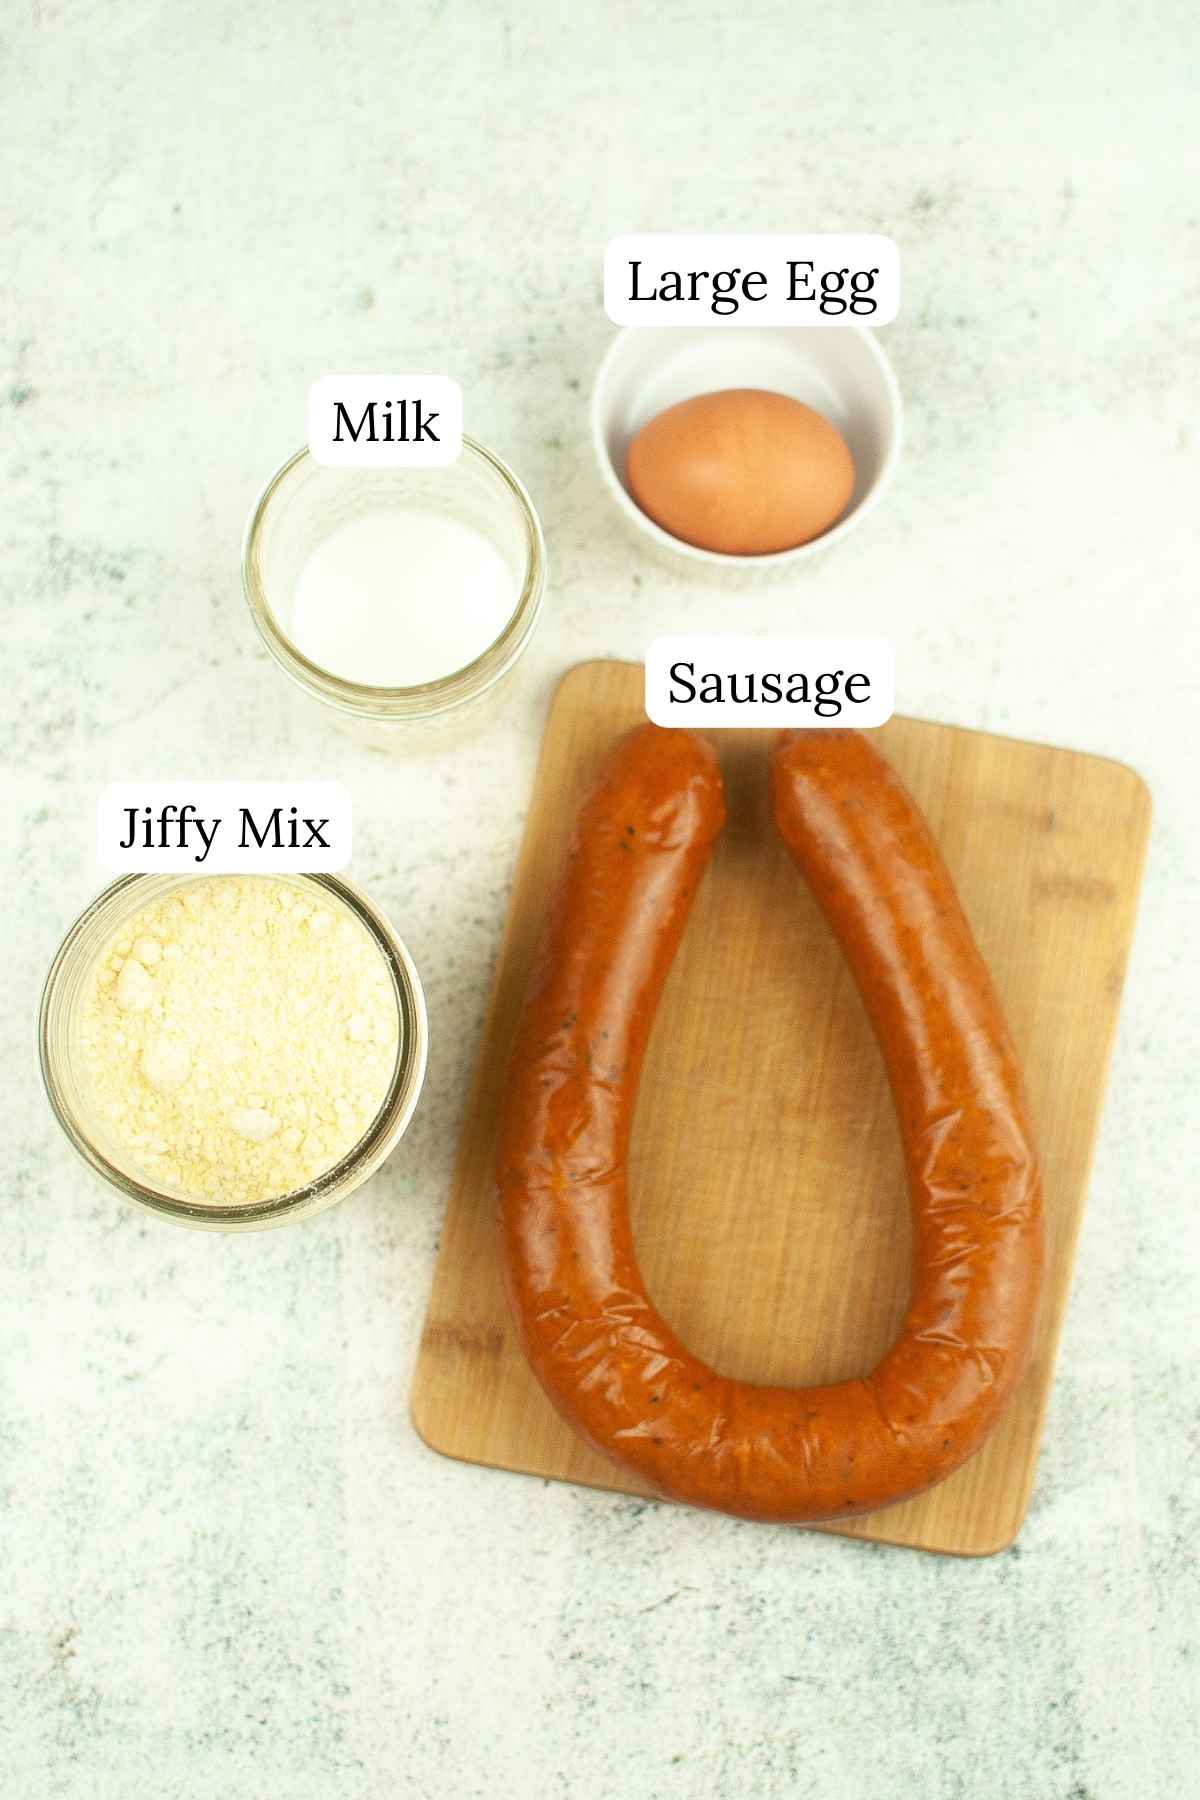
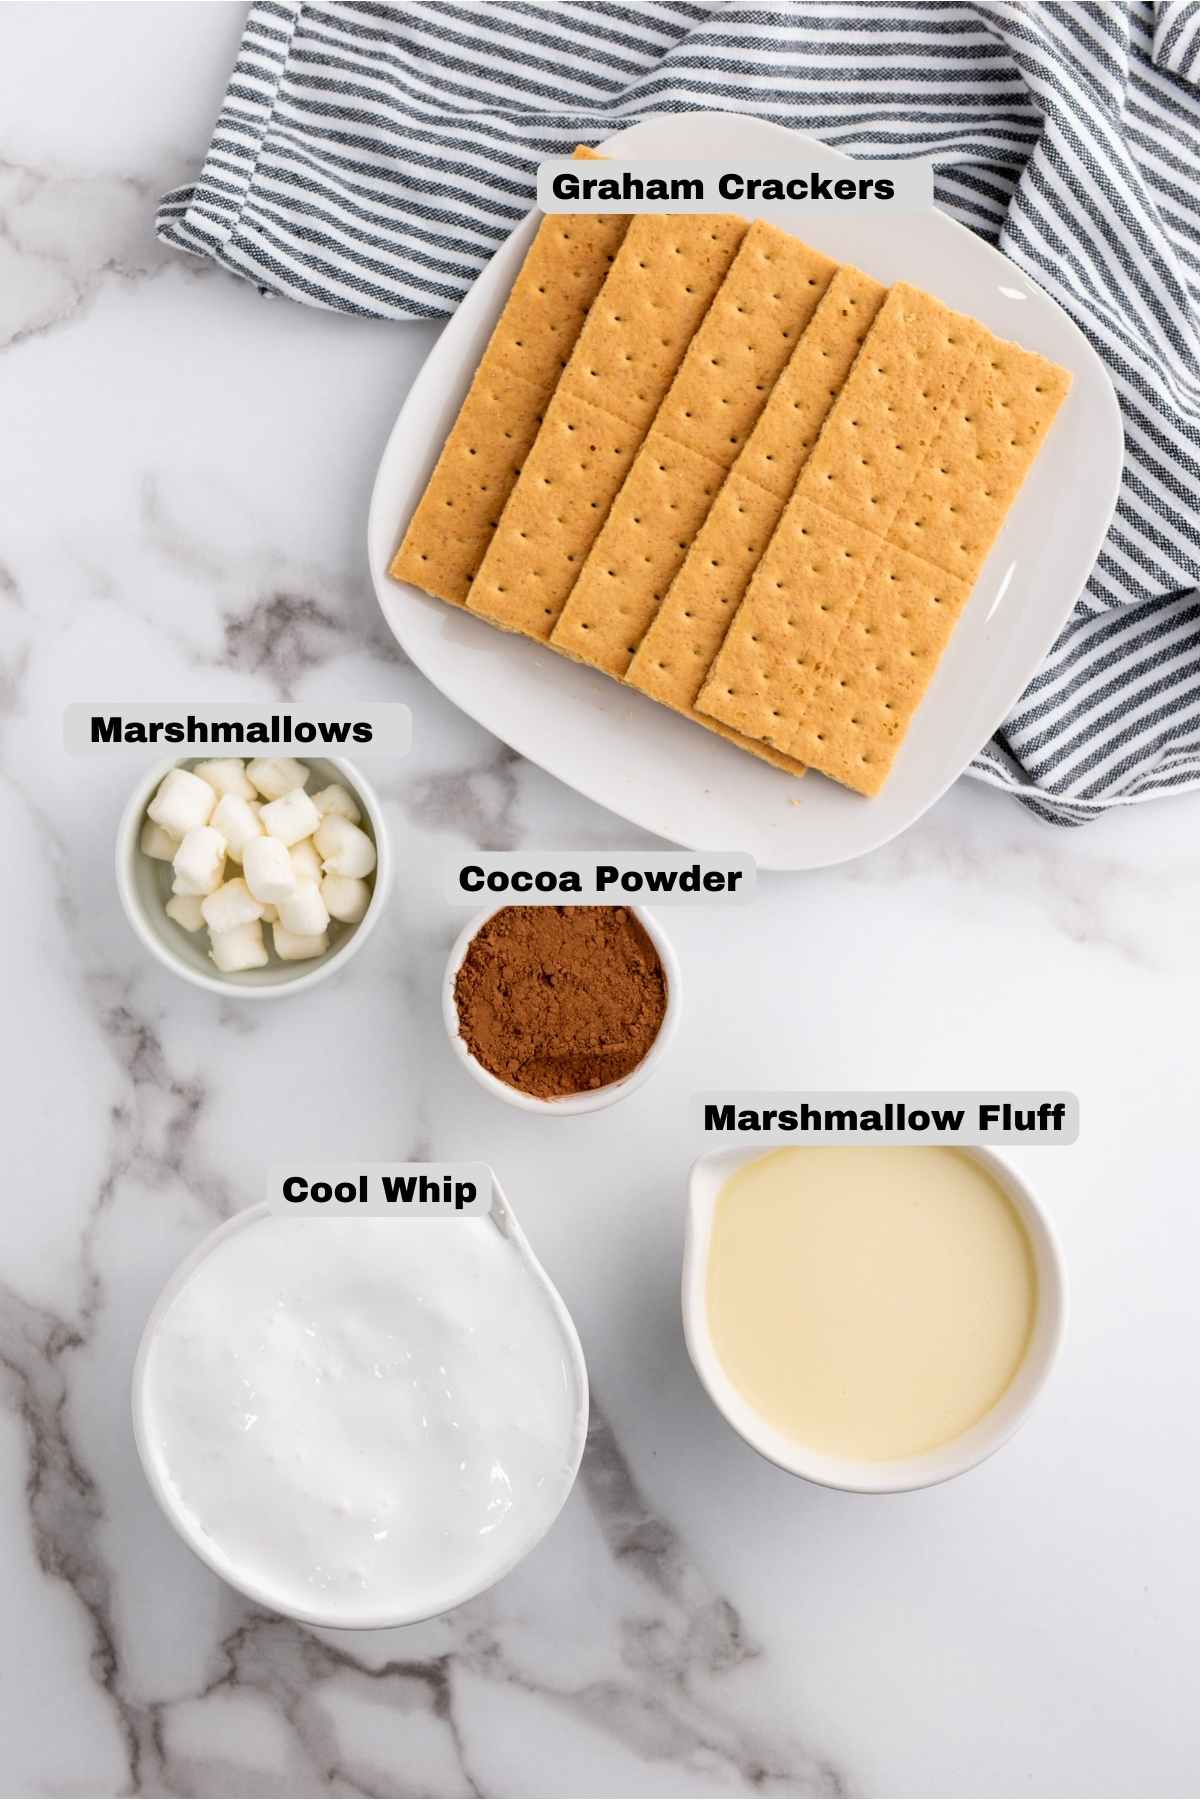
Key Ingredients for Holiday Mimosas
See the recipe card below for a complete list of ingredients and instructions.
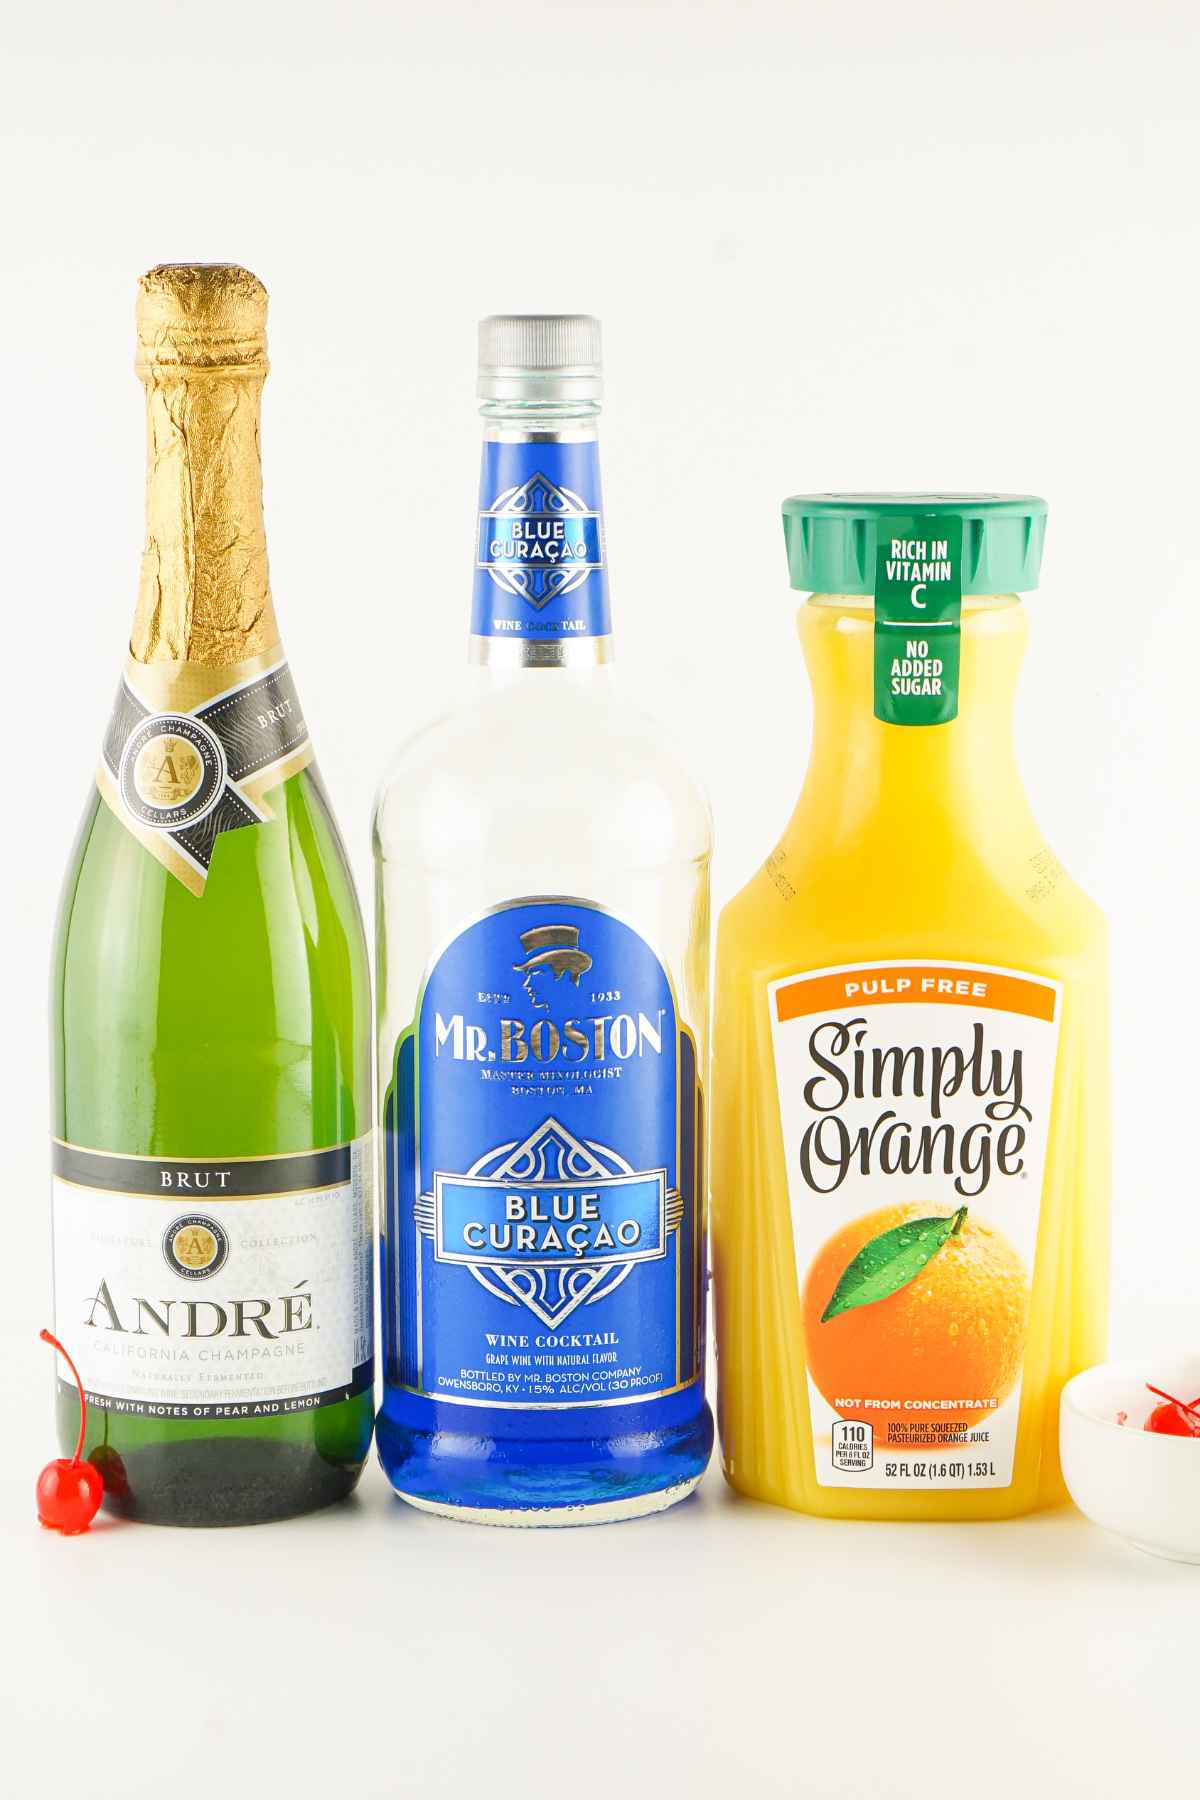
- Orange juice: brings citrus flavor and balances the sweetness.
- Champagne: adds sparkle and makes this drink festive.
- Blue Curaco: provides the green color and a hint of orange flavor
Ingredient Substitutions
- Use Prosecco instead of champagne for a lighter sparkle.
- Try sparkling apple cider and a drop of blue food dye for a non-alcoholic version.
- Swap grenadine drizzle for cherries if you want a sweeter finish.
Variations on Grinch Mimosas
- Frozen Grinch Mimosa: blend orange juice, blue curacao, and ice before topping with champagne.
- Citrus Twist: add a splash of pineapple juice for a tropical holiday flavor.
- Rosé Grinch Mimosa: use sparkling rosé for a pink-green combo that's fun and festive.
Tips for the Perfect Holiday Cocktail
- Chill first: make sure your orange juice and champagne are ice cold before mixing.
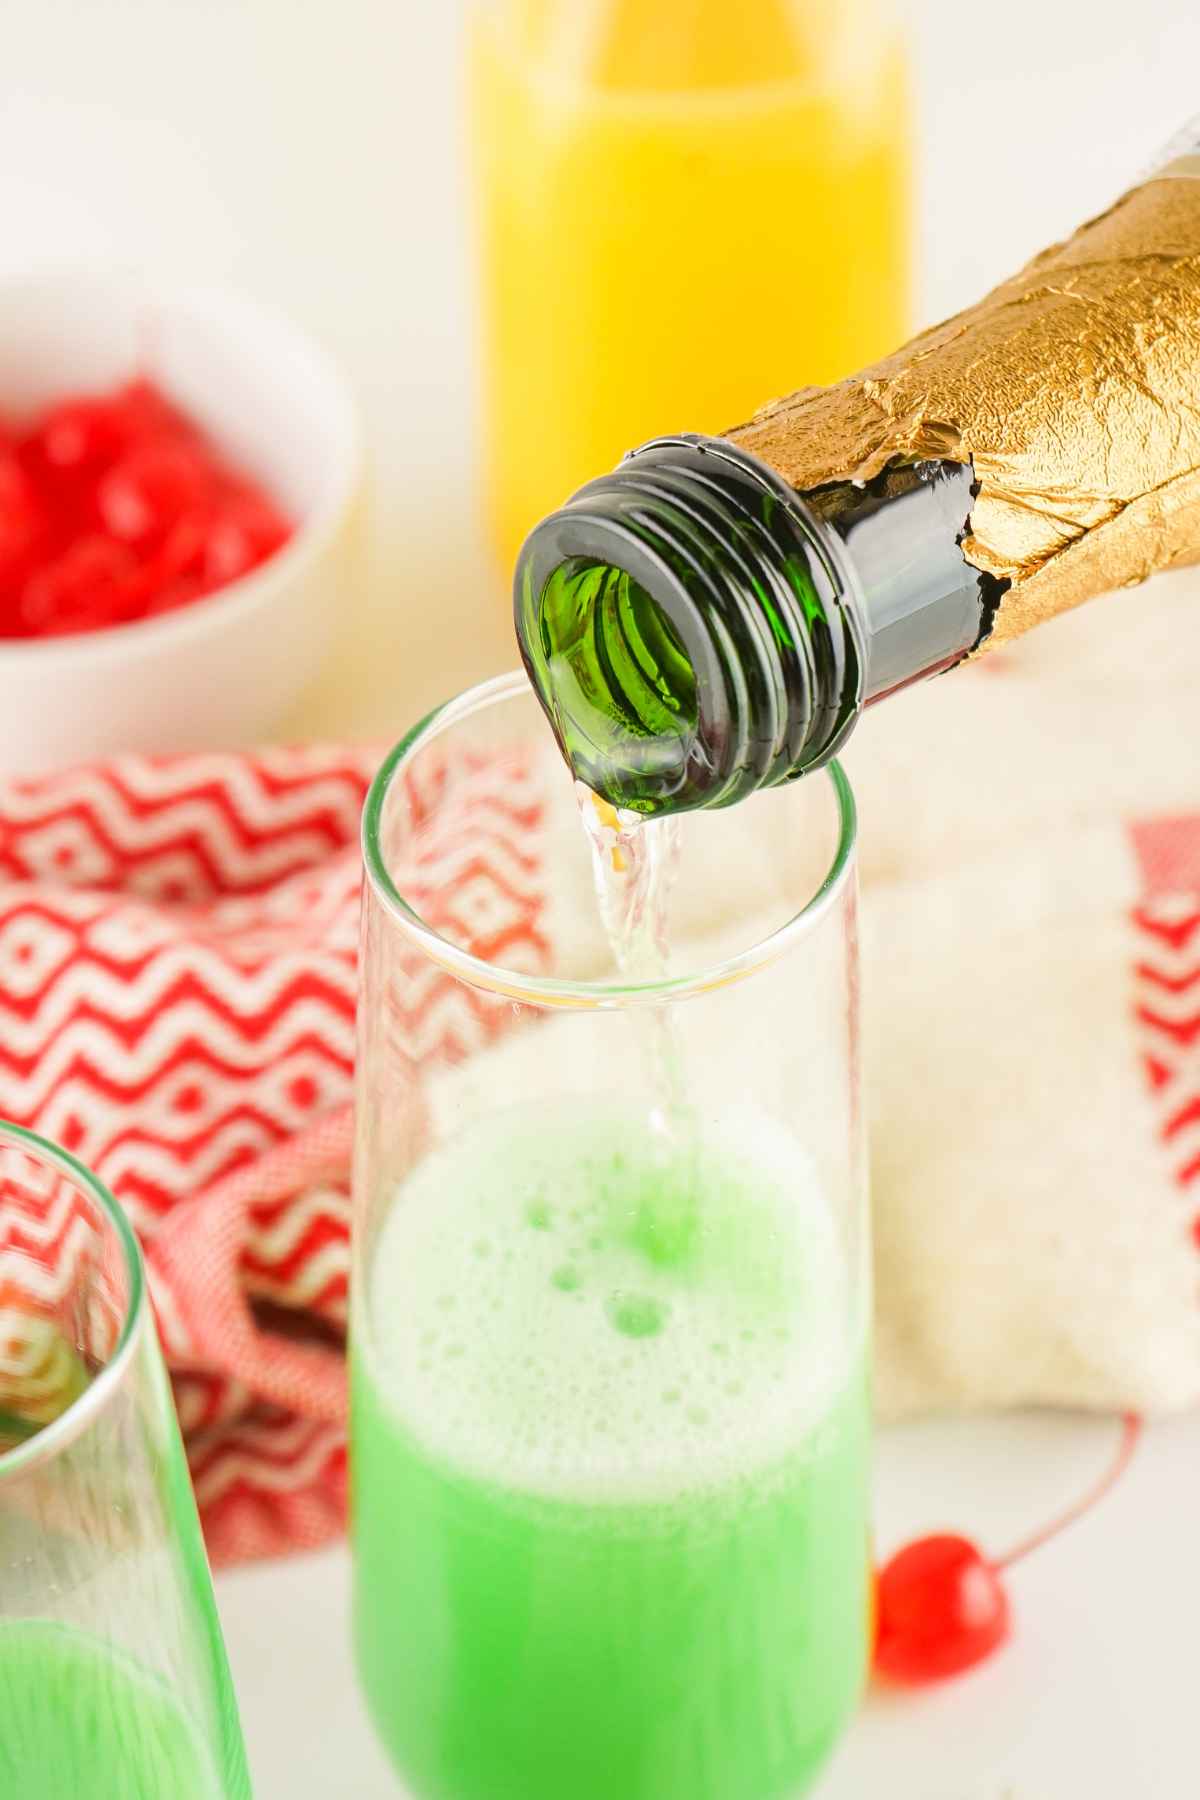
- Pour slowly: add champagne last to preserve its bubbles.
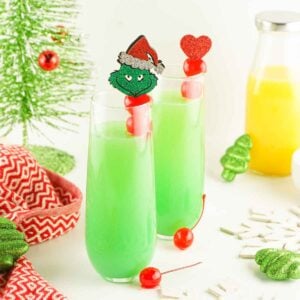
- Garnish smart: notching cherries or adding a fun Grinch topper makes them sit neatly on the glass rim.
Serve With..
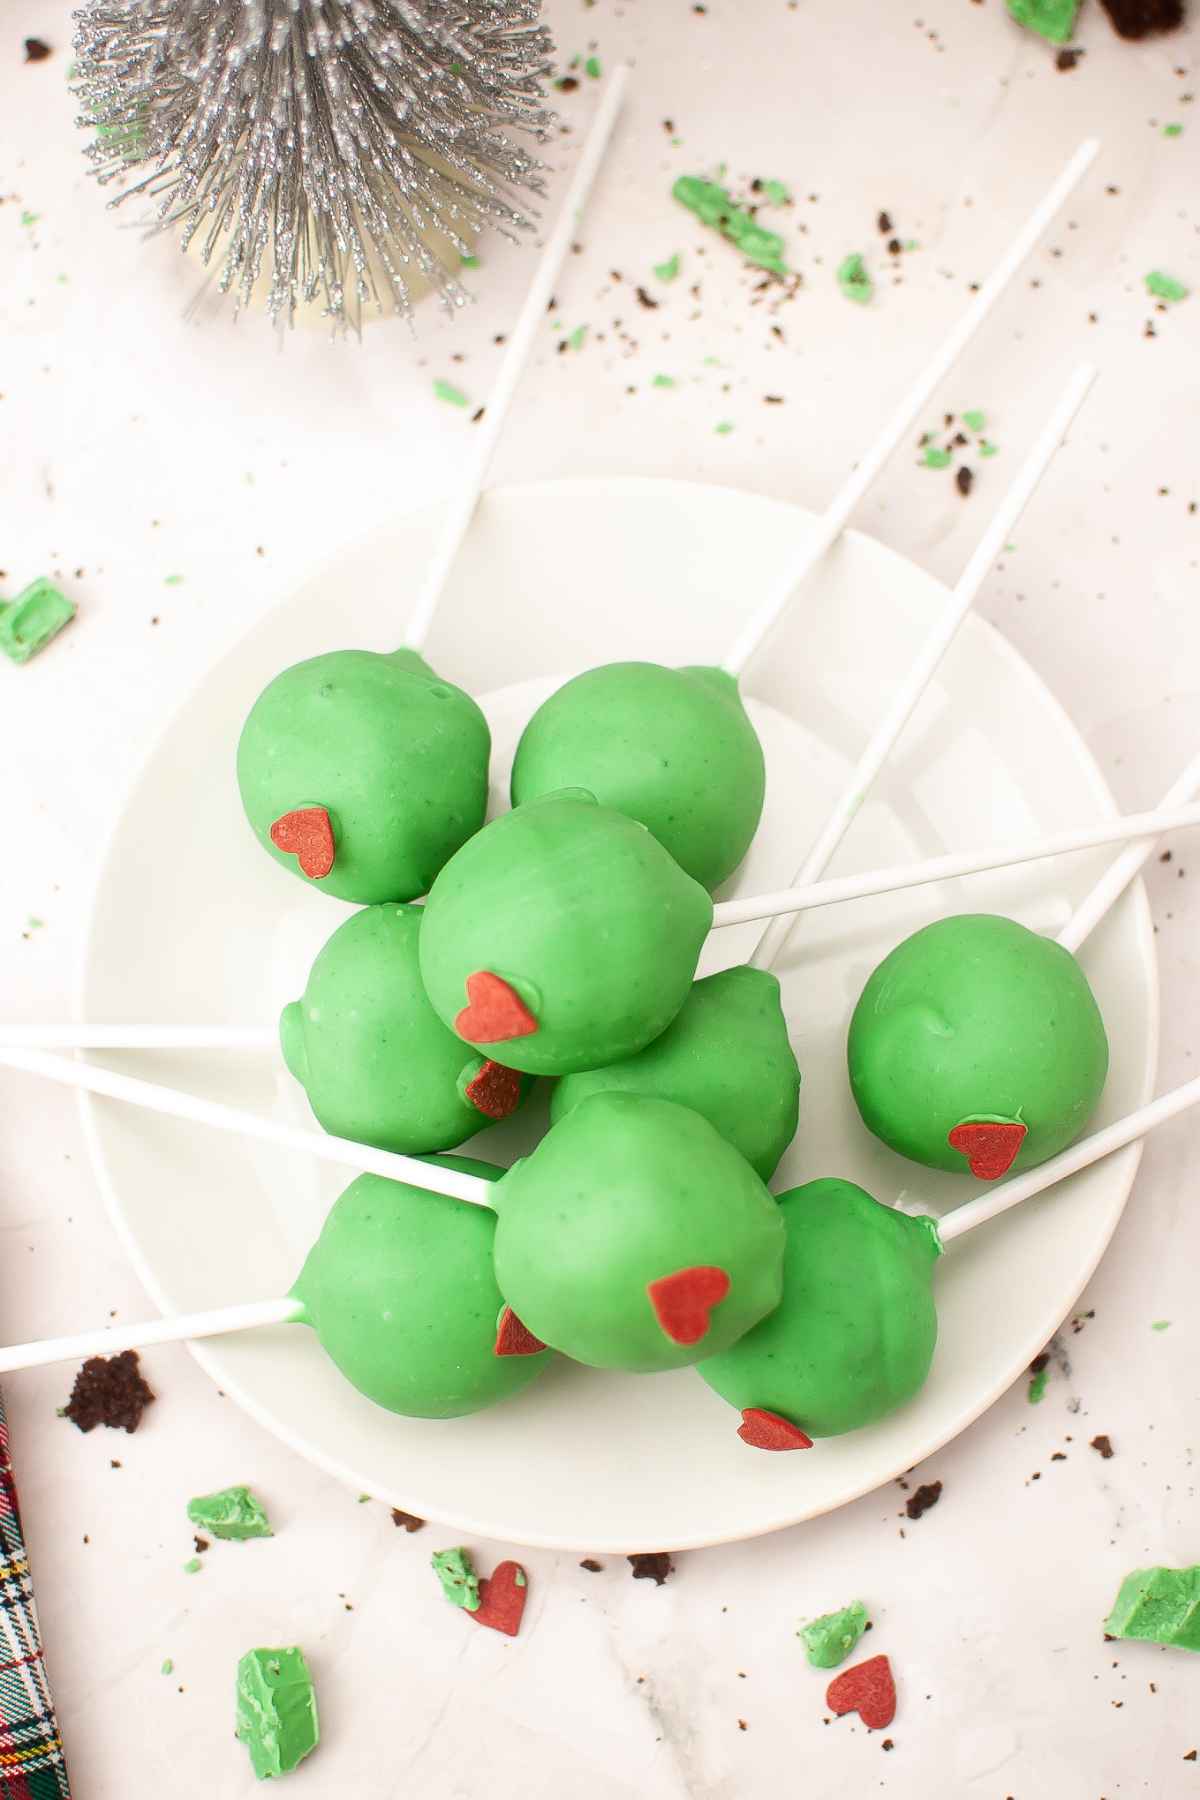
Offer this Grinch Mimosa alongside other holiday drinks like my Blue Wine Cocktail or Homemade Eggnog. Stay with the Grinch theme and serve at brunch along with Grinch Cake Pops and Grinch Hot Cocoa Bombs.
More Easy Holiday Recipes
If you enjoy holiday drinks and festive treats you might also like my Best Chocolate Martini, Eggnog Thumbprint Cookies, Red Velvet Peppermint Thumbprints, and Italian Christmas Cookies.
When you make this recipe, please comment below and let me know what you think. I'd love it if you tag me on Instagram @grumpyshoneybunch or #grumpyshoneybunch so I can see your photos!
If you love this recipe, please leave a ⭐⭐⭐⭐⭐ rating
📖 Recipe
Grinch Mimosa
Equipment
- Cocktail stirrers
- Grinch toppers optional
As an Amazon Associate I earn from qualifying purchases.
Ingredients
- 4 Ounce Orange Juice
- 3 ½ Ounces Champagne
- ½ Ounce Blue Curacao
- 2 Maraschino Cherries optional
Instructions
- Measure and pour each ingredient into the champagne glass, starting with the blue curacao and orange juice.
- Give a slight stir, if needed.
- Garnish with maraschino cherry and orange slice (if using)