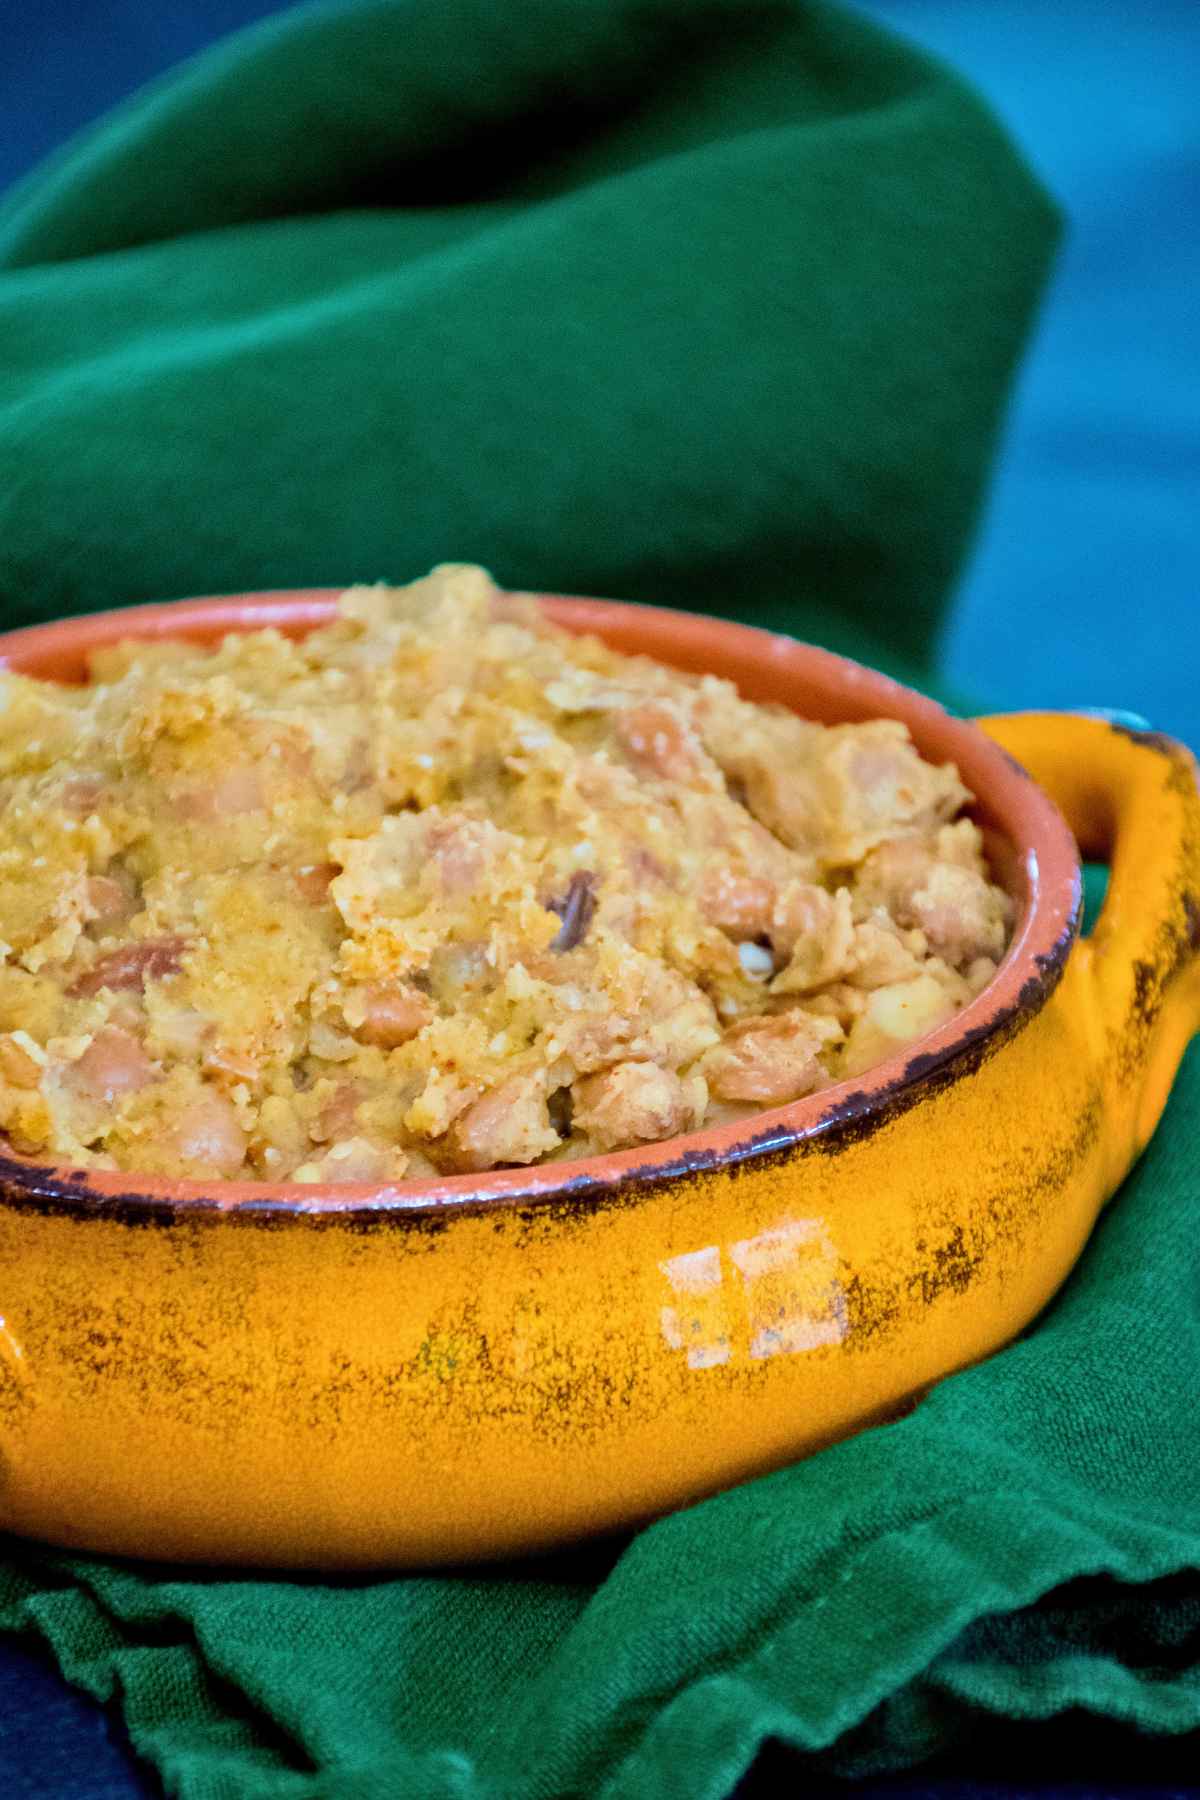
These Oven Roasted Chickpeas are a crispy snack seasoned with a mushroom umami seasoning that is savory with a little bit of spice. They are roasted at a high heat in a short amount of time until they are browned and crisped to perfections!
Oven Roasted Chickpeas are easily portable, delicious to enjoy by the handful, or used as a topper for your favorite salad. These are a great substitution for the greasy potato chip and far healthier for you as well!

Table of contents
The Delicious And Nutritious Chickpea
Chickpeas, also known as garbanzo beans, are full of fiber and protein. Just 1 tablespoon has 2 grams of fiber and 2.4 grams of protein with only 46 calories! They also offer up a good percentage of iron and manganese to your diet.
Chickpeas are a plant-based protein that is a great choice for those who want to live a meat free diet. You can use them to make hummus, patties, in soups, salads, and more! I love to enjoy them in this Garlic Scrambled Eggs recipe!

What You Need To Make Oven Roasted Chickpeas
Canned Chickpeas, this is the brand I like to use.
Umami Seasoning, I love the this brand and use that one whenever I have it on hand. However, I have also used this brand and it is delicious as well.

Tips and Substitutions
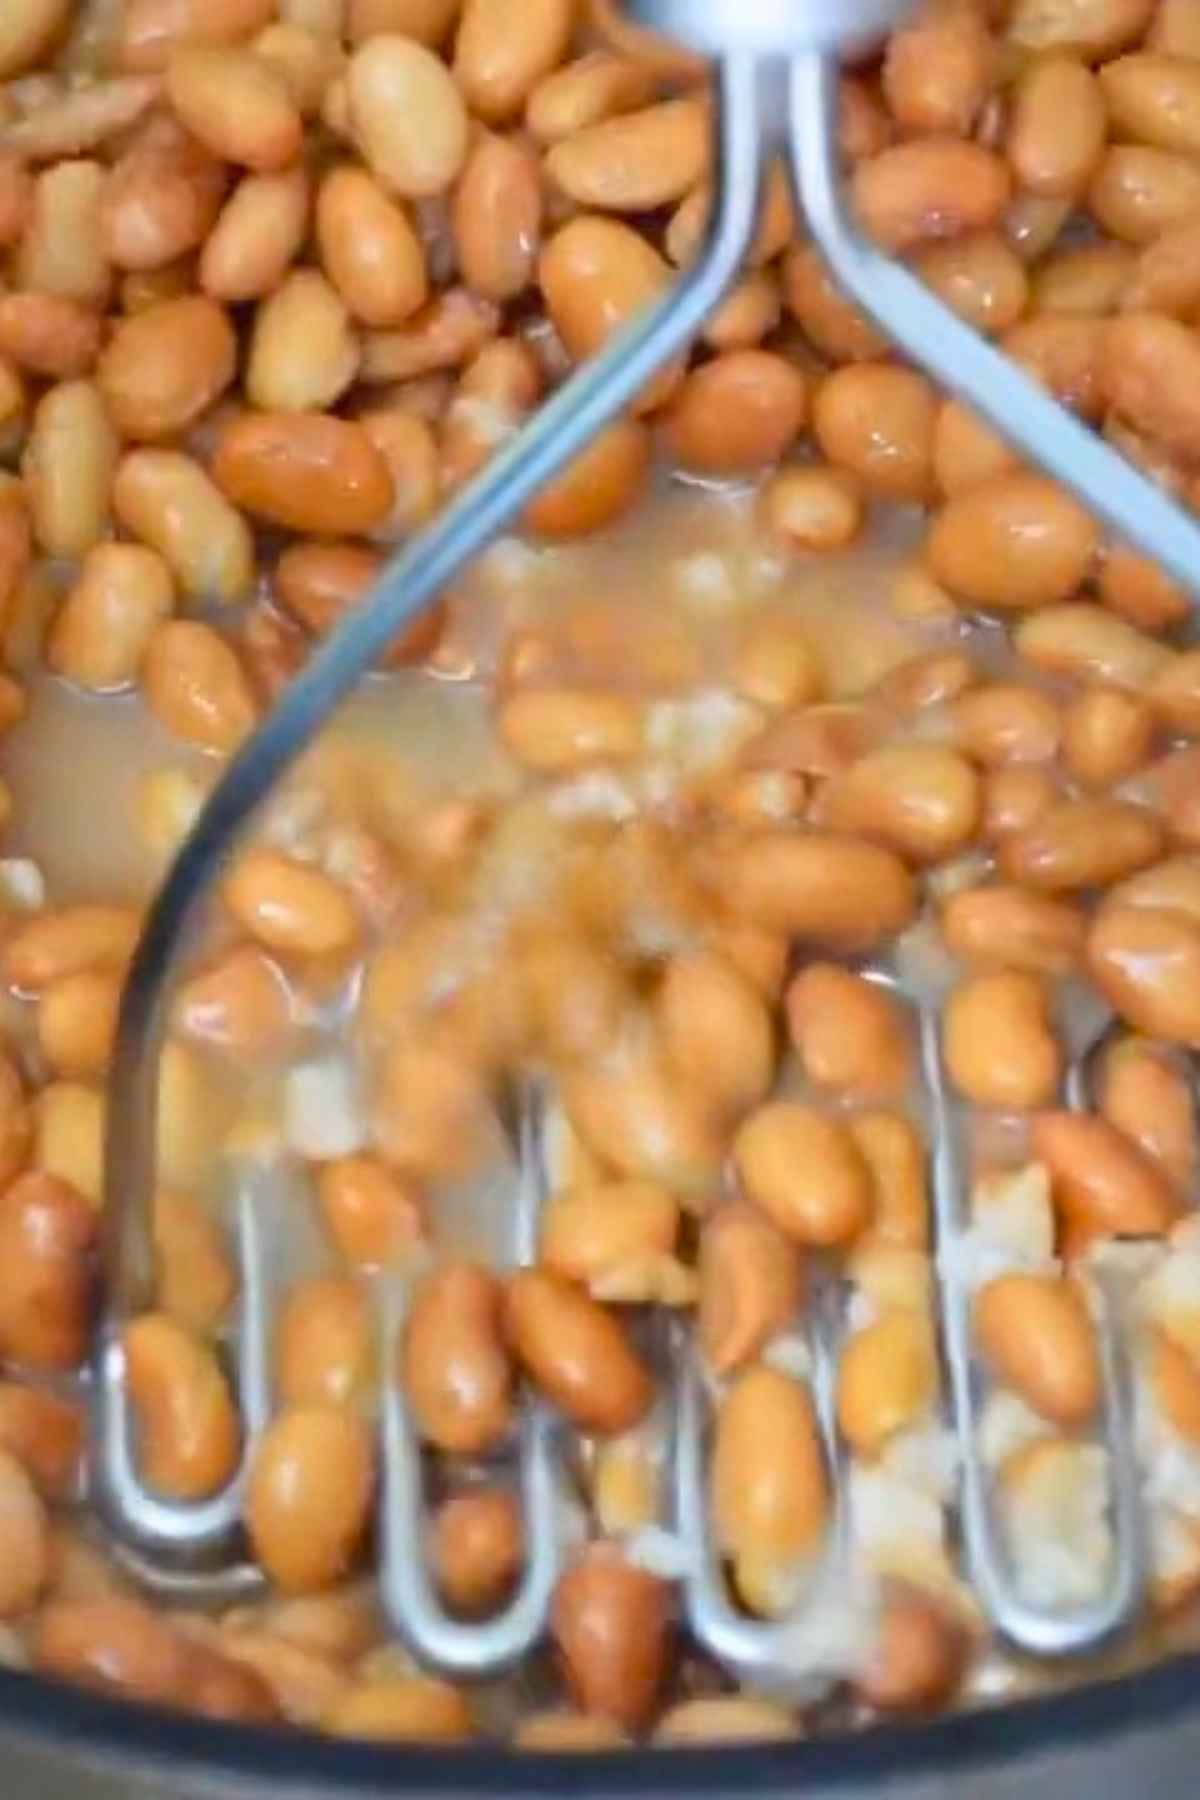
- Always drain and rinse the canned chickpeas.
- Lay the drained chickpeas on a paper towel and pat dry.
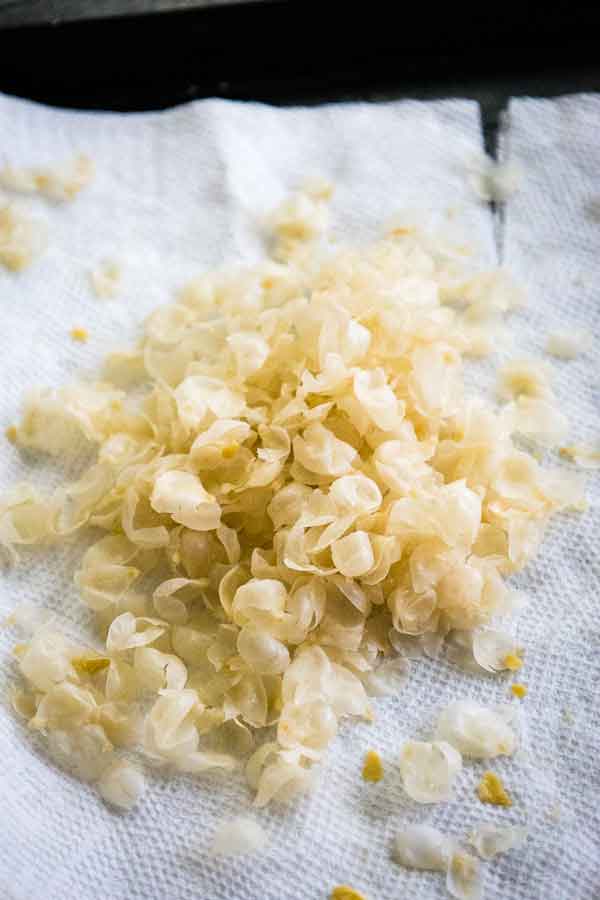
- If you enjoy a crispier chickpea, remove the skins by gently squeezing the chickpea until the skin pops off.
- Substitute avocado oil for olive oil.
- Make sure the oven is hot, use the bake time as a guide. Watch to make sure the chickpeas are golden and crispy before removing from the oven
- Always add the seasoning to the hot oven roasted chickpeas immediately after removing from the oven.
- Substitute the umami seasoning for a tablespoon of homemade taco seasoning
- Note that some chickpeas may still seem a bit moist, that is ok, they are still delicious! If you want to ensure all oven roasted chickpeas are crispy, keep them in the oven as long as possible without over browning them.
Make Roasted Chickpeas In The Air Fryer
This recipe can easily be converted to the air fryer and you will have crispy chickpeas in just minutes!
To roast chickpeas in the air fryer, place the rinsed chickpeas, with skins removed if desired, in the air fryer. Roast for 5 minutes at 390 degrees F.
Remove the chickpeas from the air fryer and coat with 1 teaspoon of olive oil. Return the chickpeas to the air fryer basket and continue roasting, shaking the basket occasionally, for 15 minutes, or until the chickpeas are golden brown and crispy.

Storing Roasted Chickpeas
The best way to store roasted chickpeas is in a brown paper bag. This allows air to circulate and will not trap moisture. If the oven roasted chickpeas are stored in a plastic bag, it is likely it will allow moisture to be trapped, softening the chickpeas.
Other Chickpea Related Recipes To Try
Coconut Curry Tofu Bowl with Oven Roasted Chickpeas
Roasted Red Pepper Hummus
Garlic Scrambled Eggs with Chickpeas

*If you made these Oven Roasted Chickpeas, please give them a star rating*
📖 Recipe

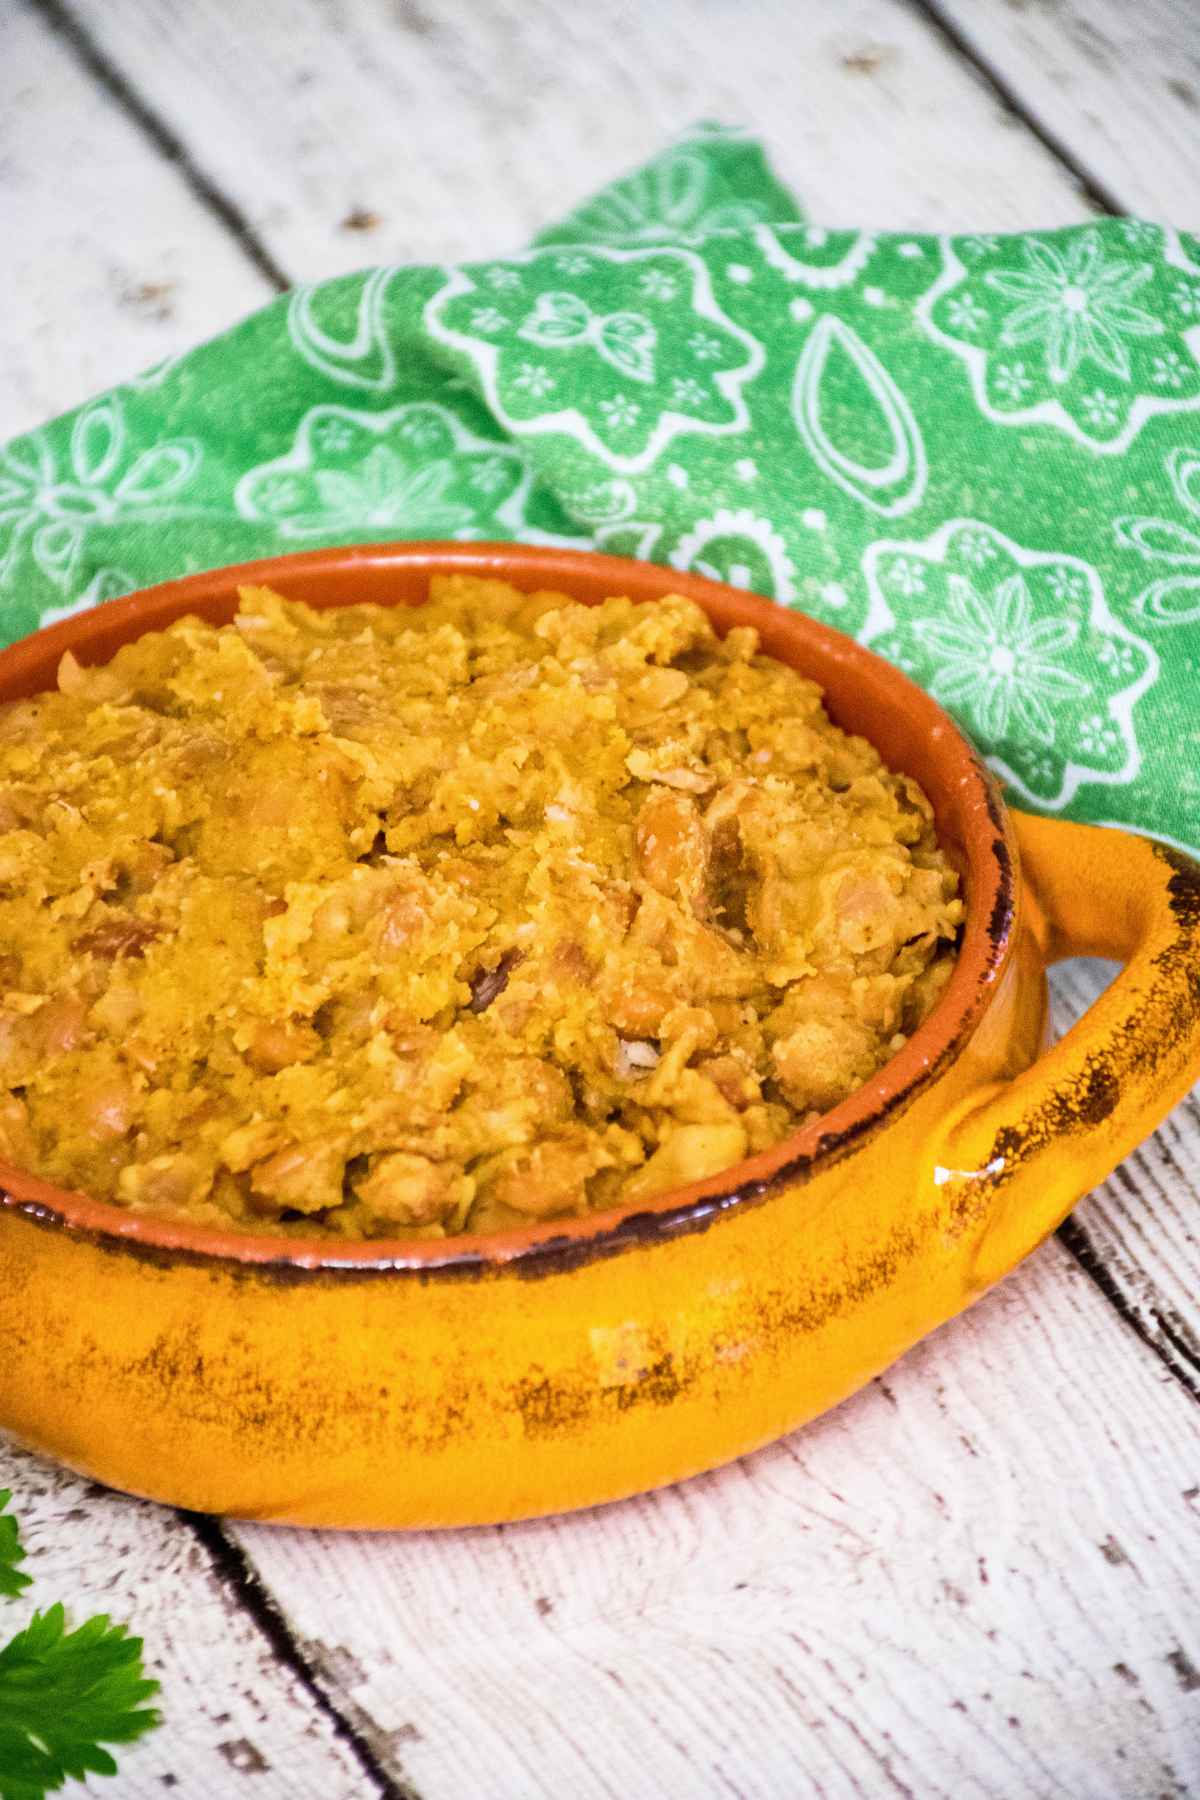
Oven Roasted Chickpeas with Umami Seasoning
As an Amazon Associate I earn from qualifying purchases.
Ingredients
- 1 15 ounce chickpeas drained and rinsed
- 1 tablespoon olive oil
- 1 teaspoon umami seasoning
Instructions
- Preheat the oven to 375 degrees. Drain and rinse the chickpeas, then lay out on a paper towel and pat dry.

- If desired, gently remove the skins from the chickpeas
- Toss the chickpeas with the olive oil and place on a half sheet pan.
- Bake for 40 minutes, or until chickpeas are browned and crispy. Remove the chickpeas from the oven and season with umami seasoning. Toss to coat. Store in a paper bag up to 1 week on the counter.