Southwestern Cheddar Steak Fries are Mexican spiced roasted potato dish that is topped with cheese, red pepper and cilantro. It is a delicious side dish for any meal main protein or makes a great party appetizer.

Potatoes do not belong in the trash
It's not often I get a craving for a potato. I hated potatoes as a child. So much so, I tossed them in the trash one Christmas, only to miss the can and hit the floor. I was unaware, but when my Aunt saw the potatoes on the floor, she knew exactly who tossed them!
I never was a fan of potatoes as a child unless they were in french fry form. As an adult I don't really crave them often but, once in a while, I will see something on a menu or in a magazine that looks good enough to try.
Since I am a huge fan of Mexican flavors, these Southwestern Cheddar Steak Fries really appealed to me. The crispy roasted outside was delicious with the light spice topping. And of course, add cheese and they are golden!
What you need to make Southwestern Cheddar Steak Fries
Baby Potatoes: Choose white, red, or a mixture of both. I recommend baby potatoes since they bake quickly and are tender.
Smoked Paprika: This lends a smokiness that can't be substituted. If I were to recommend one spice in your cabinet to never run out of, it would be this one. This can be used to sprinkle over deviled eggs or in chili. There are so many ways to incorporate this spice into recipes that are tasty!
Cumin: This spice has a strong earthy, mildly spiced flavor. It is not overpowering or hot. It adds to Mexican flavors without adding heat.
Garlic Powder: This is added to compliment the paprika and cumin on the Southwestern Cheddar Steak Fries.
Olive Oil: The oil will coat the steak fries and allow the spices to stick to it. It also will help the potatoes to crisp up in the oven while baking.
Cheddar Cheese: I like to use a mild cheddar for these Southwestern Steak Fries. Anything stronger will overpower the flavors on the fries.
Sheet Pan: I like a heavy-duty sheet pan. One that will hold the heat without burning the food.

Tips for getting crispy outside edges on steak fries
- Make sure the oven is hot. An oven thermometer will tell you if your oven is calibrated correctly. A hot oven is important for circulating the air in a blast, searing the outside of the potatoes while keeping the inside tender.
- Don't skip the oil in the recipe. Well, you can skip it if you want, but your Steak Fries will not be as crispy as you may like them to be. Oil also adds flavor and we do need oils in our diet!
- Be sure the wedges are skin down on the baking sheet. This allows the cut sides to be exposed to the air.
What to serve with these Steak Fries
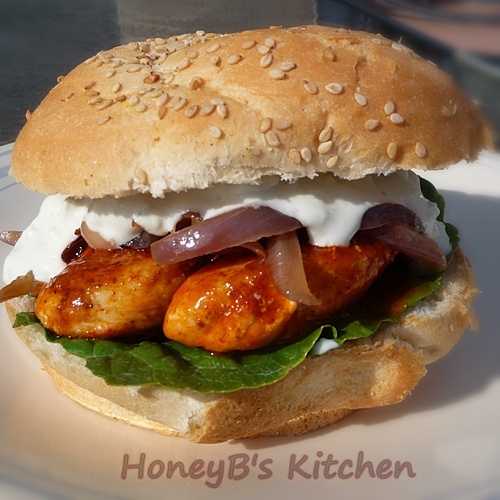
Buffalo Chicken Sandwiches with Creamy Blue Cheese Dressing or this Steakhouse Cheeseburger would be great lunch or dinner main sandwich with a side of these steak fries.
Steak and fries go great as well! Try this Honey Garlic Onion Topped Steak, or this Cilantro Limed Grilled Pork Chops.
Other Potato Recipes you may enjoy
Garlic Mashed Potatoes with Garlic and Chives have 1 ingredient that puts this recipe over the top of all other mashed potato recipes.
Scalloped Potatoes for Two is a great small-batch recipe when you don't want a lot of leftovers.
Chorizo Jalapeno Potato Puff Bites are made in the oven or Air Fryer and are delicious little spicy bites of potato!
Potato Kielbasa Skillet Recipe is perfect for those who love their meat and potatoes browned in a skillet!
*If you made these Southwestern Cheddar Fries, please give them a star rating*
📖 Recipe

Southwestern Cheddar Steak Fries
As an Amazon Associate I earn from qualifying purchases.
Ingredients
- 1 lb baby potatoes washed and cut into wedges
- 1 tablespoon Olive Oil
- 2 teaspoon smoked paprika
- ½ teaspoon cumin
- ½ teaspoon garlic powder
- ¼ teaspoon salt
- 1 oz finely shredded reduced-fat sharp cheddar cheese
- ⅓ cup finely chopped red bell pepper
- 2 tablespoon finely chopped cilantro
Instructions
- Preheat oven to 425. Line a large baking sheet with foil and spray with cooking spray.
- Combine olive oil, paprika, cumin, garlic powder, and salt. Toss potatoes in the mixture to coat.
- Spread the potatoes on a cookie sheet and bake in the oven for 18 minutes or until potatoes are tender when pierced with a knife. Remove from the oven and sprinkle with cheese and red peppers.
- Place back in the oven for 2 minutes to melt the cheese. Prior to serving, sprinkle with cilantro.