
This recipe for Italian Sweet Sausage and Peppers Sandwich is a delicious, hearty, and easy to make sandwich recipe the whole family will love. They are the perfect balance of sweet and savory flavors served in a buttery toasted hoagie roll.

❤️ Why you'll love it
Fair food at home: if you love the Italian sausage sandwiches at the fair, you will love that you can make them right at home with minimal effort!
Hearty meal: sausage and pepper sandwiches are satisfying and delicious. Can enjoyed as lunch or dinner with a side of potato or macaroni salad.|
Versatile: you can customize your sandwich by using a spicy sausage or any of your favorite flavored sausages.

🥘 Ingredients
Green bell peppers
Onion: use a white or yellow onion
Garlic cloves
Sweet Italian Sausage Links
Hoagie rolls: be sure the hoagie rolls you choose are sturdy enough to hold up to the fillings. I usually find mine in the bakery section of the grocery store.
Cheese slices: this is optional, cheese fans may want to add a slice of their favorite cheese to the sandwich.


🔪 How To Make Italian Sausage Sandwiches
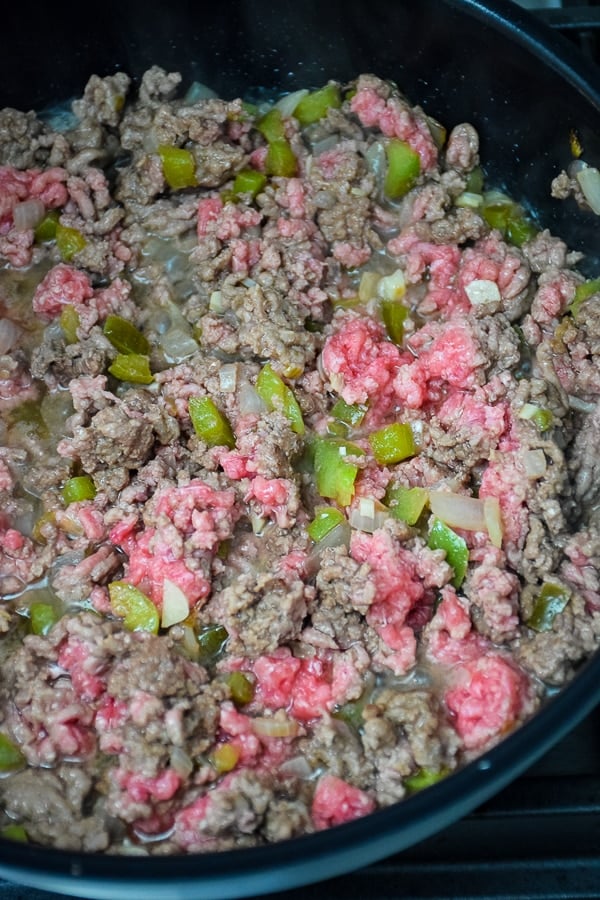
- Heat olive oil in large skillet over medium heat. Add onions and garlic and sauté until onions have wilted slightly.
- Add bell peppers, salt, and black pepper. Stir to combine.
- Cover and cook, stirring occasionally for 15 minutes, until peppers are fork tender.
- Transfer onion mixture to a separate bowl and set aside.
- Place sausages in skillet. Cover and cook for 20 minutes, until browned on all sides and internal temperature is 160 degrees
- Return peppers and onion mixture to the skillet with the cooked sausages and keep warm.
- To toast hoagie rolls, cut in half without cutting all the way through the roll. Butter each cut side of the roll.
- Place buttered rolls cut side down in a hot skillet and cook for 1-2 minutes, until roll is golden brown and toasty.
- Place a whole sausage in a toasted hoagie roll and top with peppers and onions as desired. Serve with spicy brown mustard.

🥄 Equipment
Large skillet
Cutting board
Chef knife
Tongs
🥫Storage
Refrigerate: store leftover sausage and peppers in an airtight container up to 4 days.
Reheat: warm whole sausages in a covered skillet over medium low heat with about ¼ cup of water until warmed through.

📖 Variations
- Cook the sausages on the grill instead of the skillet
- Substitute hot Italian sausage for the sweet.
- Add a dash of red pepper flakes to the onion mixture.
- Spread the sandwich rolls with garlic butter and toast cut sides down in a hot skillet.
- Use this Cheesy Italian Bread recipe in place of the hoagie rolls.
💭 Tips
- Add a splash of red wine vinegar to the onions and peppers to deglaze the pan. I've also used a bourbon balsamic vinegar that was delish!
- Stir in a tablespoon of tomato paste and ¼ cup water with the cooked peppers for added flavor.
📚 Sausage Recipes
Chicken Sausage Pizza is an Italian sausage sandwich on a pizza crust for the best of both worlds.
This deep dish Sausage Mushroom Onion Pizza is another favorite of sausage fans.
Deliciously low carb, these Sausage Stuffed Mushrooms are a family favorite.
🍽 Serve with..
Serve whole sausages in a toasted hoagie roll topped with pepper and onion mixture and spicy brown mustard.
Don't forget to check out my Amazon storefront for some of my favorite products!
When you make this recipe, please comment below and let me know what you think. I'd love it if you tag me on Instagram @grumpyshoneybunch or #grumpyshoneybunch so I can see your photos!
If you love this recipe, please leave a ⭐⭐⭐⭐⭐ rating
📖 Recipe

Italian Sausage and Pepper Sandwiches
As an Amazon Associate I earn from qualifying purchases.
Ingredients
- 1½ tablespoons extra virgin olive oil
- 1 green bell pepper , sliced
- 1 red bell pepper , sliced
- 1 large onion , sliced
- 2 cloves fresh garlic , minced
- ½ teaspoon salt
- ½ teaspoon black pepper , freshly ground
- 5 Italian Sweet Sausage Links
- 5 hoagie sandwich rolls
Instructions
- Heat olive oil in large skillet over medium heat. Add onions and garlic and sauté until onions have wilted slightly.
- Add bell peppers, salt, and black pepper. Stir to combine.
- Cover and cook, stirring occasionally for 15 minutes, until peppers are fork tender.
- Transfer onion mixture to a separate bowl and set aside.
- Place sausages in skillet. Cover and cook for 20 minutes, until browned on all sides and internal temperature is 160 degrees.
- Return peppers and onion mixture to the skillet with the cooked sausages and keep warm.
- To toast hoagie rolls, cut in half without cutting all the way through the roll. Butter each cut side of the roll.
- Place buttered rolls cut side down in a hot skillet and cook for 1-2 minutes, until roll is golden brown and toasty.
- Place a whole sausage in a toasted hoagie roll and top with peppers and onions as desired. Serve with spicy brown mustard.


