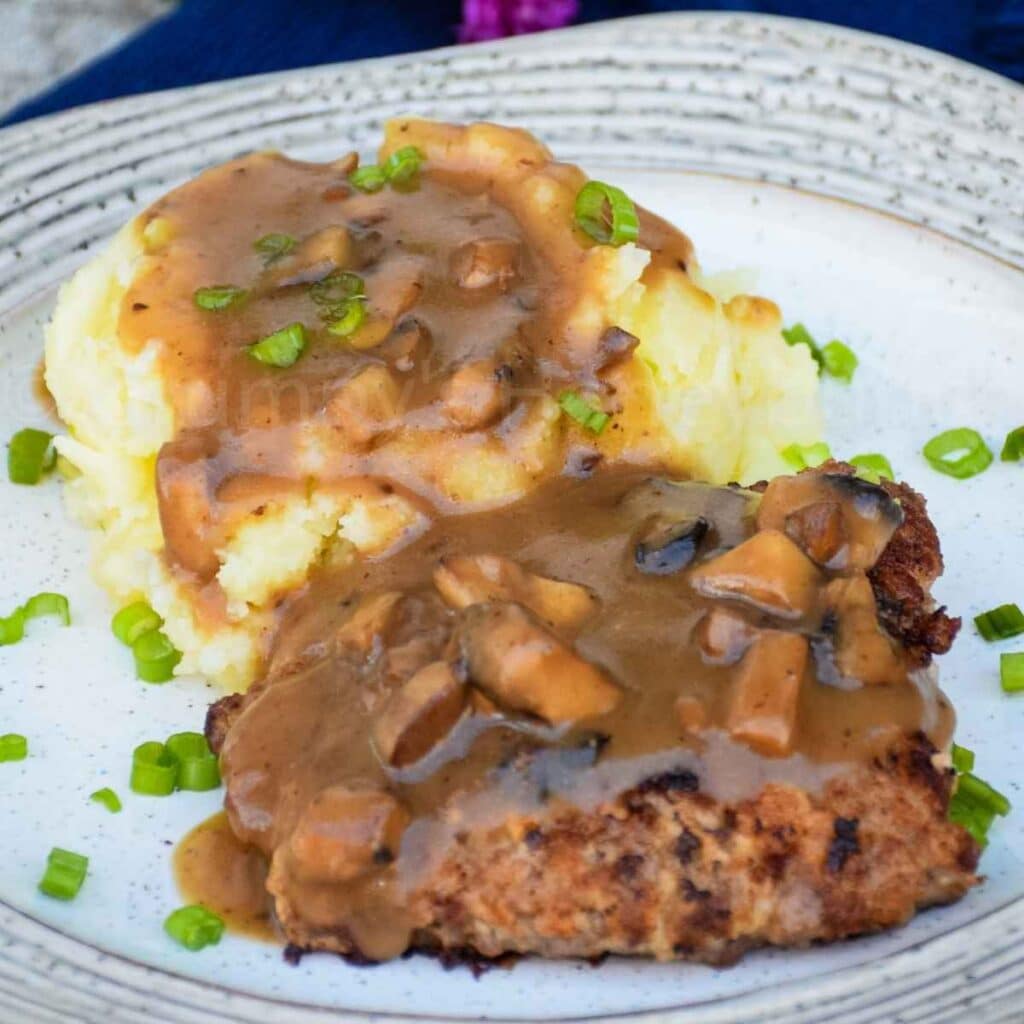
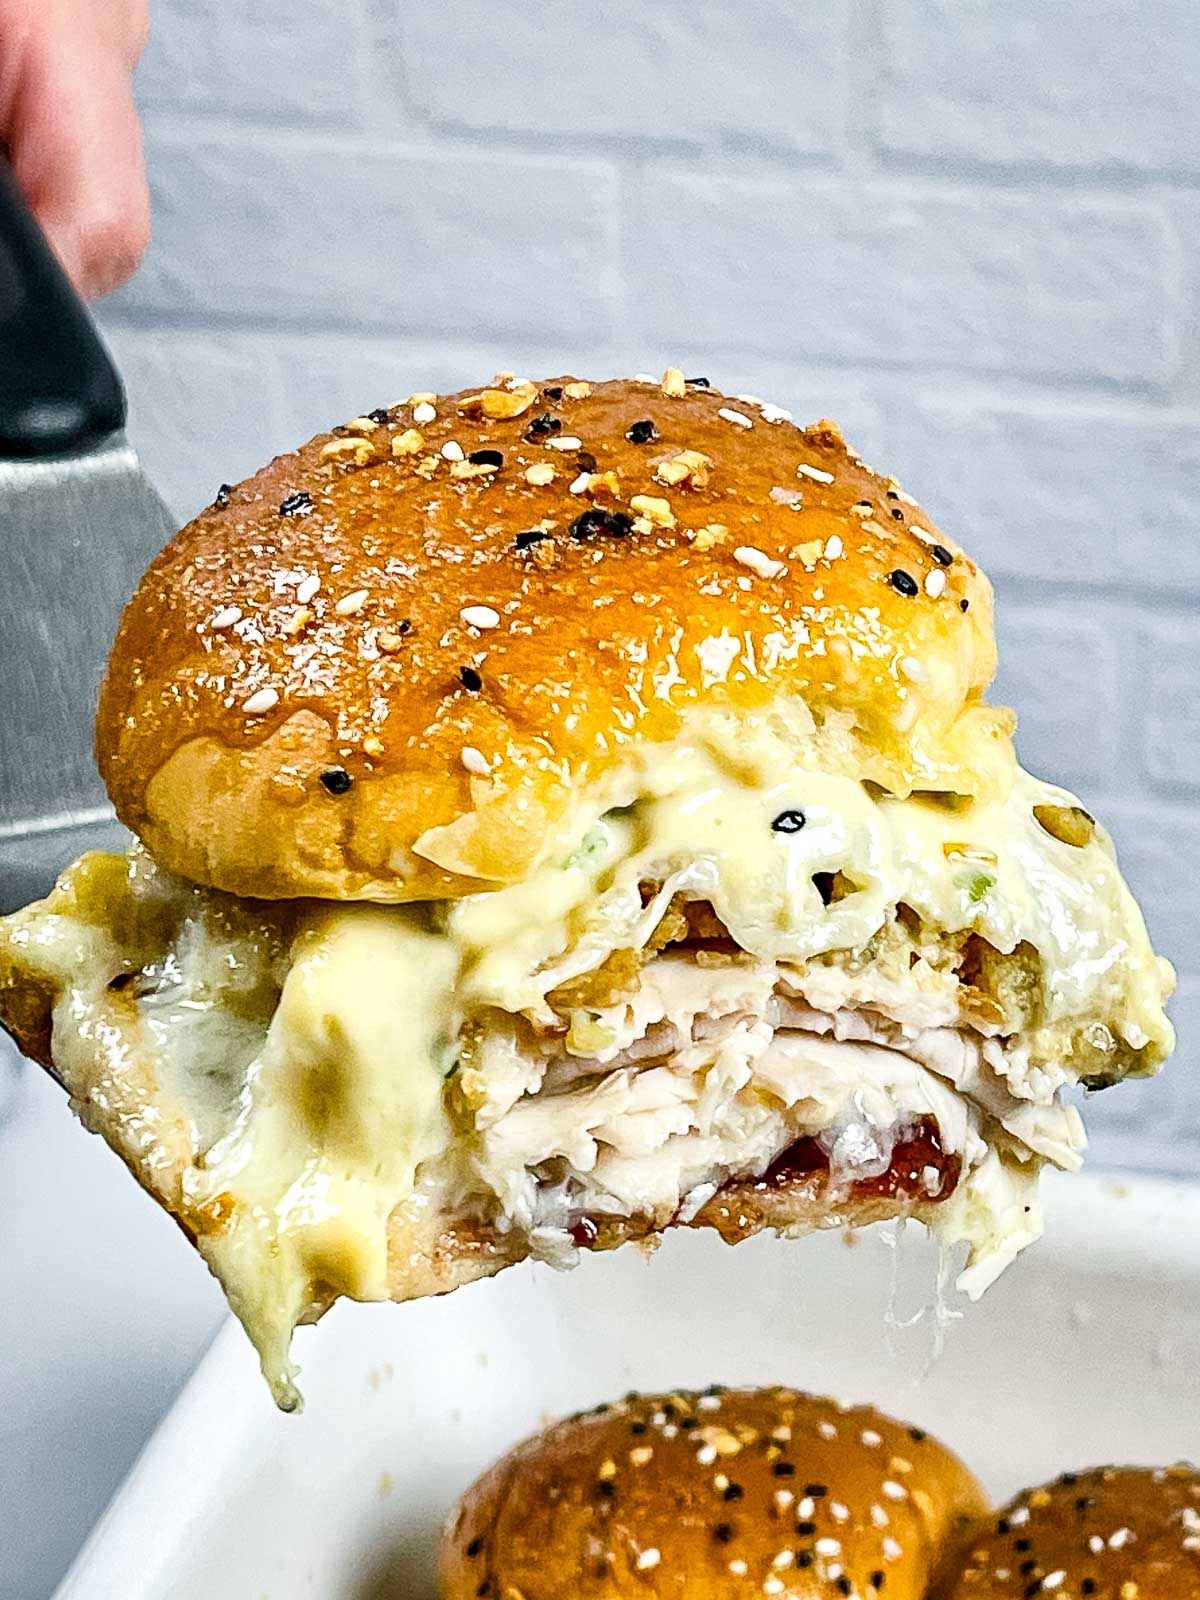
These warm, cheesy Turkey Cranberry Sliders are one of the easiest and tastiest ways to use up Thanksgiving leftovers. With layers of tender turkey, savory stuffing, and cranberry sauce all baked inside soft slider rolls, they deliver that comforting sweet and savory bite we all crave.
I was inspired to make these sliders after putting together some of my leftover ingredients from Thanksgiving dinner. The flavors remind me of my Leftover Thanksgiving Casserole, but in sandwich form. They make an easy dinner, game day snack, or holiday brunch board.
[feast_advanced_jump_to]Why You'll Love Turkey Cranberry Sliders
Tastes like Thanksgiving in every bite: all your holiday favorites wrapped into one easy sandwich.
Easy to make: just layer and bake, perfect for using up leftovers.
Make ahead friendly: assemble a few hours ahead and bake when ready.
Ingredient Substitutions
- Use deli turkey if you don't have leftover turkey.
- Swap Havarti with Swiss, provolone, or white cheddar.
- Try Dijon mustard if sweet hot mustard isn't your thing.
Recipe Variations
- Use leftover ham instead of turkey
- Make these with leftover sweet dinner rolls from your holiday meal.
- Try adding a layer of sautéed onions or spinach for extra flavor.
Top Tips
- Separate each bun before baking, it's easier to serve.
- Don't put the cranberry sauce on the bottom, it can make the roll soggy.
- Cover with foil for the first part of baking to keep the rolls soft, then uncover to brown.
Storage
Store leftover sliders in an airtight container in the fridge for up to 3 days. Reheat in the oven or air fryer for best texture.
Serve With...
More Slider Recipes
If you love sliders, be sure to check out these sider recipes below:
When you make this recipe, please comment below and let me know what you think. I'd love it if you tag me on Instagram @grumpyshoneybunch or #grumpyshoneybunch so I can see your photos!
If you love this recipe, please leave a ⭐⭐⭐⭐⭐ rating
📖 Recipe

Turkey Cranberry Sliders
As an Amazon Associate I earn from qualifying purchases.
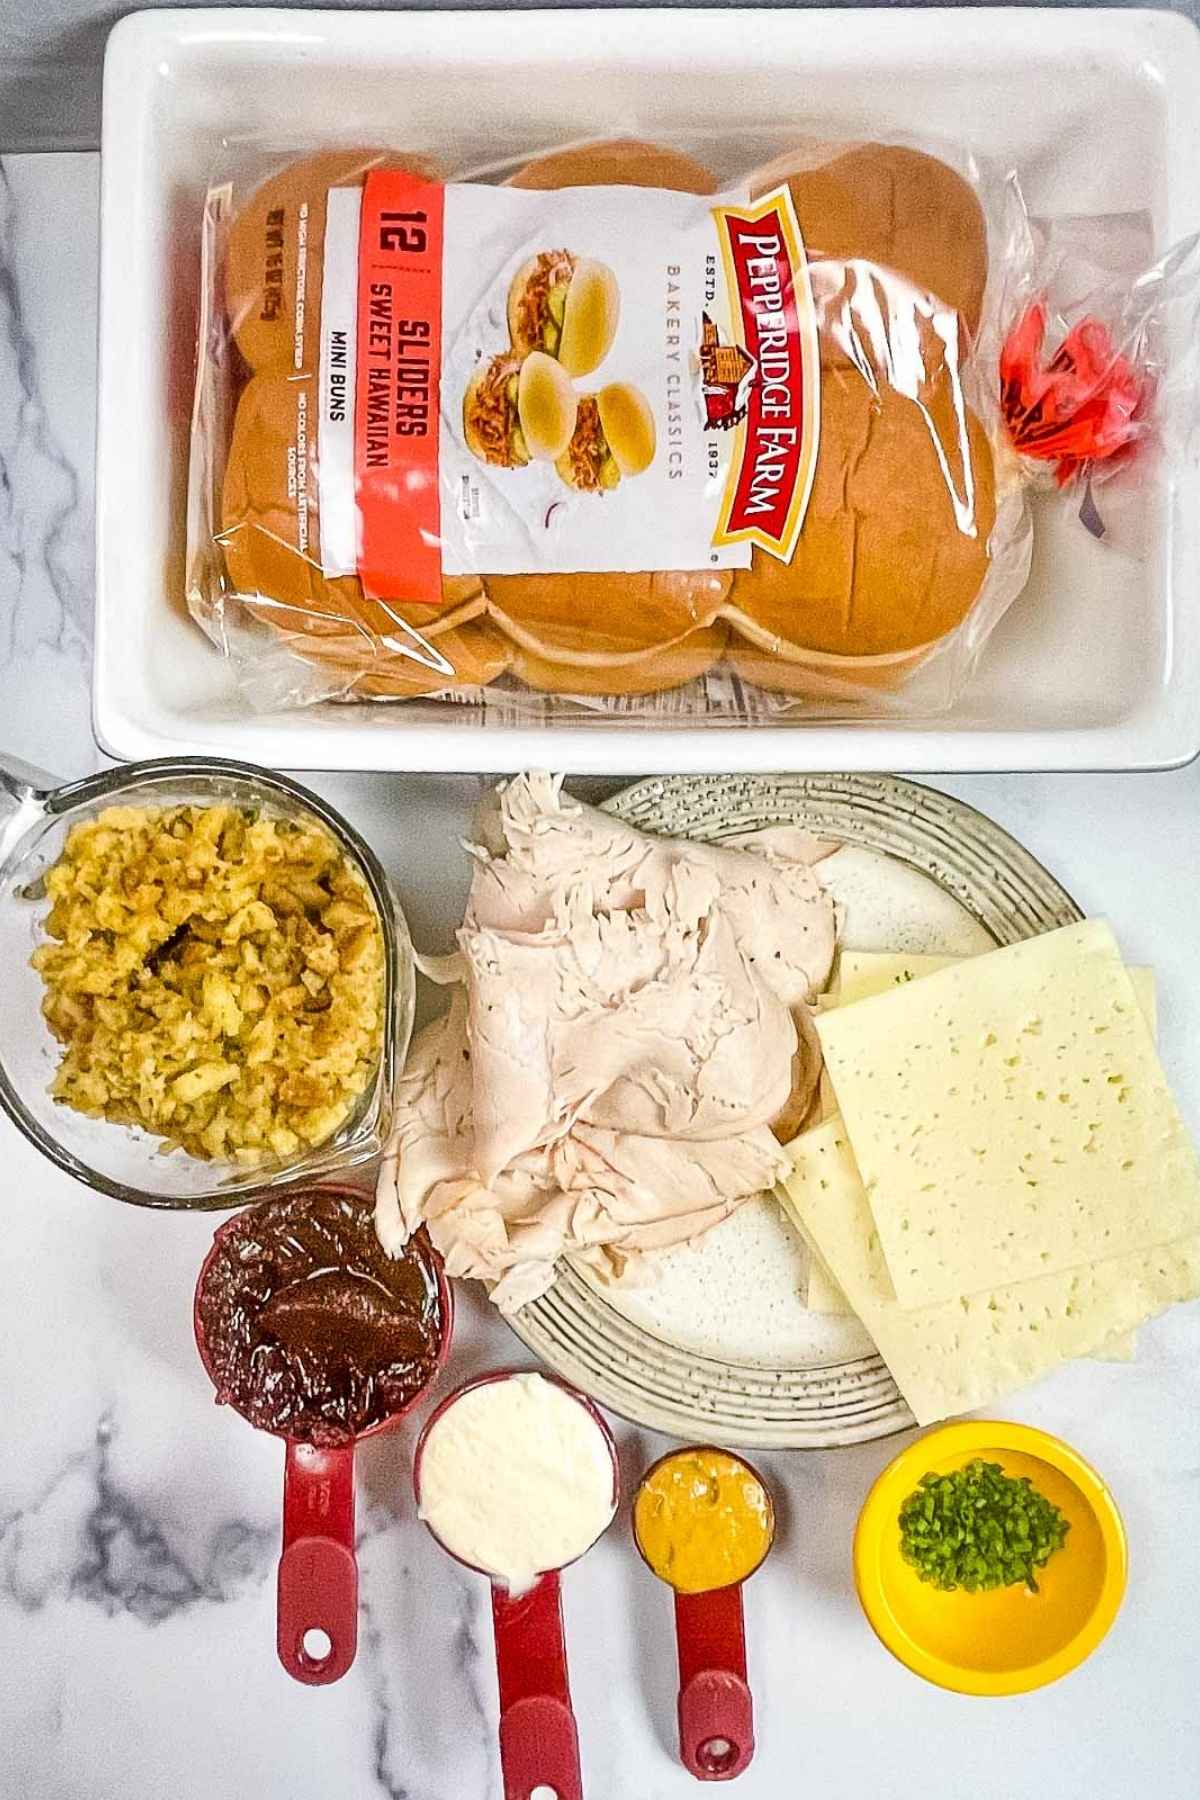
Ingredients
For the sandwich
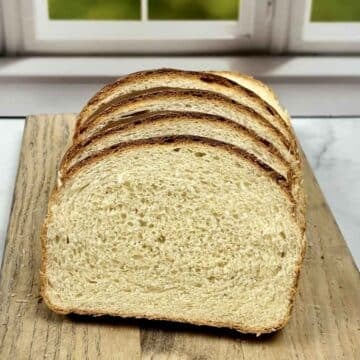
- 6 Martin's potato slider rolls
- ½ pound turkey slices , thinly sliced
- 6 ounces havarti cheese
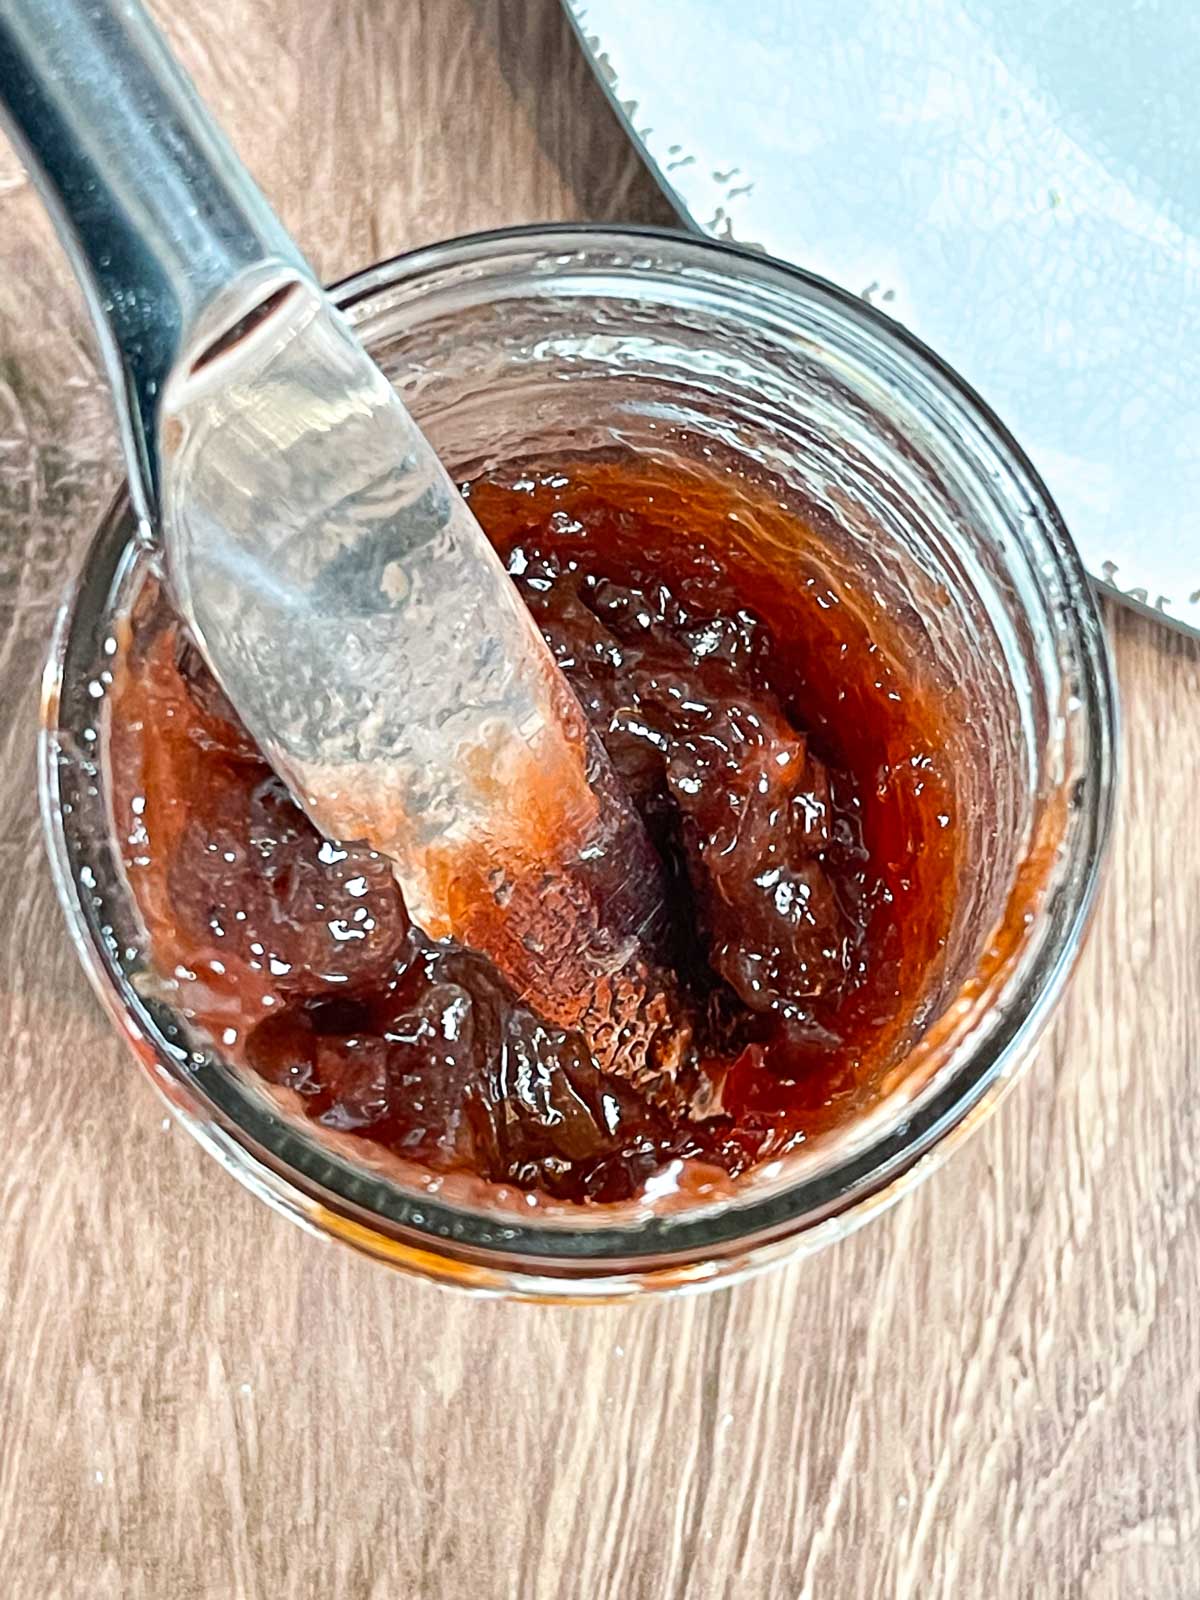
- ½ cup cranberry sauce
- 1 cup stuffing
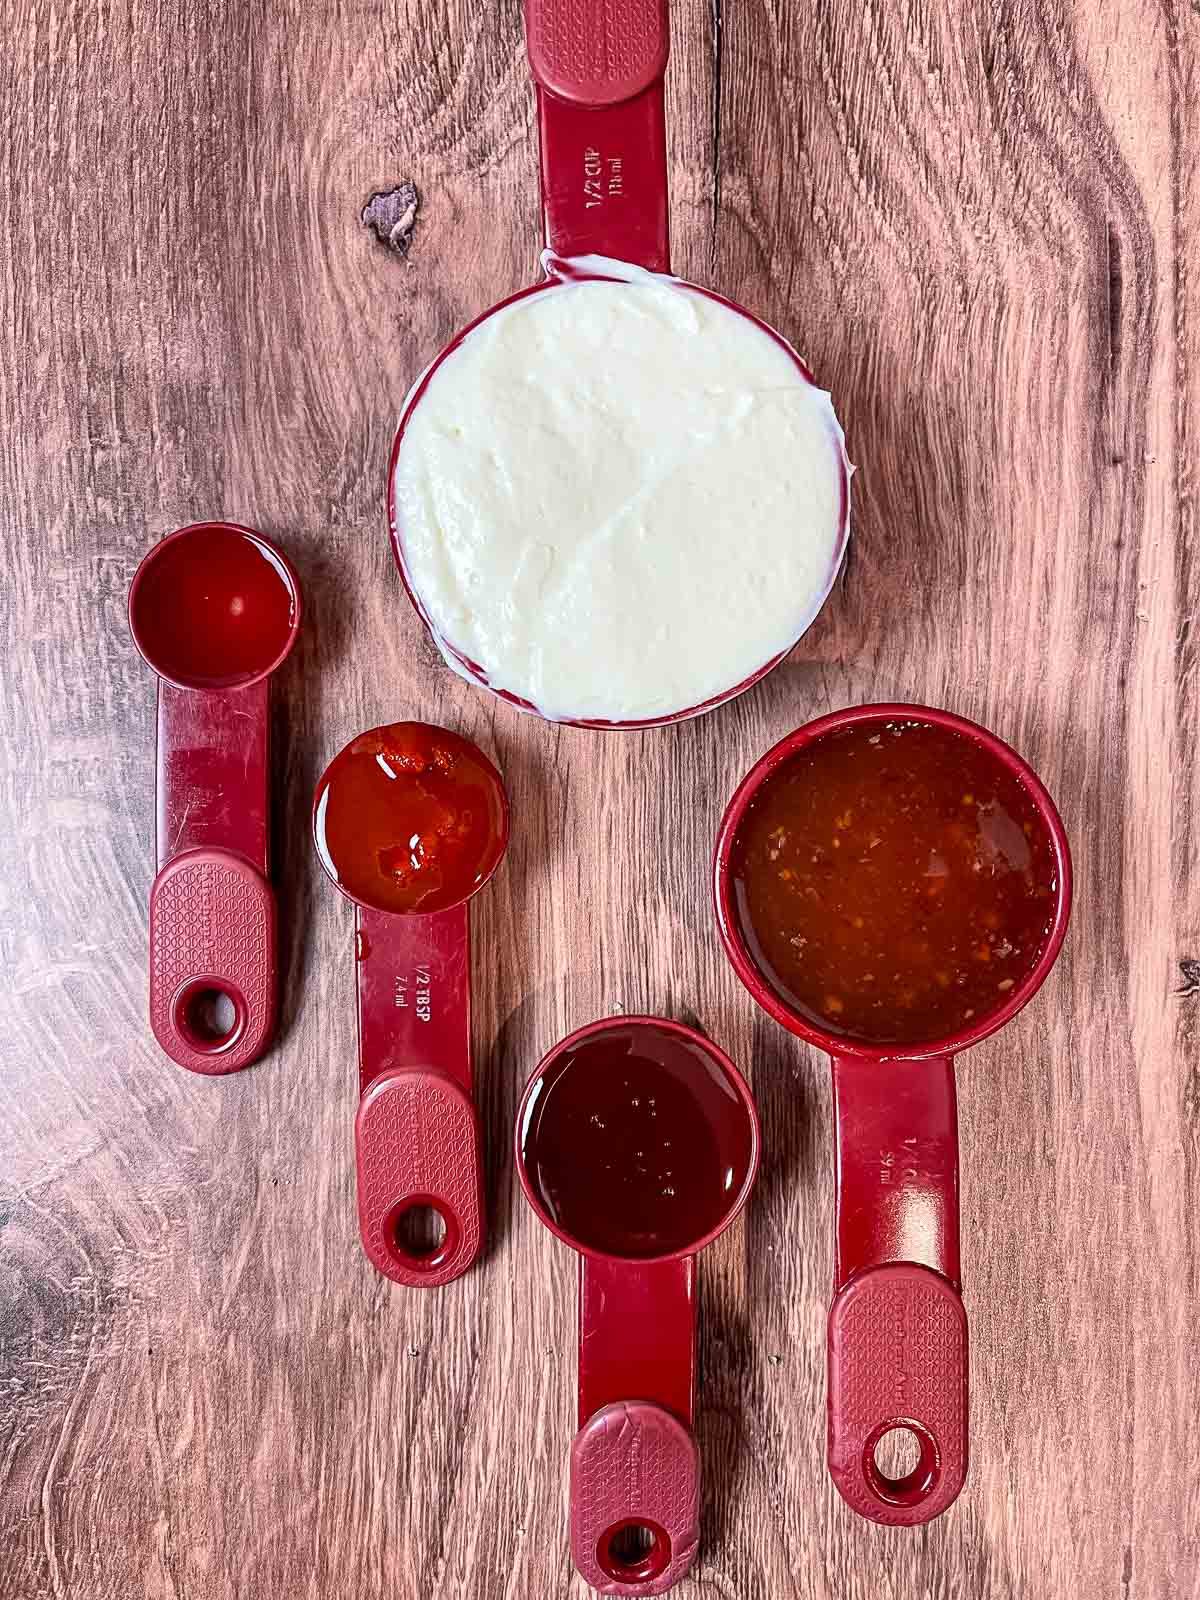
For the mayonnaise spread
- ¼ cup mayonnaise
- 1 tablespoon sweet hot mustard , or dijon mustard
- 1 tablespoon chopped chives
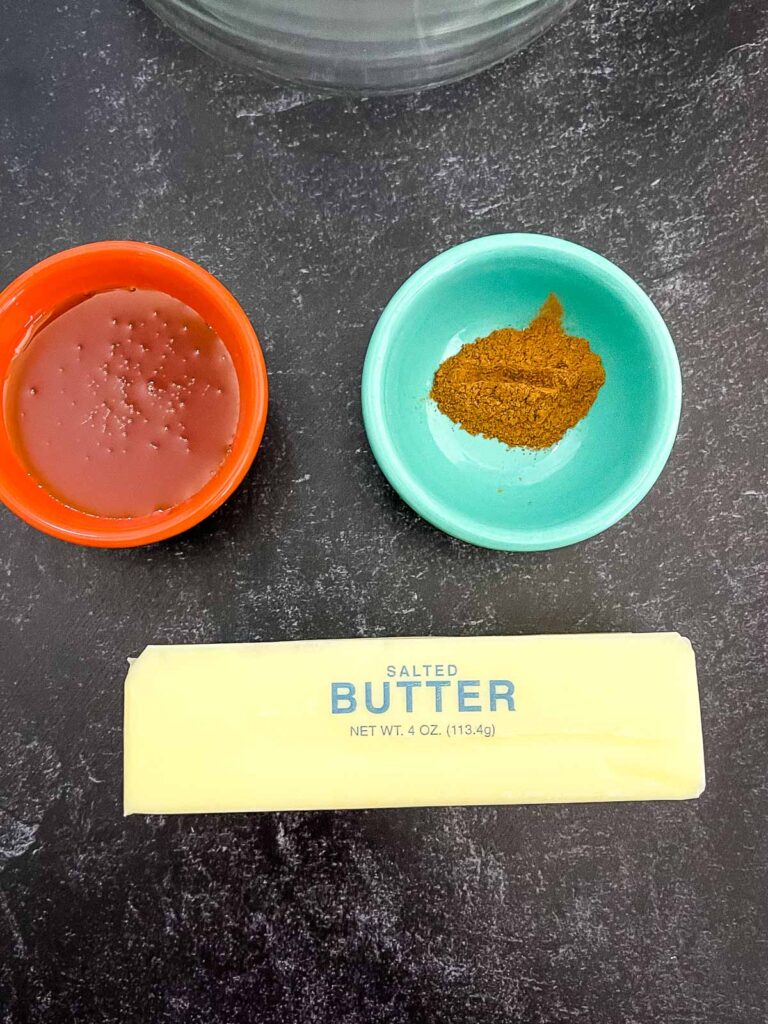
For the butter topping
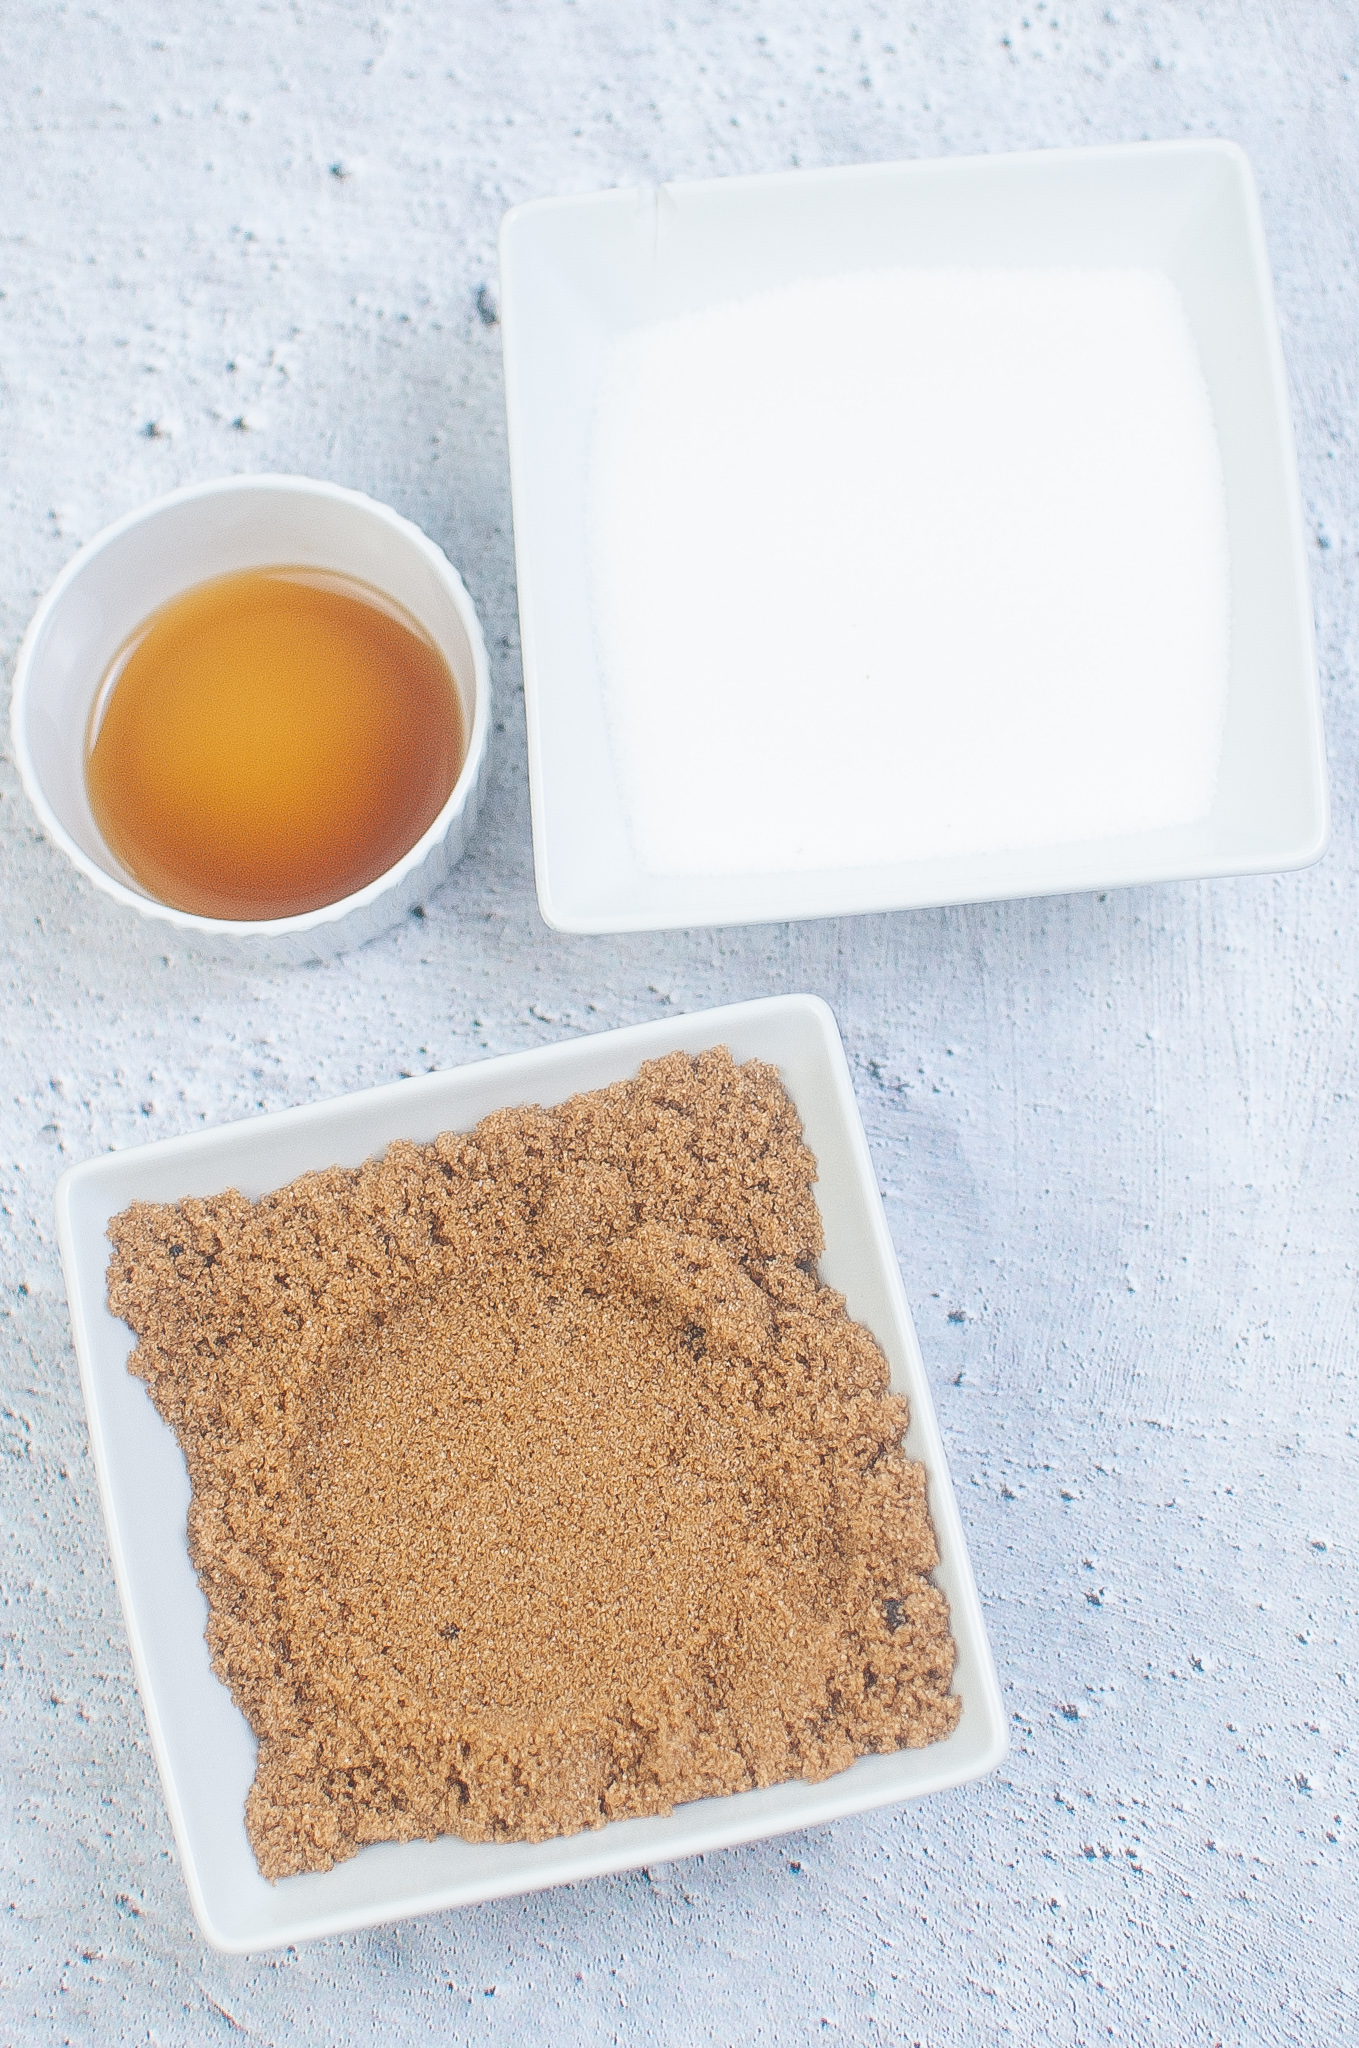
- 2 tablespoons butter
- 1 tablespoon light brown sugar
- ¼ teaspoon garlic powder
- ¼ teaspoon worcestershire sauce
- 1 tablespoon everything bagel seasoning
Instructions
- Preheat oven to 350 degrees F. Place each bottom half of the roll in the baking dish.
- Lay ½ of the cheese over the bottom l buns. Then layer with the turkey.
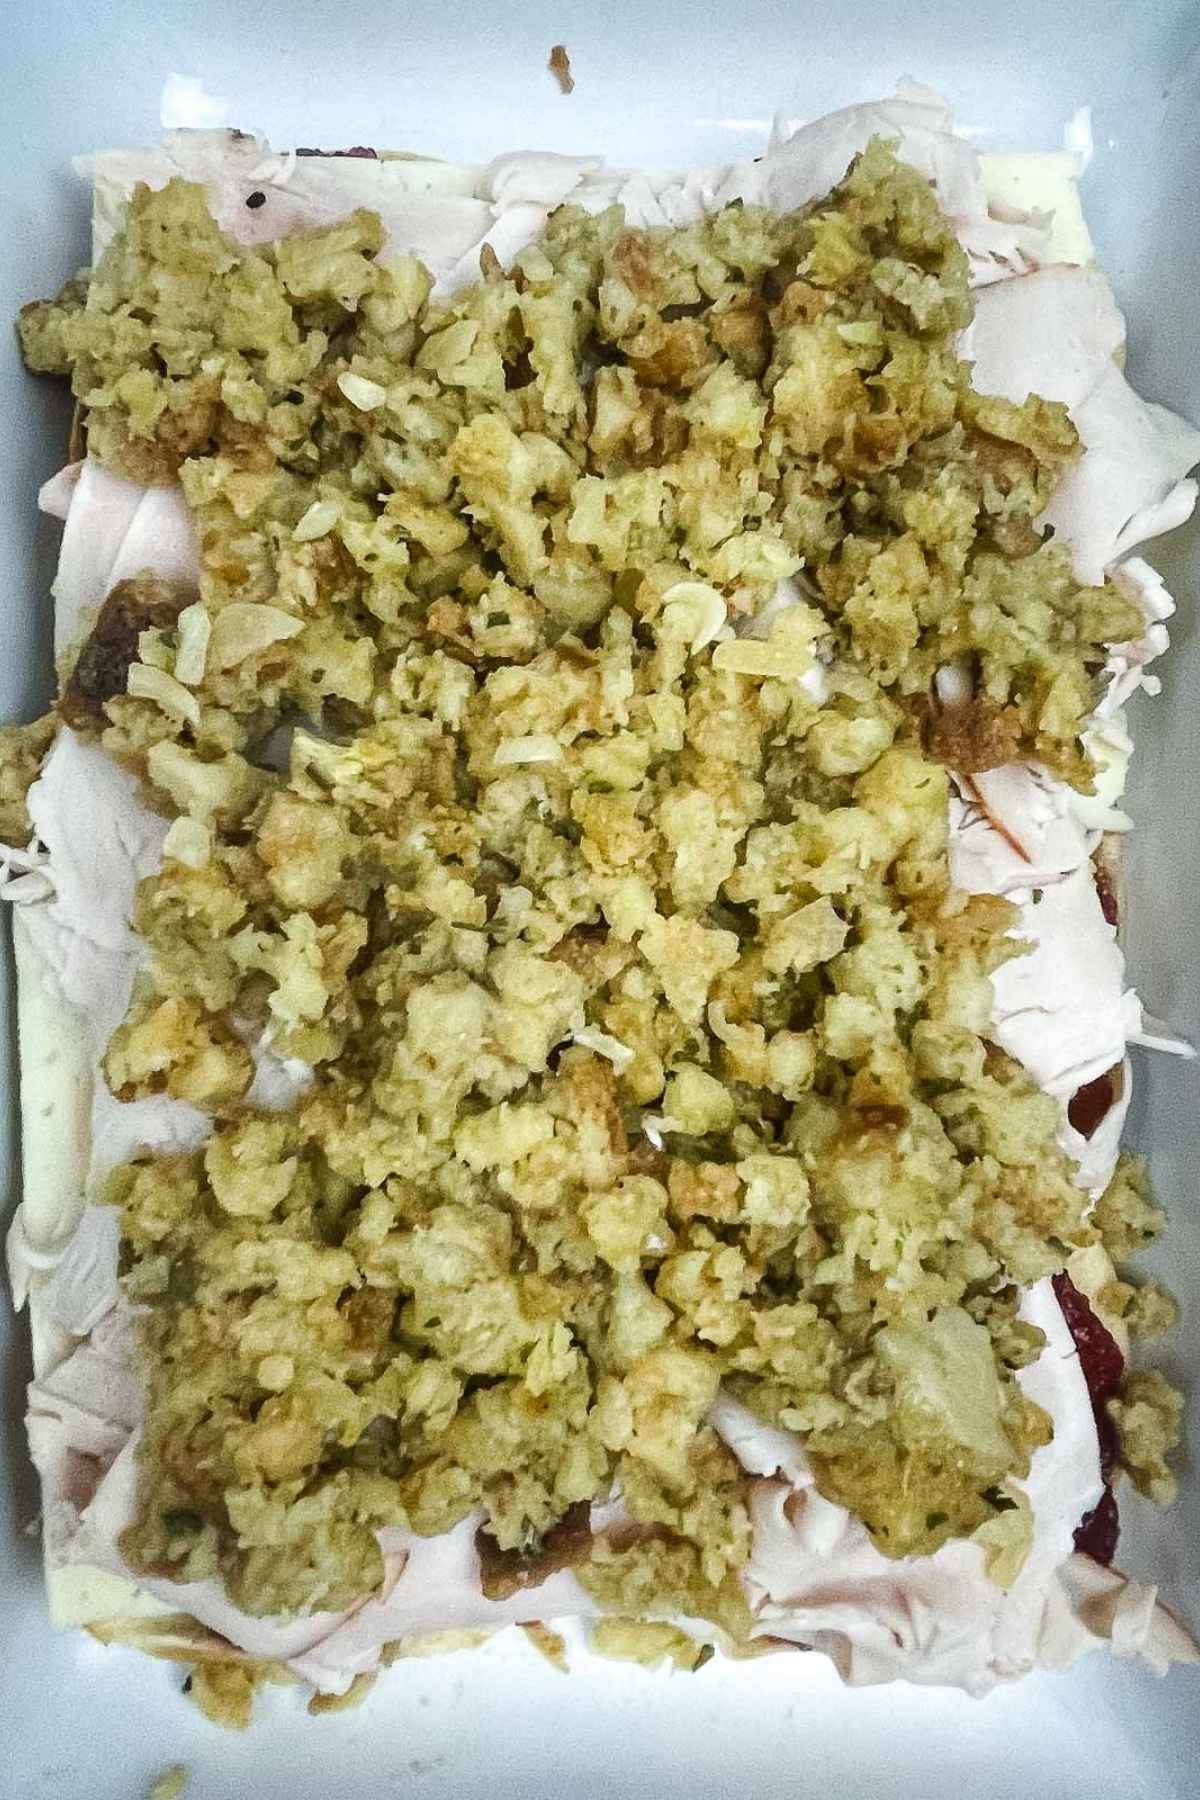
- Spread cranberry sauce evenly over top of turkey. Crumble stuffing evenly over top of the cranberry sauce and top with remaining cheese slices.
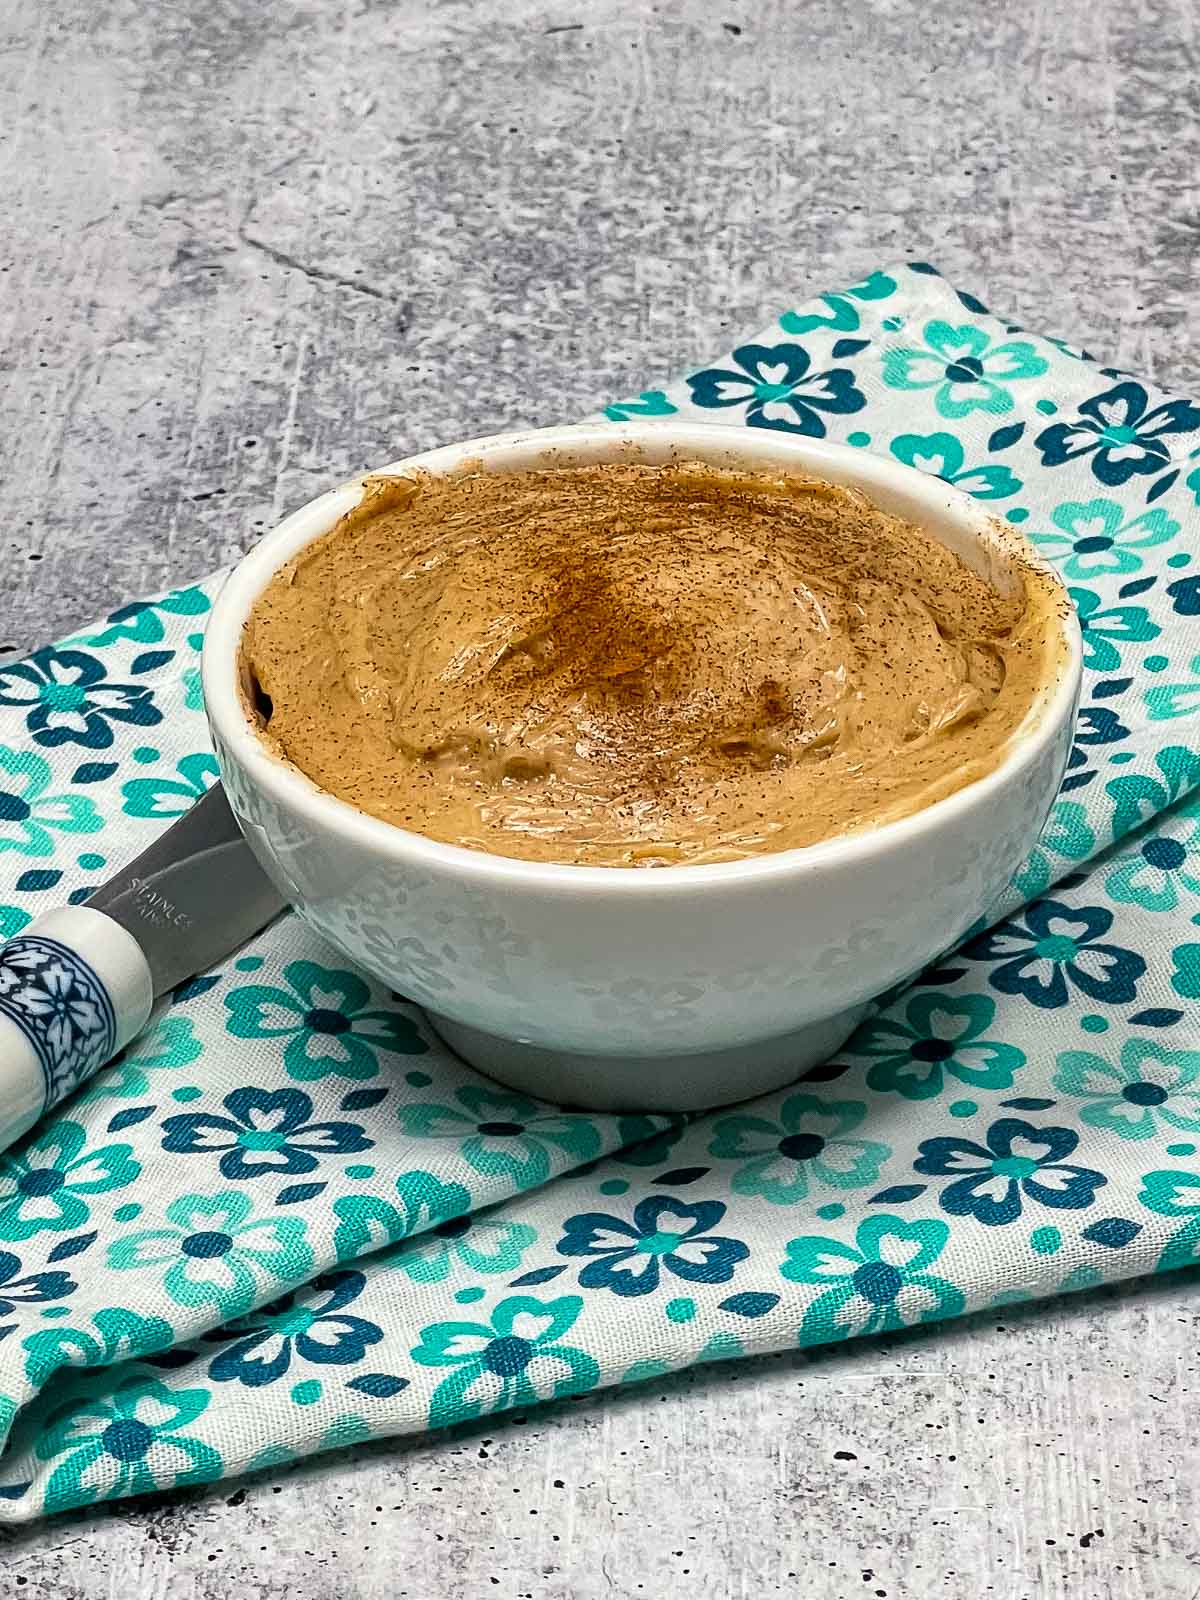
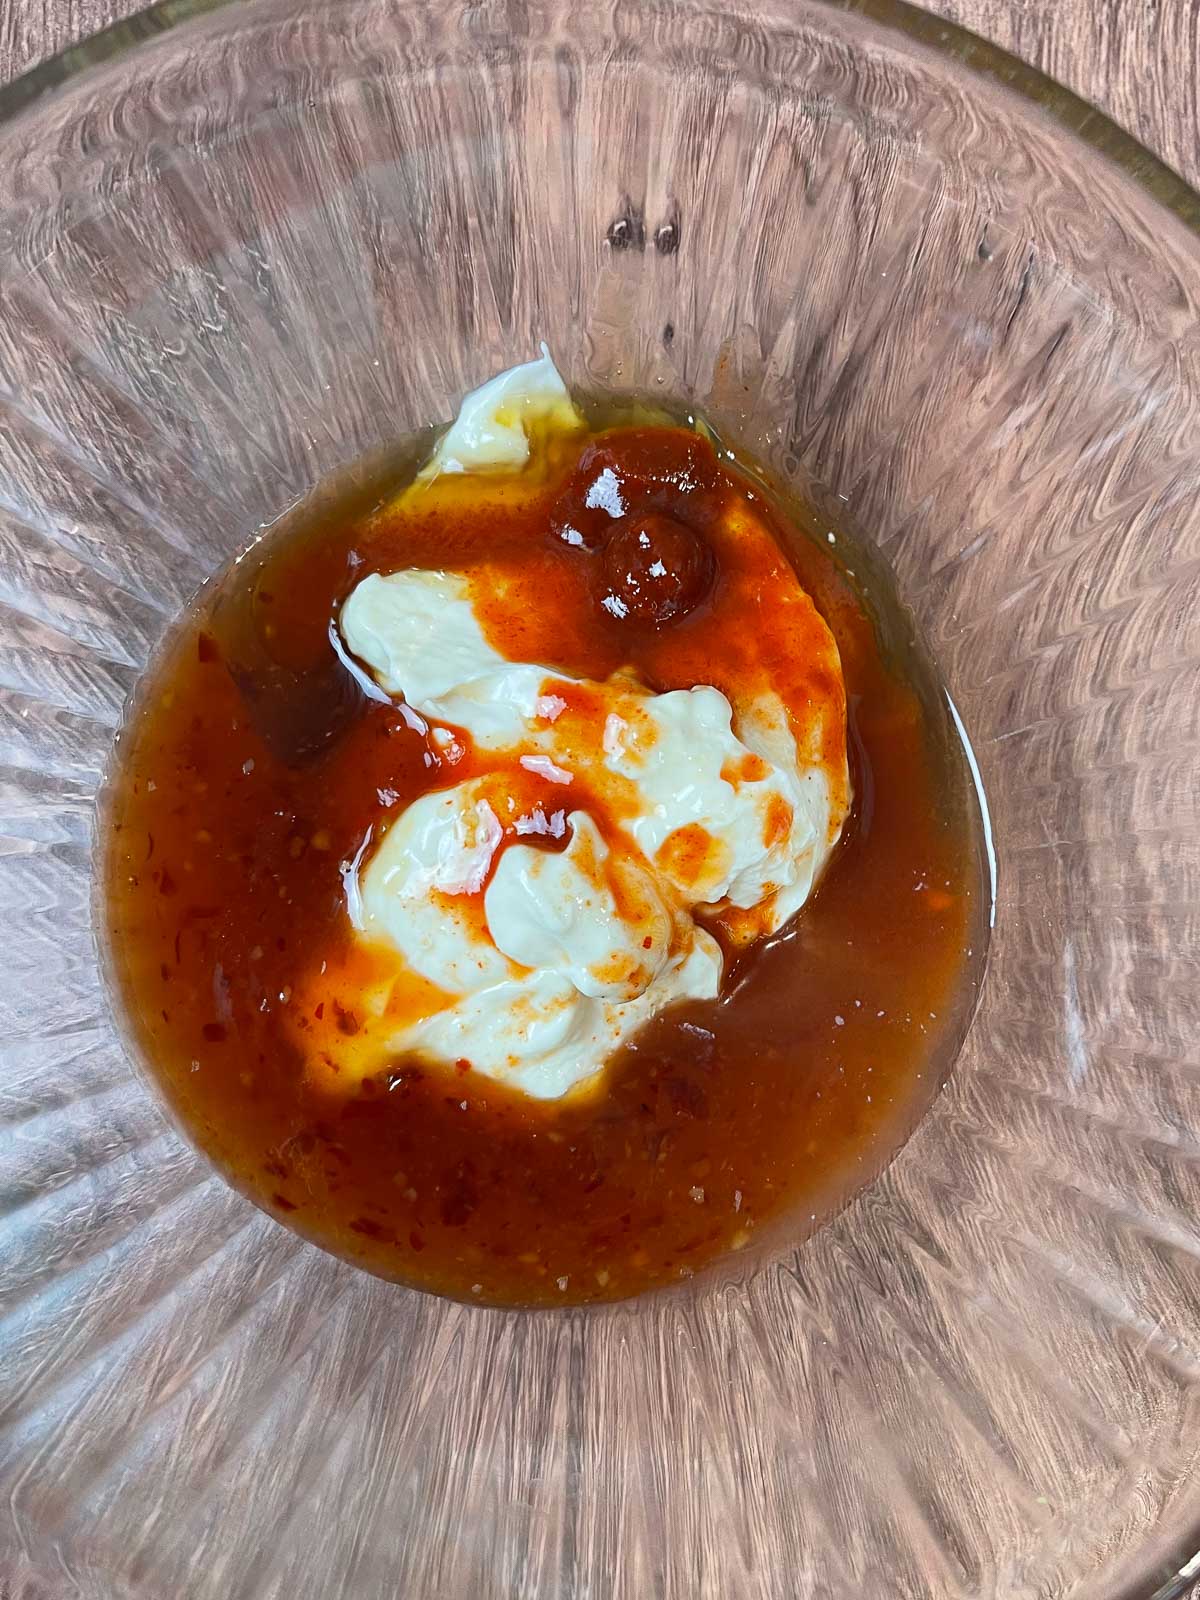
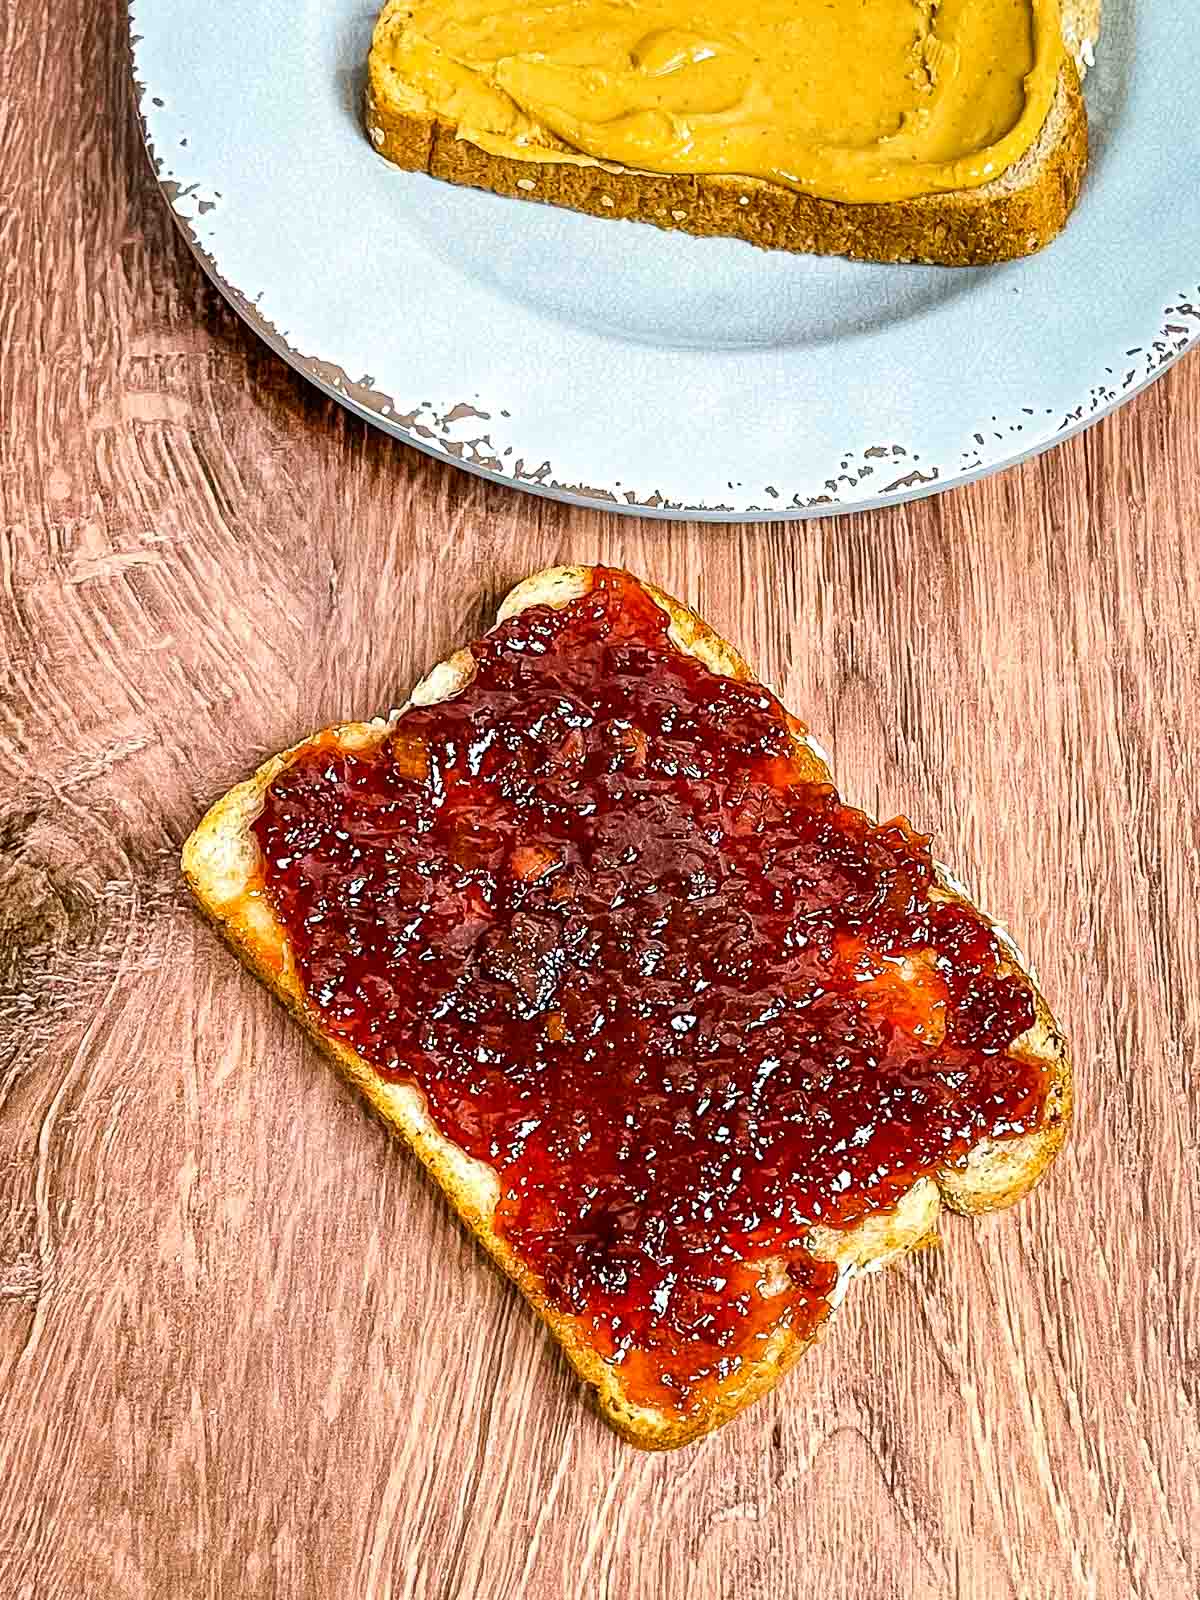
- In a small bowl, mix together the mayonnaise, sweet hot mustard, and chives. Evenly spread mayonnaise mixture on the bottom of the top of the buns.
- Place the top of the buns on top of the final cheese layer.
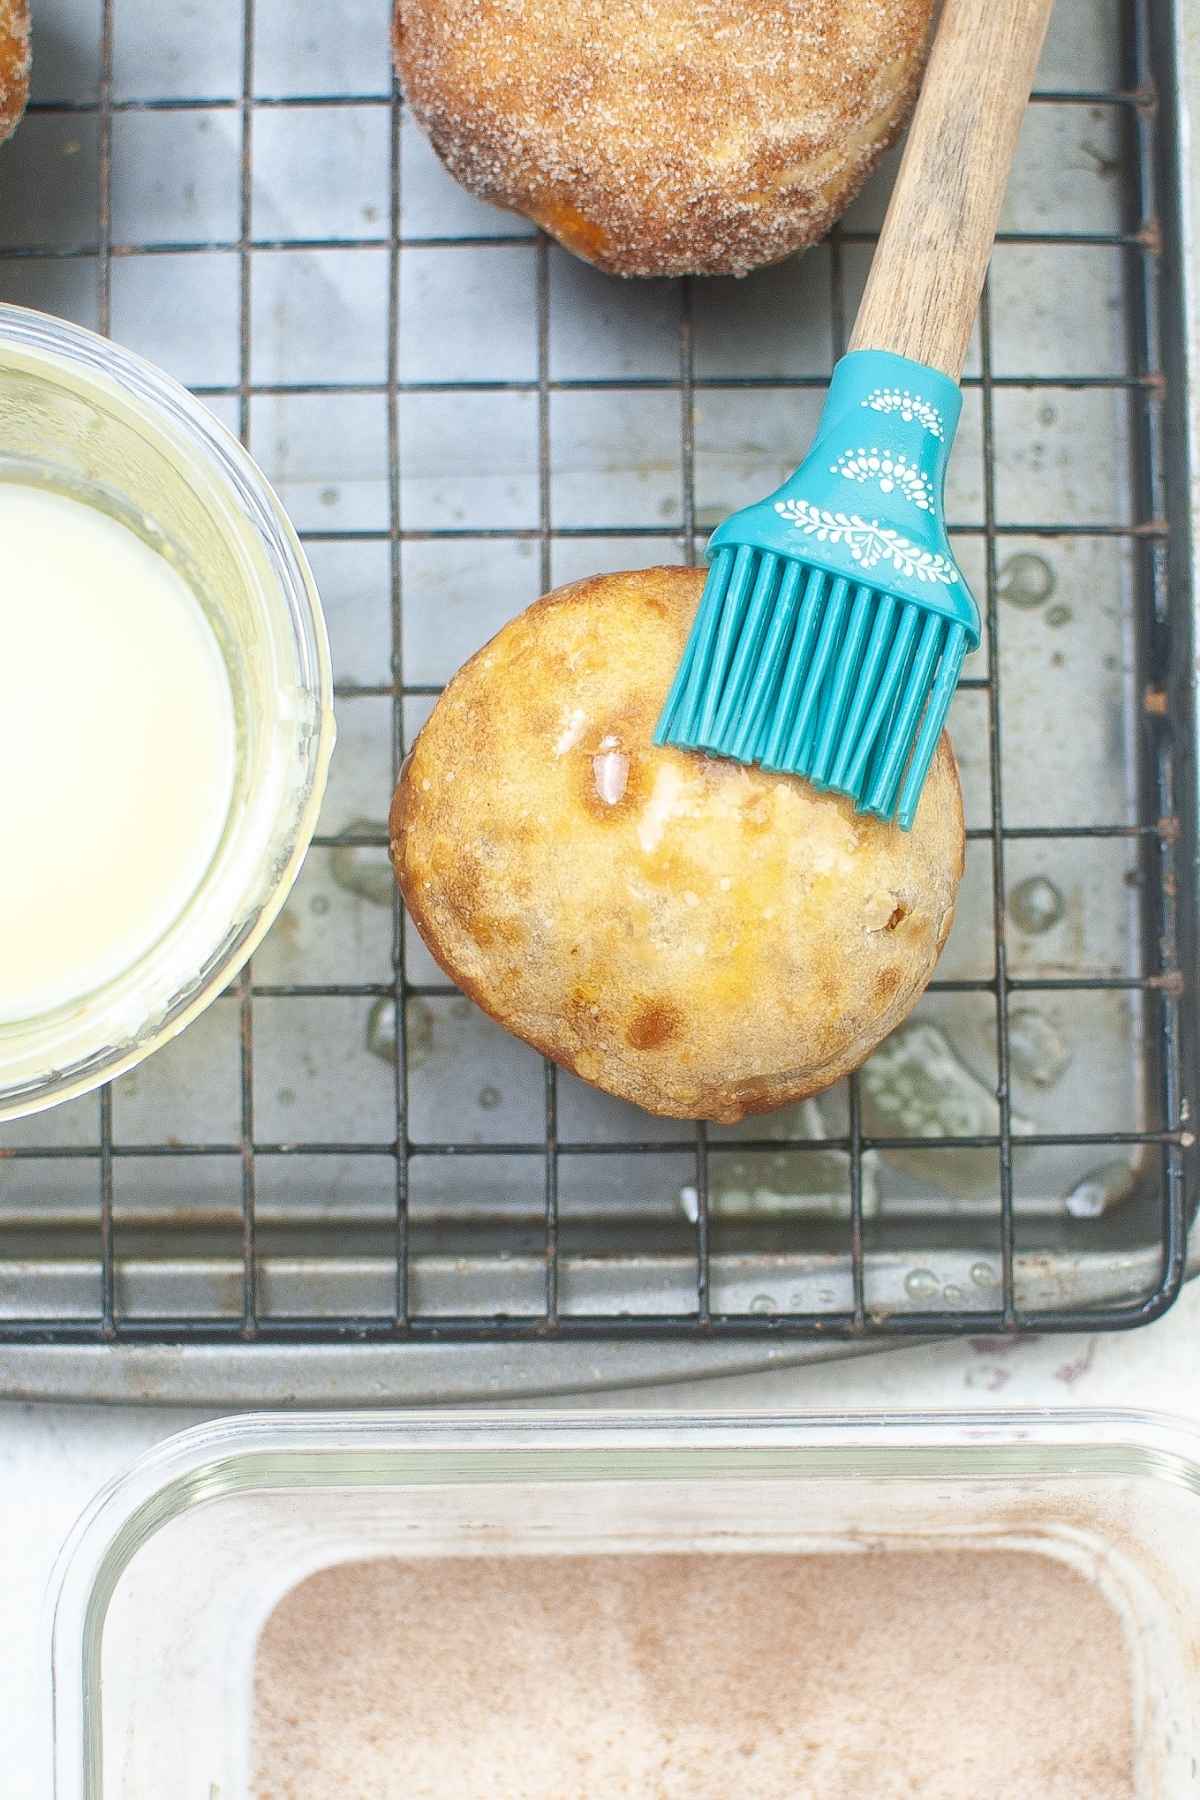
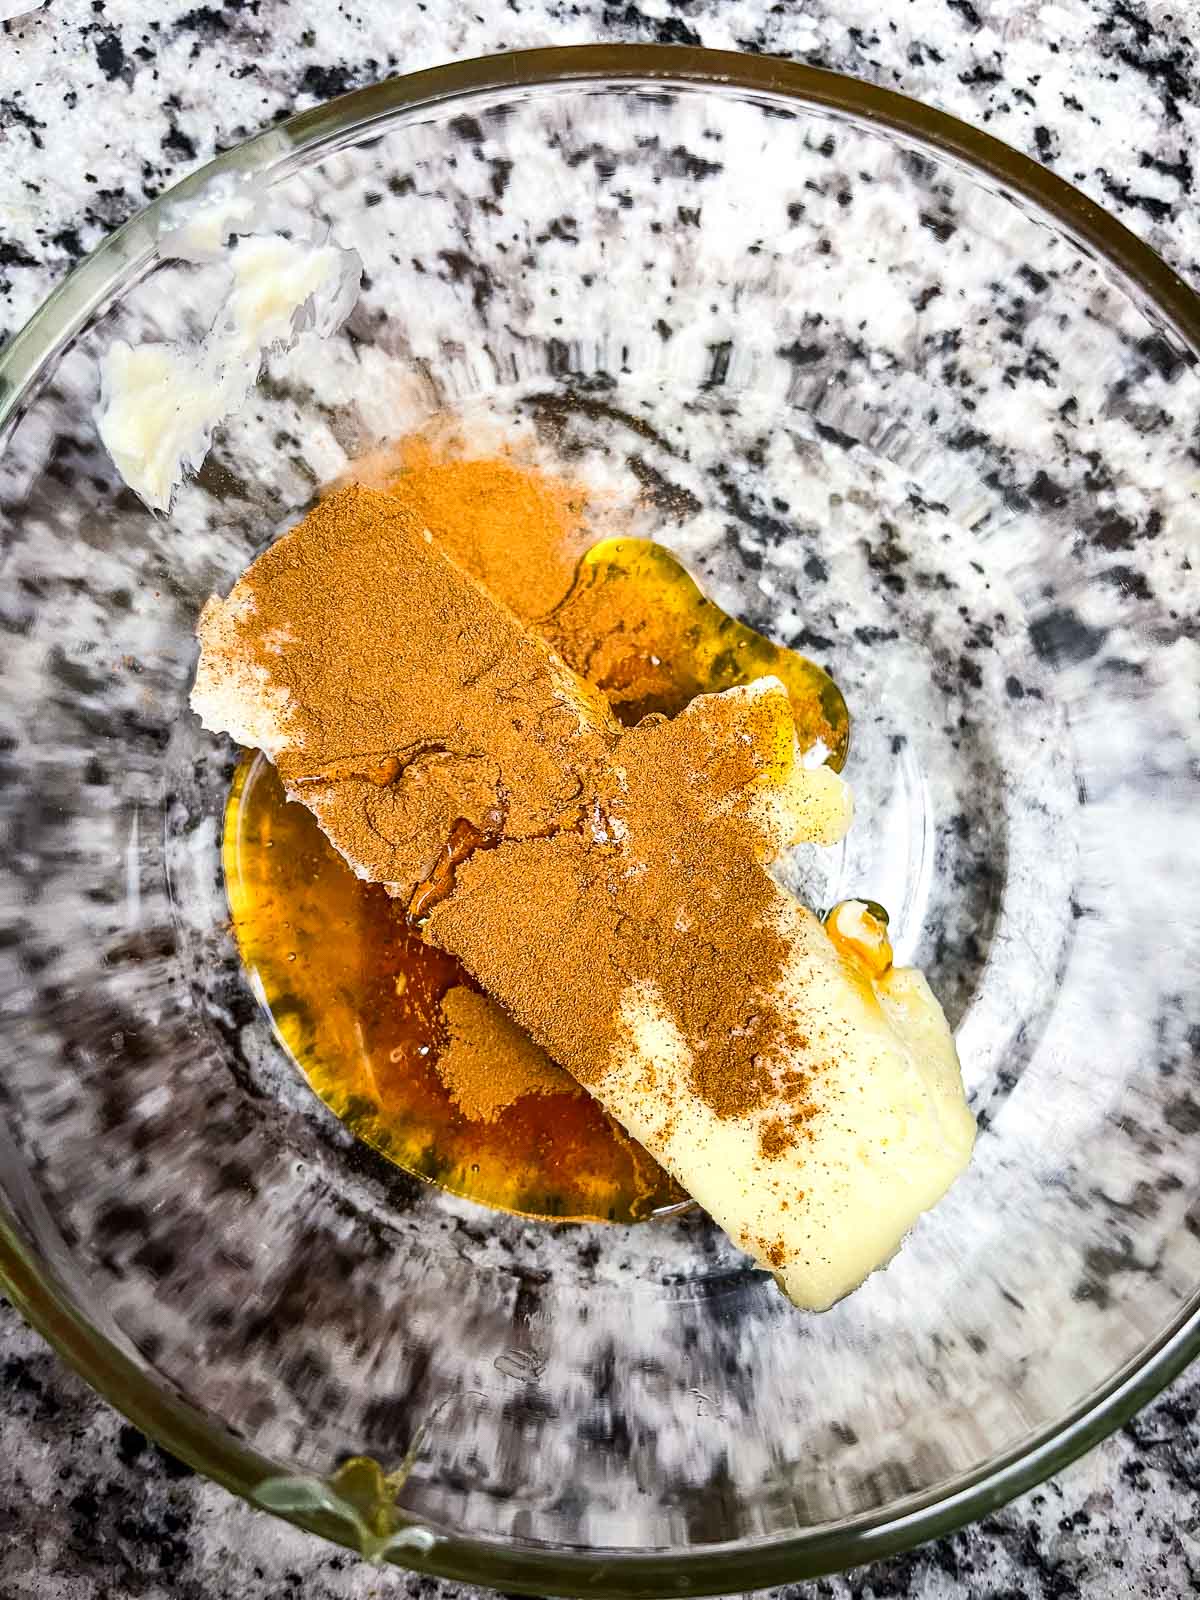
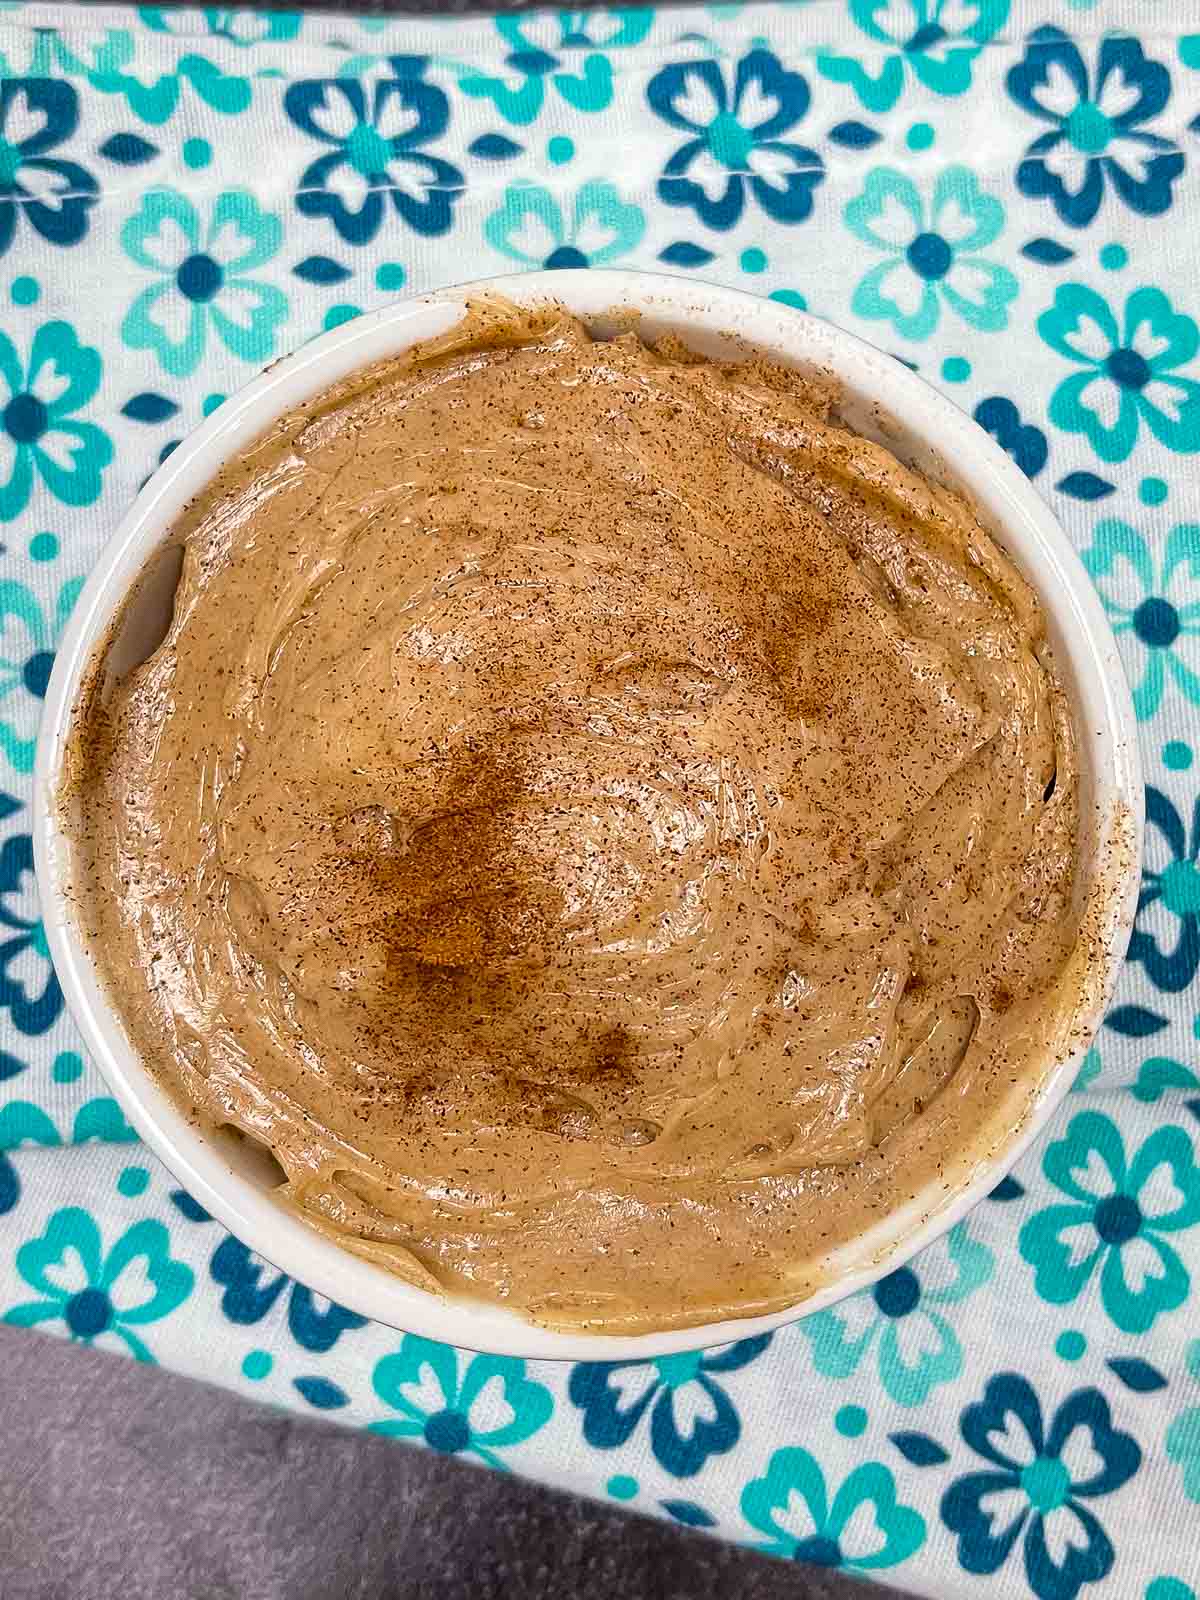
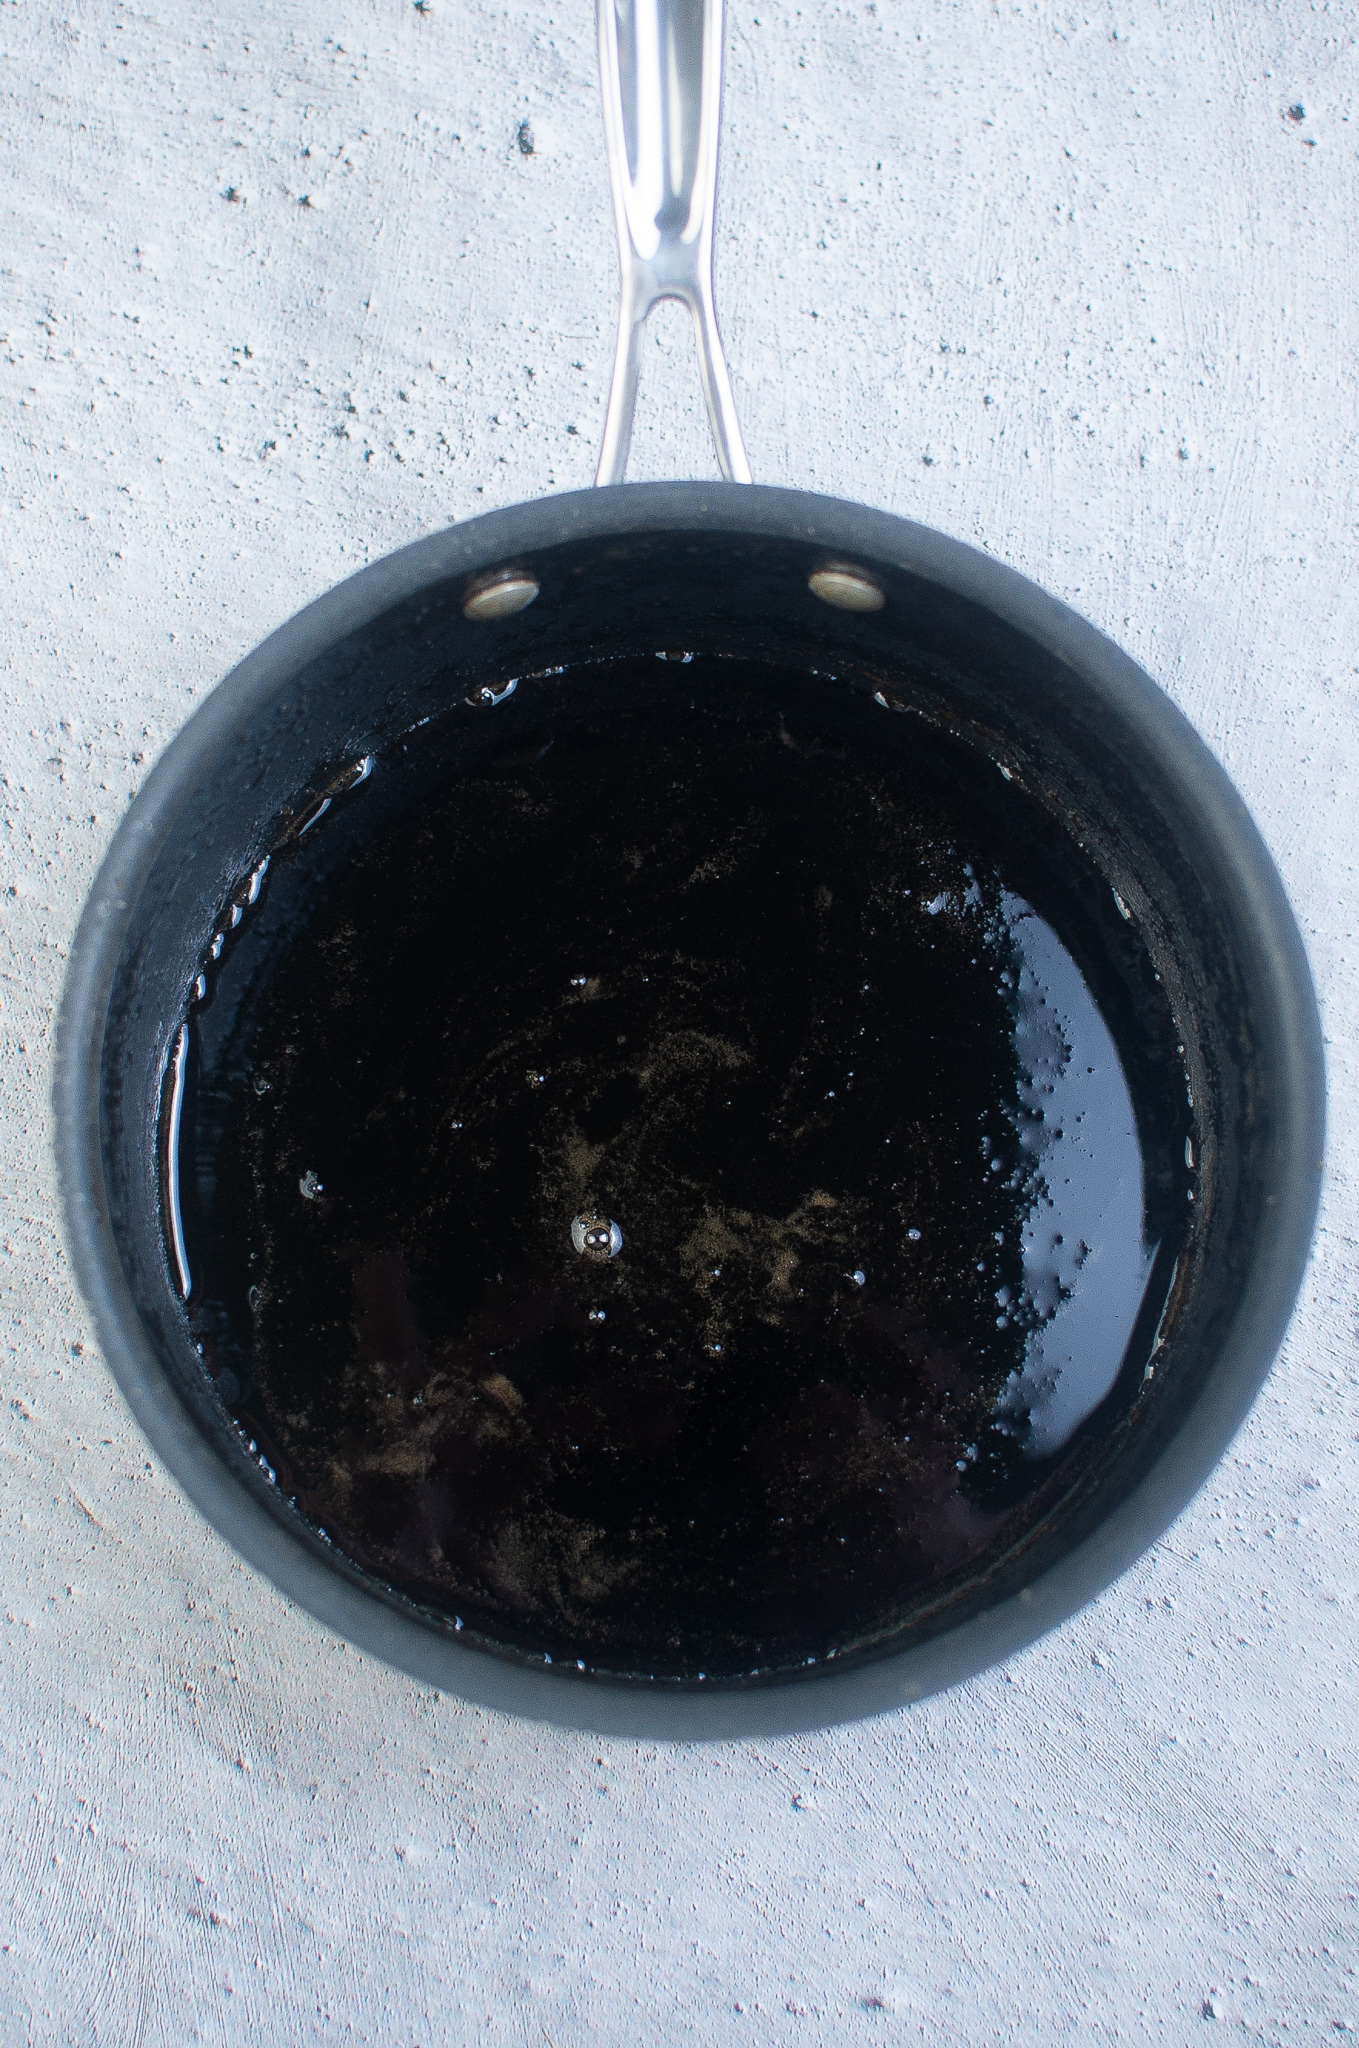
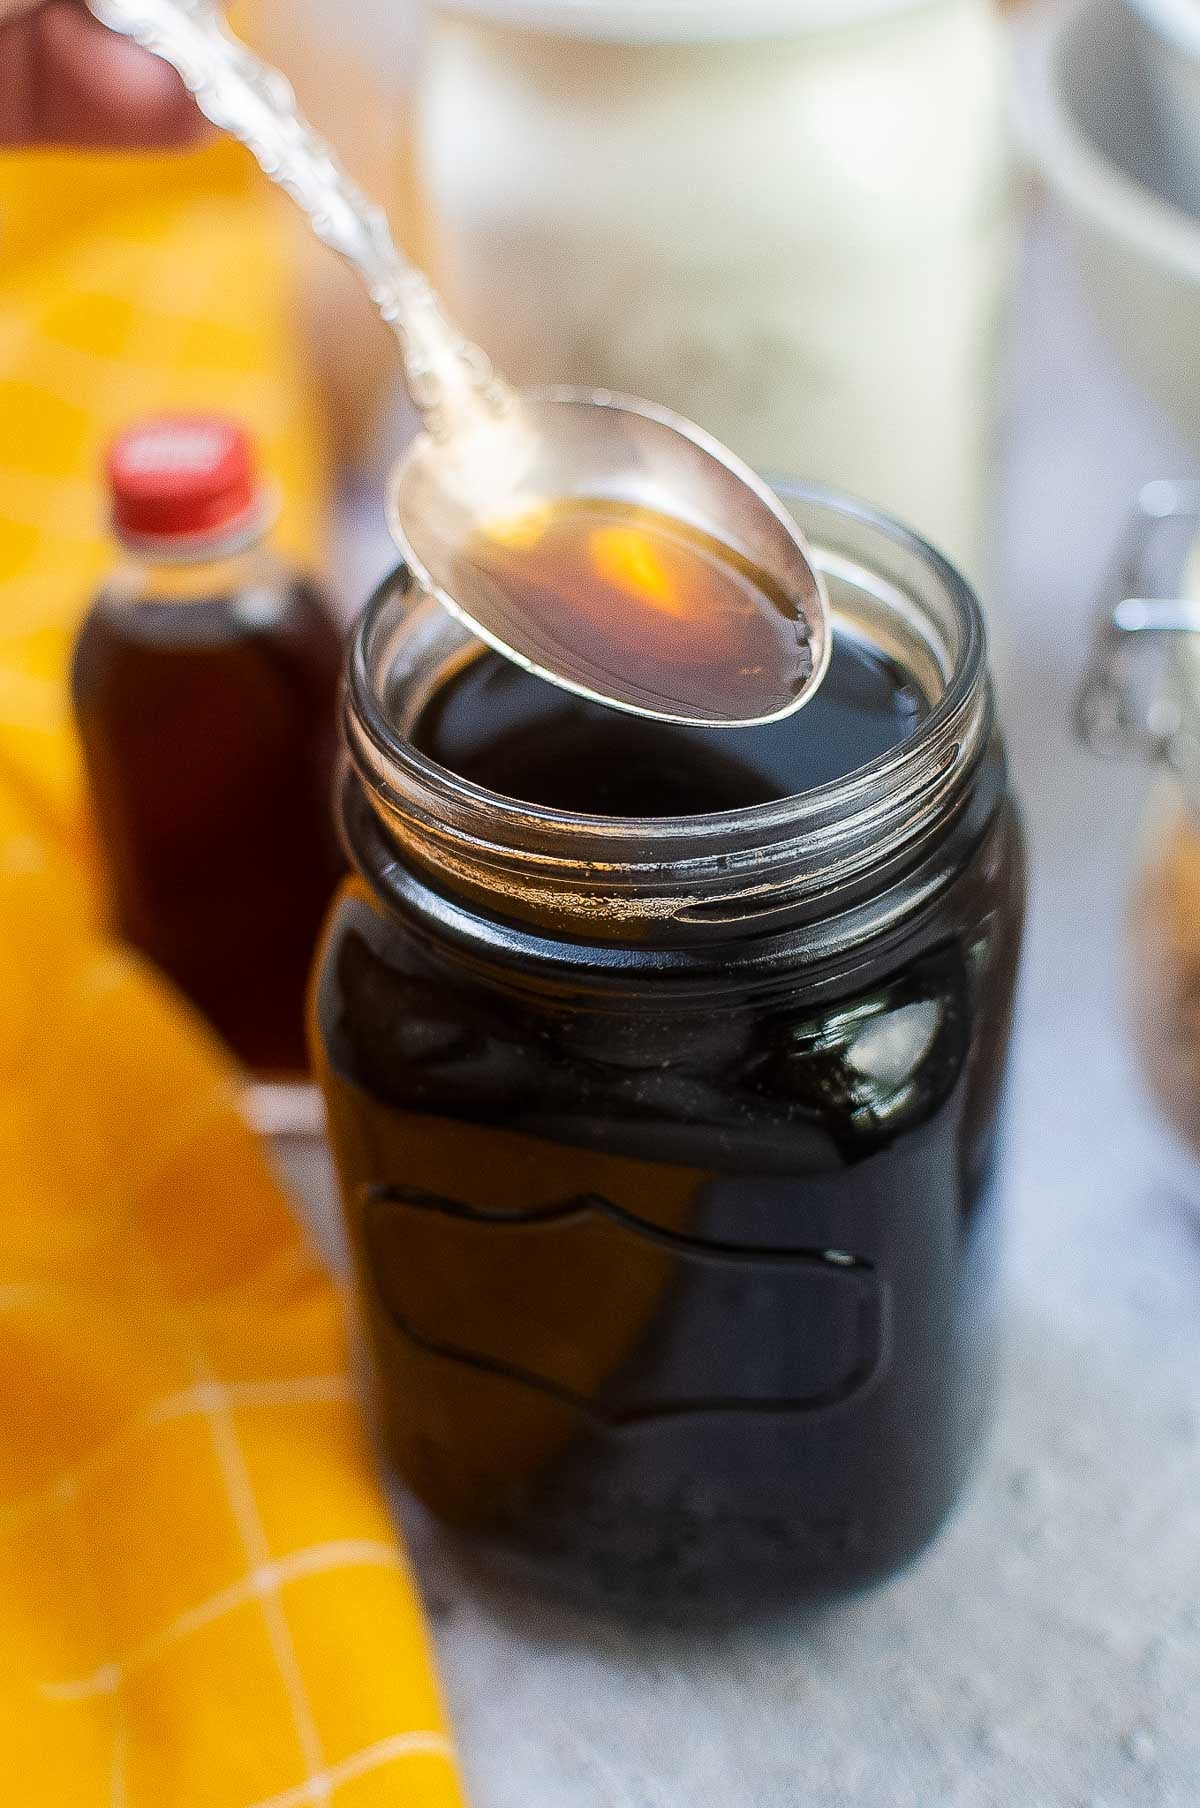
- Melt butter over medium heat in a small saucepan. Stir in the brown sugar, garlic powder, and worcestershire sauce. Heat on low for 2-3 minutes, stirring constantly, until sugar has dissolved.
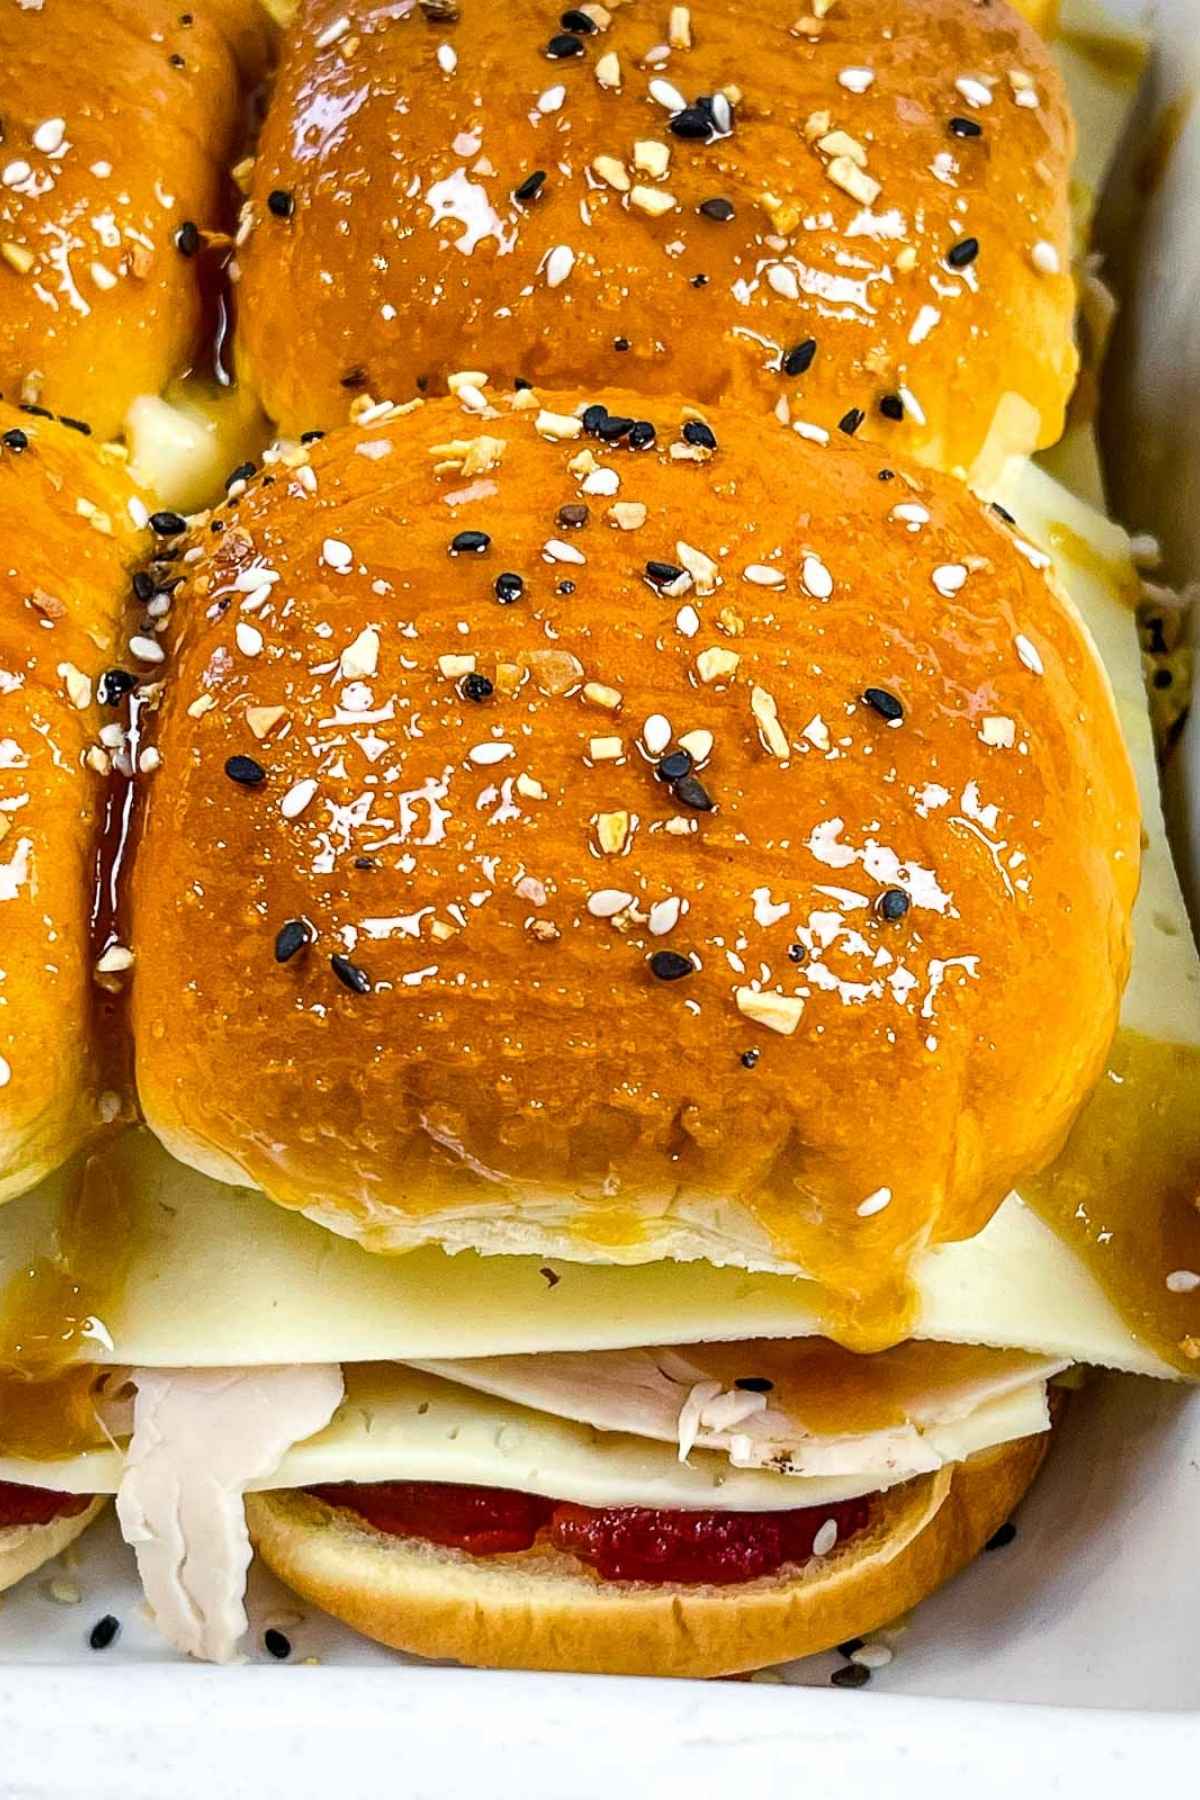
- Brush the melted butter mixture over the top of the rolls with a silicone pastry brush and sprinkle with everything bagel seasoning.
- Cover baking dish with aluminum foil and bake for 20 minutes. Remove the aluminum foil and continue to bake for 10 minutes, until cheese is melty and top of the buns are golden brown.