
You are going to love these Pumpkin Cranberry Muffins! They are studded with dried cranberries and mini cinnamon chips and when split open, that heavenly aroma will have you hooked!

❤️ Why you'll love it
Easy and delicious: these tasty pumpkin muffins are so easy to make and ready with just a mix and bake!
Portable: these can be packed in lunch boxes or enjoyed on the grab and go as you are headed to work.
Fluffy and moist: they bake up tall and stay moist! These are muffins that will not dry out on you.
🥘 Ingredients
As an Amazon Associate I earn from qualifying purchases.
All-purpose flour
Granulated sugar: part of the structure and what sweetens the muffins
Baking powder: aids in the muffins rising
Ground cinnamon: compliments the fall flavors with the pumpkin
Ground ginger: only a little bit is used as this is very strong in flavor. Can use allspice instead if desired.
Salt: enhances the flavors in the muffin
Canned pumpkin puree: be sure to buy pumpkin labeled puree, not pumpkin pie mix
Vegetable oil: feel free to use canola oil or any other neutral tasting oil
Large eggs:
Sweetened dried cranberries: my preference is Ocean Spray Craisins, I think these are the best flavor wise and do not dry out as fast as other brands.
Mini cinnamon chips: these can be hard to find in the grocery store but I usually can get them online.
Decorator sugar crystals: optional addition for appearance only, I used the large sugar crystals for baking.

🔪 Instructions
- Preheat oven to 400 degrees F. Spray muffin tin with cooking spray or line with paper liners. Set aside.
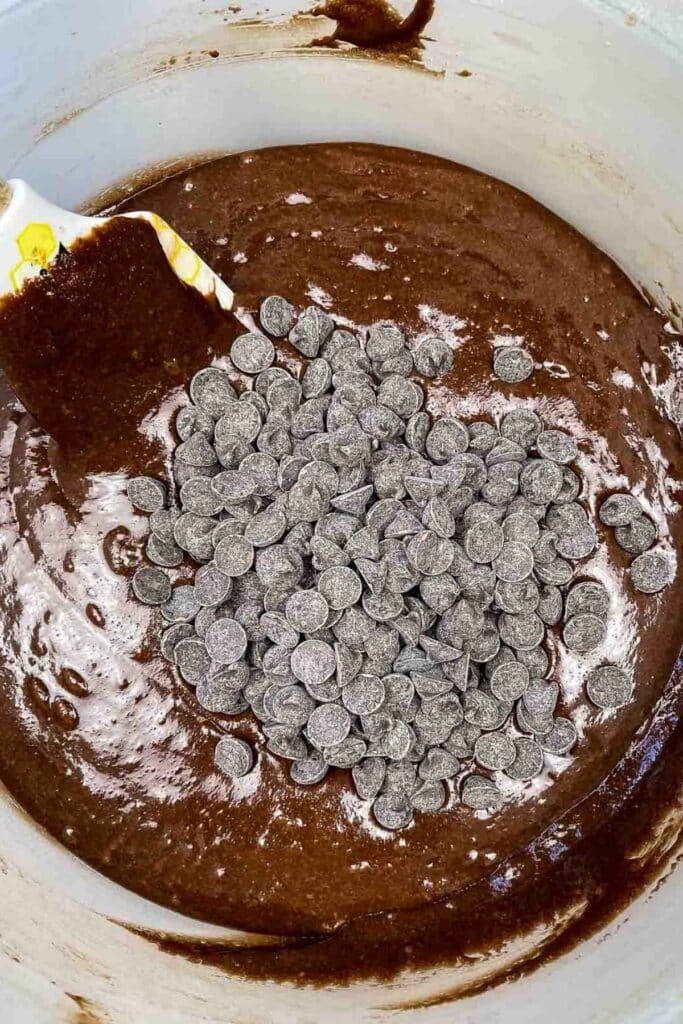
- In large bowl mix flour, sugar, baking powder, cinnamon, ginger, and salt. Add cranberries and cinnamon chips, tossing to coat with flour.
- In another large bowl, using a hand mixer on medium speed, mix together pumpkin, oil, and eggs.
- Gradually add dry ingredients into wet ingredients, stirring until just moistened.
- Using a large cookie scoop, equally divide batter into 12 muffin cups.
- Bake for 25 minutes, until muffins are golden and no longer wet on top.
- Remove muffins from oven and place on wire rack to cool.
🥄 Equipment
Large bowls
Muffin pan (12 cup)
Large cookie scoop
Cooling rack
🥫Storage
Countertop storage: Store cooled muffins in an airtight container in at room temperature up to 5 days.
Freeze: place muffins in an airtight freezer safe bag and seal, removing any excess air. Freeze up to 3 months.
📖 Variations
- Substitute mini semi-sweet chocolate chips for the mini cinnamon chips.
- Use raisins, or dried blueberries in place of the dried cranberries, or leave them out.
- Add 1 cup chopped pecans to the muffin batter.
💭 Tips
- Muffin batter should be mixed until the ingredients are "just" wet. If you see a few flecks of flour in the batter still, it is ok. Overmixing muffins will make them tough.

📚 Related Recipes
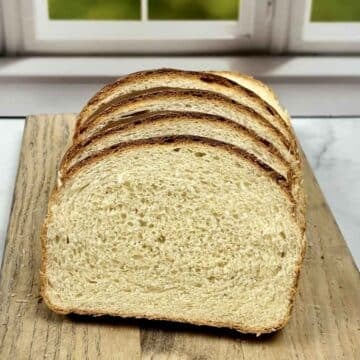
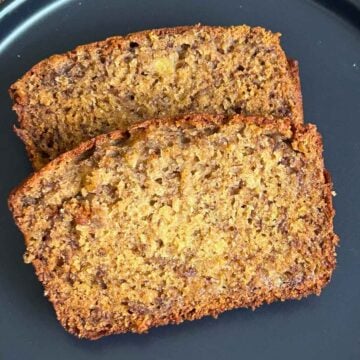
I love to make and give this Spiced Pumpkin Bread away as hostess gifts!
This Cranberry Upside Down Cake is a delicious winter dessert.
These Pumpkin Snickerdoodles are so easy to make in the air fryer!
🍽 Serve with...
These muffins are perfect as part of a weekend brunch along with a hot cup of coffee, tea, or cocoa!
📖 Recipe

Pumpkin Cranberry Muffins
As an Amazon Associate I earn from qualifying purchases.
Ingredients
- 2 cups all-purpose flour
- ¾ cup granulated sugar
- 3 teaspoons baking powder
- 1 teaspoon ground cinnamon
- ½ teaspoon ground ginger
- ¼ teaspoon salt
- 1 cup canned pumpkin puree
- ½ cup vegetable oil
- 2 eggs
- 1 cup craisins
- ½ cup mini cinnamon chips
- Decorator sugar crystals (optional)
Instructions
- Preheat oven to 400 degrees F. Spray muffin tin with cooking spray or line with paper liners. Set aside.
- In large bowl mix flour, sugar, baking powder, cinnamon, ginger, and salt. Add cranberries and cinnamon chips, tossing to coat with flour.
- In another large bowl, using a hand mixer on medium speed, mix together pumpkin, oil, and eggs.
- Gradually add dry ingredients into wet ingredients, stirring until just moistened.
- Using a large cookie scoop, equally divide batter into 12 muffin cups.
- Bake for 25 minutes, until muffins are golden and no longer wet on top.
- Remove muffins from oven and place on wire rack to cool.


