
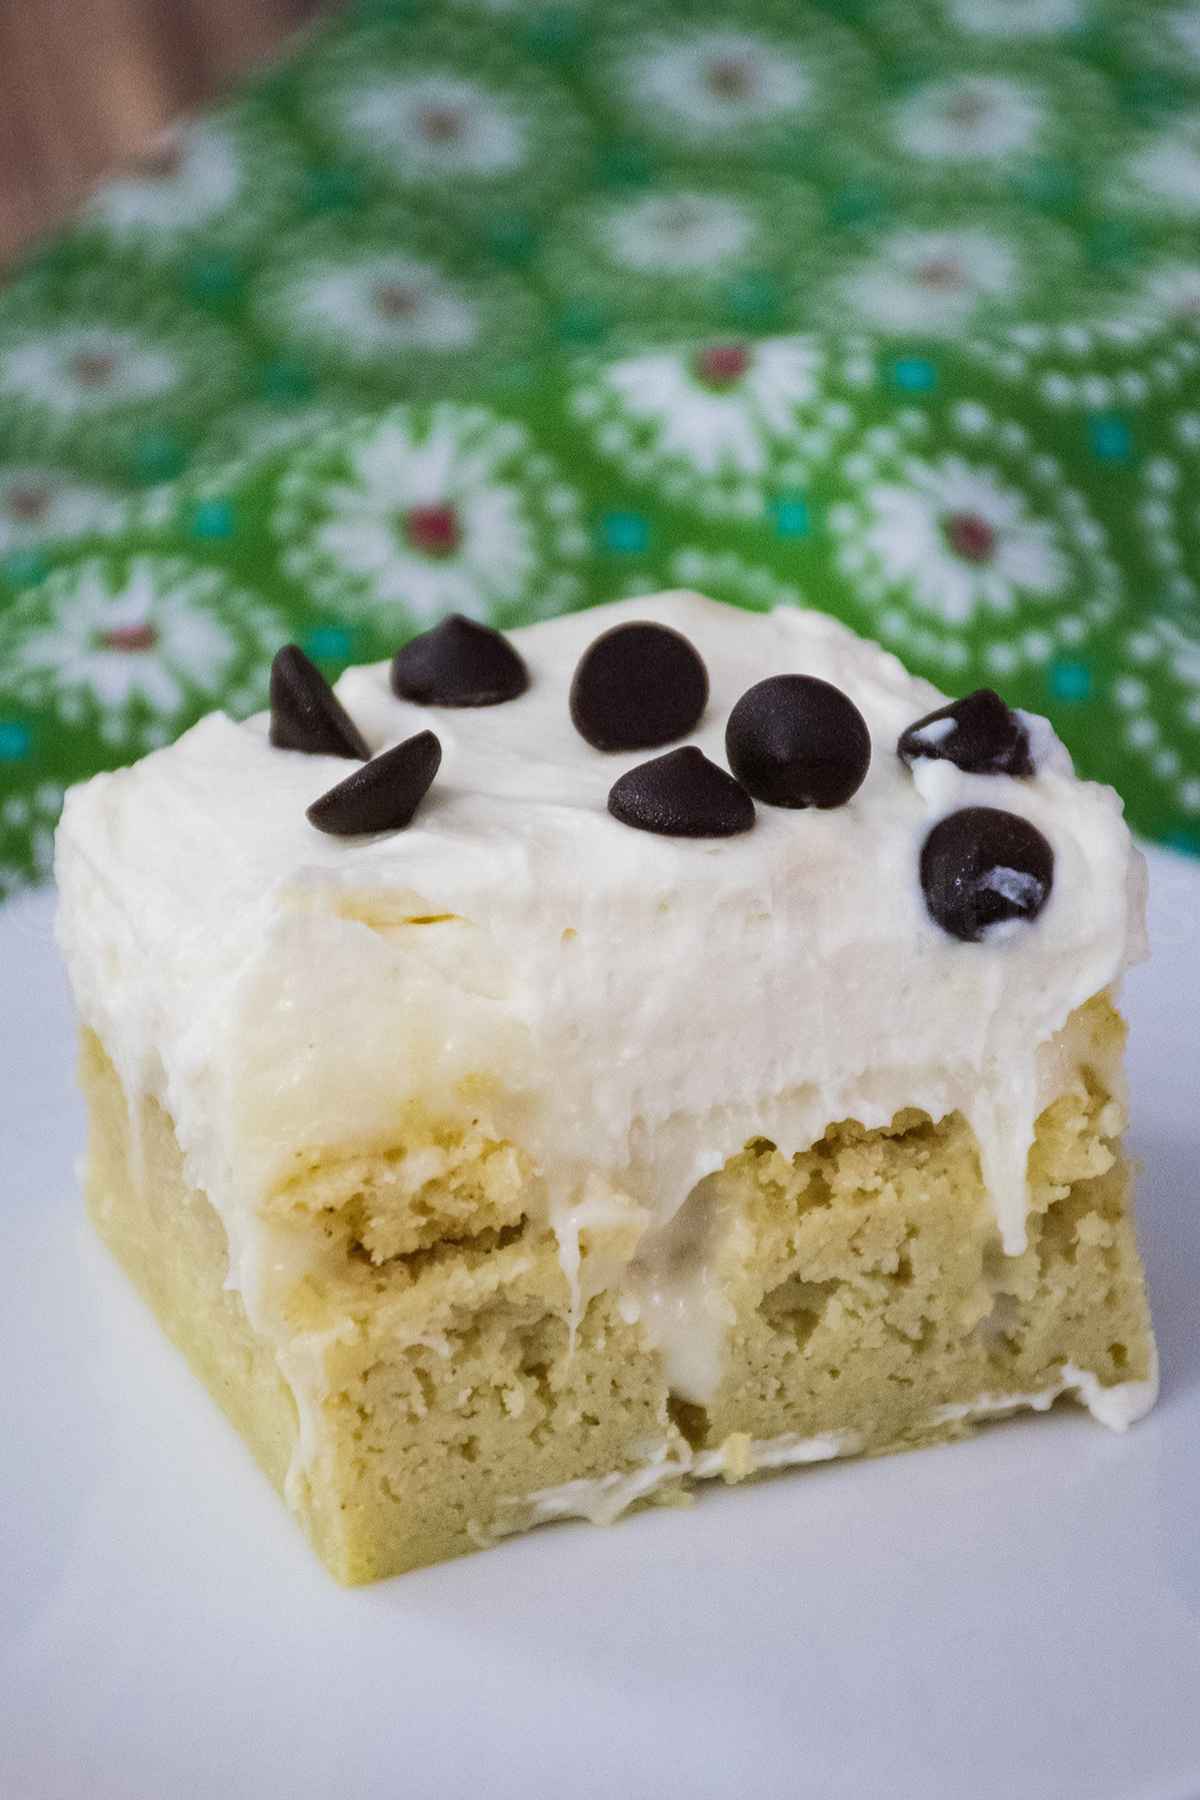
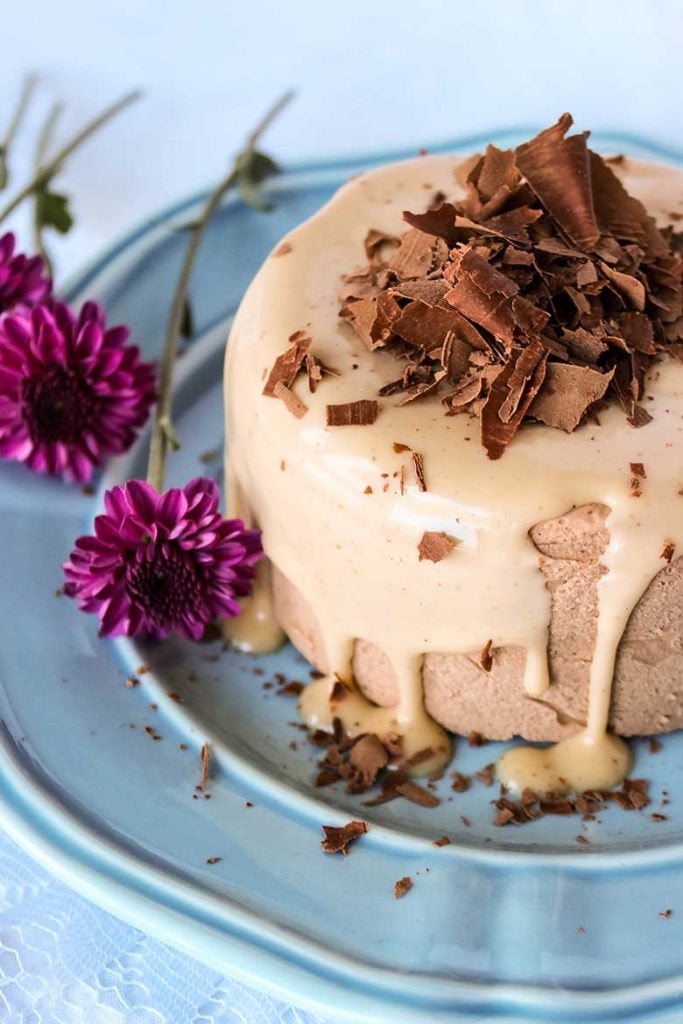
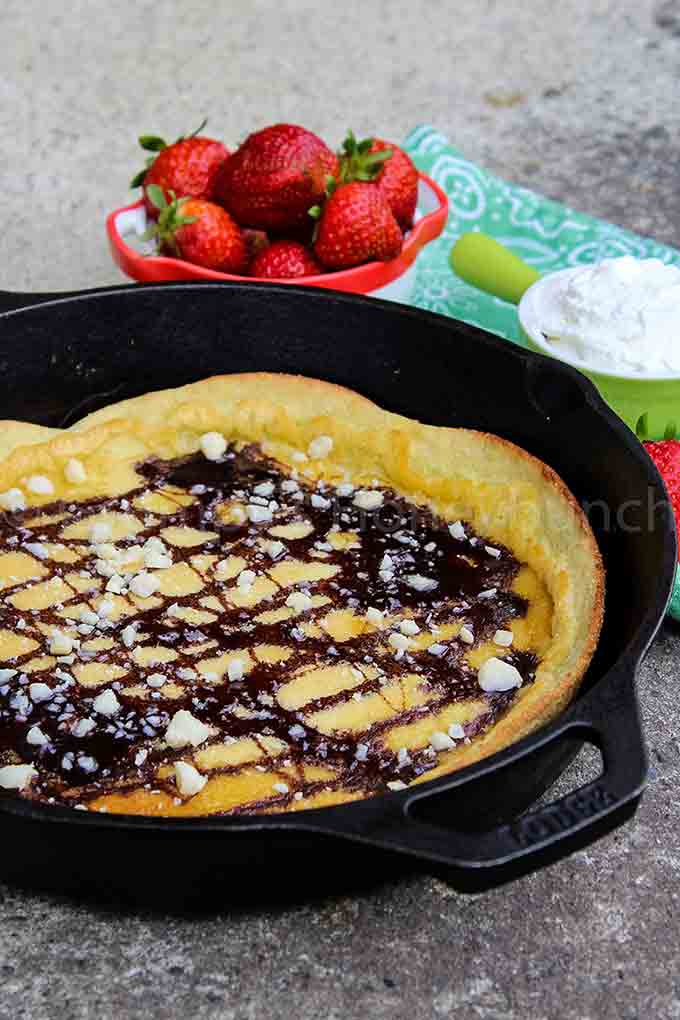
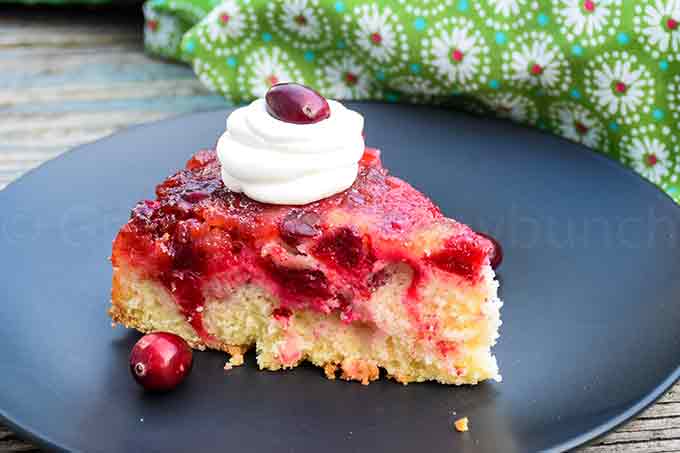
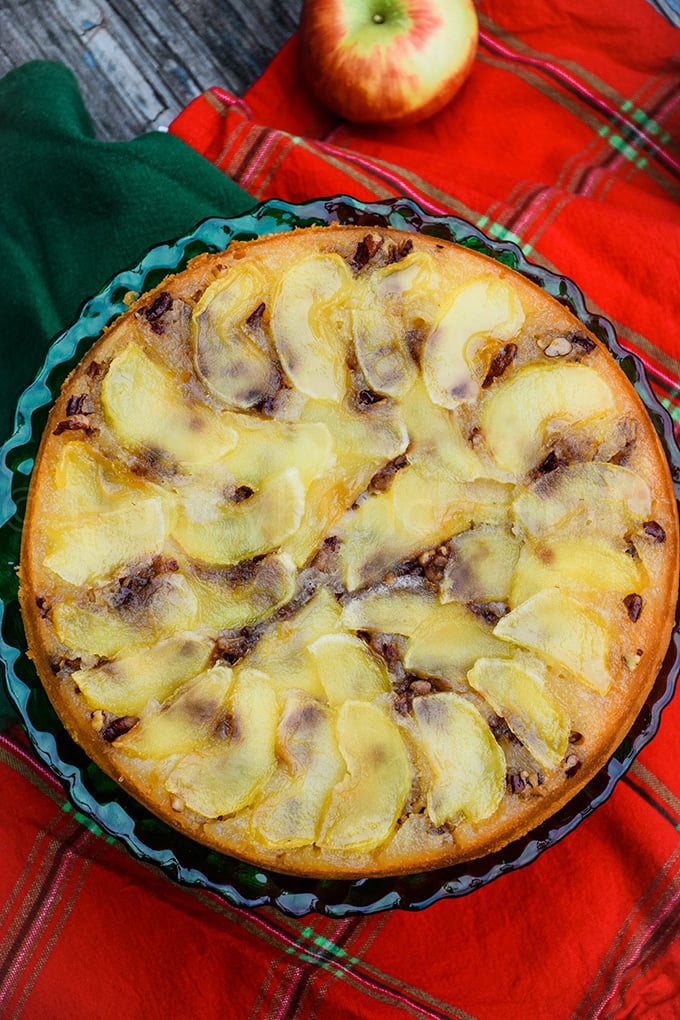
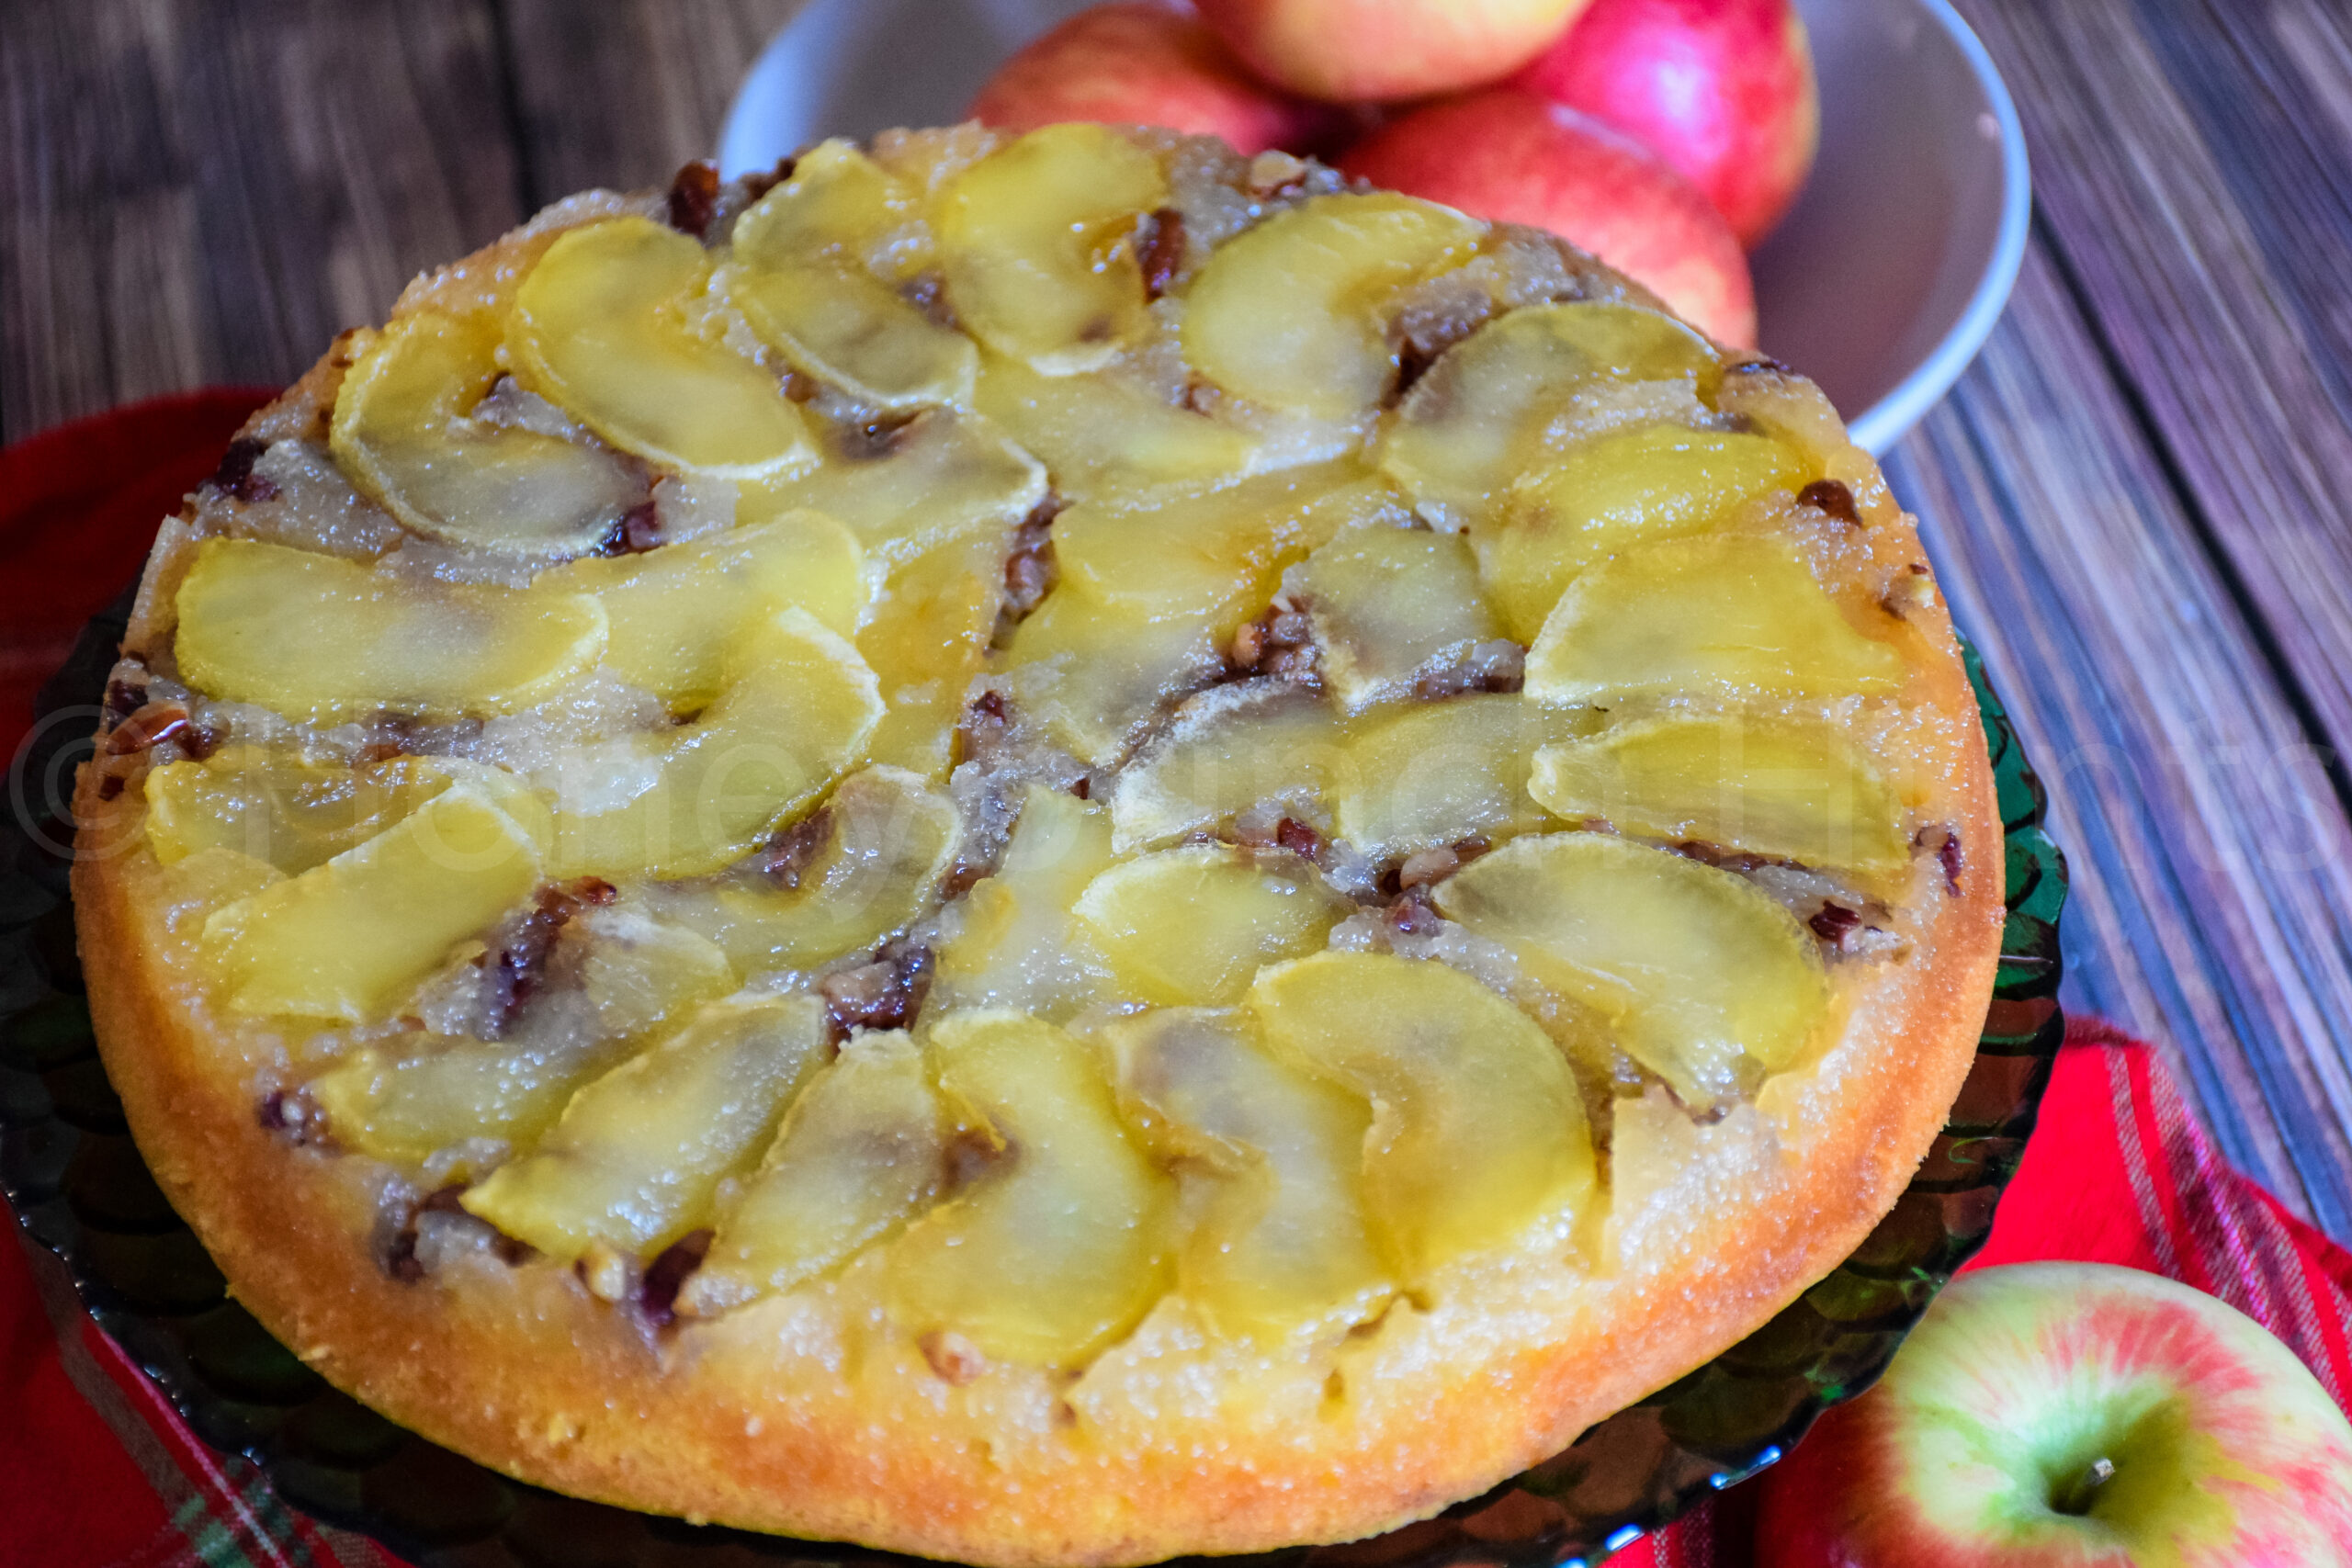
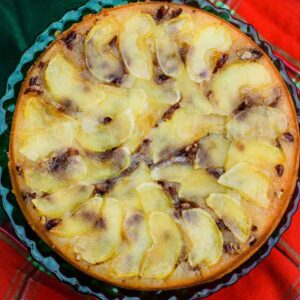
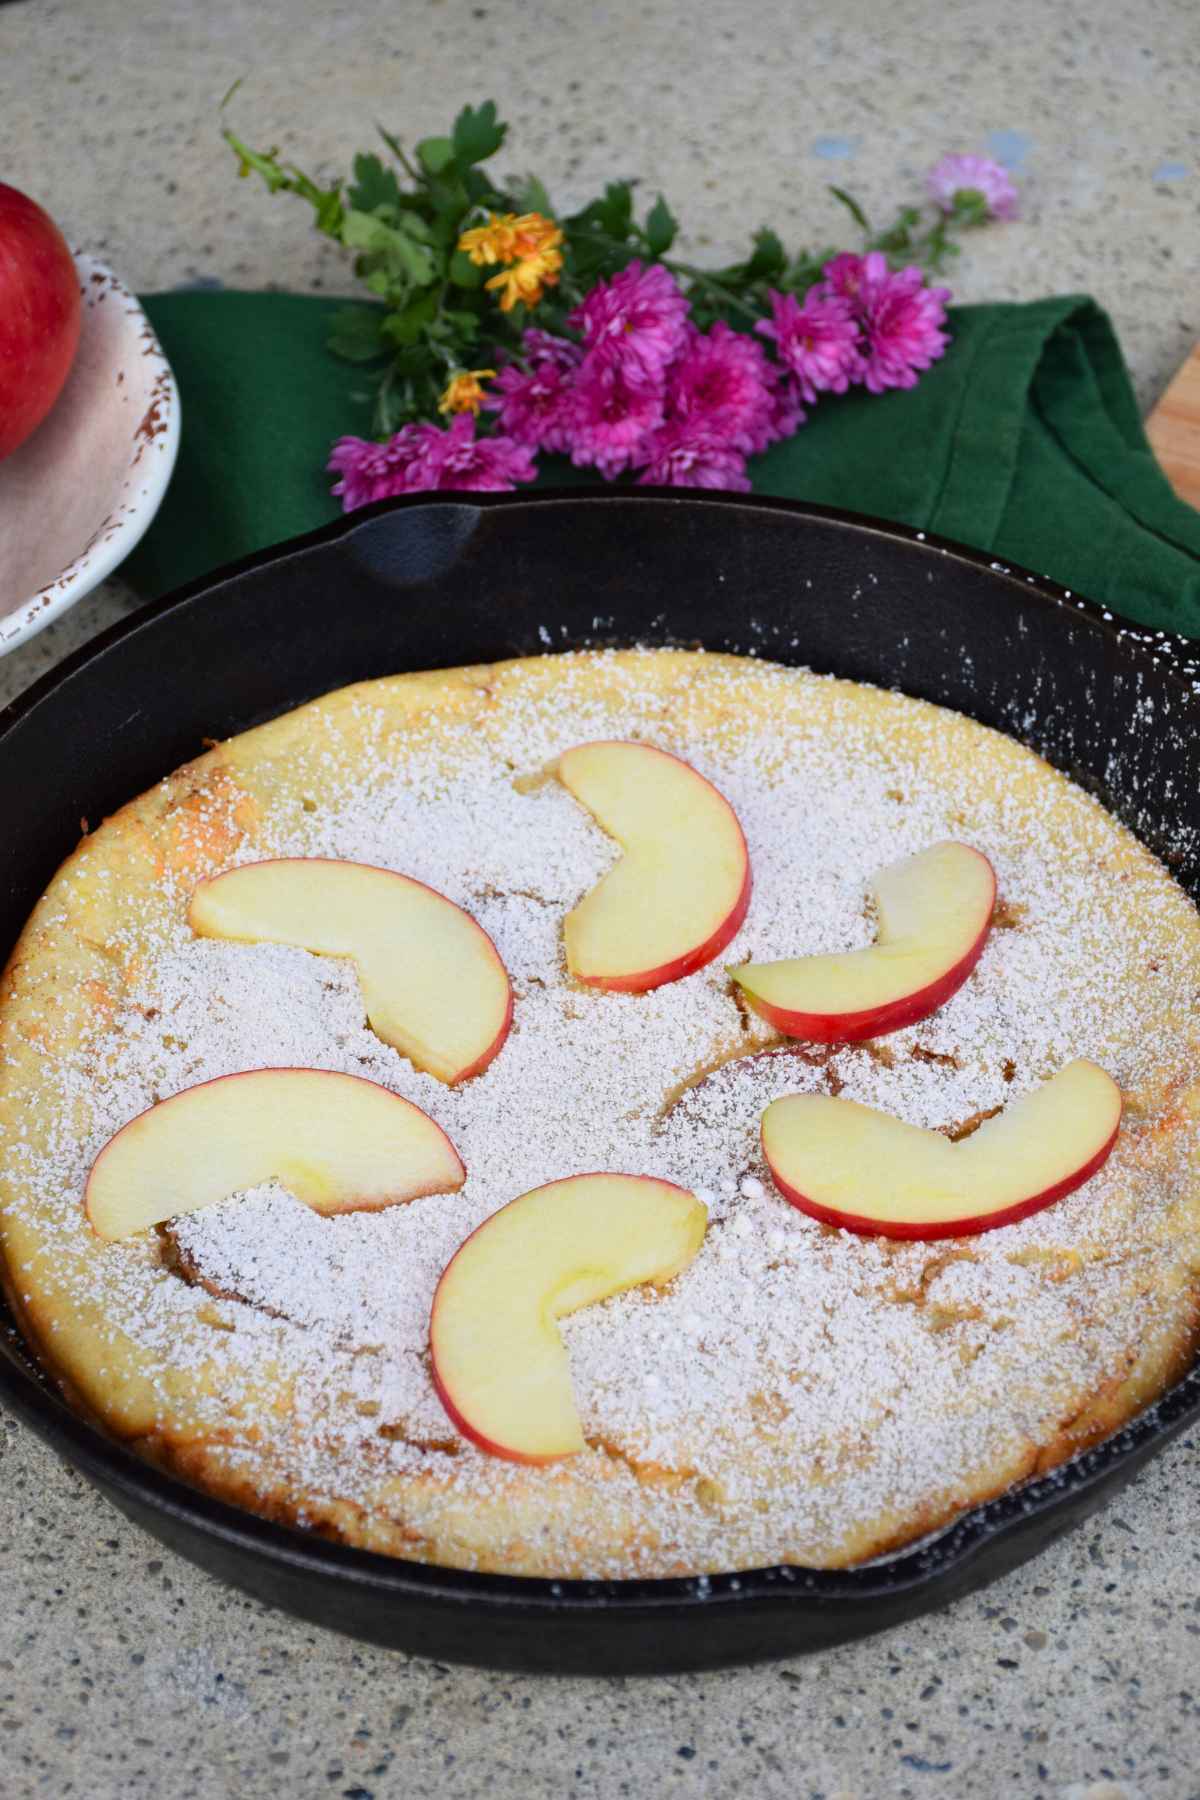
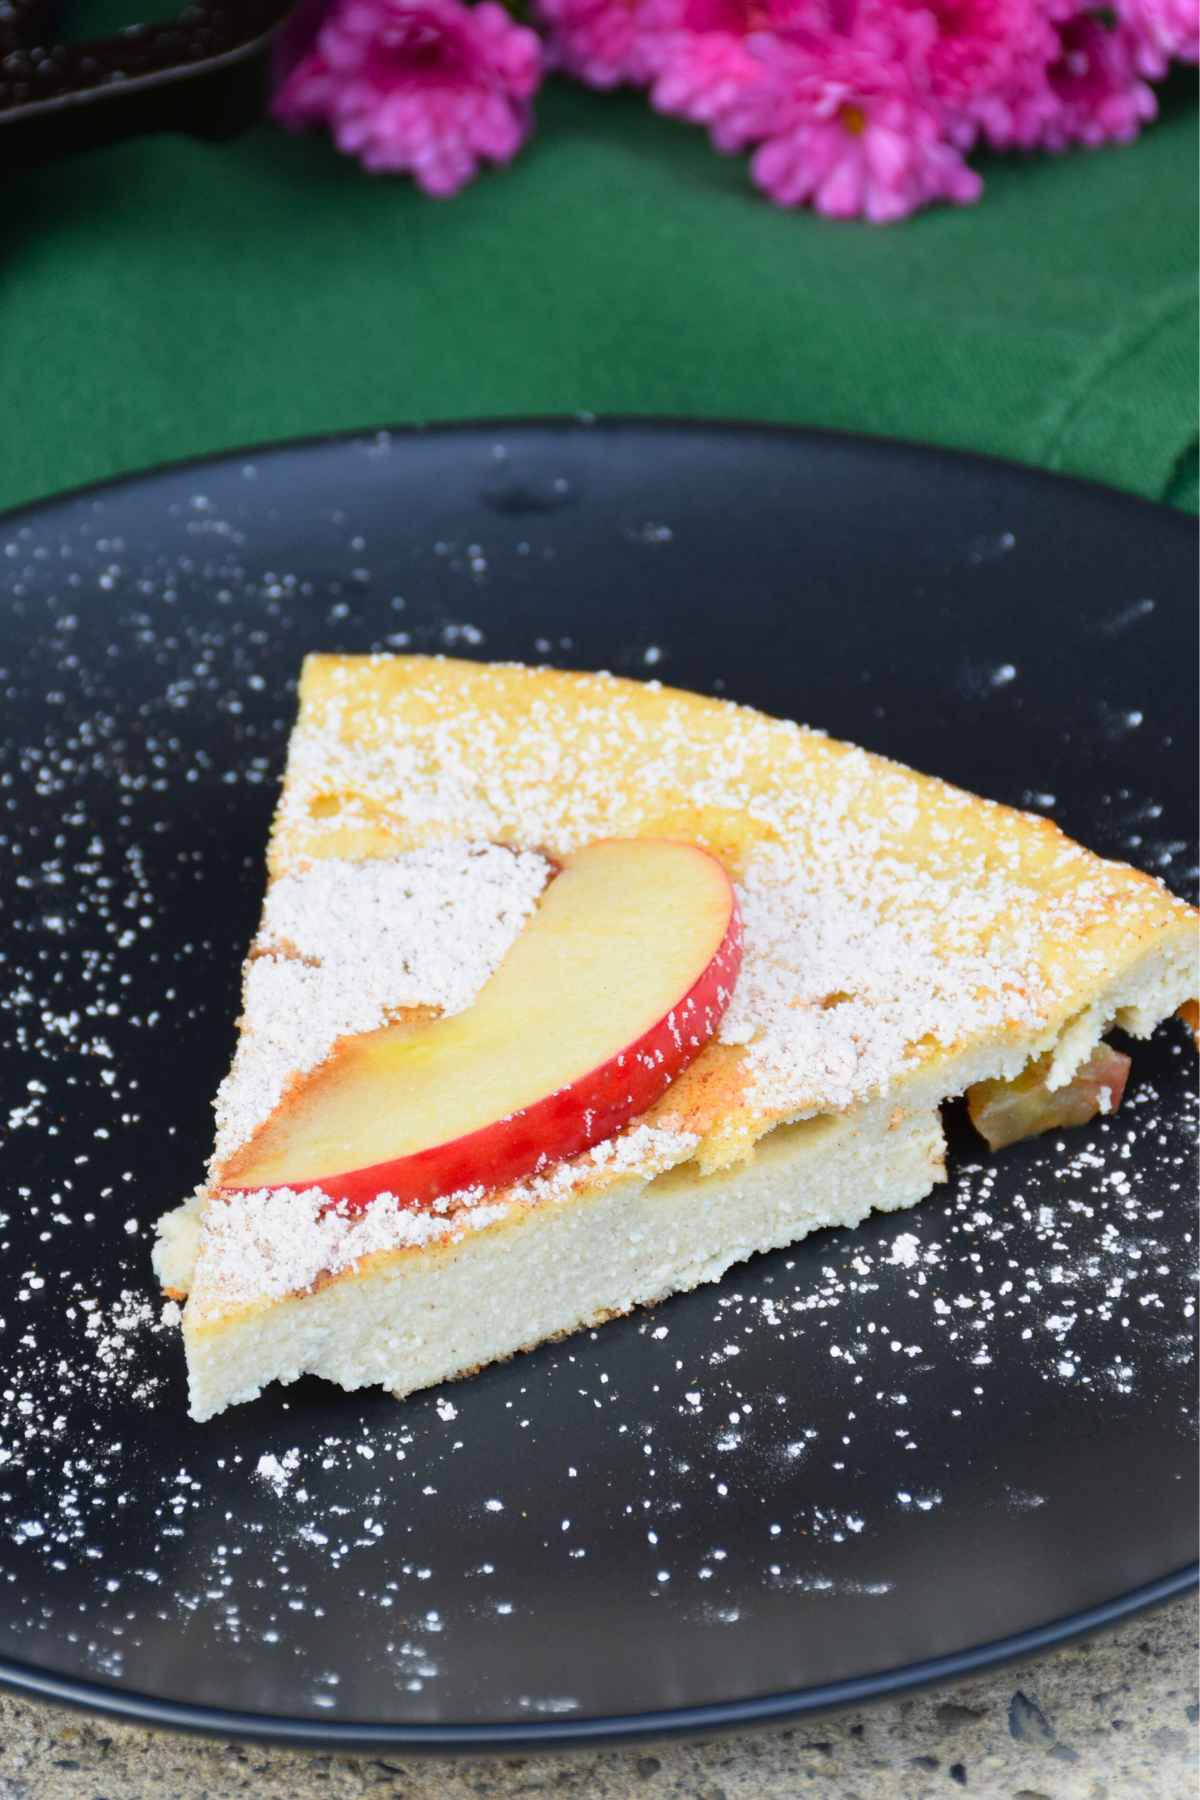
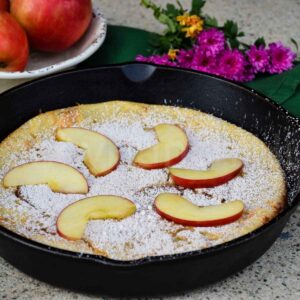
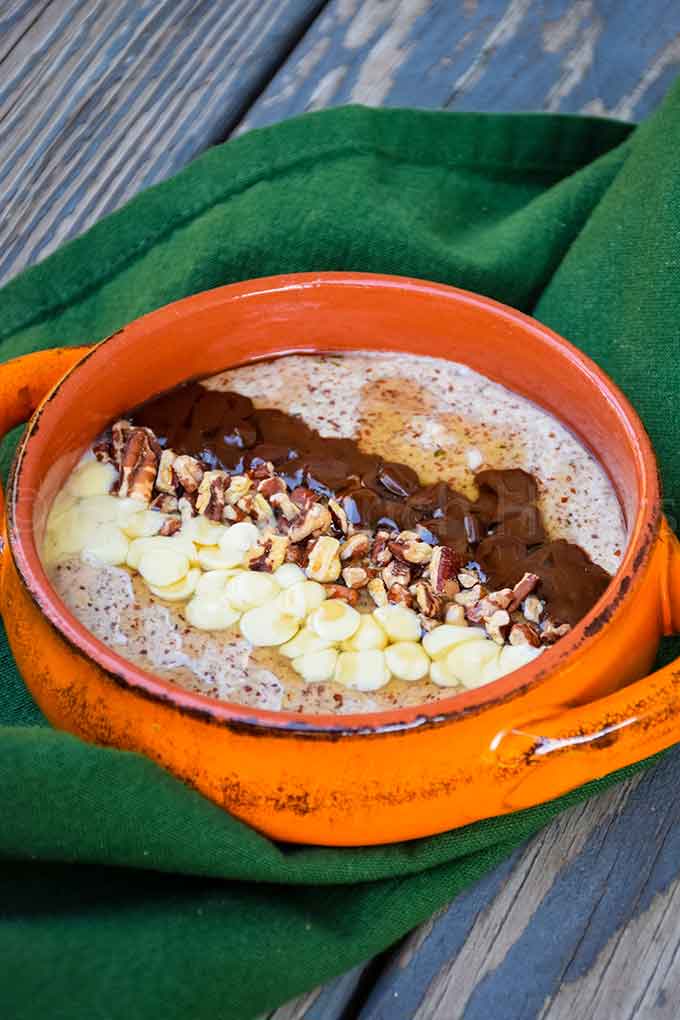
This Keto Cannoli Poke Cake is a light, sugar-free version of the classic Italian inspired dessert. A tender coconut flour cake is soaked in sugar-free condensed milk and finished with a creamy ricotta mascarpone topping.
Cannoli were always a favorite at famly gatherings, and this poke cake lets me enjoy those same flavors without the sugar. It's a beautiful dessert for holidays, birthdays, or just when you're craving something sweet, but still want to keep it low carb. If you enjoyed my Keto Cannoli Cookie Cups, you will love this recipe!
[feast_advanced_jump_to]Why You'll Love This Recipe
Keto-friendly: made with coconut flour and monkfruit instead of sugar.
Moist texture: sugar free condensed milk seeps into the cake for incredible flavor.
Cannoli inspired: ricotta and mascarpone recreate the classic Italian dessert taste.
Easy method: no pastry shells, just bake, soak, and top!
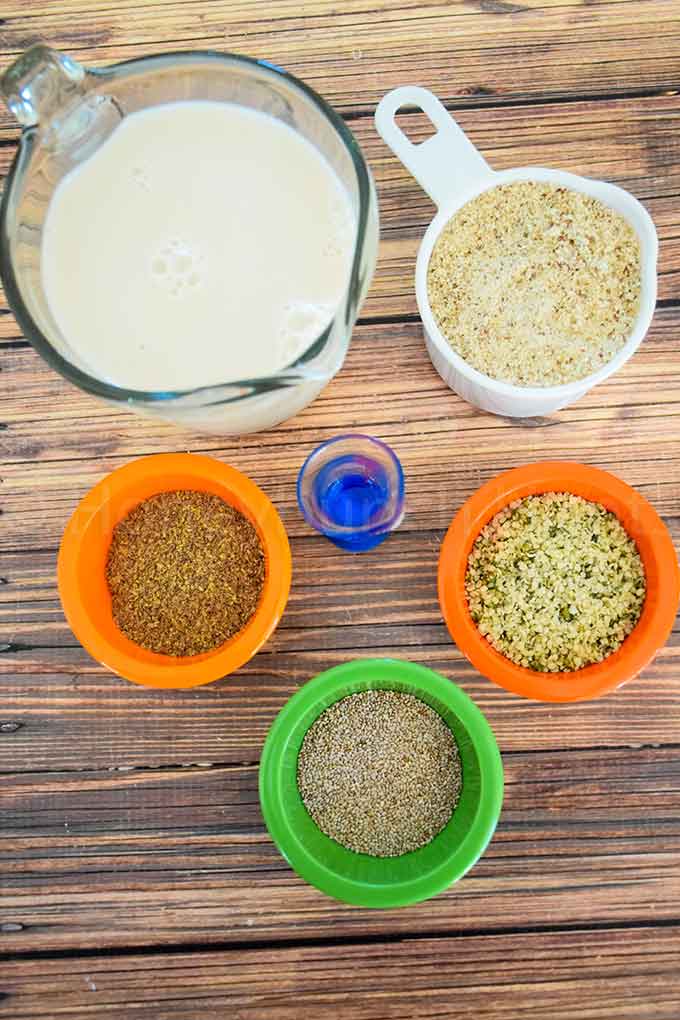
Key Ingredients for Keto Cannoli Cake
See recipe card below for full list of ingredients and instructions.
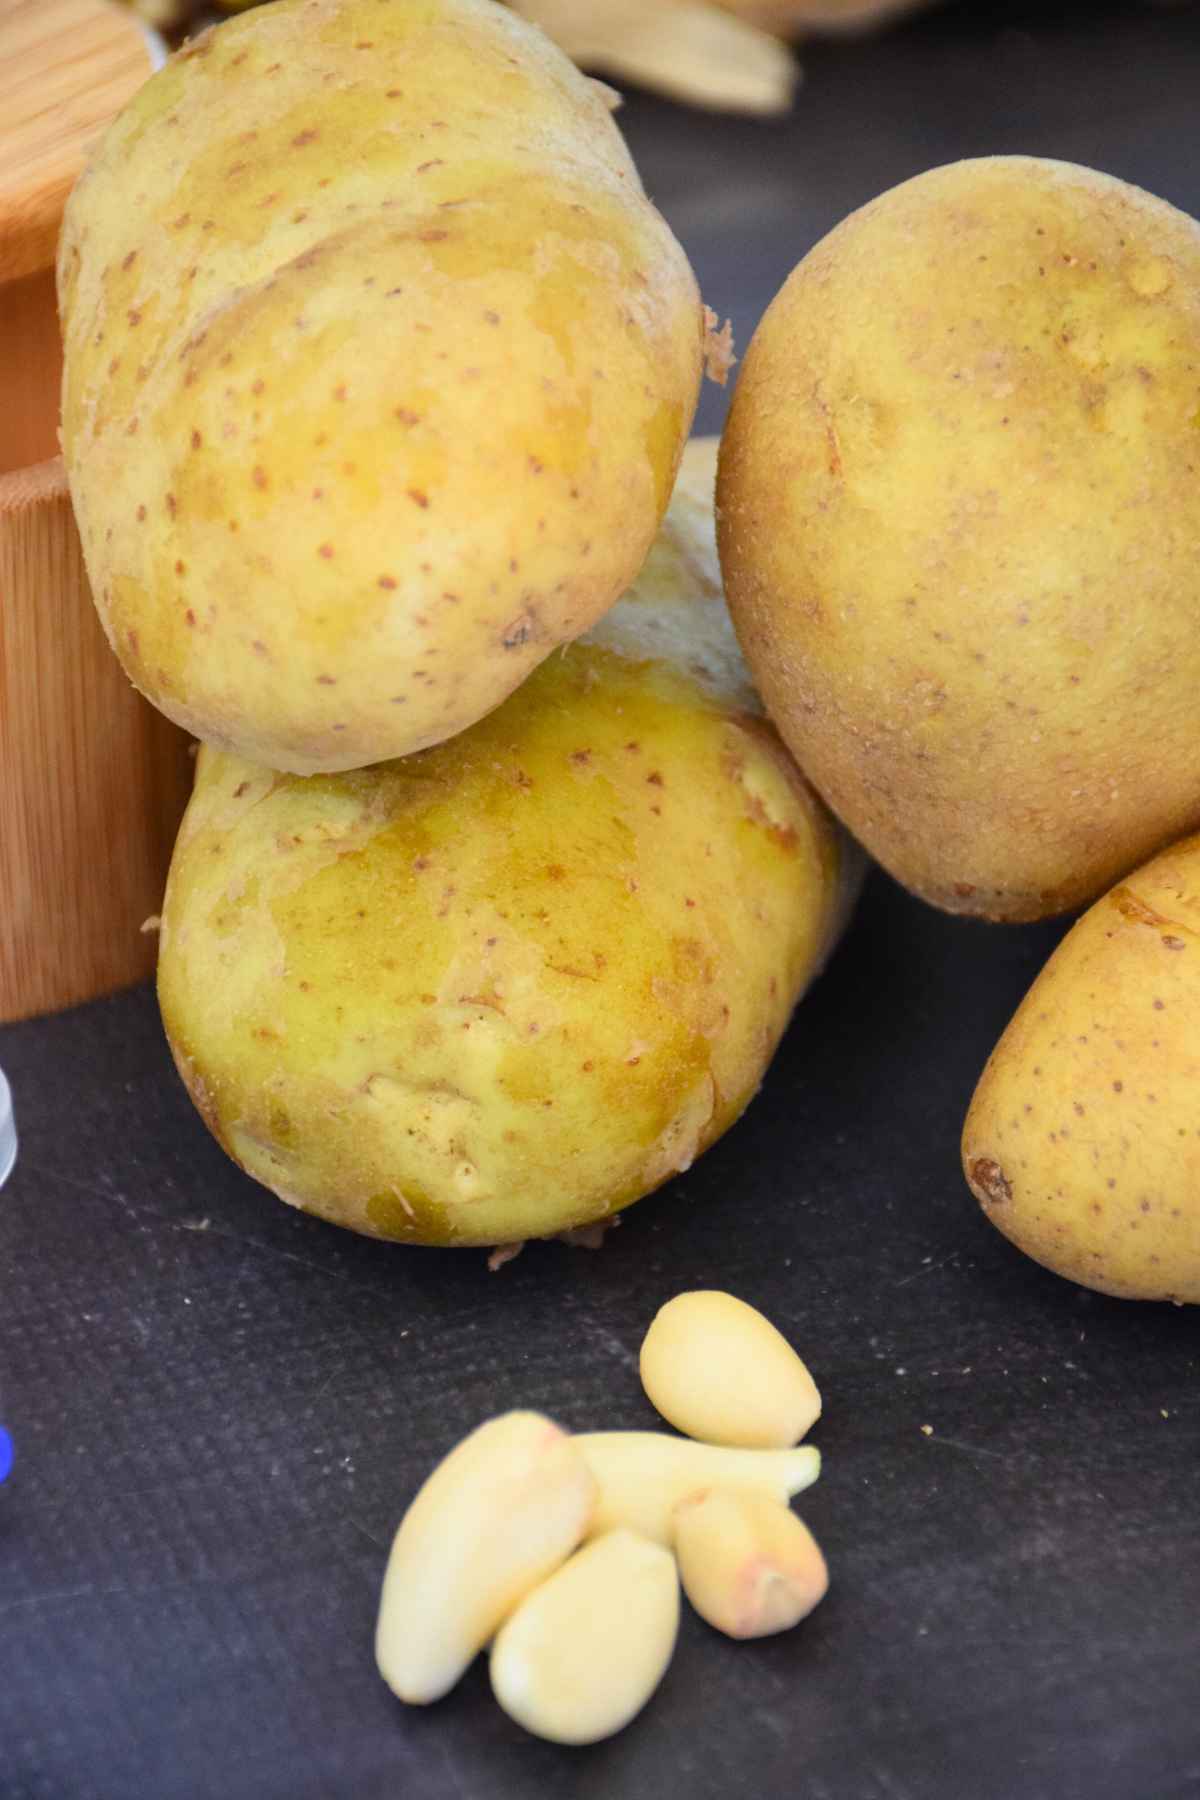
- Coconut flour: low carb flour that makes a tender sponge.
- Powdered monk fruit: adds sweetness without sugar.
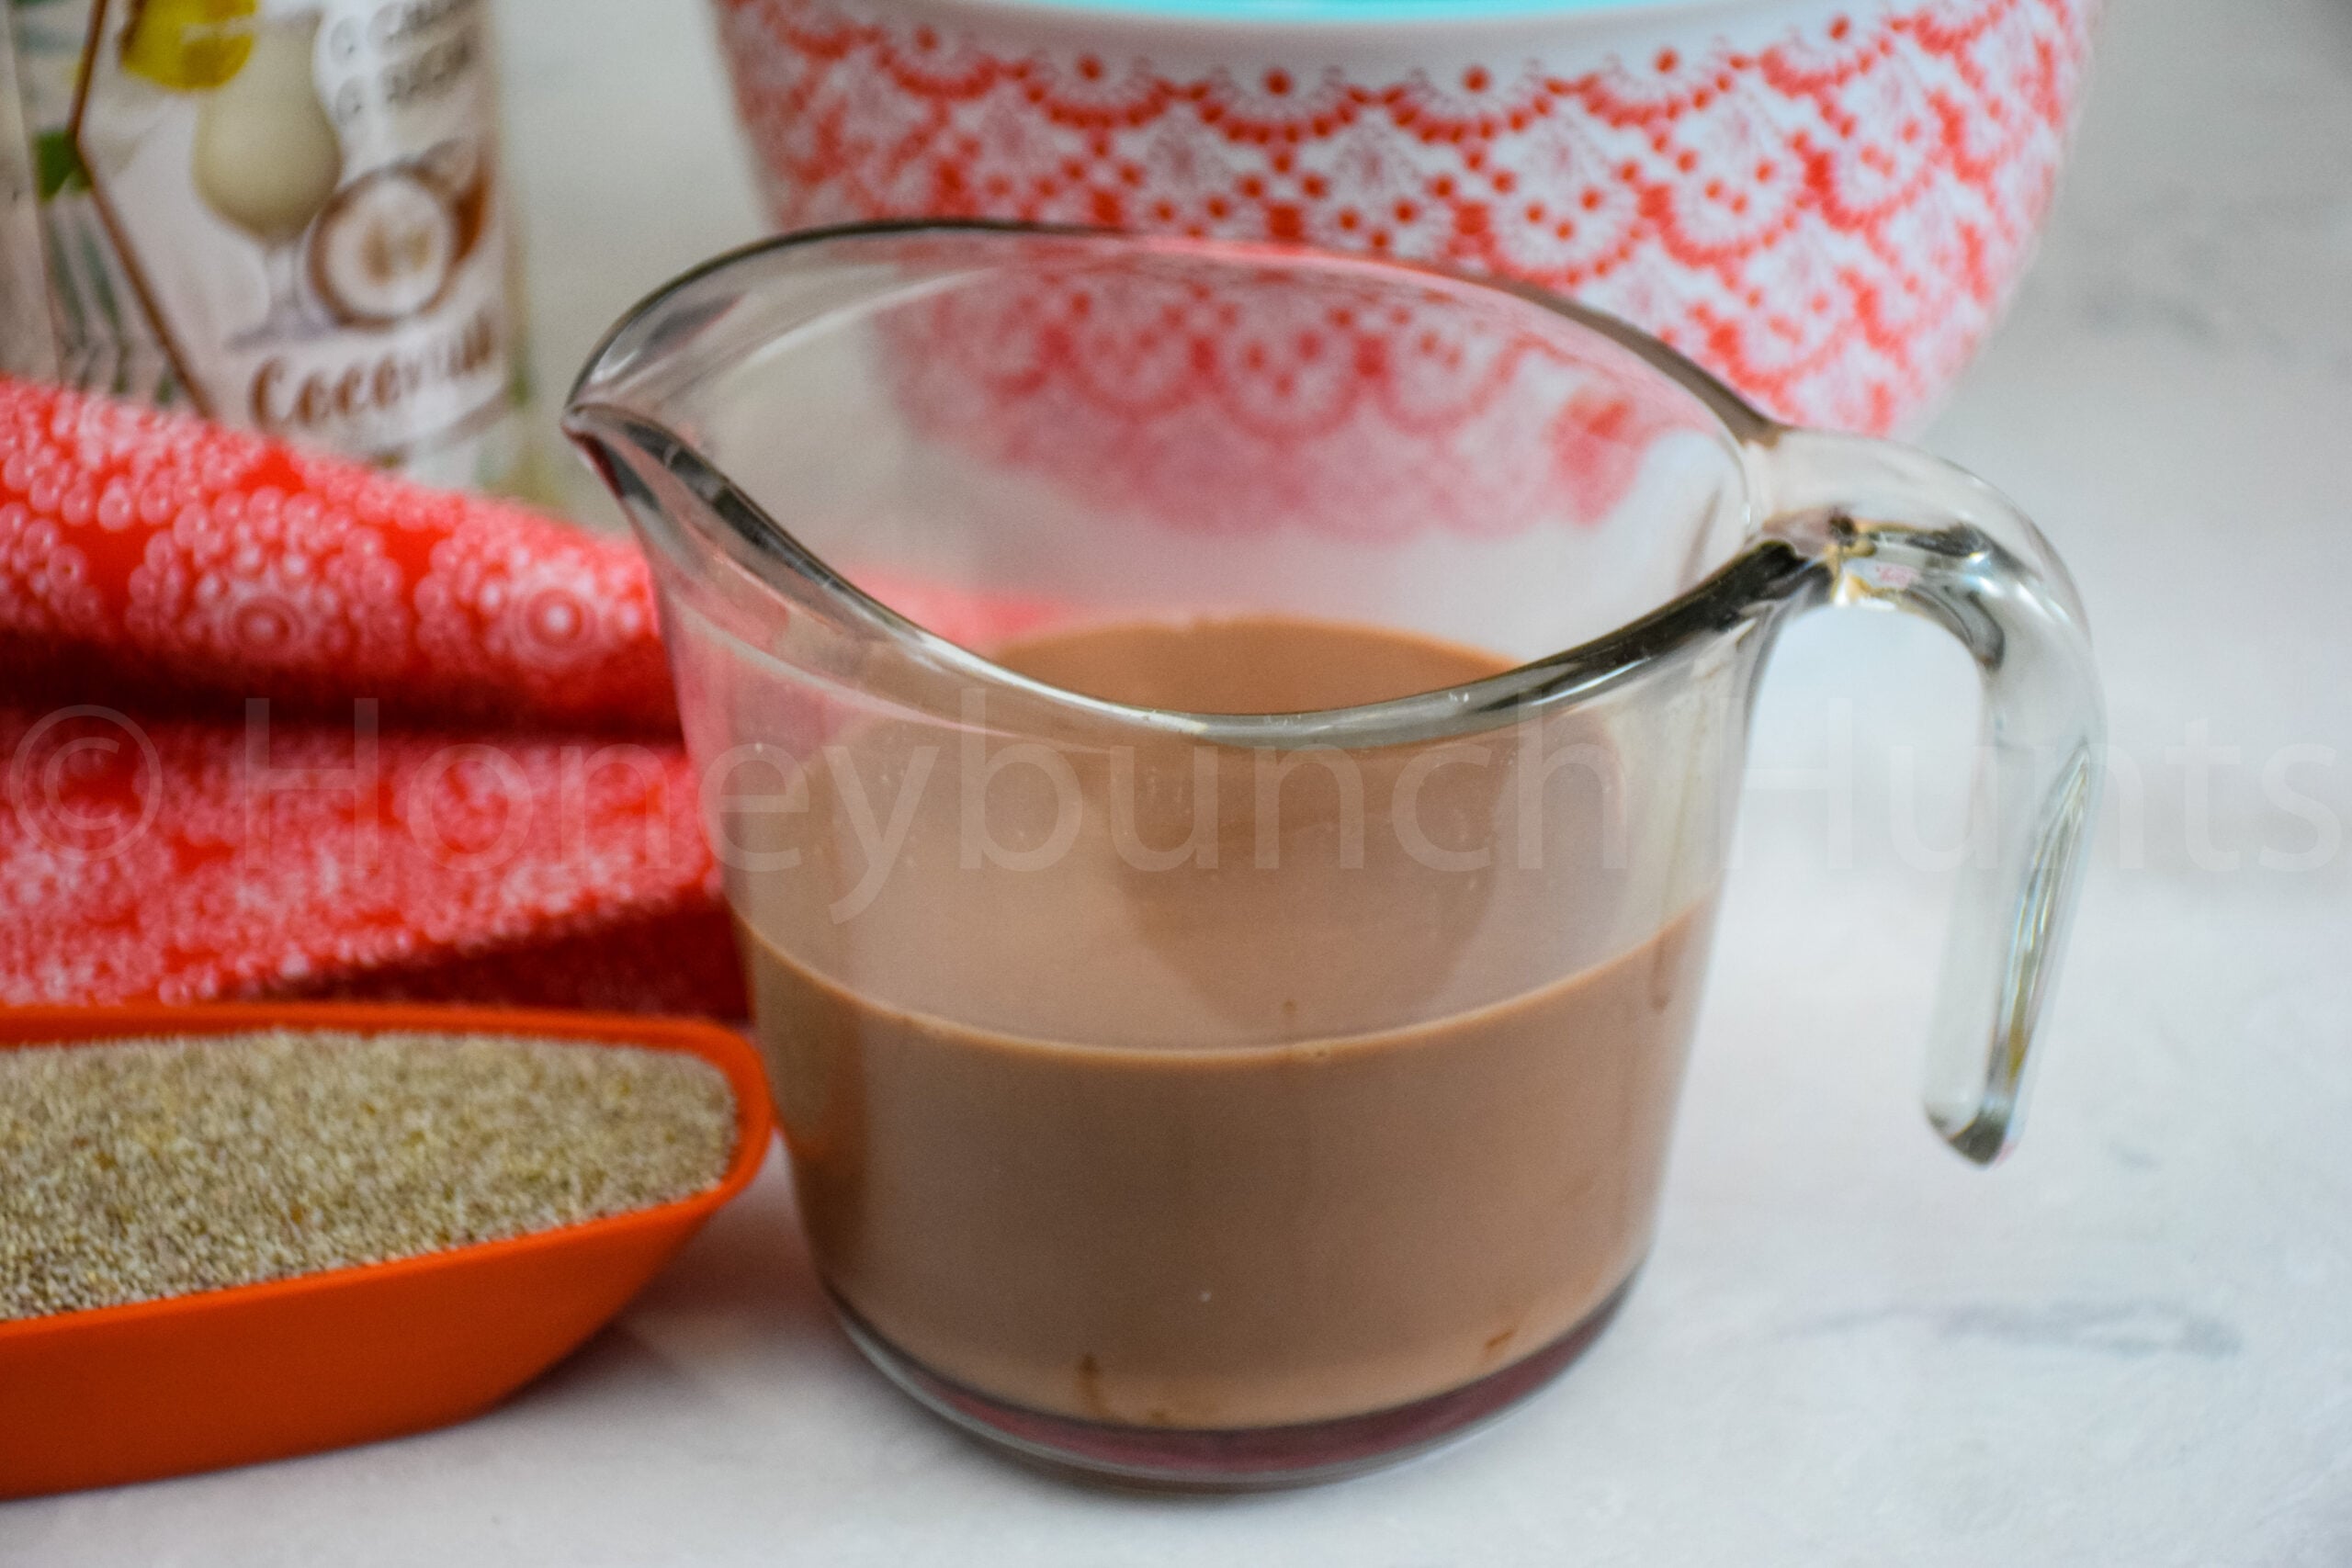
- Sugar-free condensed milk: keeps the cake moist and rich.
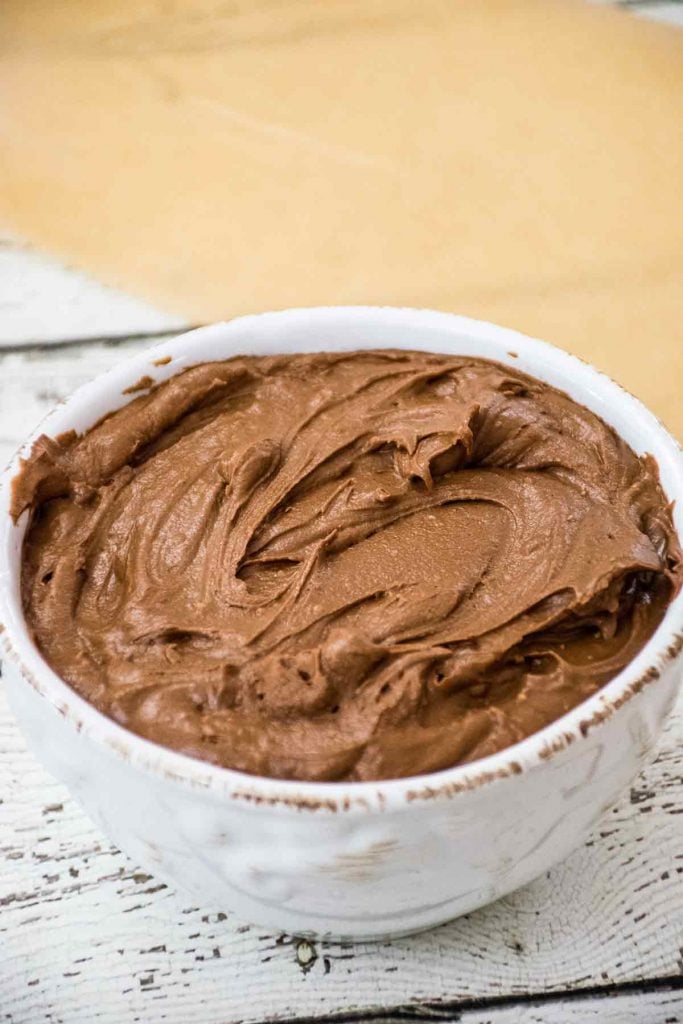
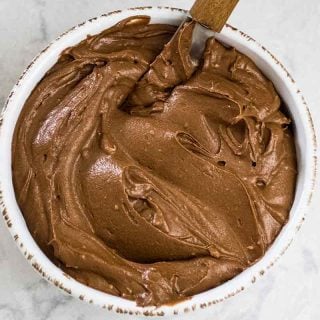
- Ricotta and mascarpone: a creamy topping that tastes like cannoli flling.
Variations on Keto Cannoli Poke Cake
- Nut lover's: sprinkle chopped pistachios or almonds for crunch.
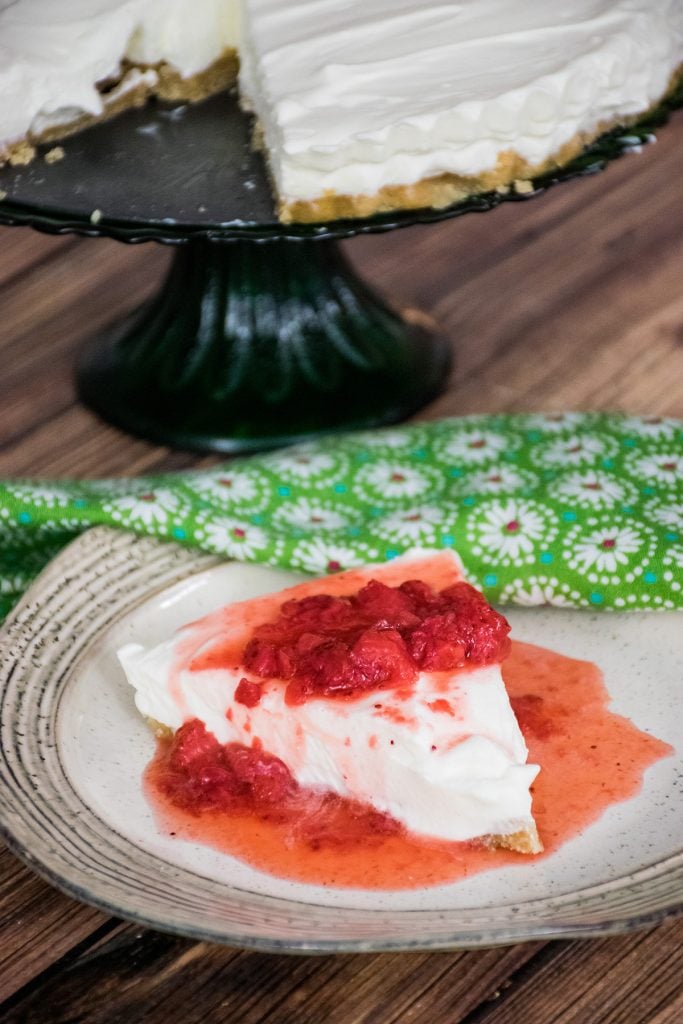
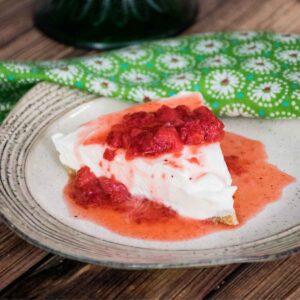
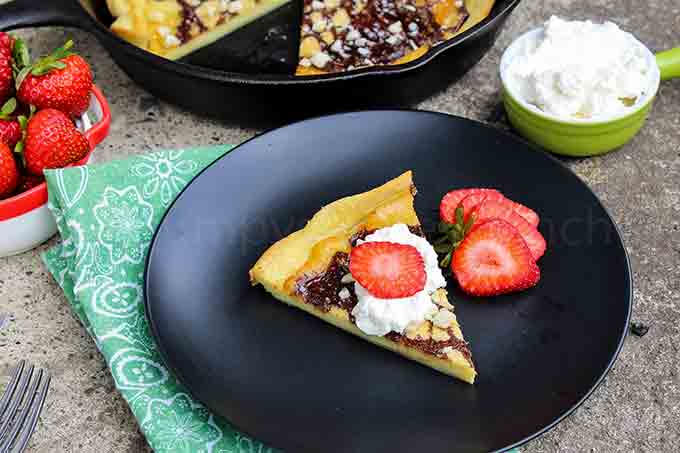
- Berry topping: fresh strawberries or raspberries add color and flavor.
- Citrus twist: mix orange or lemon zest into the ricotta-mascarpone topping.
Tips for Perfect Keto Poke Cake
- Poke while warm: the condensed milk soakes in better when the cake is warm.
- Chill overnight: the cake sets and tastes even better after a night in the fridge.
- Beat until smooth: whip the ricotta and mascarpone to avoid lumps.
How to Store
Refrigerate Keto Cannoli Poke Cake for up to 5 days.
More Keto Desserts You'll Love
If you love this keto cannoli poke cake, try my Keto Mayonnaise Cake, Keto Lemon Pound Cake, Keto Pumpkin Cheesecake Bars, and Keto Blueberry Creme Brûlée.

When you make this recipe, please comment below and let me know what you think. I'd love it if you tag me on Instagram @grumpyshoneybunch or #grumpyshoneybunch so I can see your photos!
If you love this recipe, please leave a ⭐⭐⭐⭐⭐ rating
📖 Recipe
Keto Cannoli Poke Cake
Equipment
- Wooden spoon (for poking holes)
As an Amazon Associate I earn from qualifying purchases.
Ingredients
- ½ cup butter melted
- ½ cup powdered monkfruit
- 2 teaspoons vanilla extract
- 6 large eggs
- 2 tablespoons heavy cream
- 1 tablespoon water
- ½ cup coconut flour
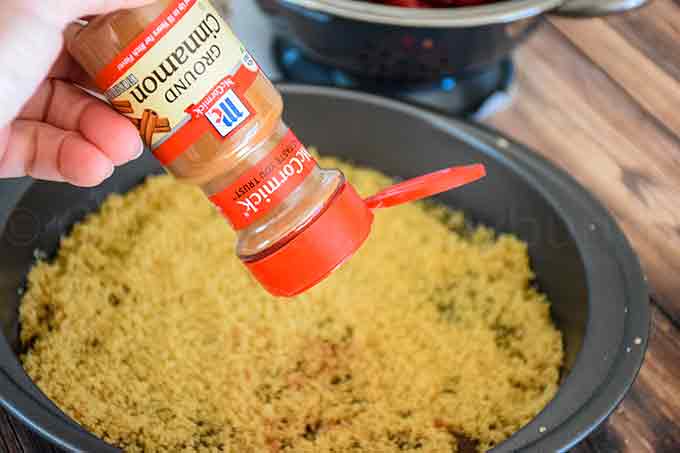
- 1 teaspoon ground cinnamon
- 1 teaspoon baking powder
- ½ teaspoon salt
- 1 recipe of [Sugar-Free Condensed Milk] divided
- 1 cup ricotta cheese
- 1 cup mascarpone cheese
- ¼ cup sweetened condensed milk reserved from the recipe
- ¾ cup powdered monkfruit
- 1 teaspoon vanilla extract
Instructions
- Preheat oven to 350 degrees.
- In a large mixing bowl, cream together the melted butter, eggs, vanilla, powdered monkfruit, heavy cream, and water. Set aside.
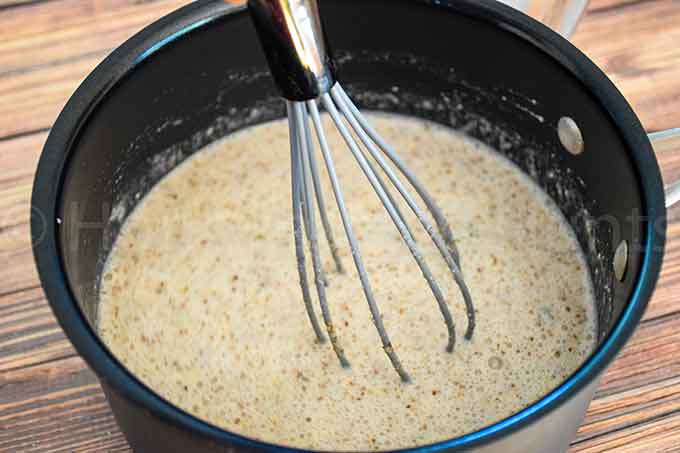
- In another mixing bowl, whisk together the coconut flour baking powder, salt, and cinnamon.
- Add the wet ingredients to the dry and whisk until smooth.
- Grease a 9x9 baking dish well with butter or cooking spray.
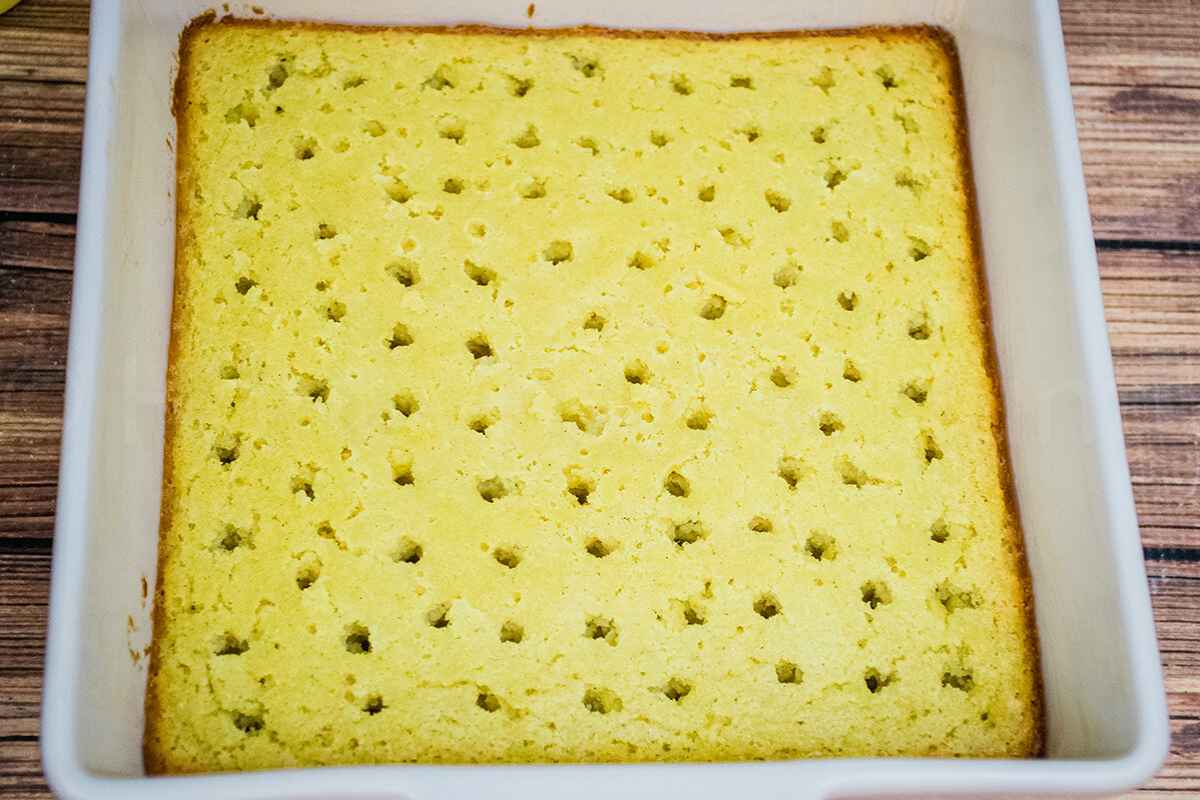
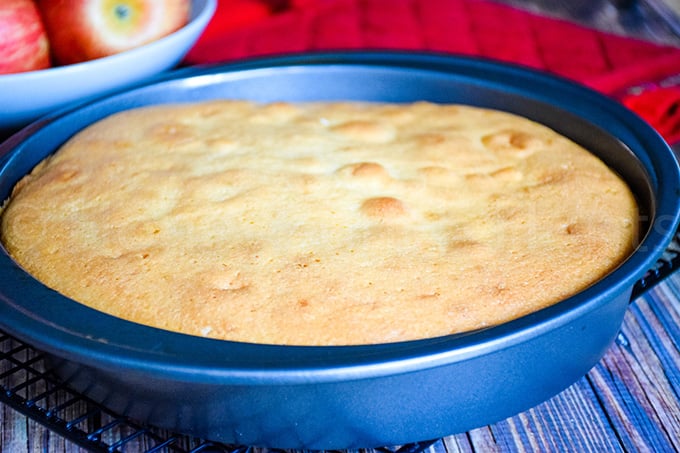
- Pour the cake batter into the baking dish. Bake for 25 minutes, or until a toothpick inserted into the center of the cake comes out clean. Cool for 10 minutes
- Poke holes over the surface of the cake using a straw. Pour all but ¼ cup of the condensed milk over the warm cake and spread over the top, covering it completely. Refrigerate until cold.
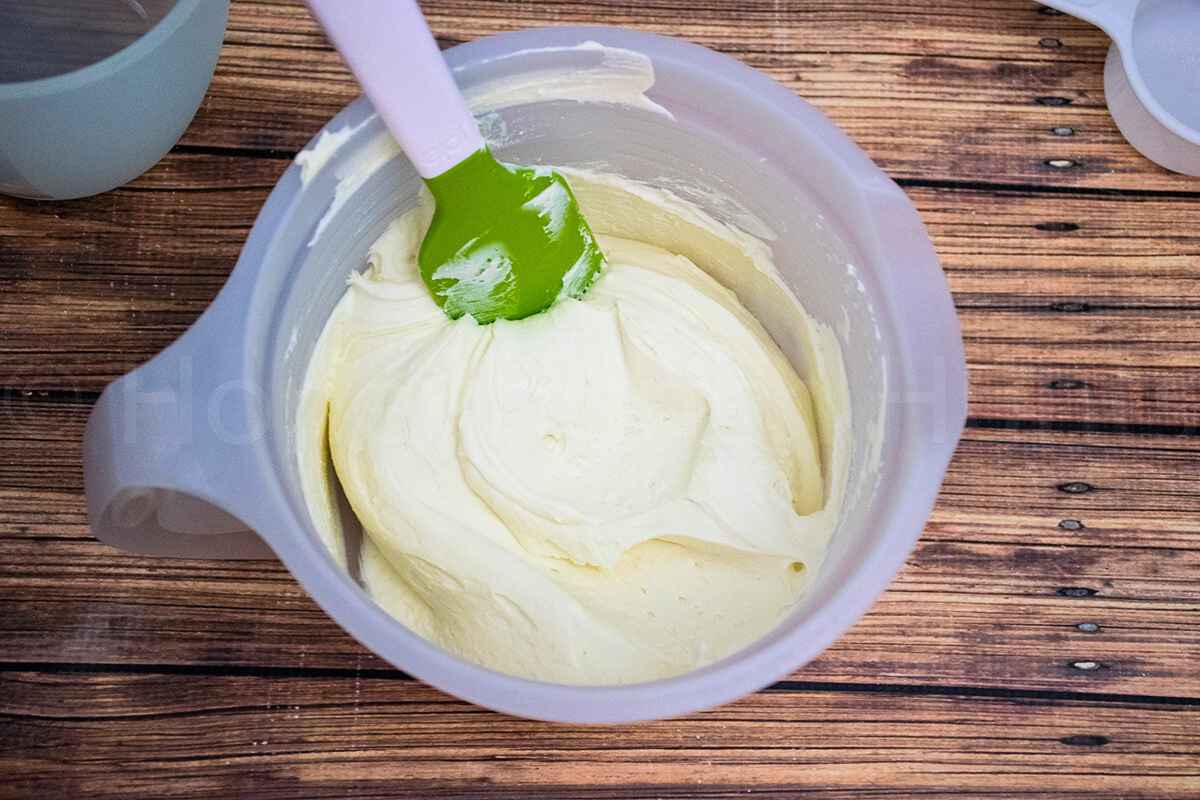
- In a large mixing bowl, add the ricotta and mascarpone cheese, and beat until smooth.
- Add the remaining ¼ cup of condensed milk, powdered monkfruit, and vanilla. Beat until thoroughly combined.
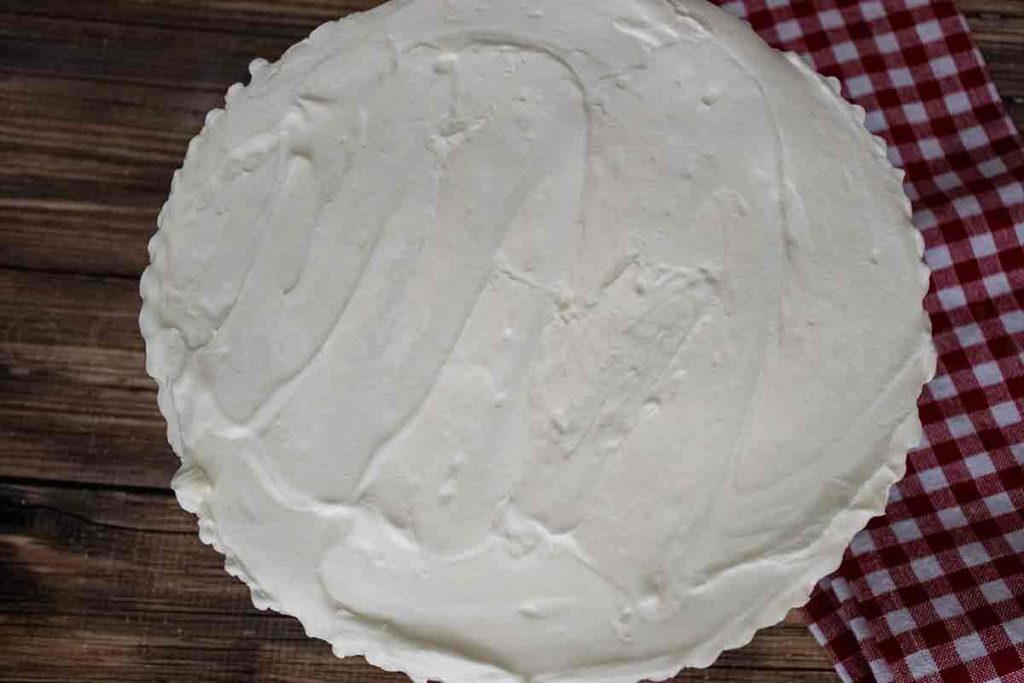
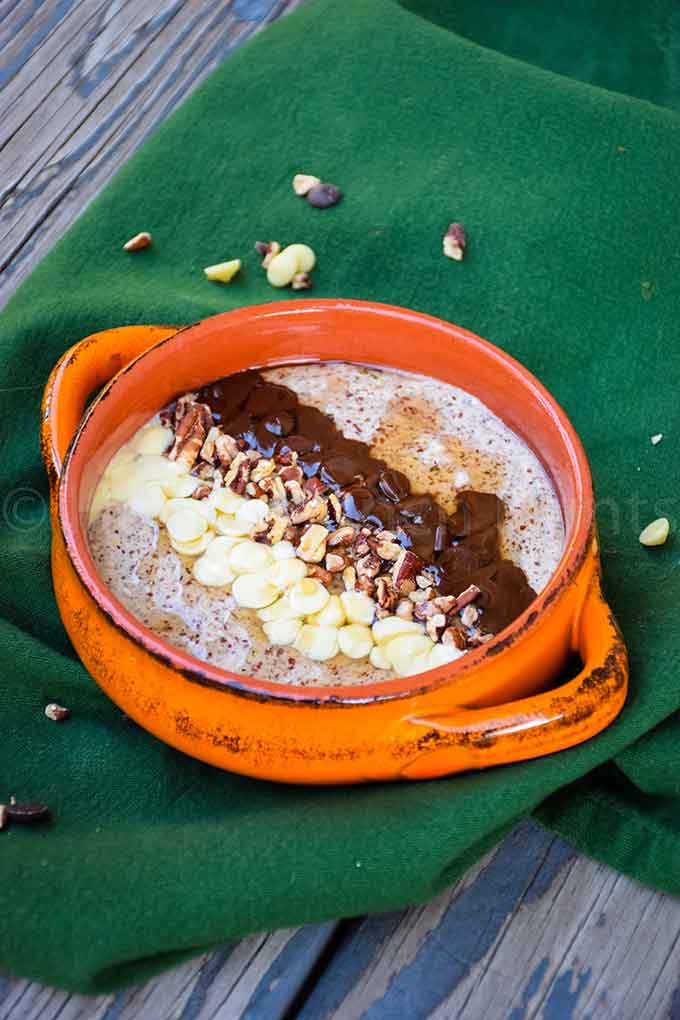
- Spread the ricotta filling over top of the cake. Sprinkle with sugar free chocolate chips and refrigerate.


