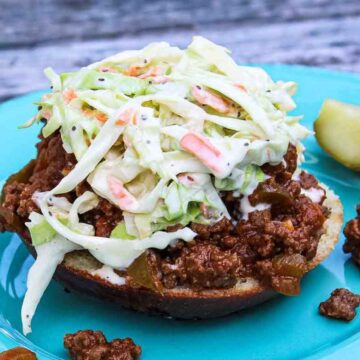
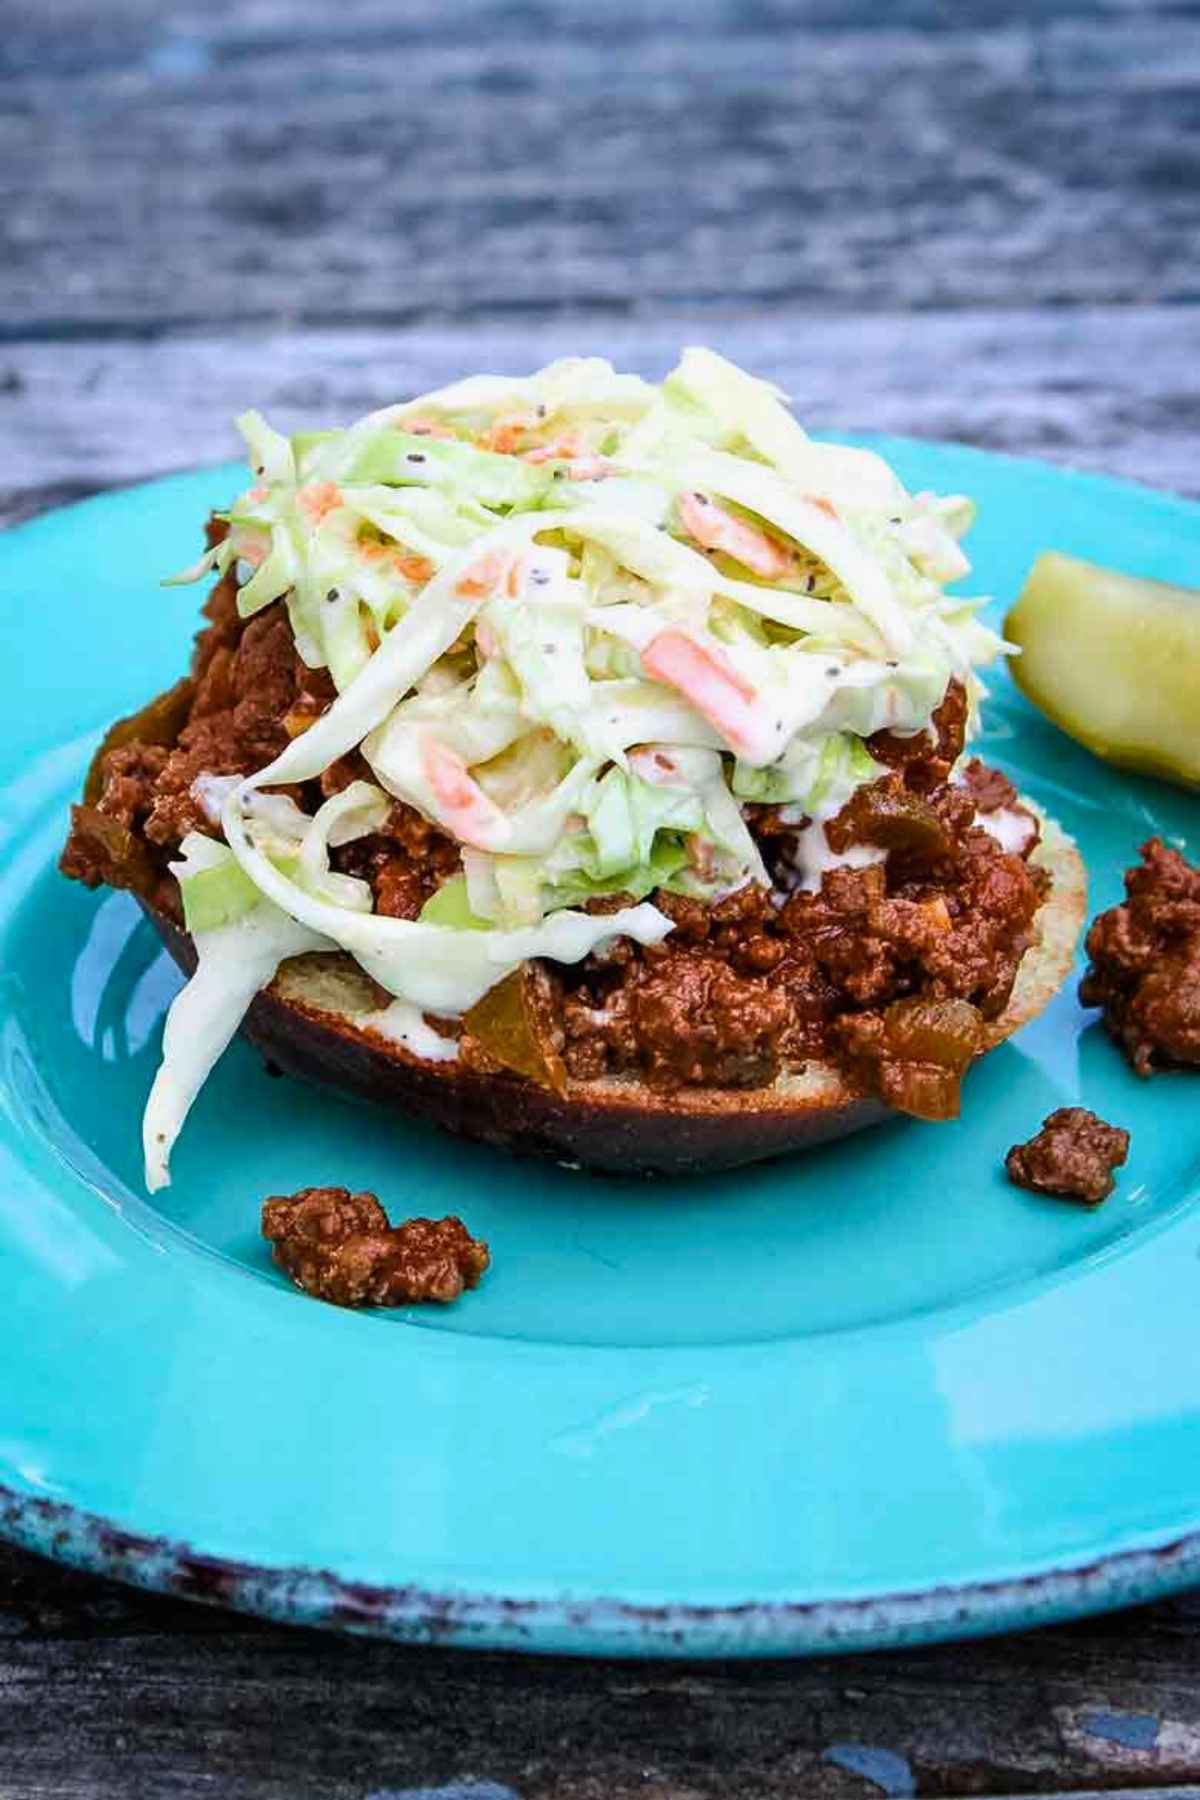
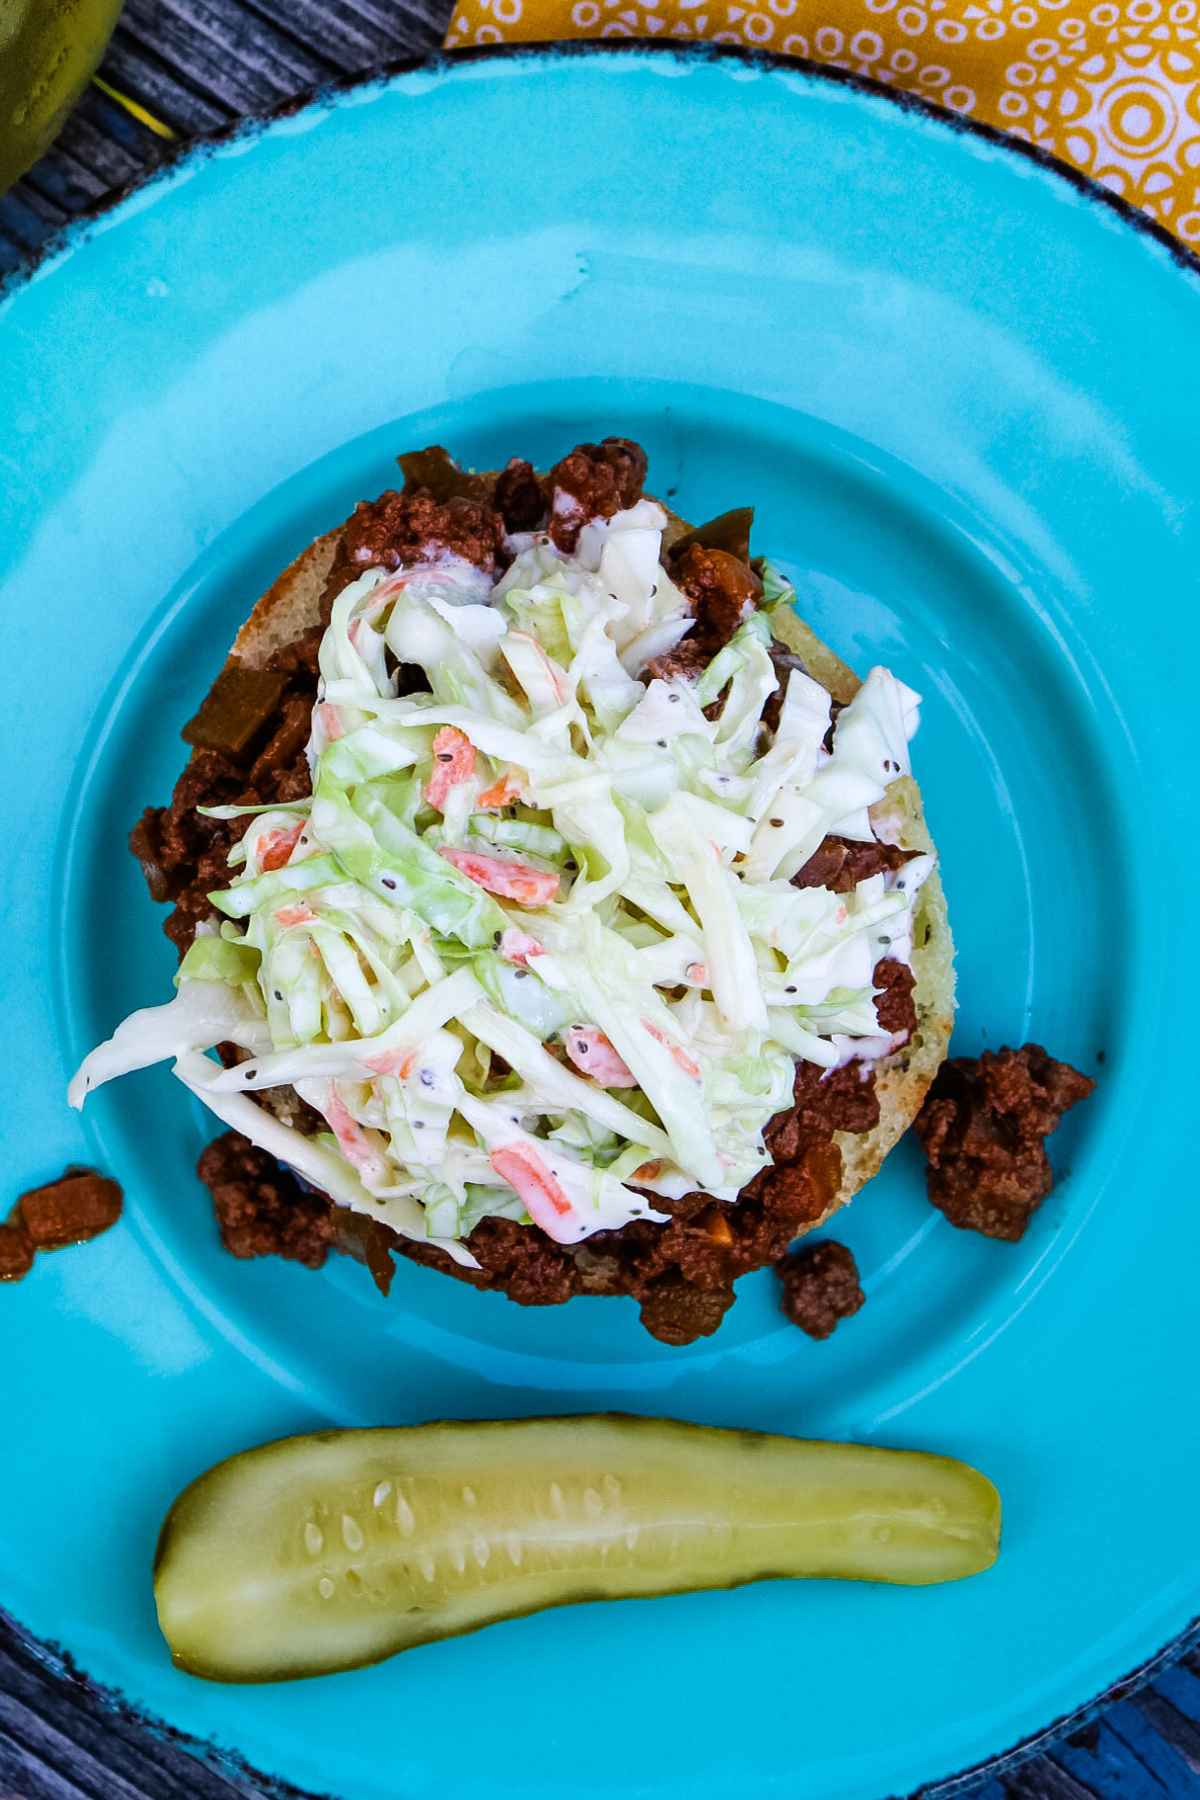
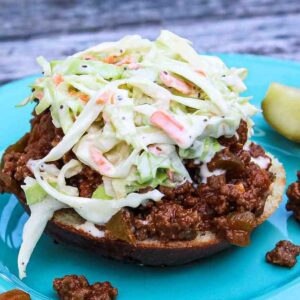
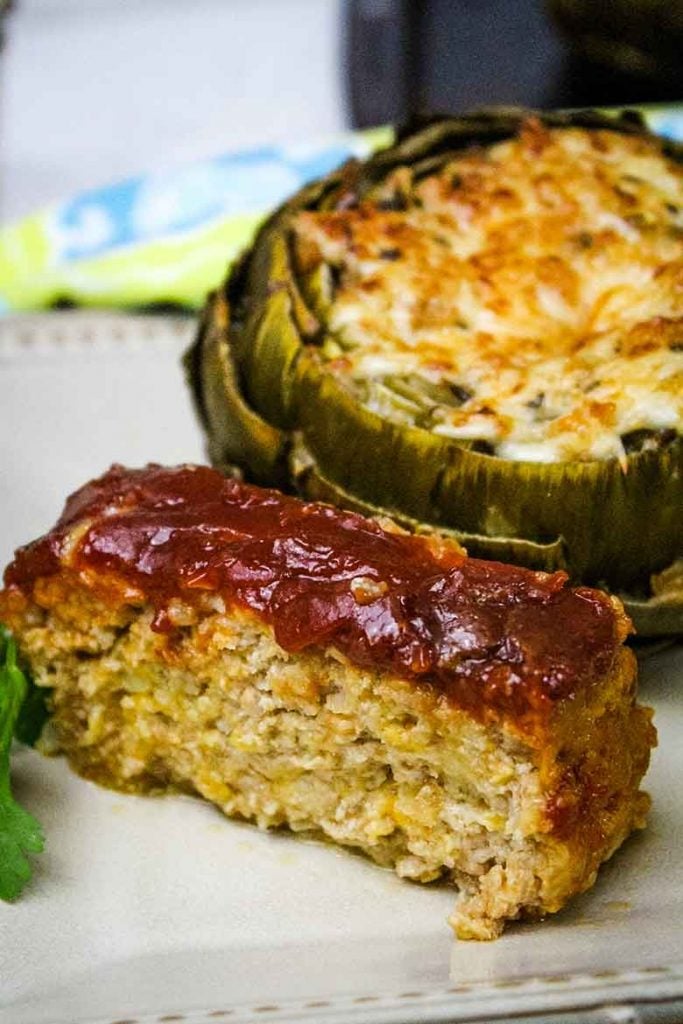
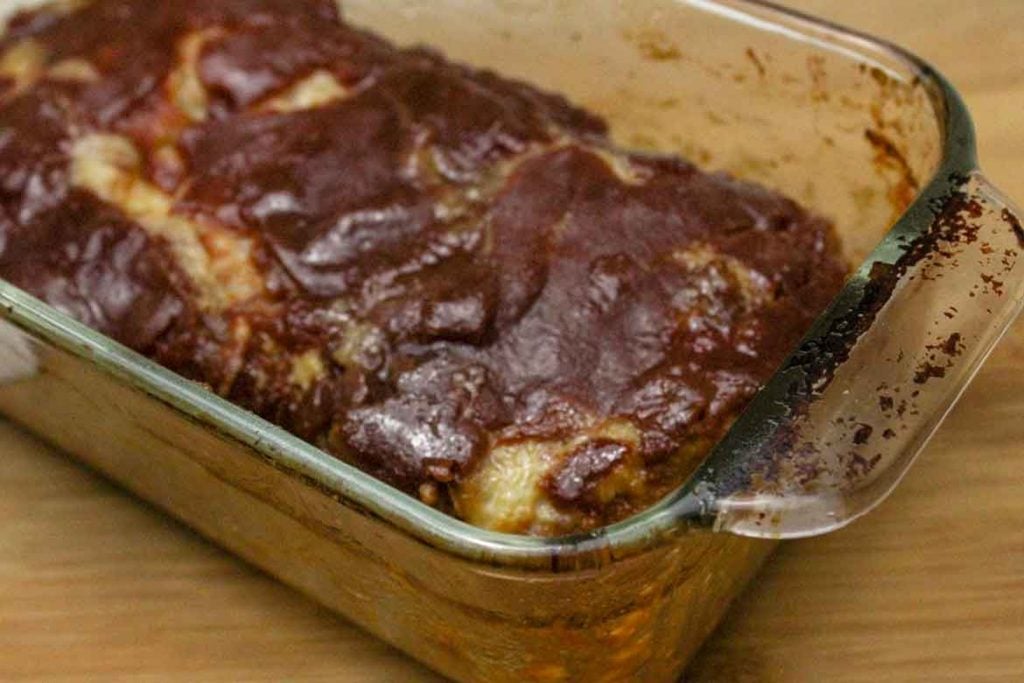
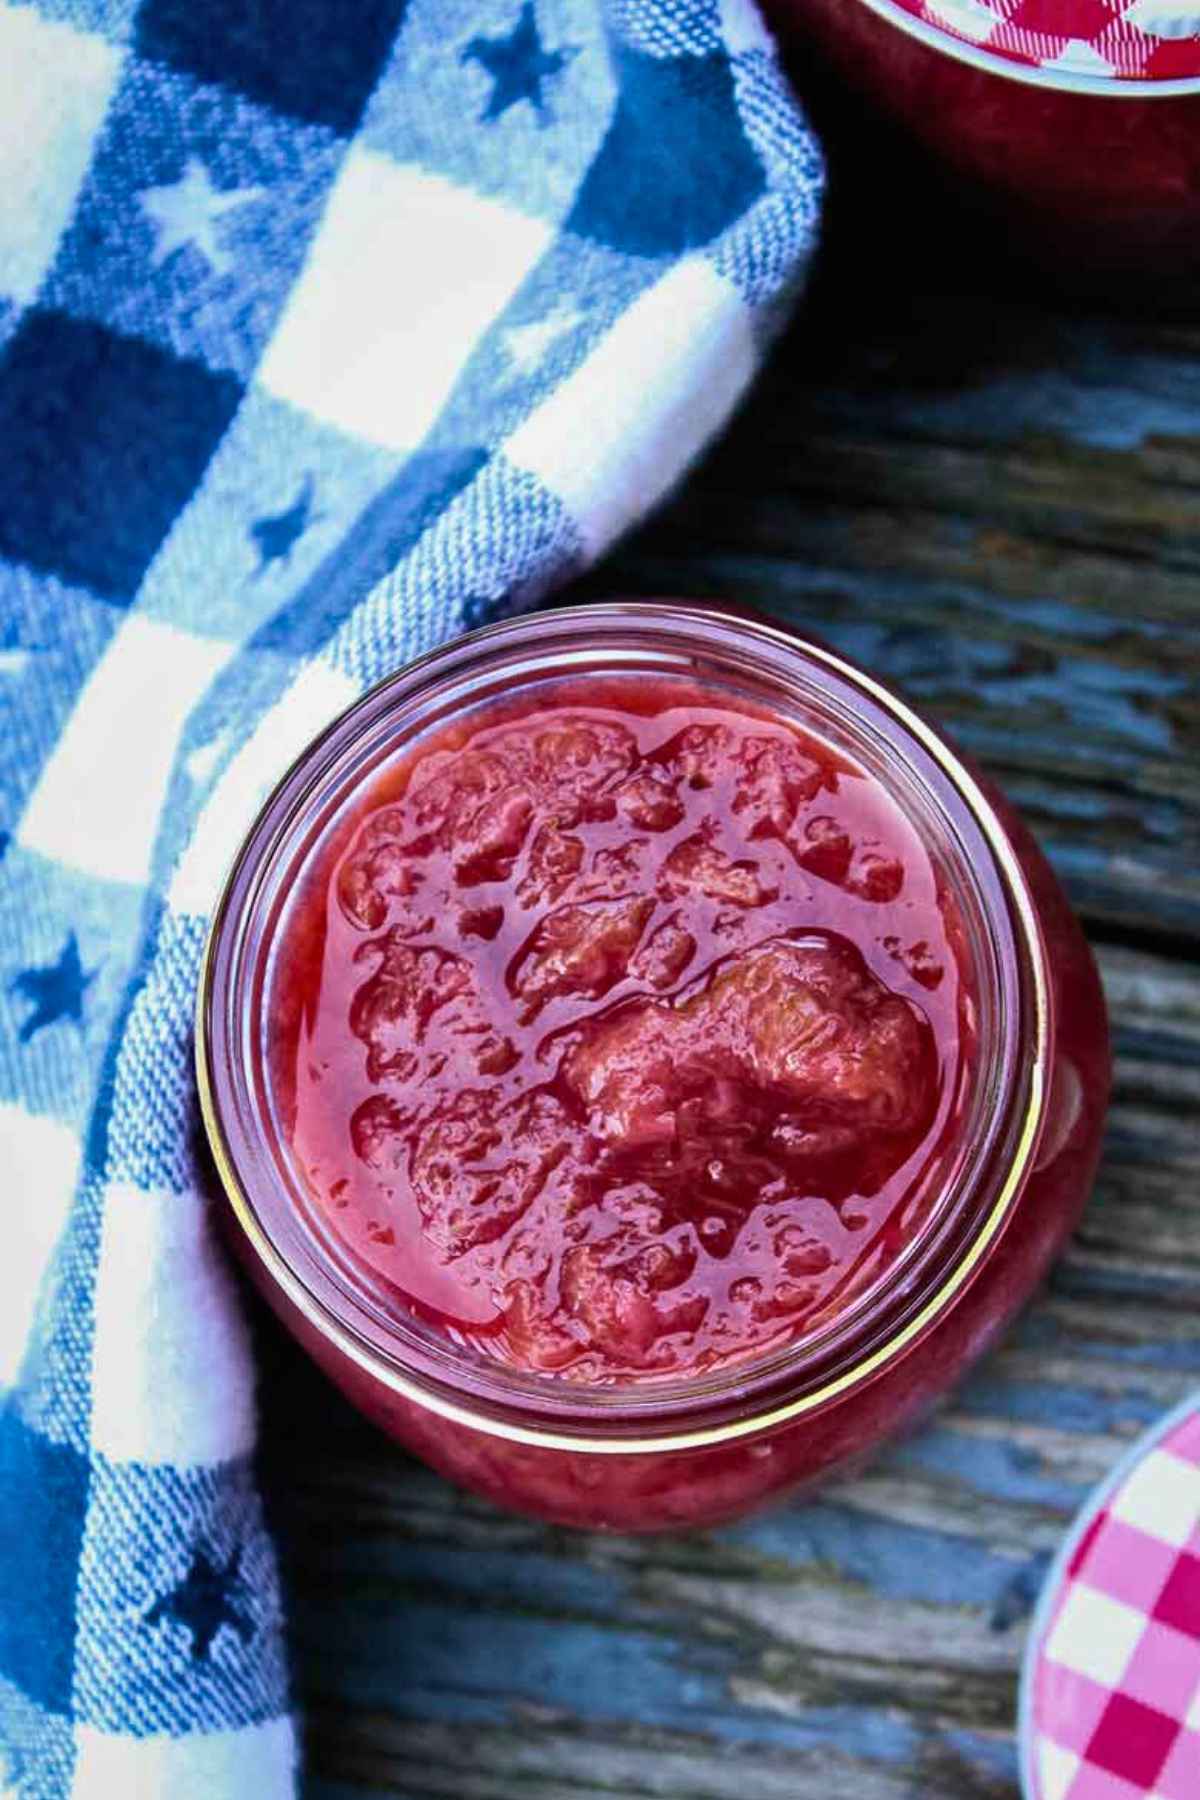
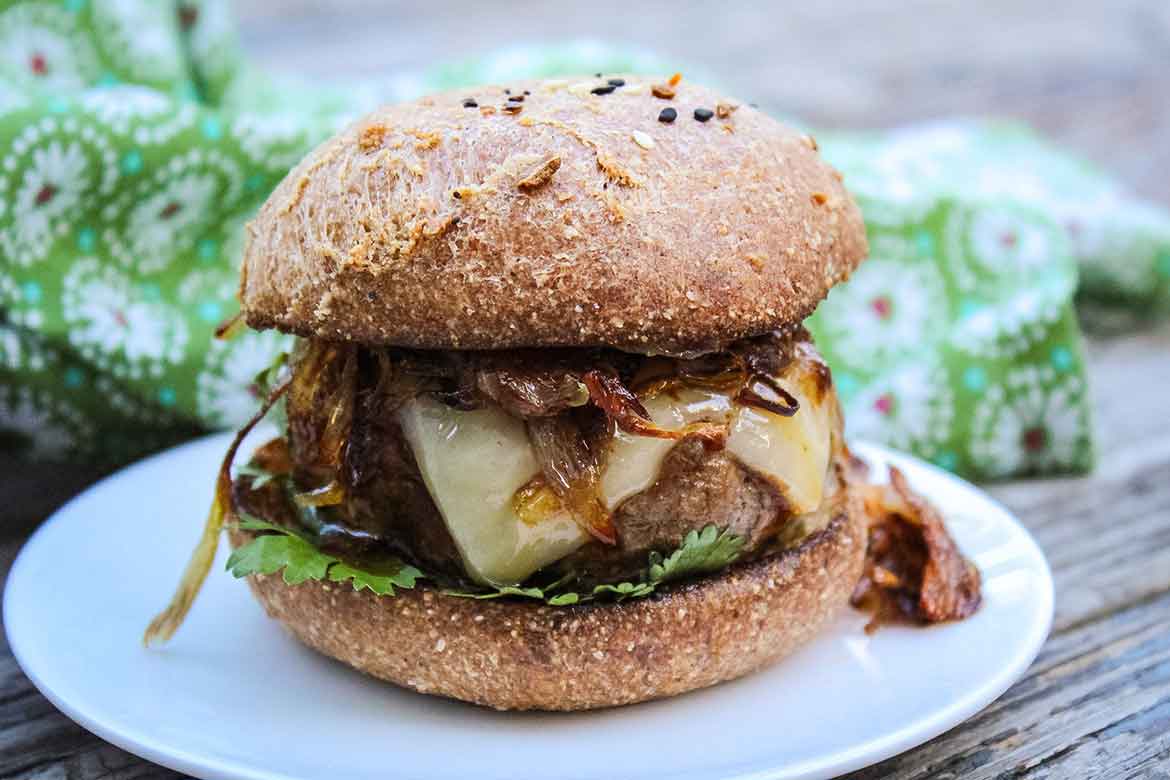
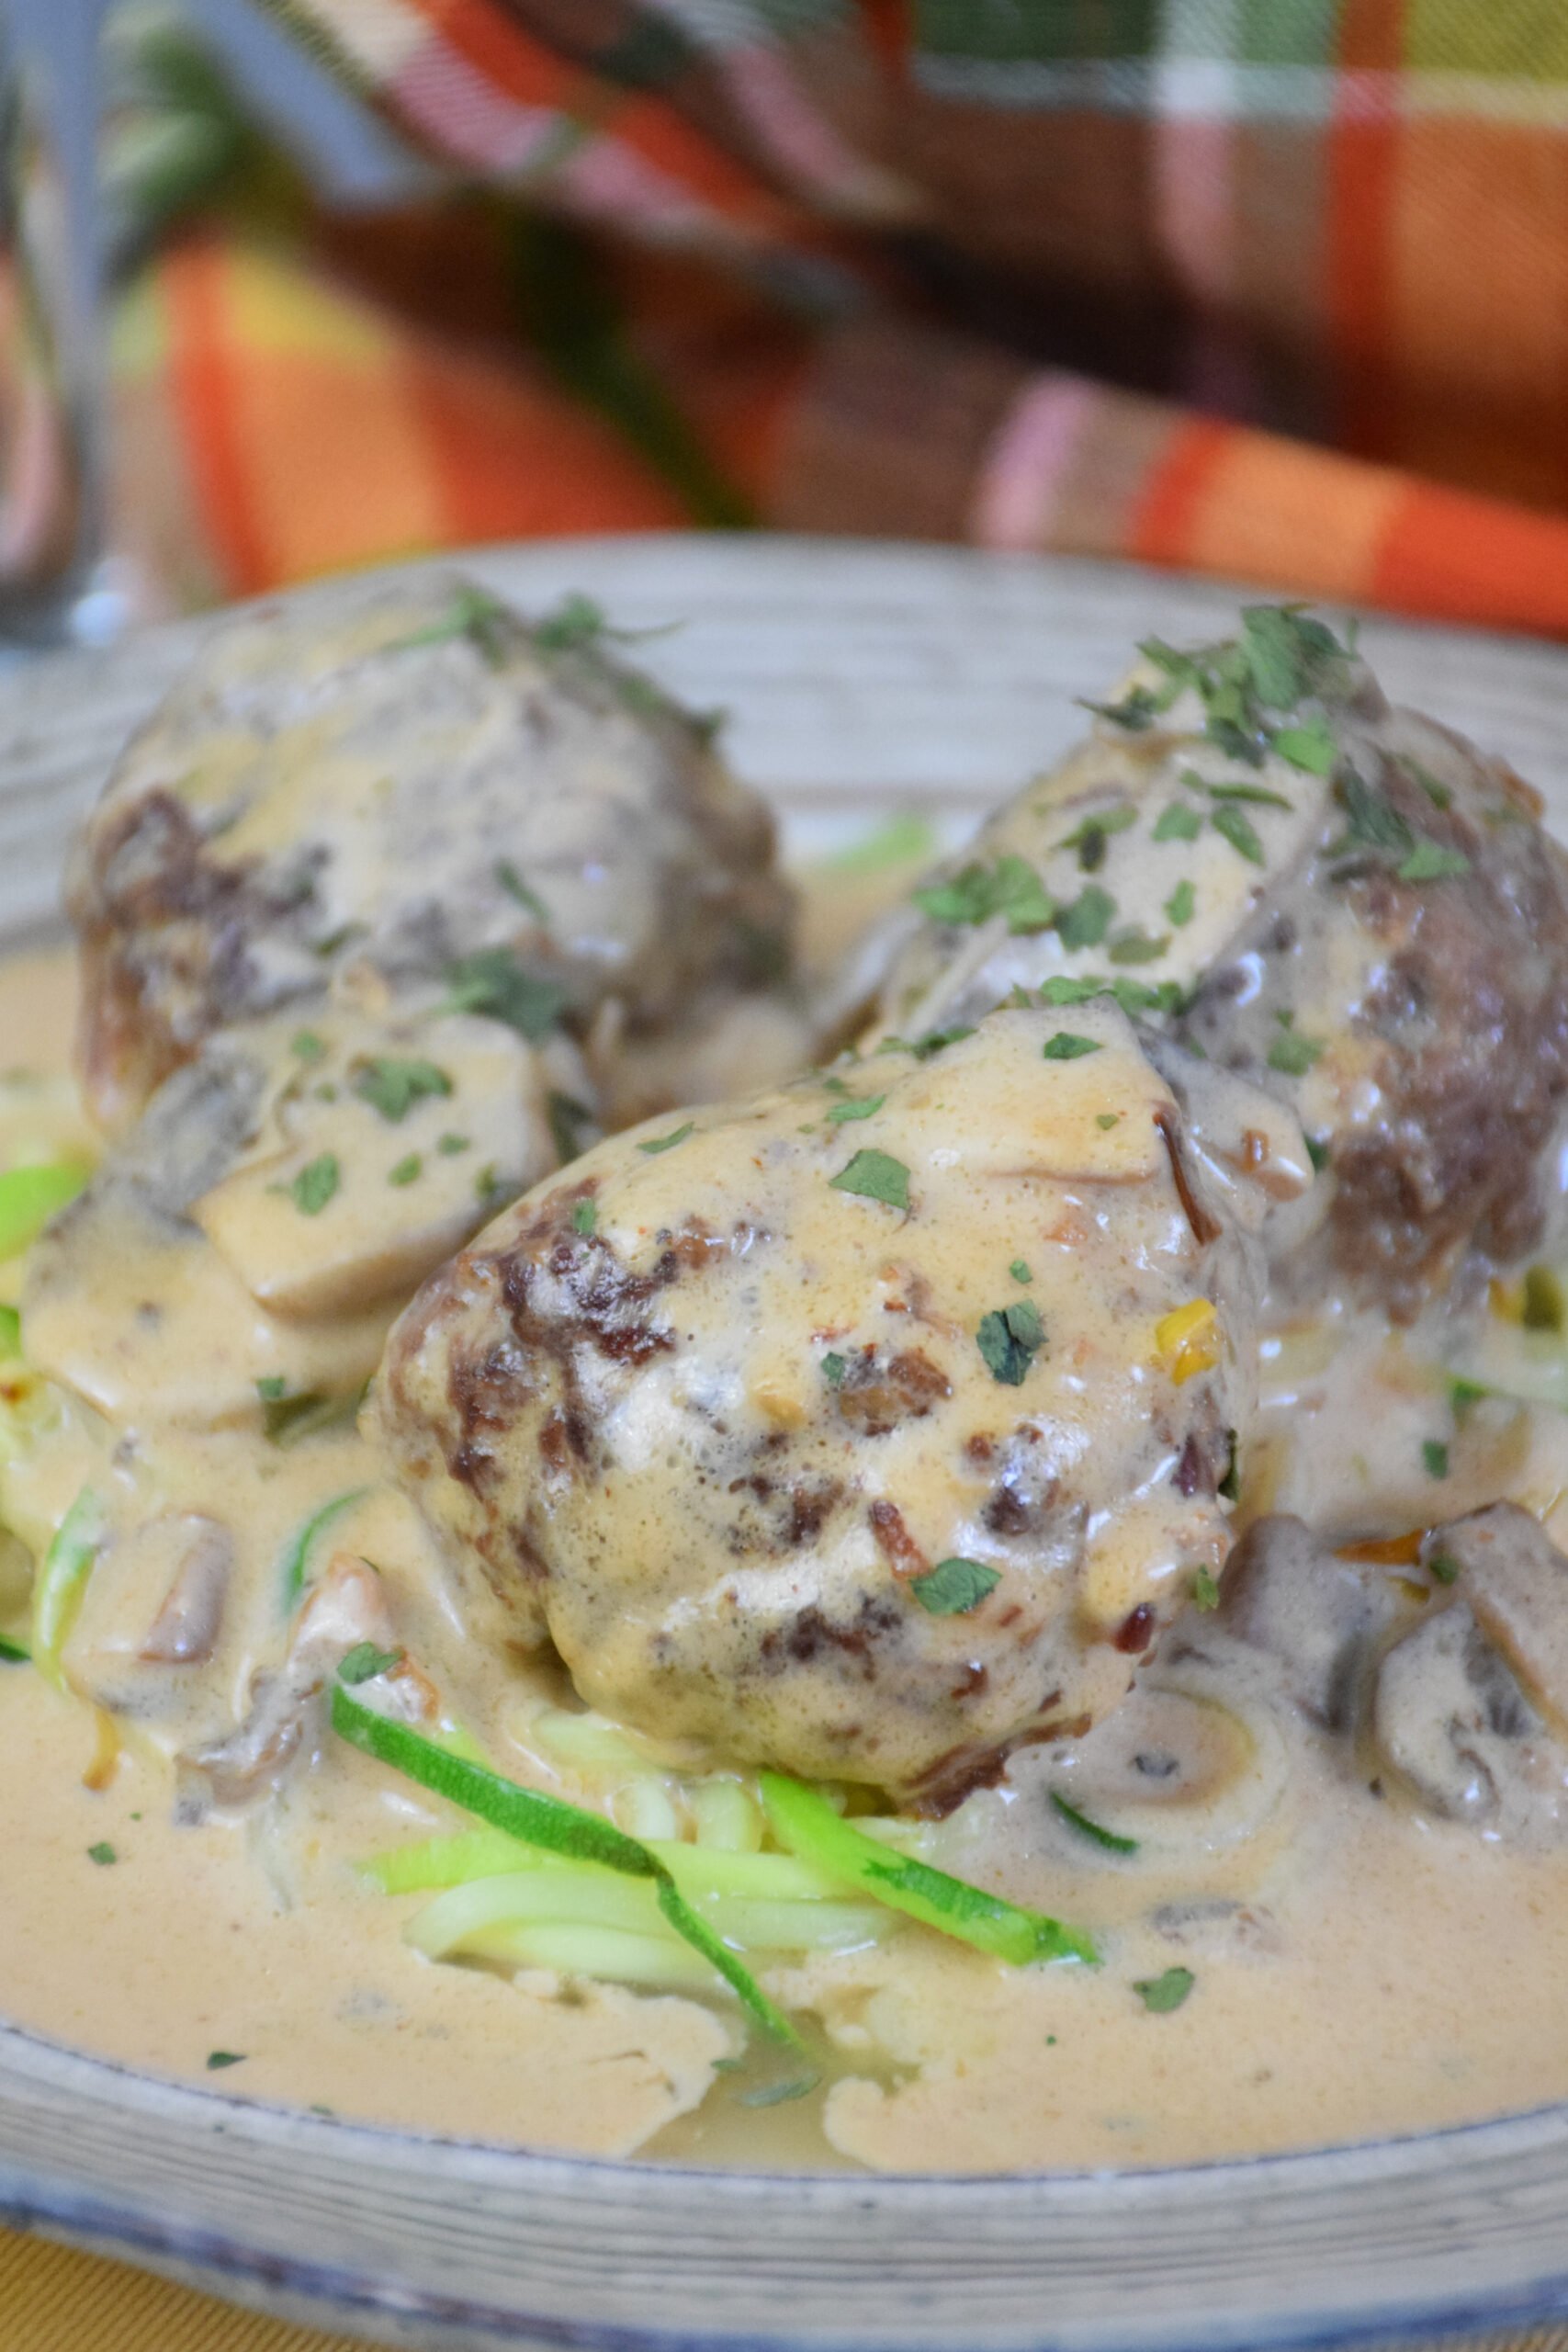
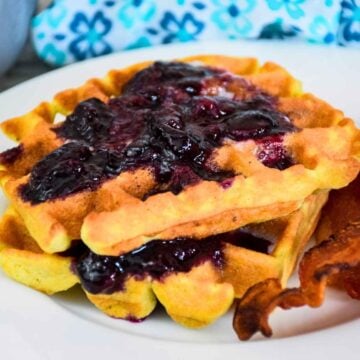
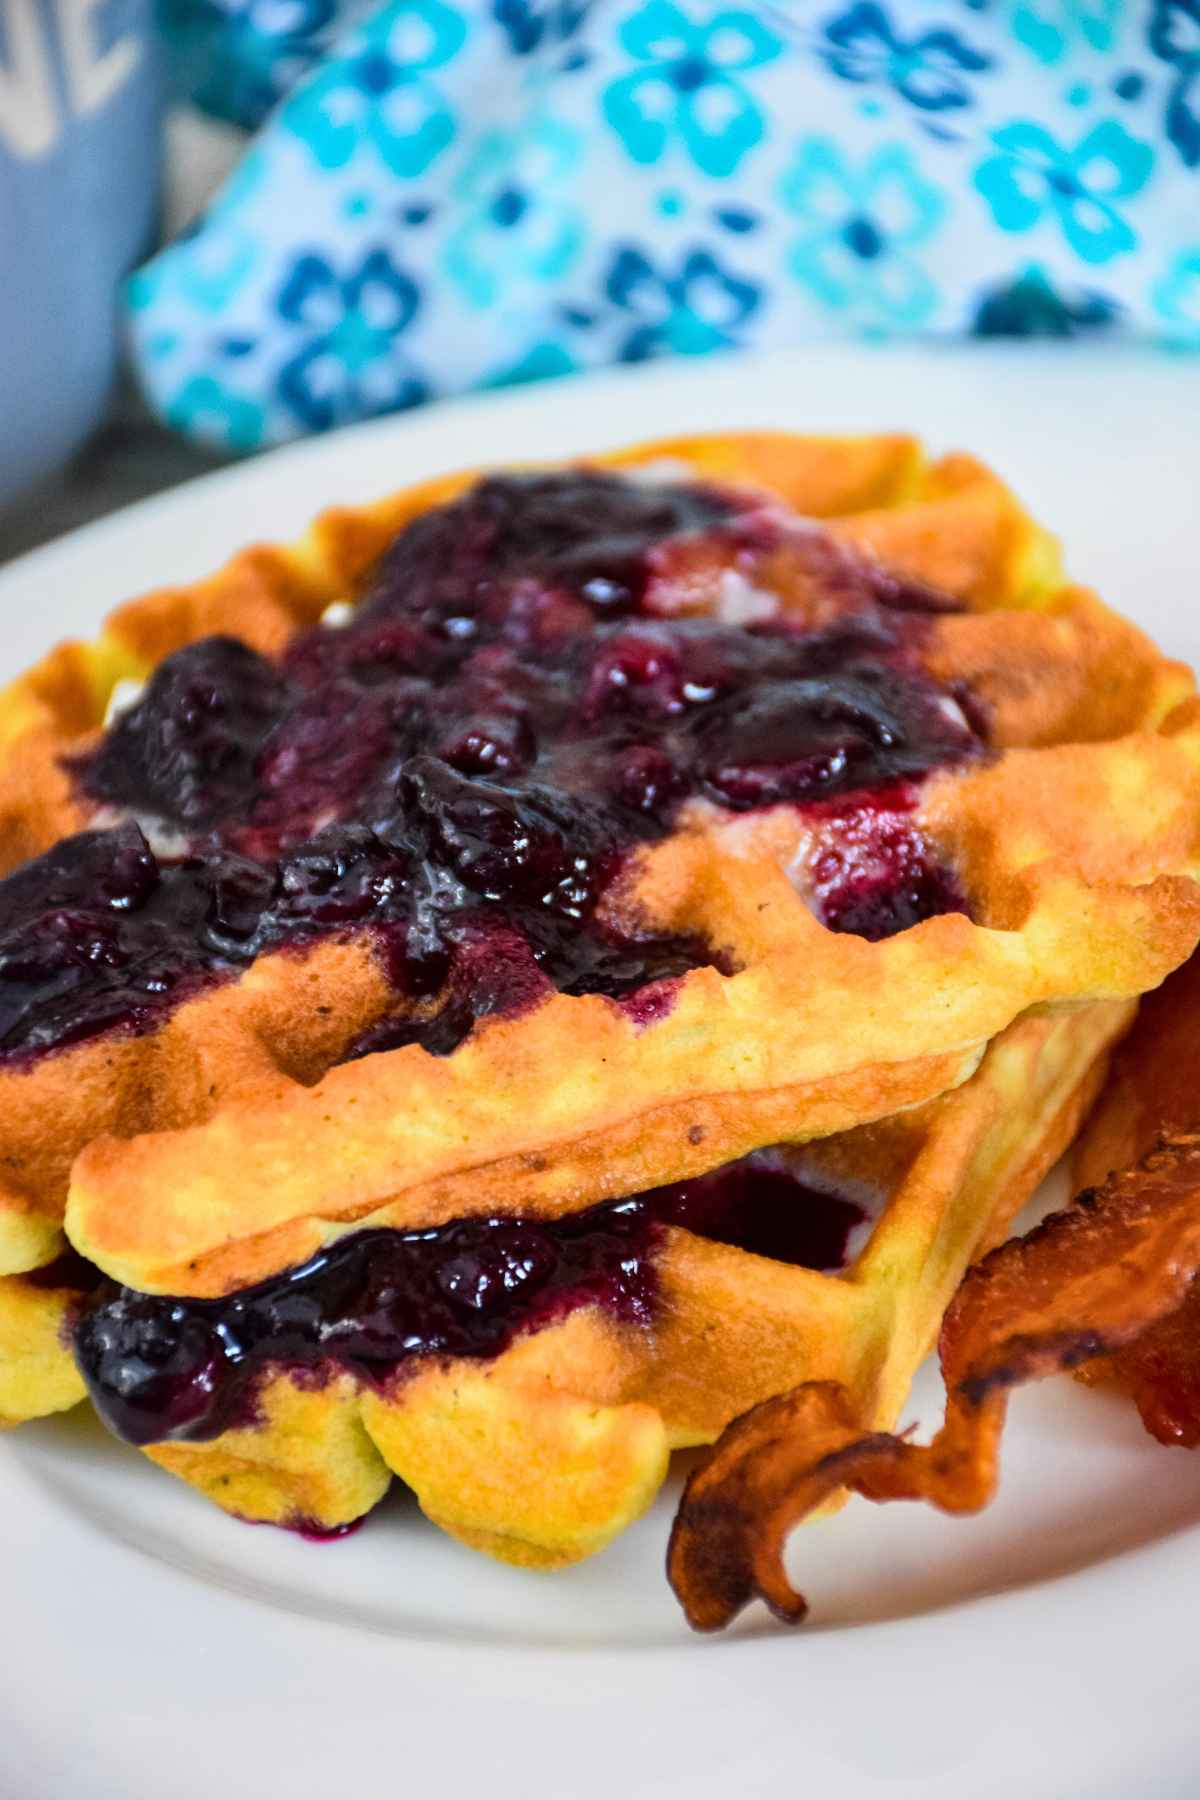
These Keto Sloppy Joes are a hearty, flavorful twist on the classic comfort food, made with ground venison and a naturally sweetened sauce. It's a simple skillet dinner that comes together quickly, perfect for busy weeknights.
I love making this recipe when I want something quick and filling that still tastes homemade. It's a healthier version of my traditional sloppy joe recipe made keto friendly for those following a low carb diet.
[feast_advanced_jump_to]Why You'll Love This Recipe
Low carb: perfect for keto lifestyles withi sugar-free ketchup and monk fruit.
Lean protein: ground venison makes these healthy sloppy joes lighter than the classic.
Quick dinner: ready in under 30 minutes with minimal prep.
Family friendly: savory, slightly sweet, and sure to be a hit with everyone.
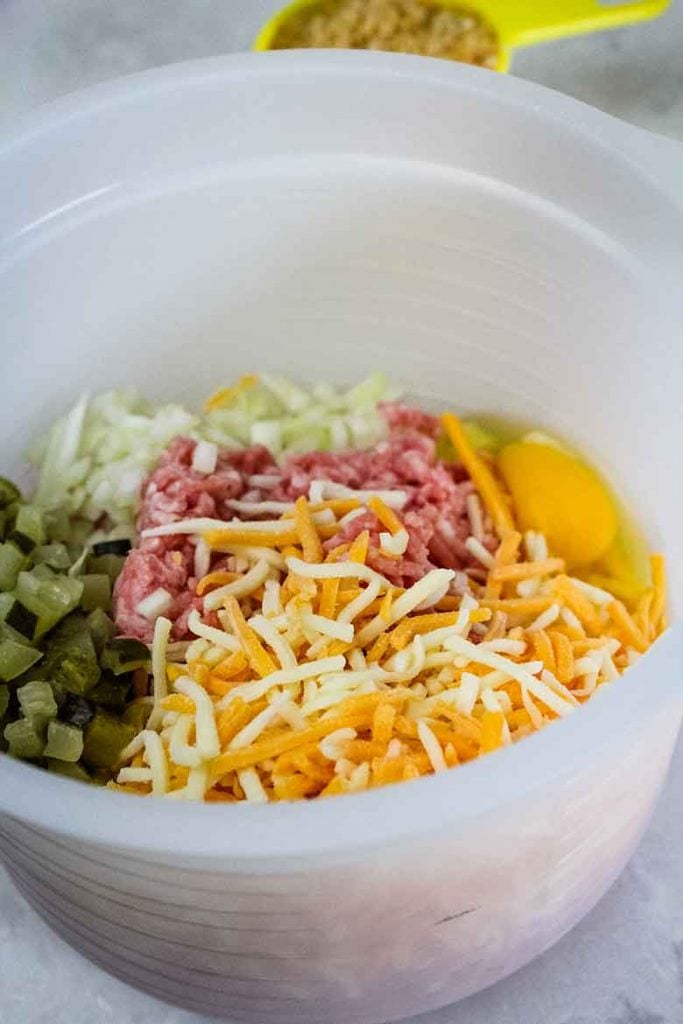
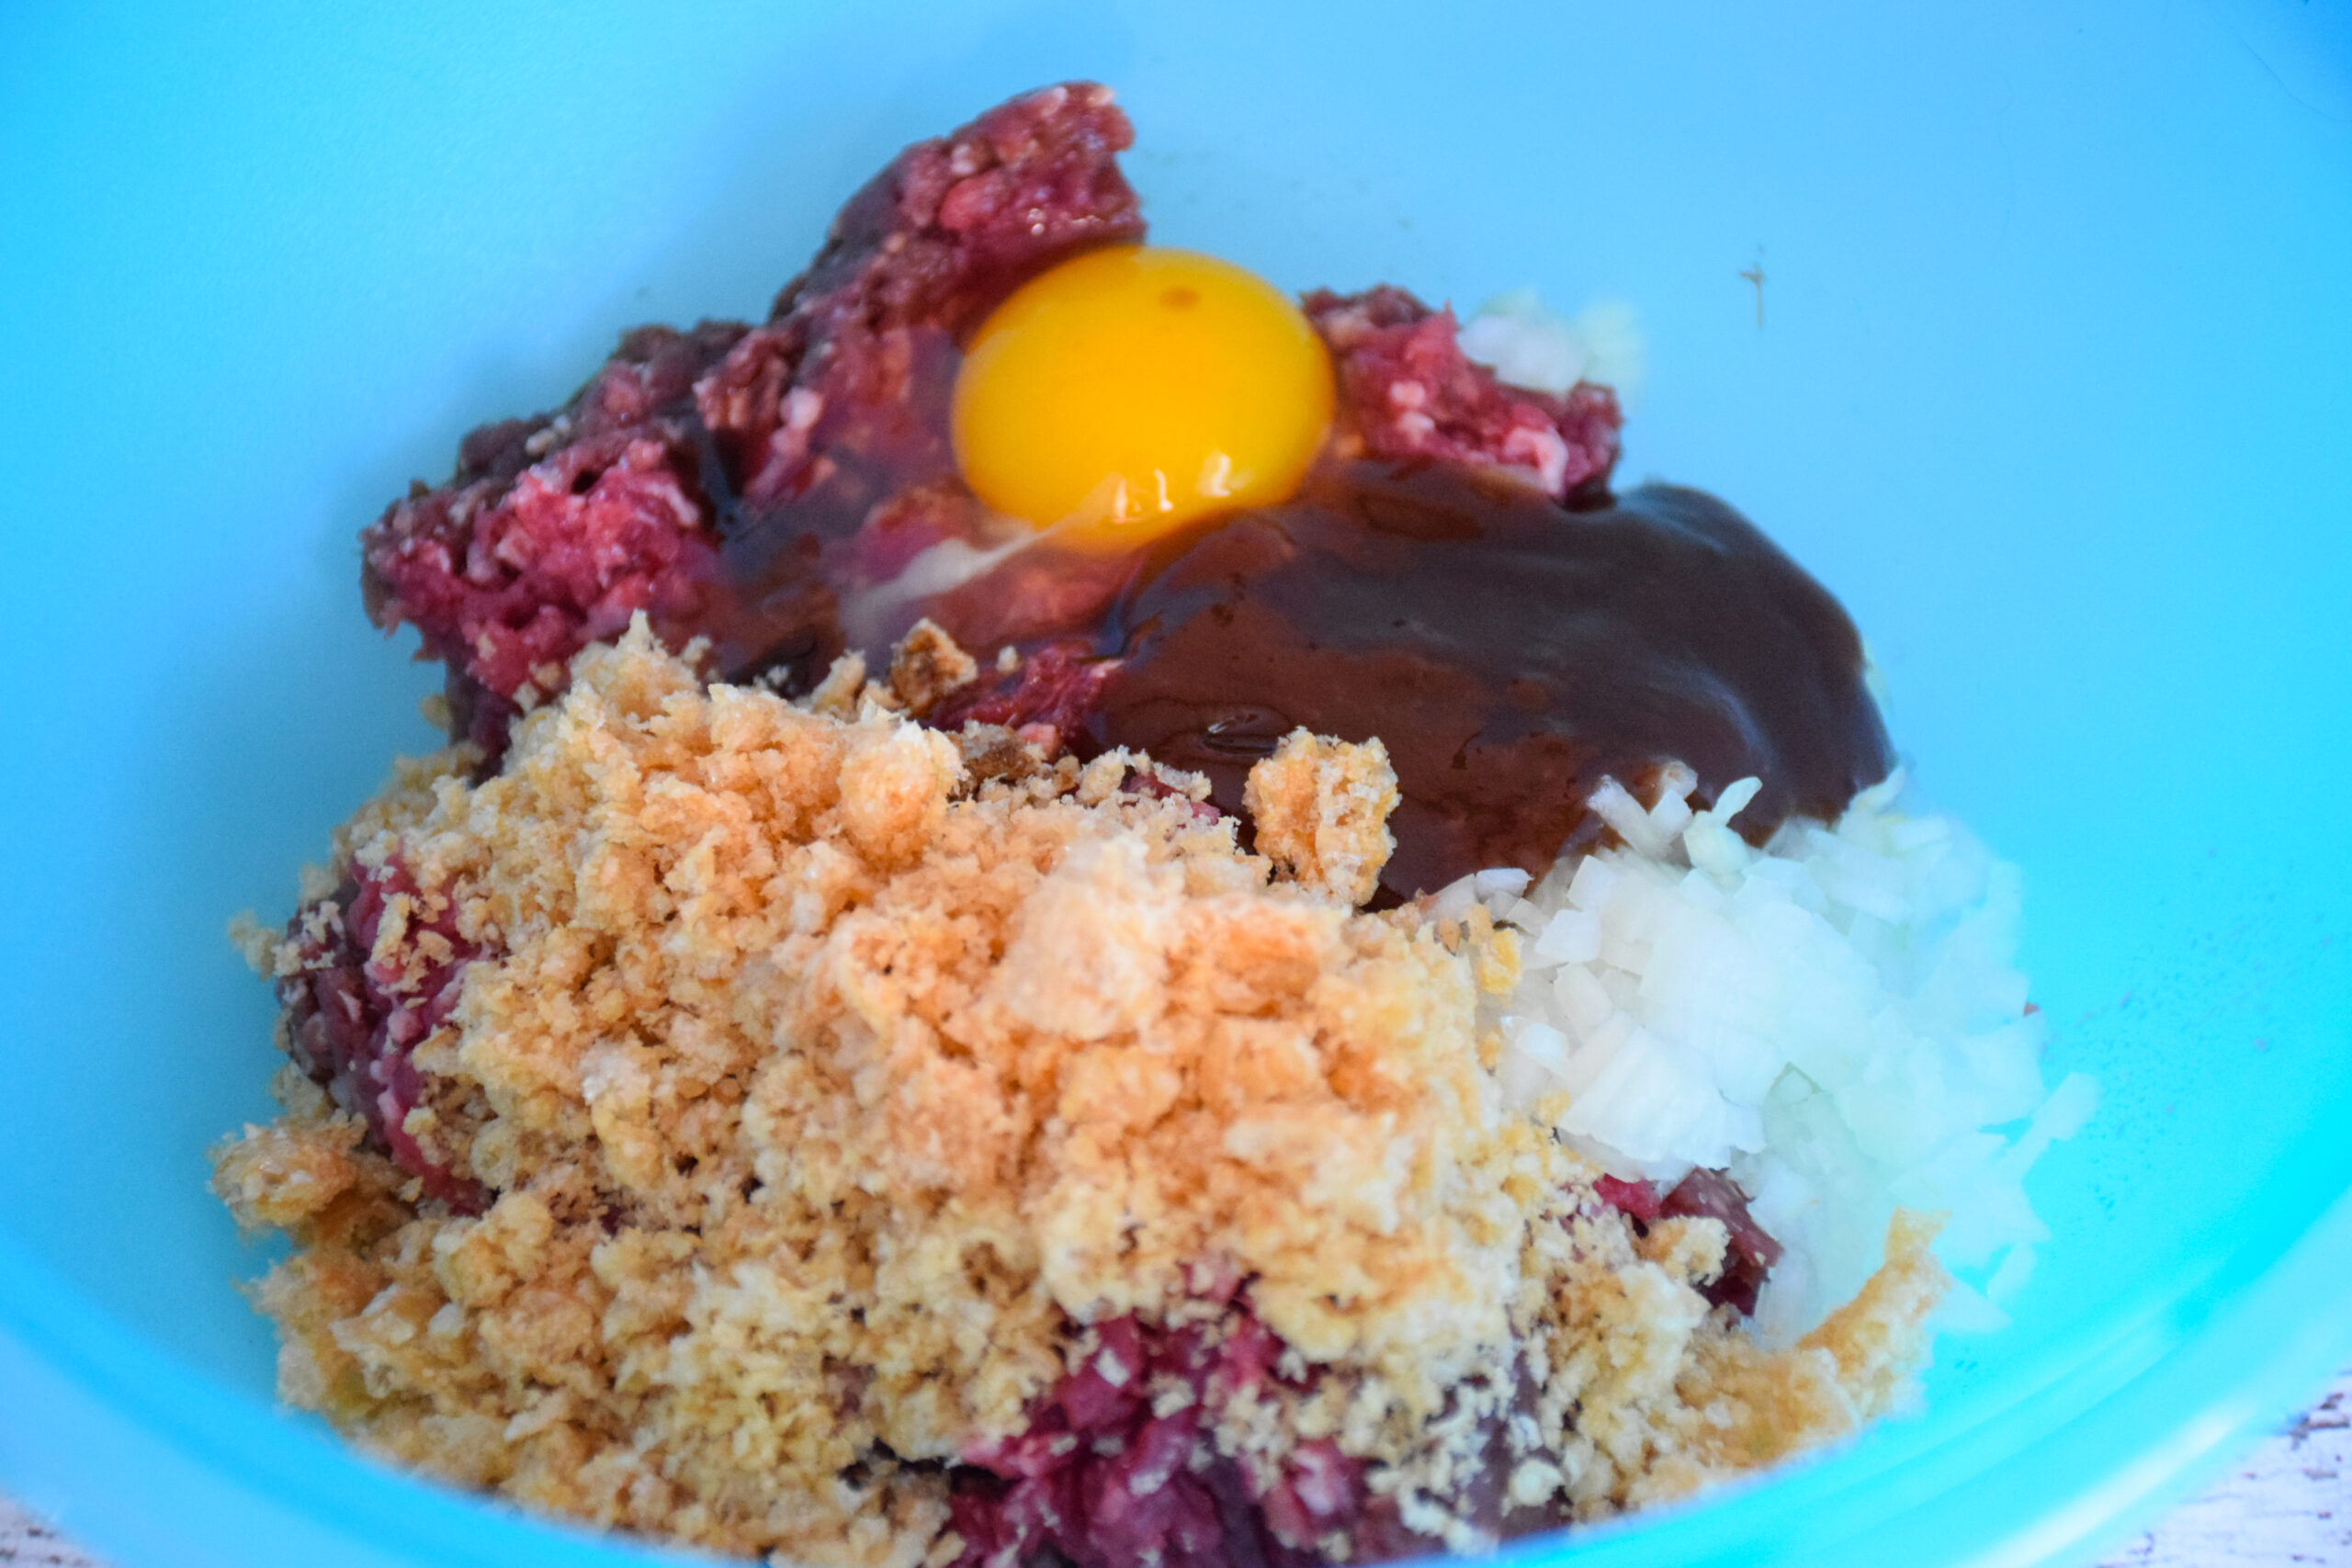
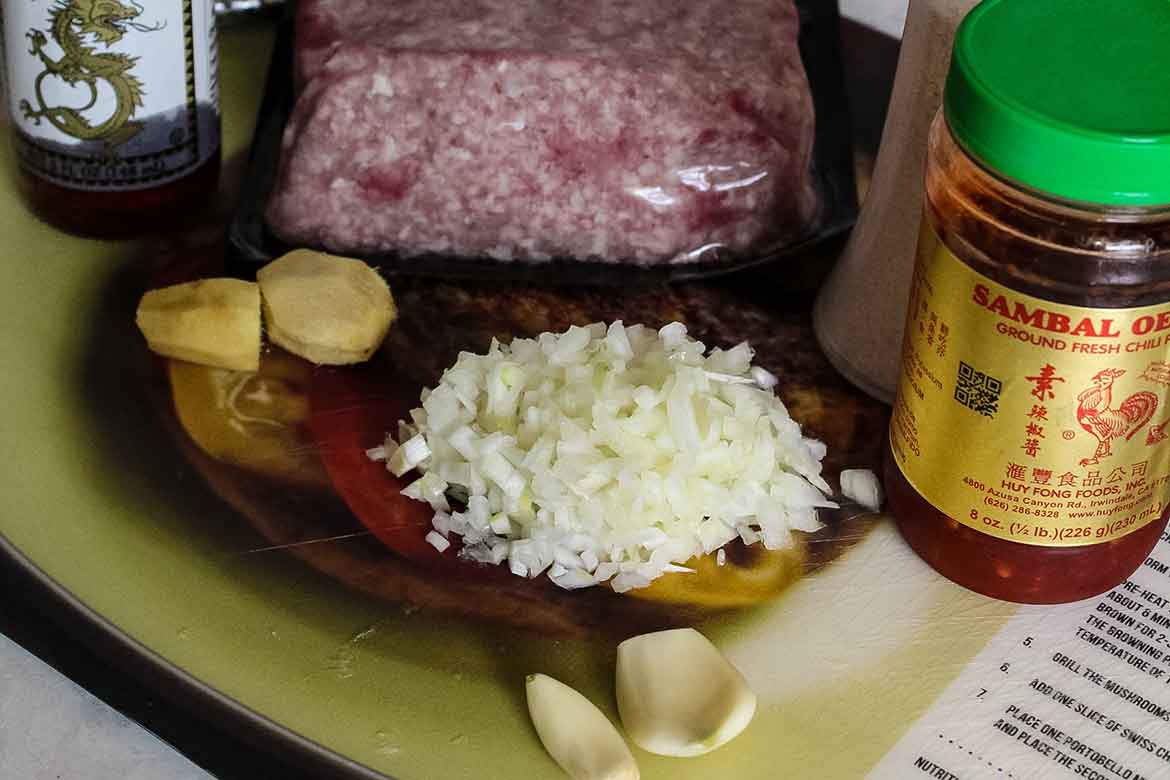
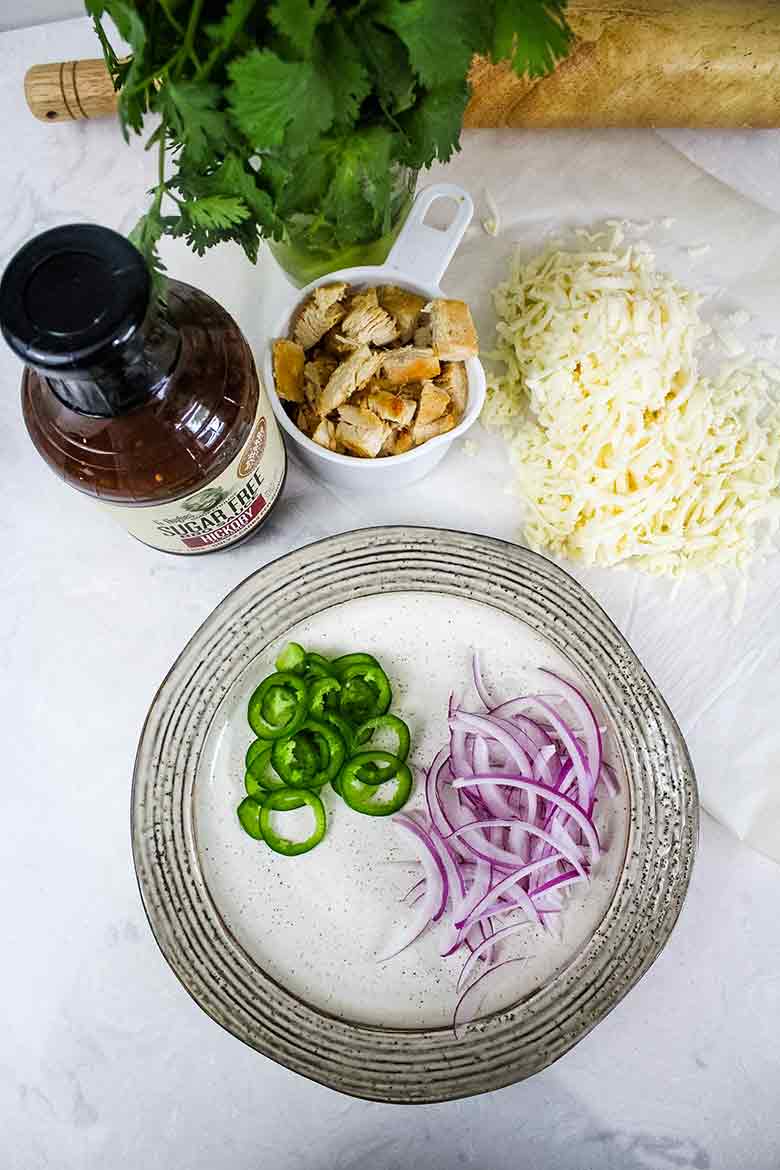
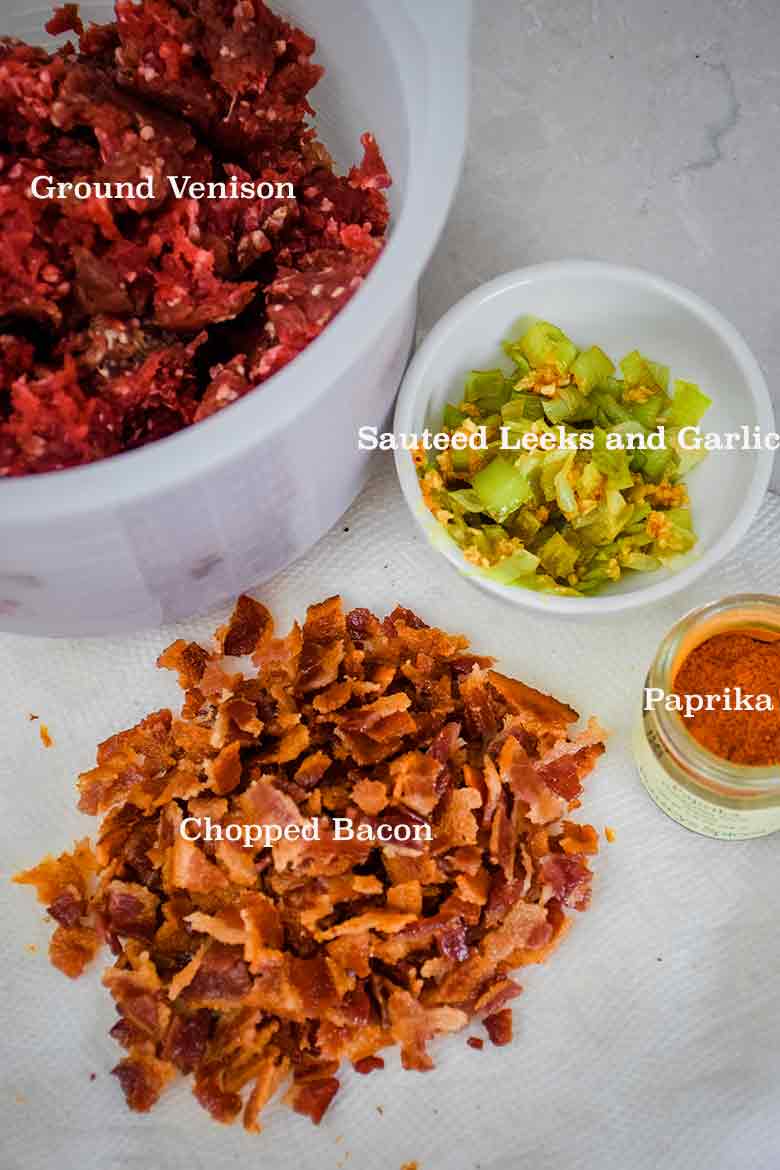
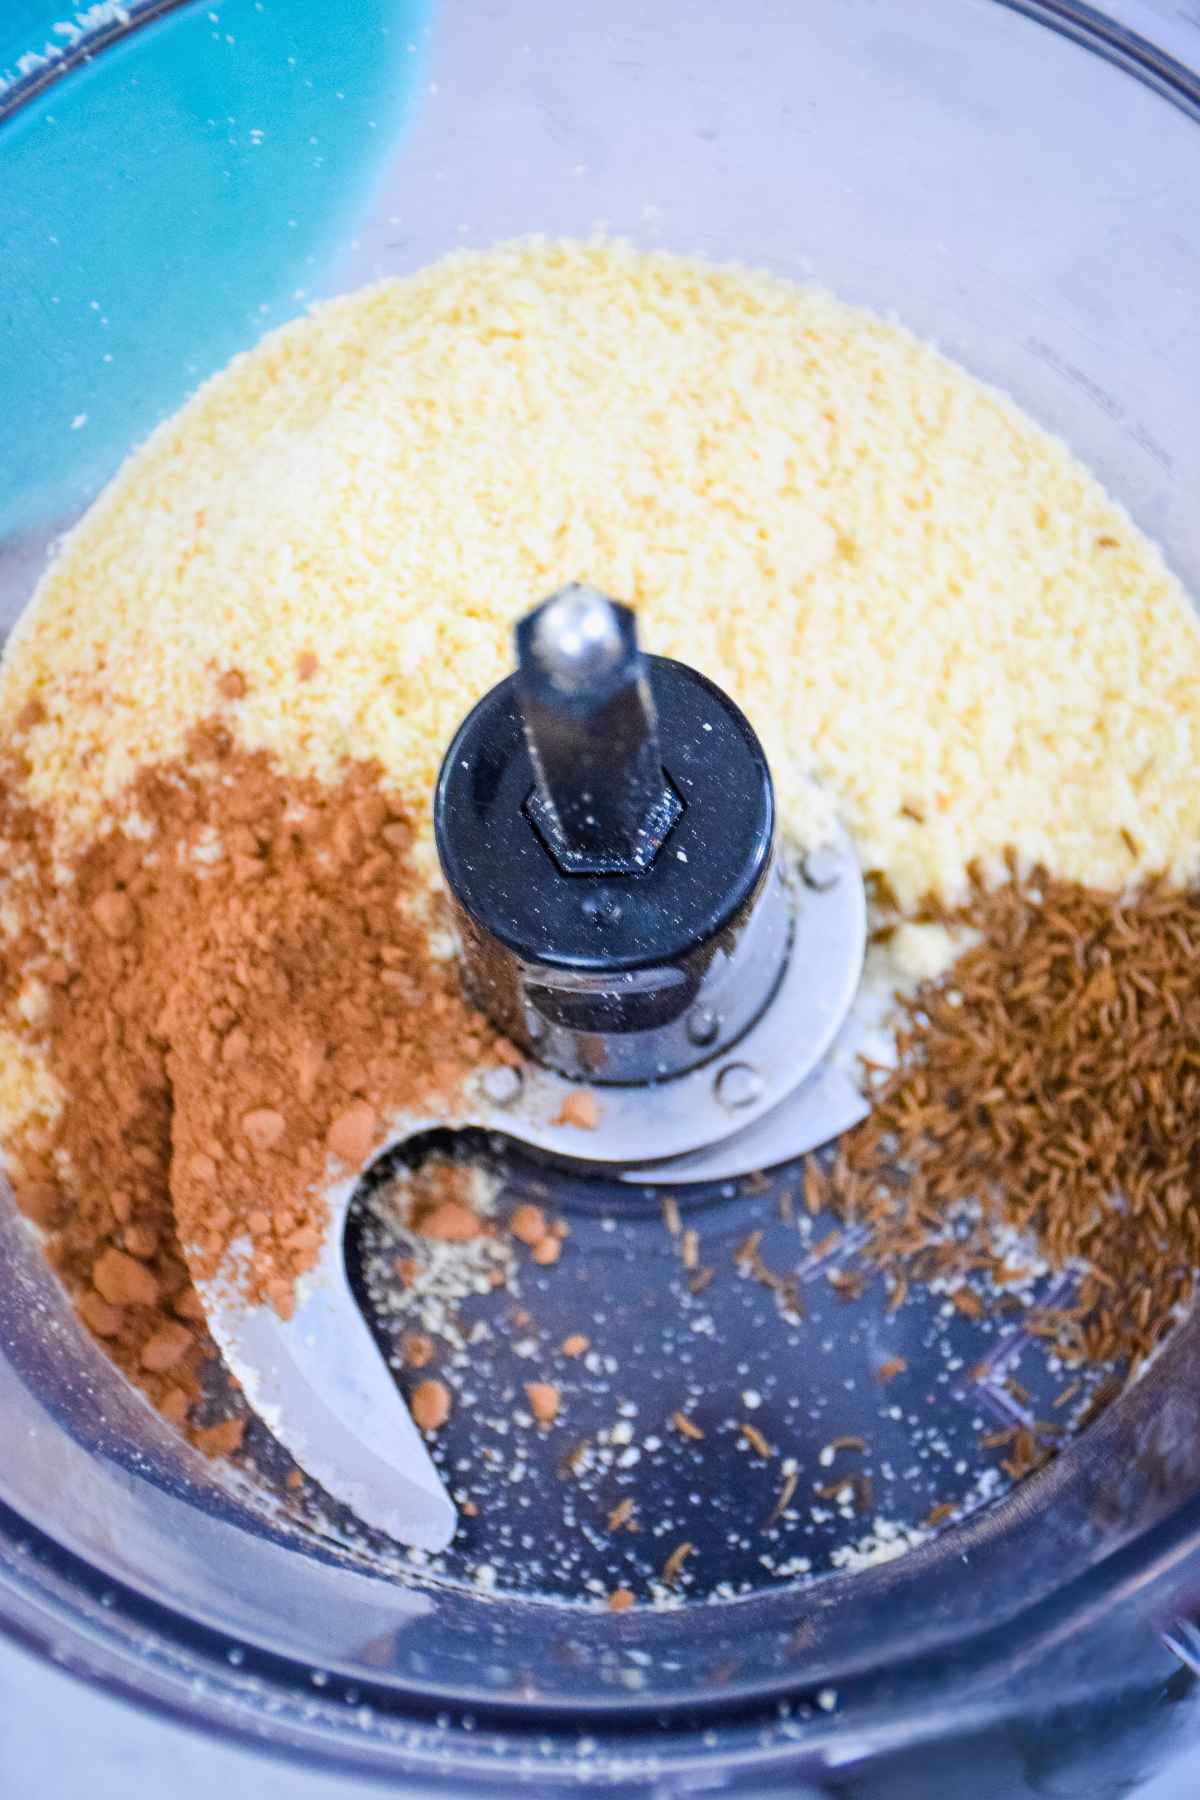
Key Ingredients for Keto Sloppy Joes
See the recipe card below for a full list of ingredients and instructions.
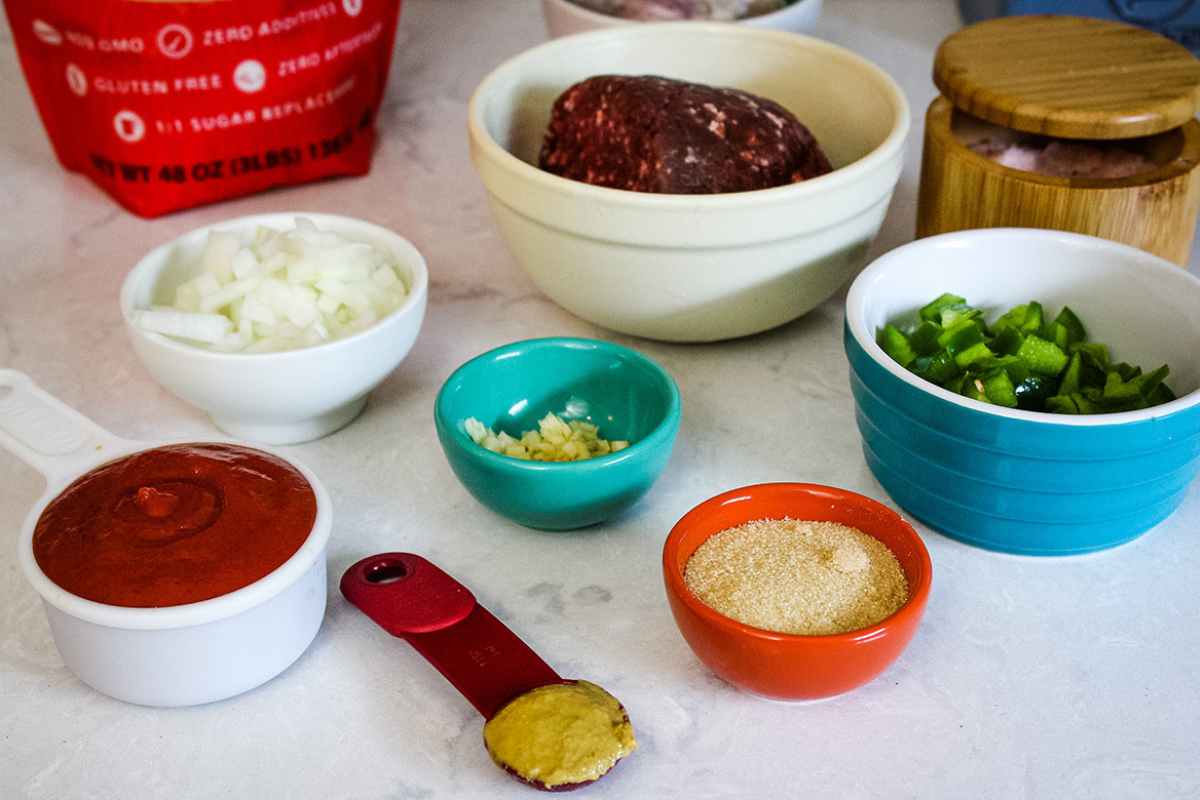
- Ground venison: a lean, flavorful meat that keeps this recipe keto and healthy.
- Green bell pepper: adds freshness and crunch.
- Onion and garlic: build savory flavor in the sauce.
- Sugar-free ketchup: classic flavor without the carbs.
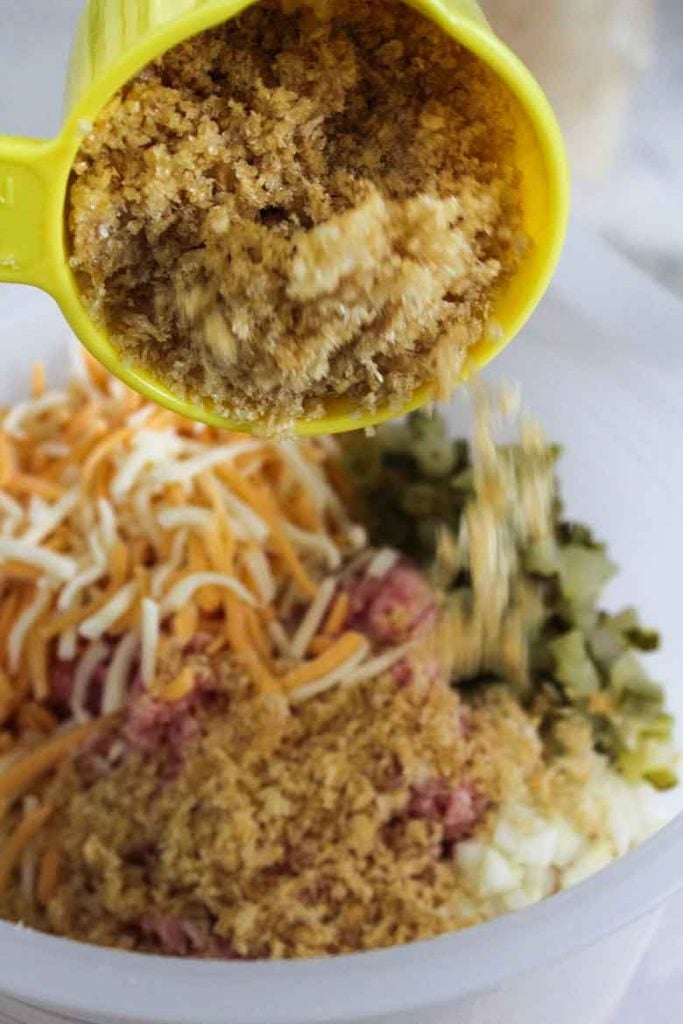
- Monk fruit golden: a natural sweetener that balances the tangy sauce.
- Dijon mustard & Worcestershire sauce: give the filling its signature sloppy joe taste.
Ingredient Substitutions
- Ground venison: ground turkey or lean beef works just as well.
- Monkfruit golden: swap with a brown sugar substitute or allulose.
- Green bell pepper: red or yellow pepper for a milder, sweeter flavor.
Variations on Keto Sloppy Joes
- Cheesy skillet style: stir in shredded cheddar at the end for creamy, cheesy sloppy joes.
- Stuffed peppers: fill halved bell peppers with the sloppy joe mixture and bake.
- Lettuce wraps: spoon into crisp lettuce leaves for a low-carb bun alternative.
Tips for Perfect Healthy Sloppy Joes
- Avoid dryness: don't overcook venison, simmer only untl the sauce thickens.
- Taste test: adjust sweetness or tang before serving.
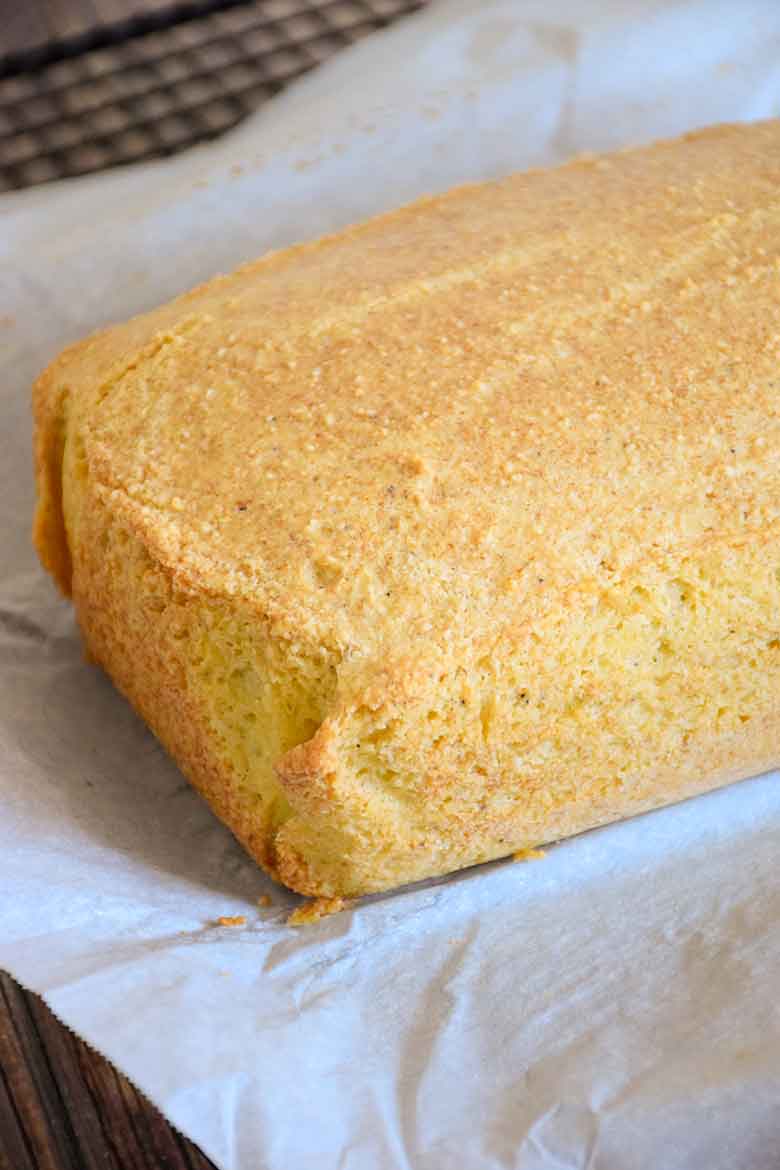
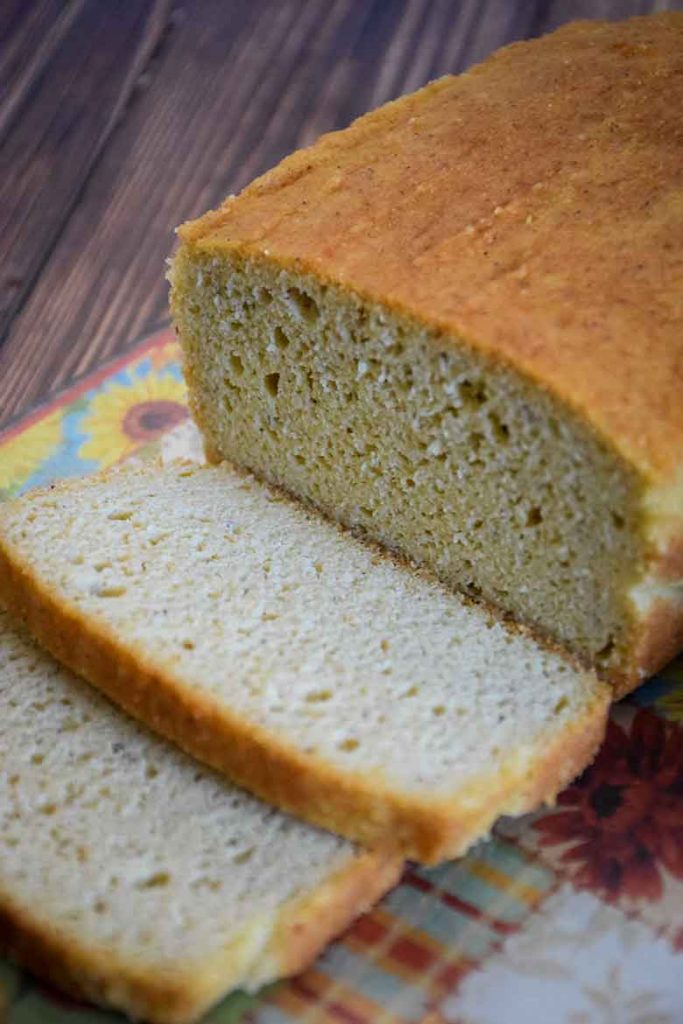
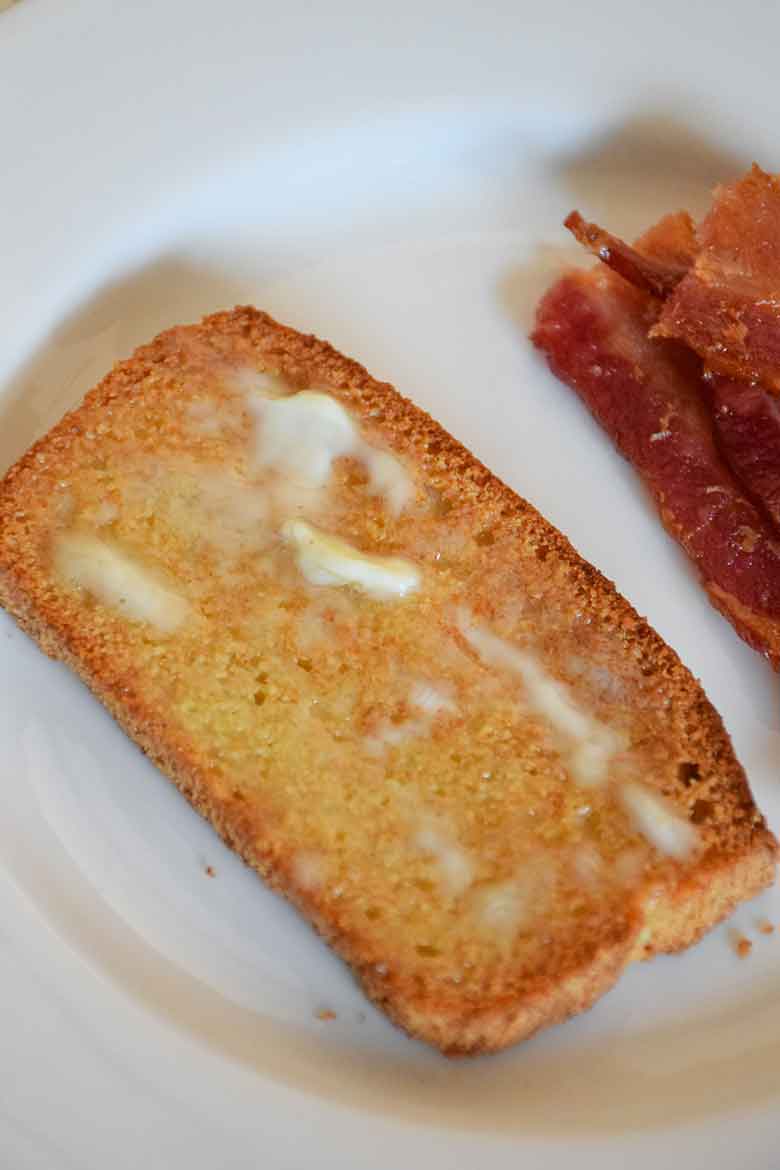
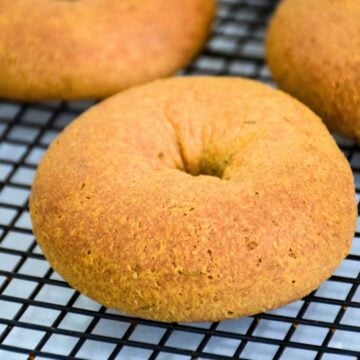
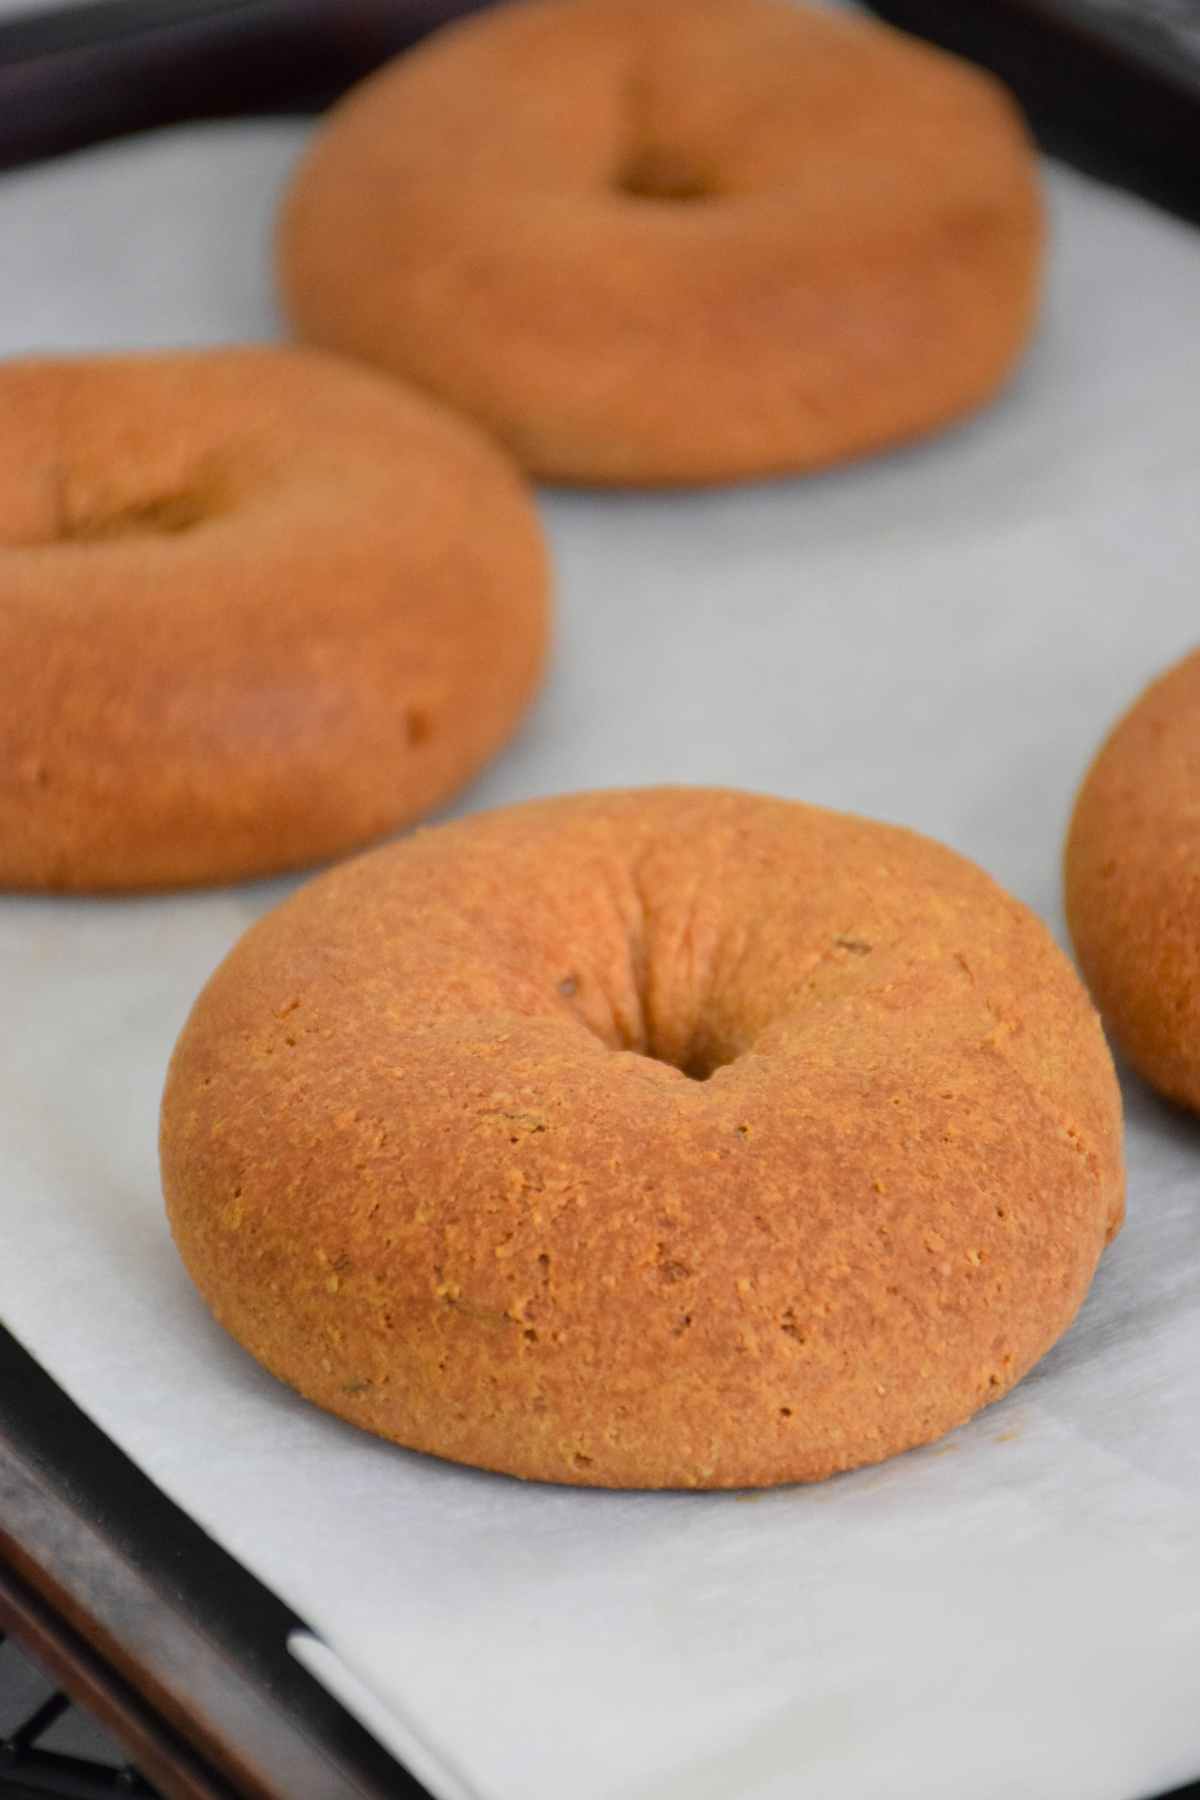
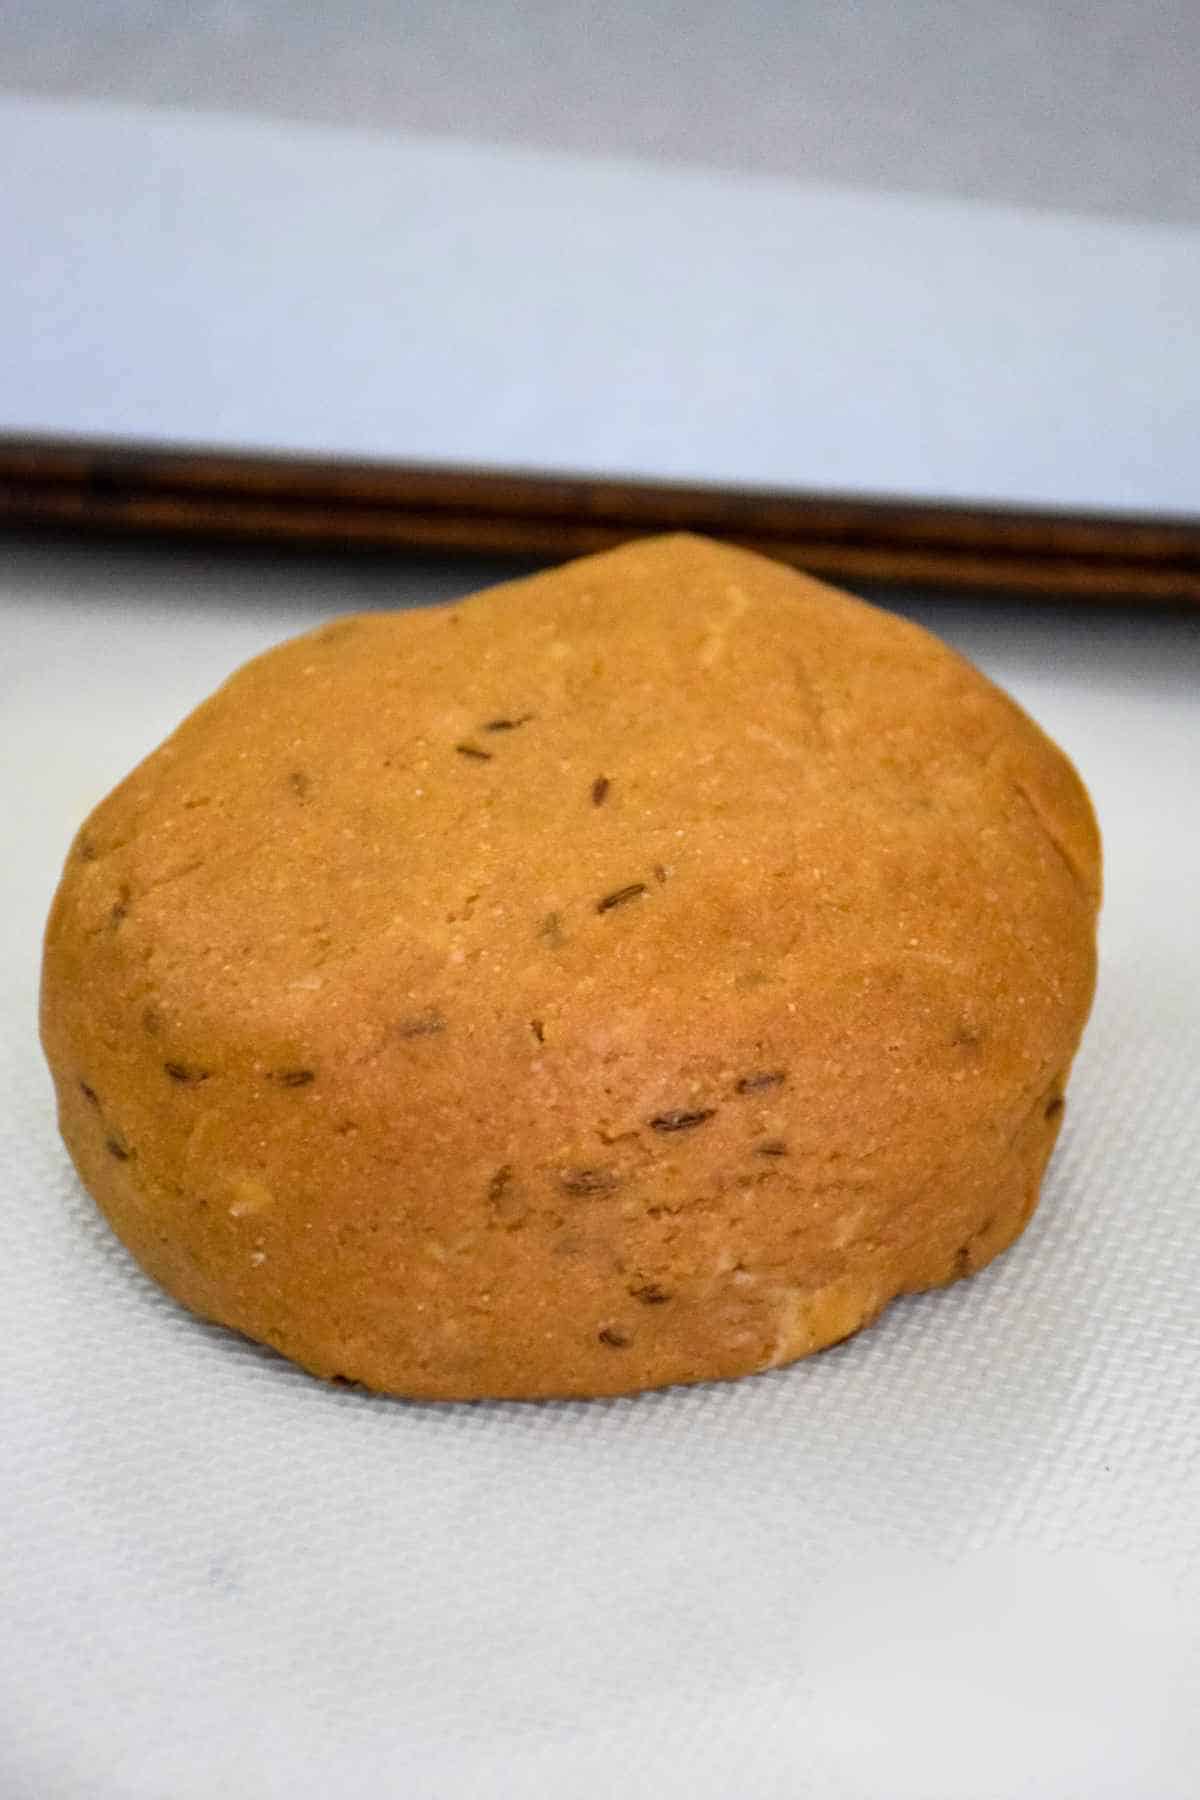
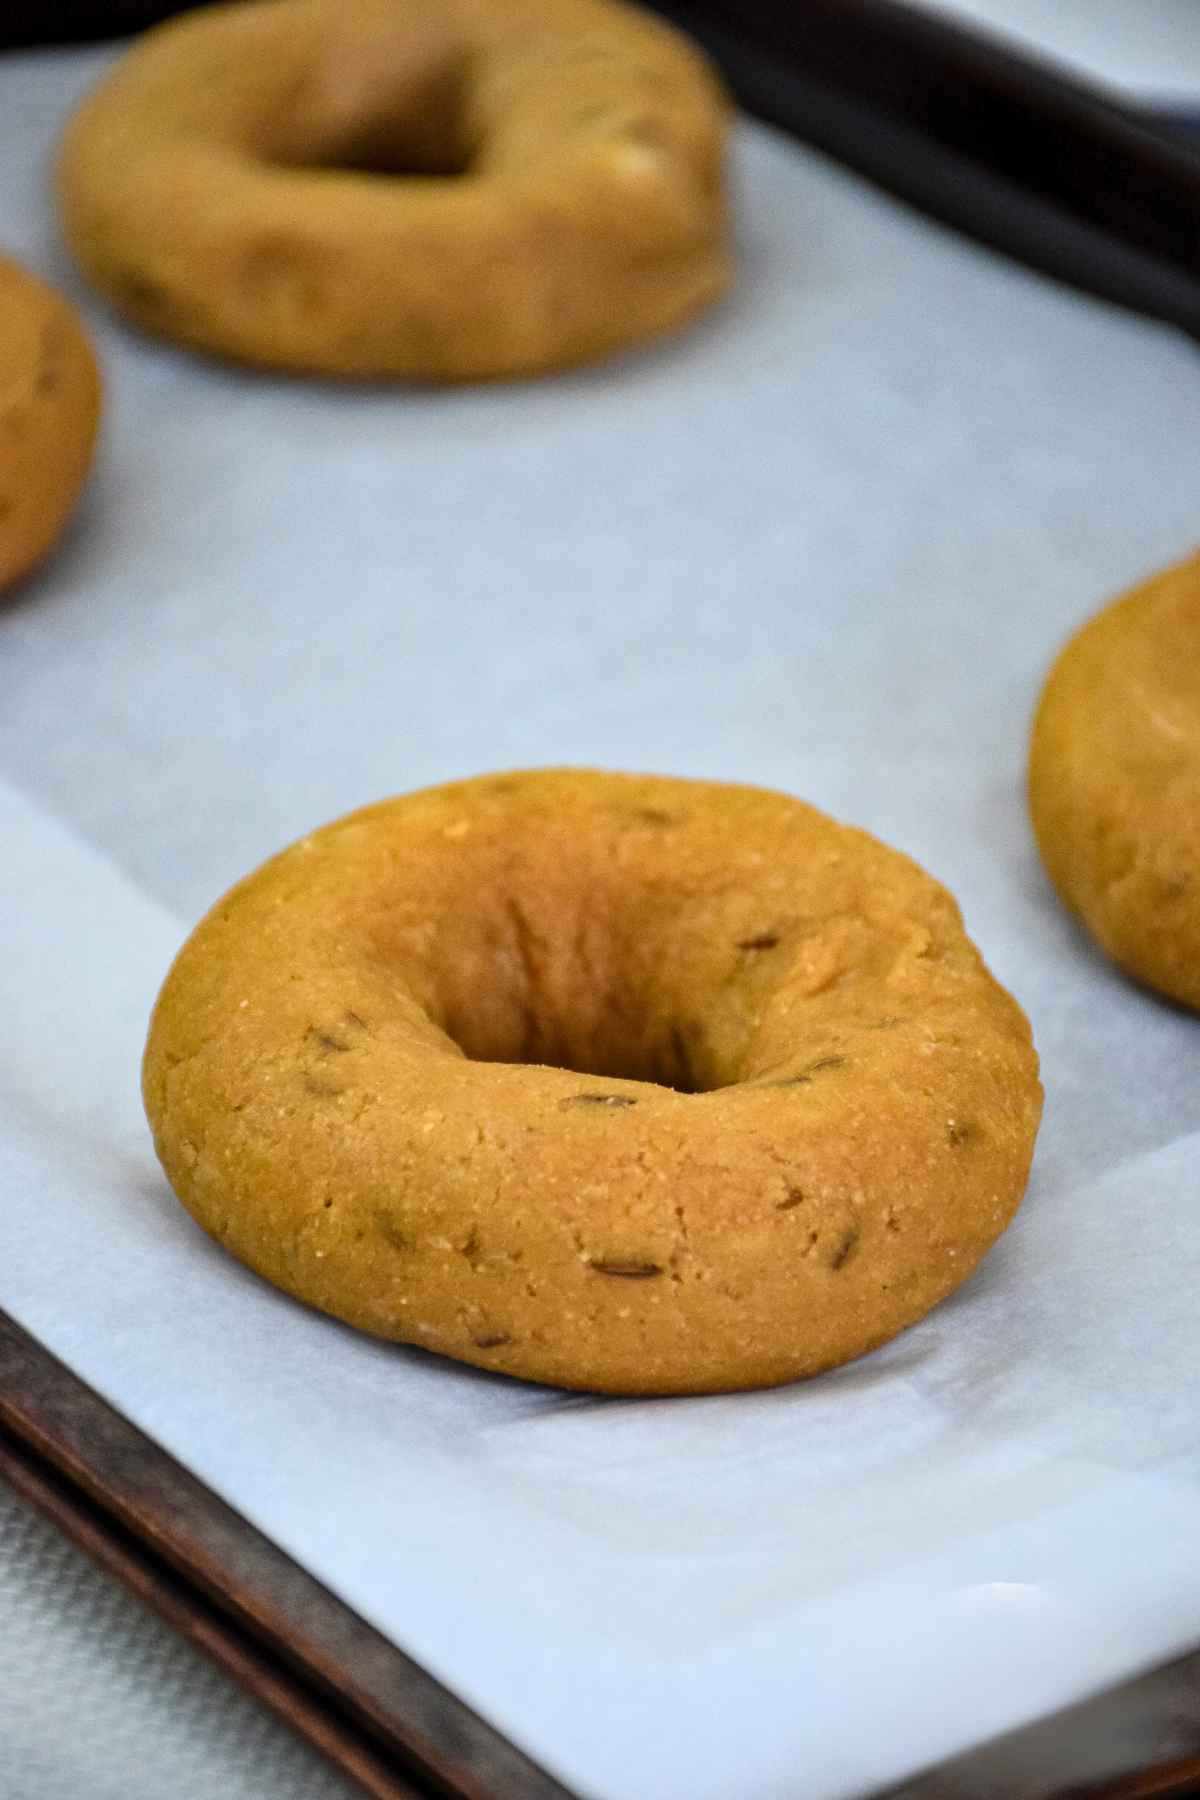
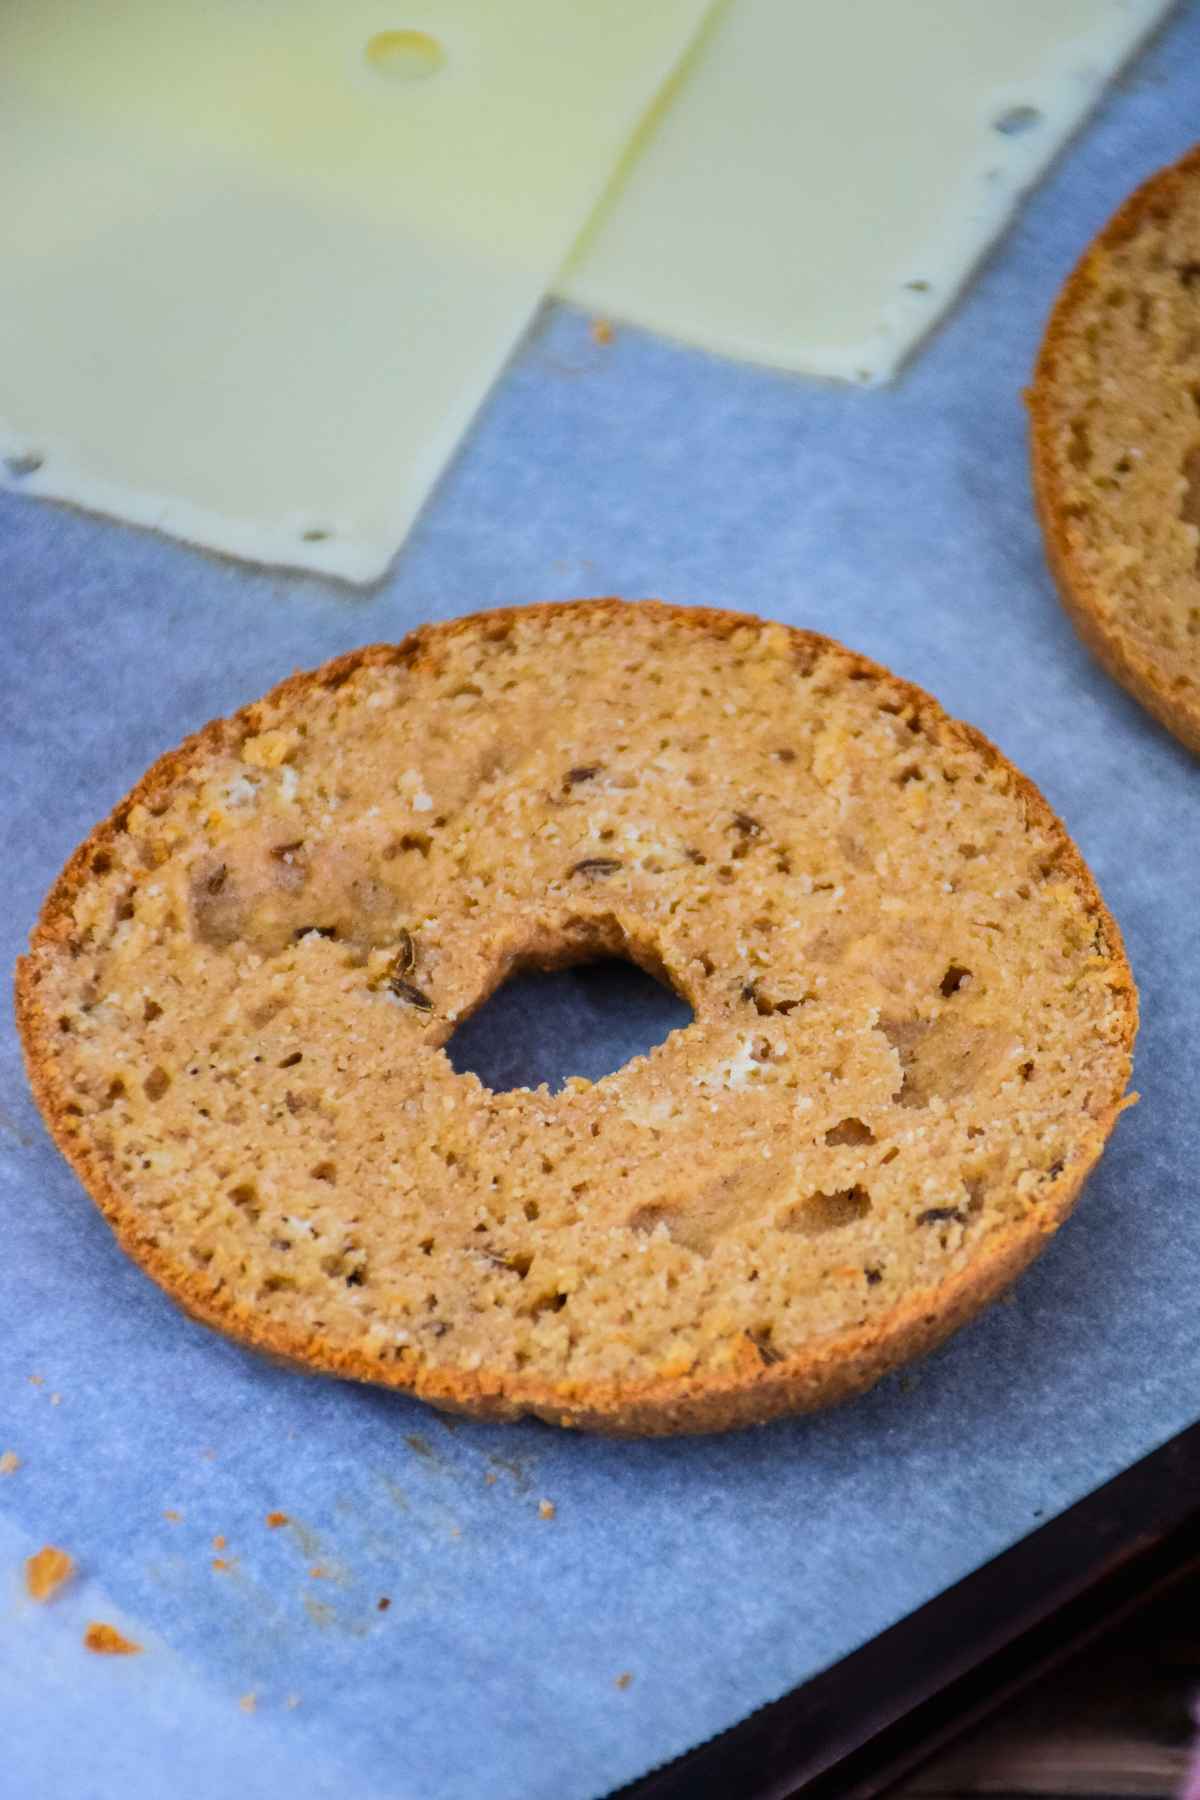
- Toast buns: whether keto bagels, rolls, or keto bread, toasting keeps them sturdy.

How to Store and Reheat
Refrigerate leftovers in an airtight container for up to 3 days. Reheat in a skillet over medium heat, adding a splash of water to loosen the sauce if needed.
Serve With...
I like to serve these Keto Sloppy Joes over top of a toasted Keto Asiago Bagel or Keto Dinner Roll with a serving of Homemade Coleslaw.
More Easy Keto Meals You'll Love
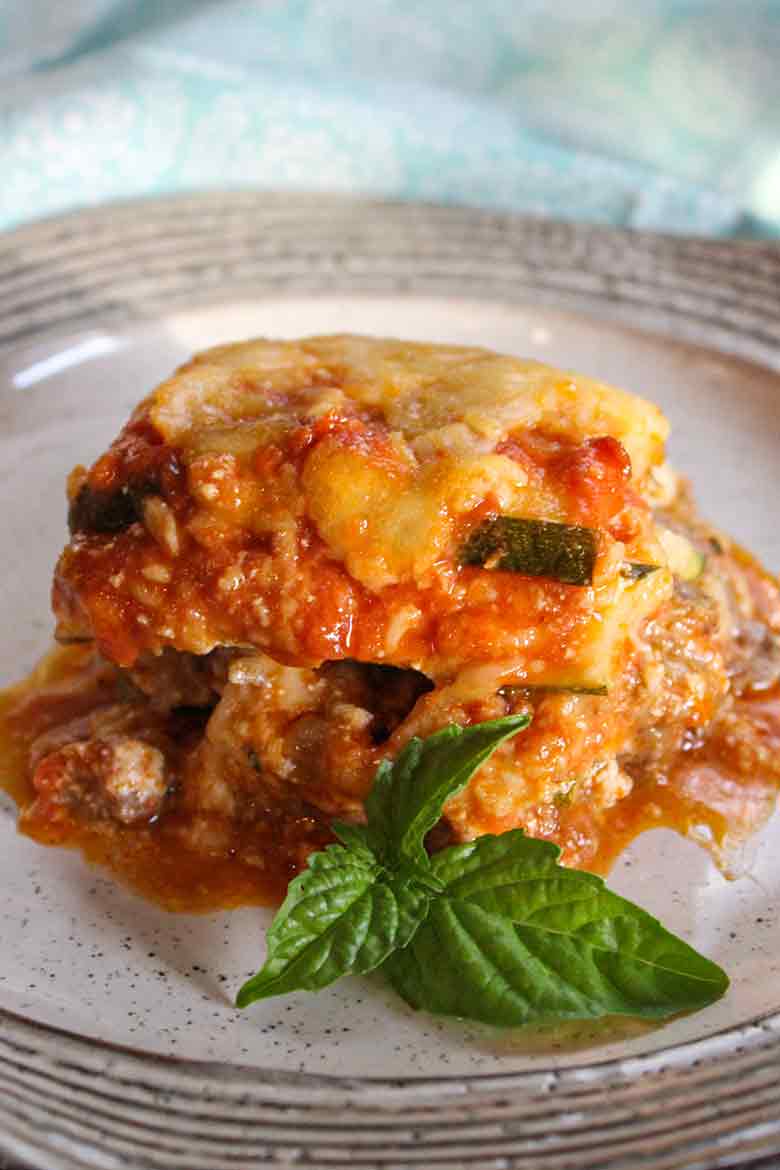
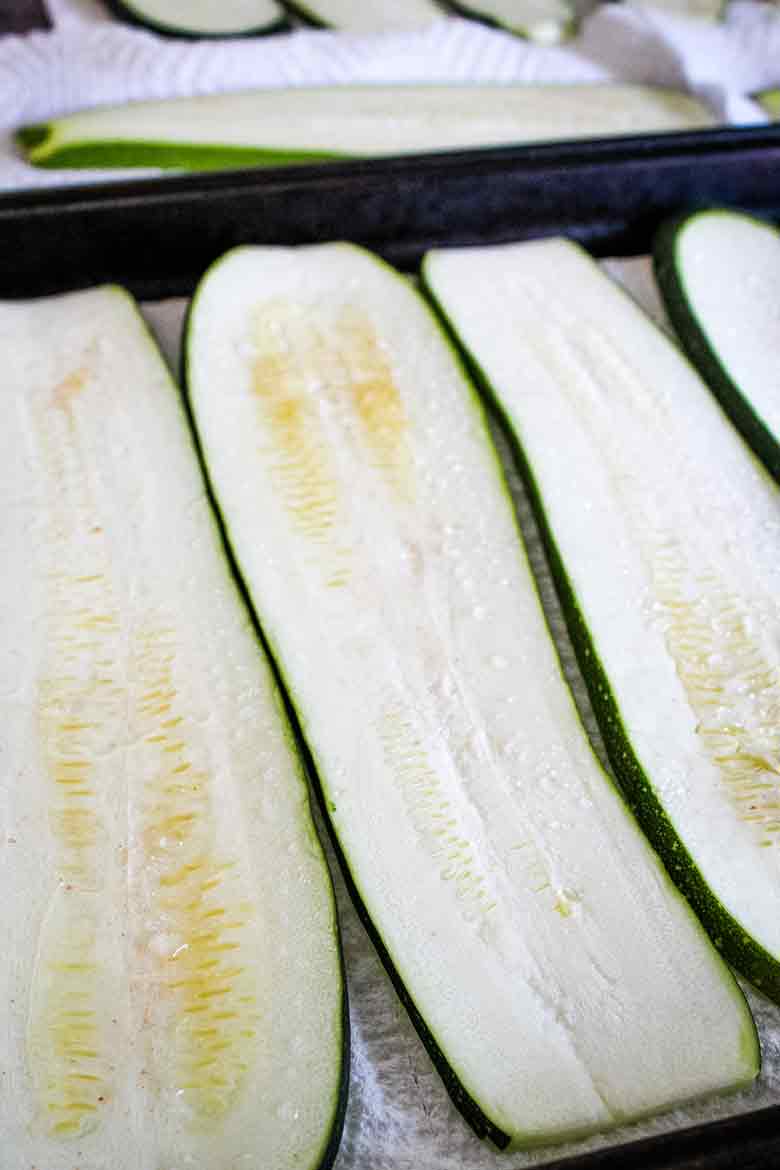
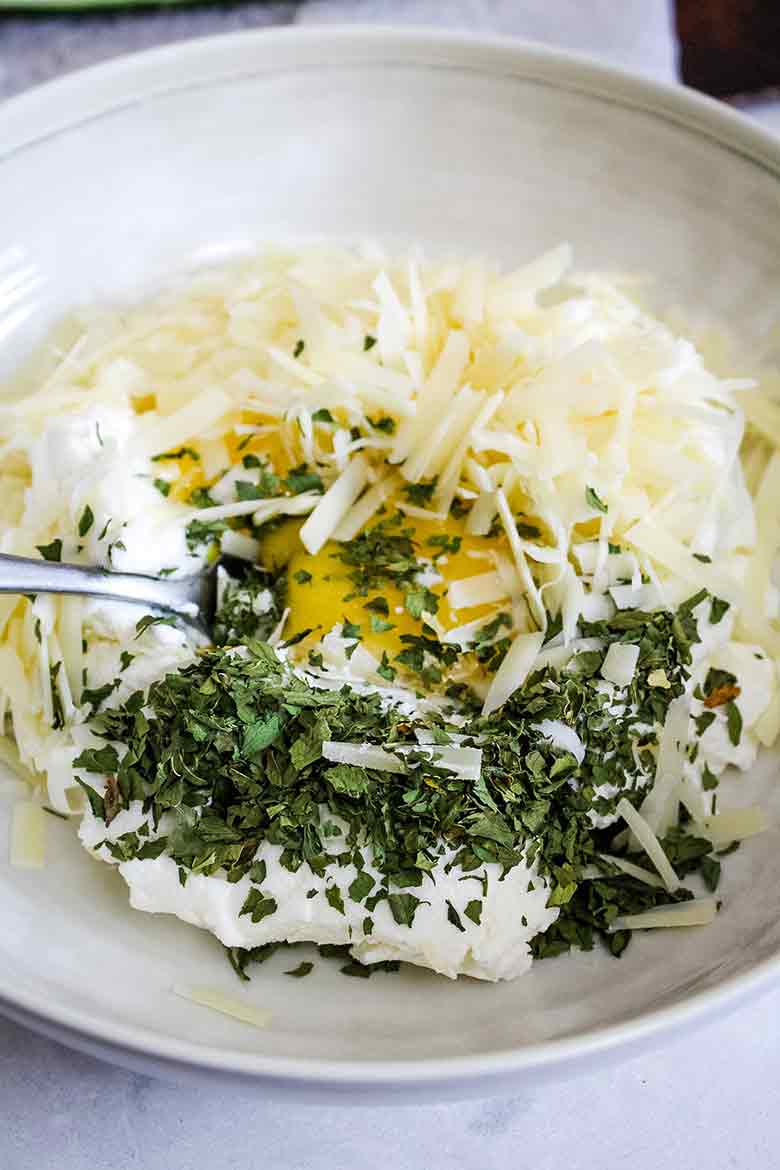
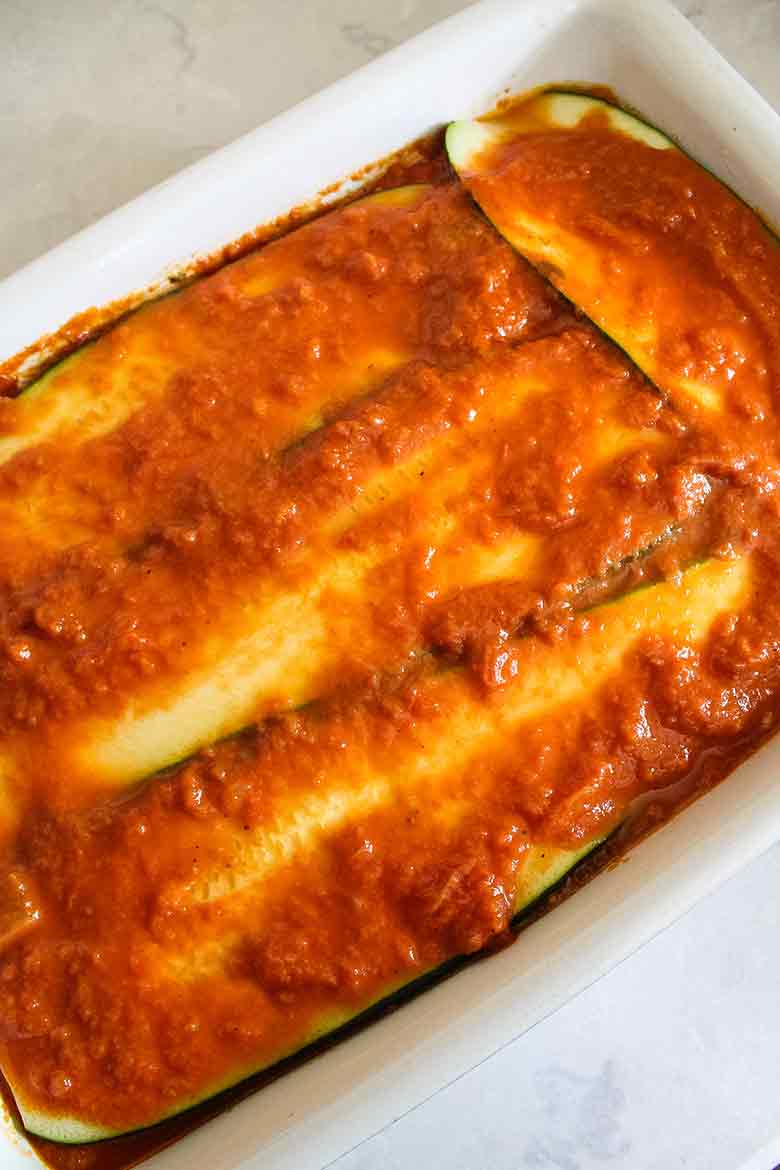
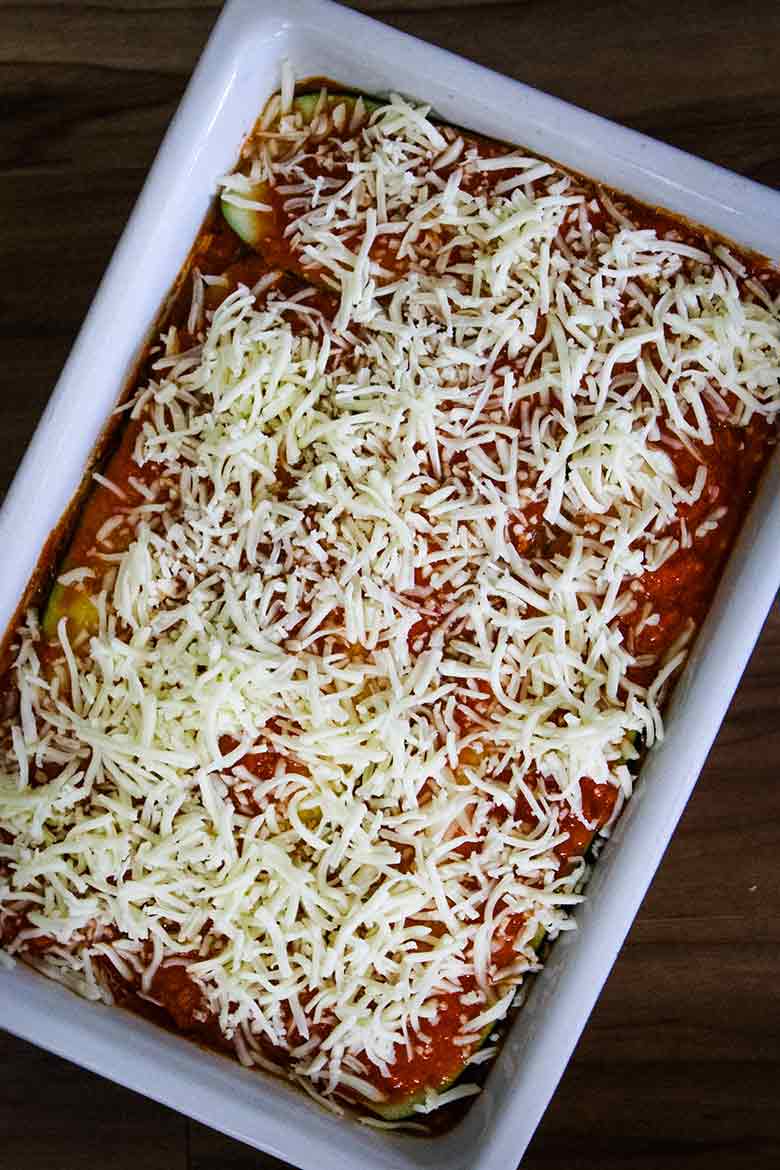
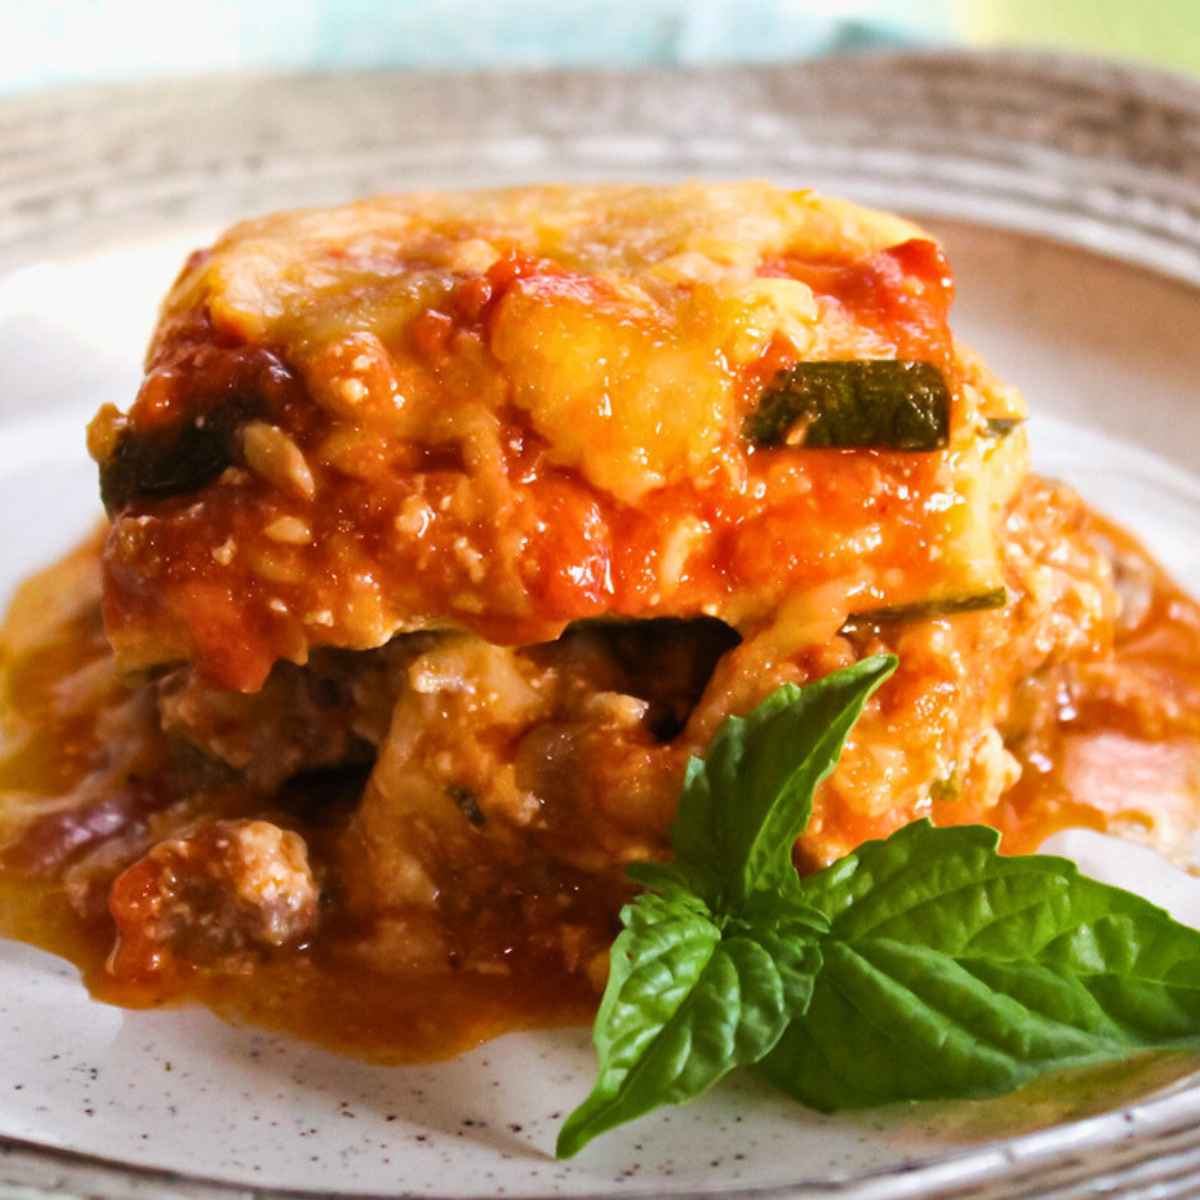
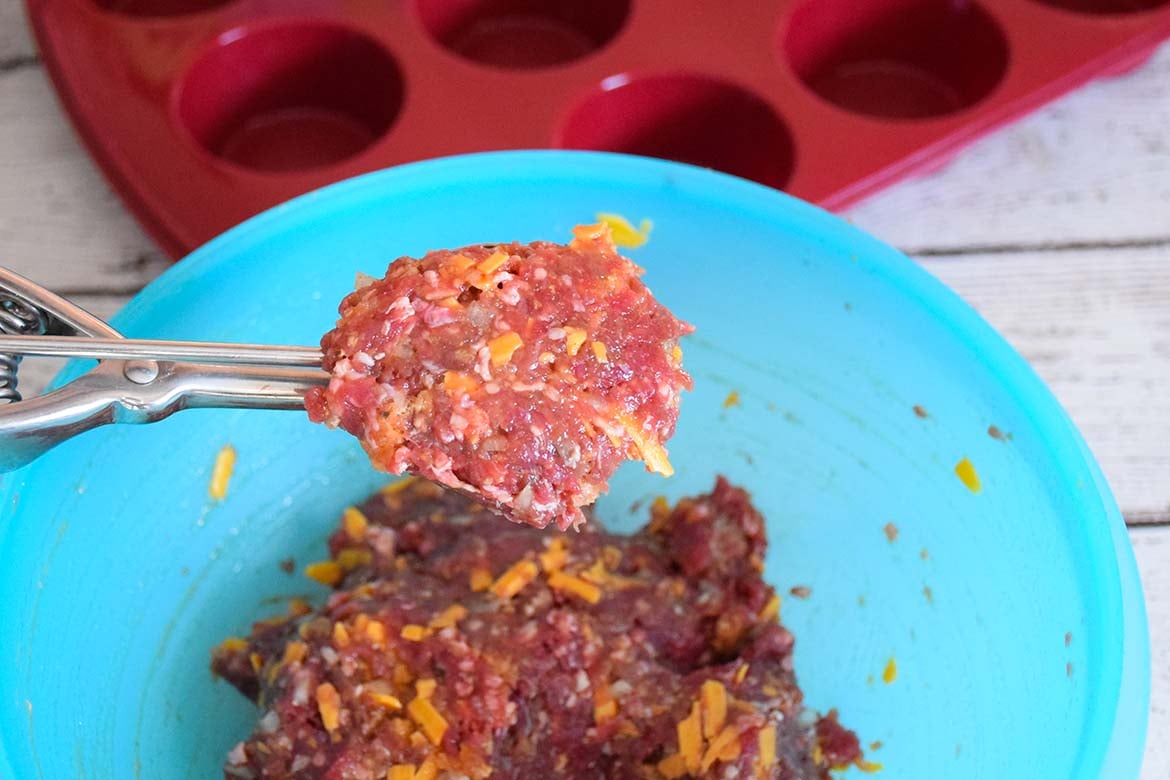
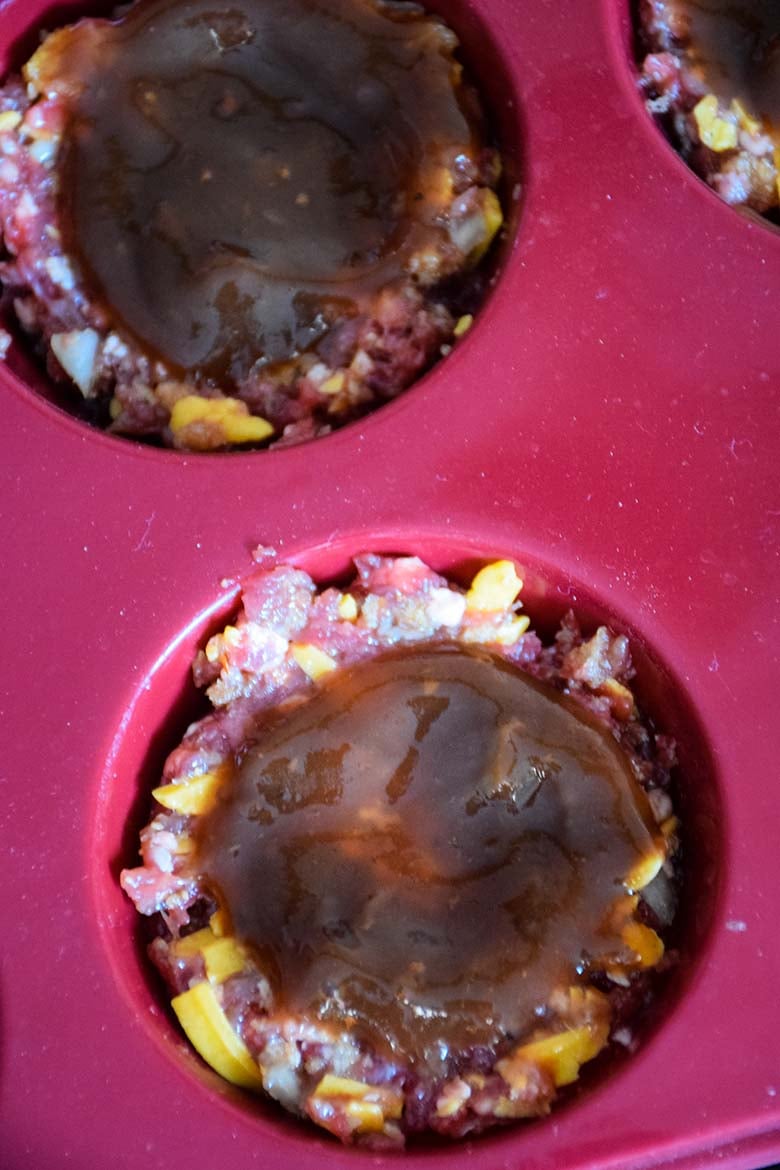
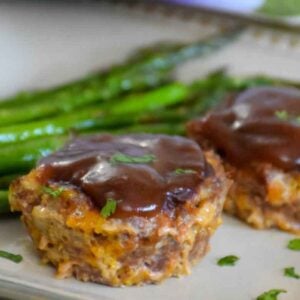
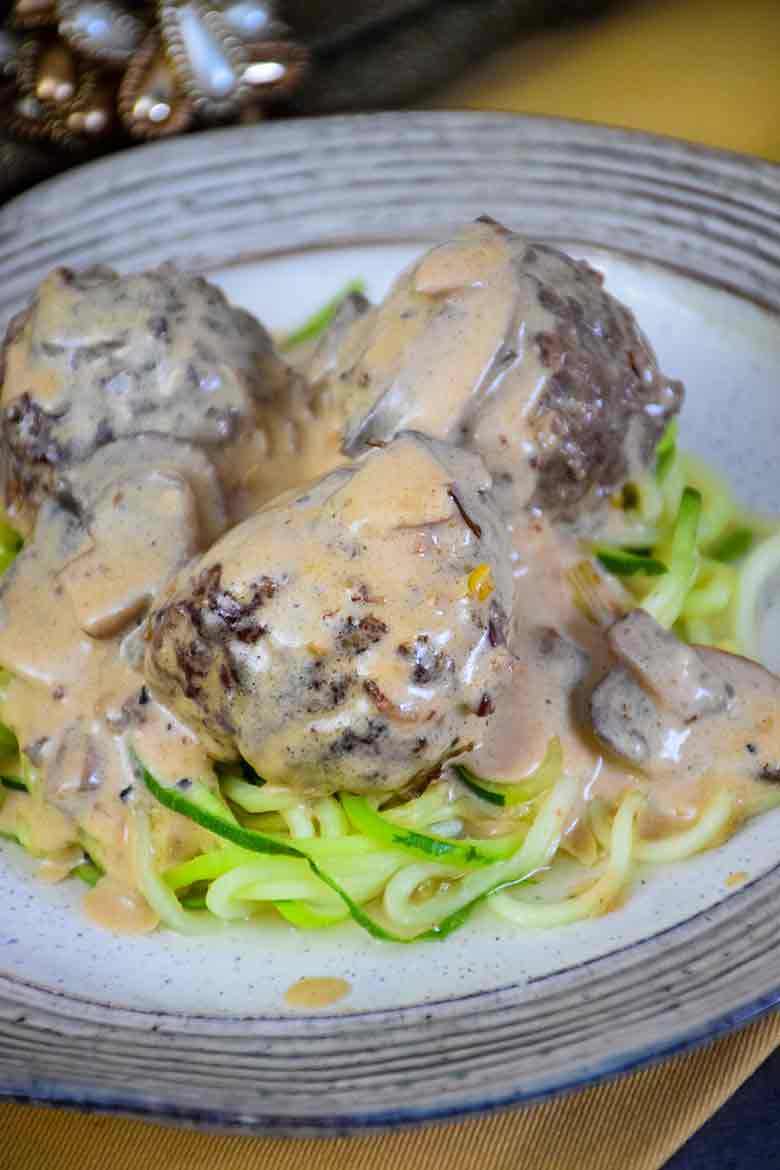
If you enjoy these healthy sloppy joes, you'll also enjoy my Zucchini Noodle Lasagna, Eggroll in a Bowl, BBQ Cheddar Venison Meatloaf Muffins, and Venison Meatball Alfredo.
When you make this recipe, please comment below and let me know what you think. I'd love it if you tag me on Instagram @grumpyshoneybunch or #grumpyshoneybunch so I can see your photos!
If you love this recipe, please leave a ⭐⭐⭐⭐⭐ rating
📖 Recipe
Keto Sloppy Joes
As an Amazon Associate I earn from qualifying purchases.
Ingredients
- 1 pound ground venison
- ¼ cup diced onion
- ½ cup diced green bell pepper
- 2 cloves garlic , minced
- 1½ cups water , divided
- ½ cup sugar-free ketchup
- 2 tablespoon Monk fruit
- 1 teaspoon dijon mustard
- ½ teaspoon Worcestershire Sauce
- ½ teaspoon salt
- ½ teaspoon black pepper
Instructions
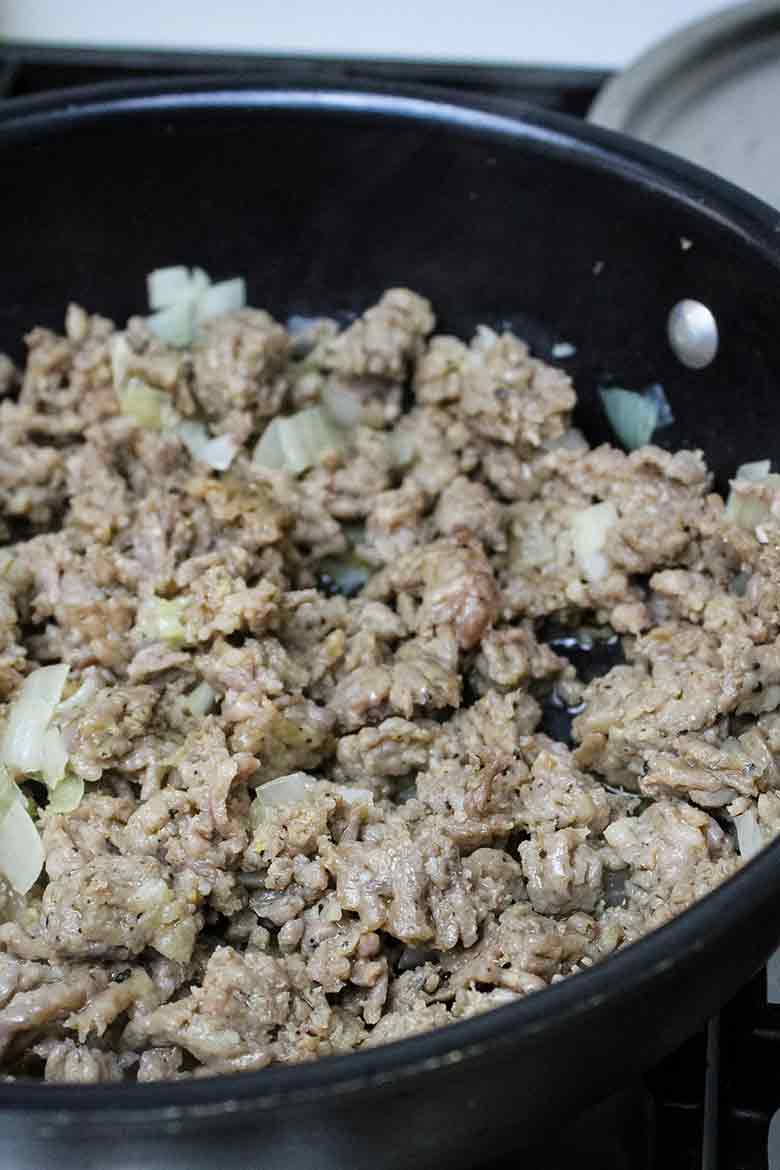
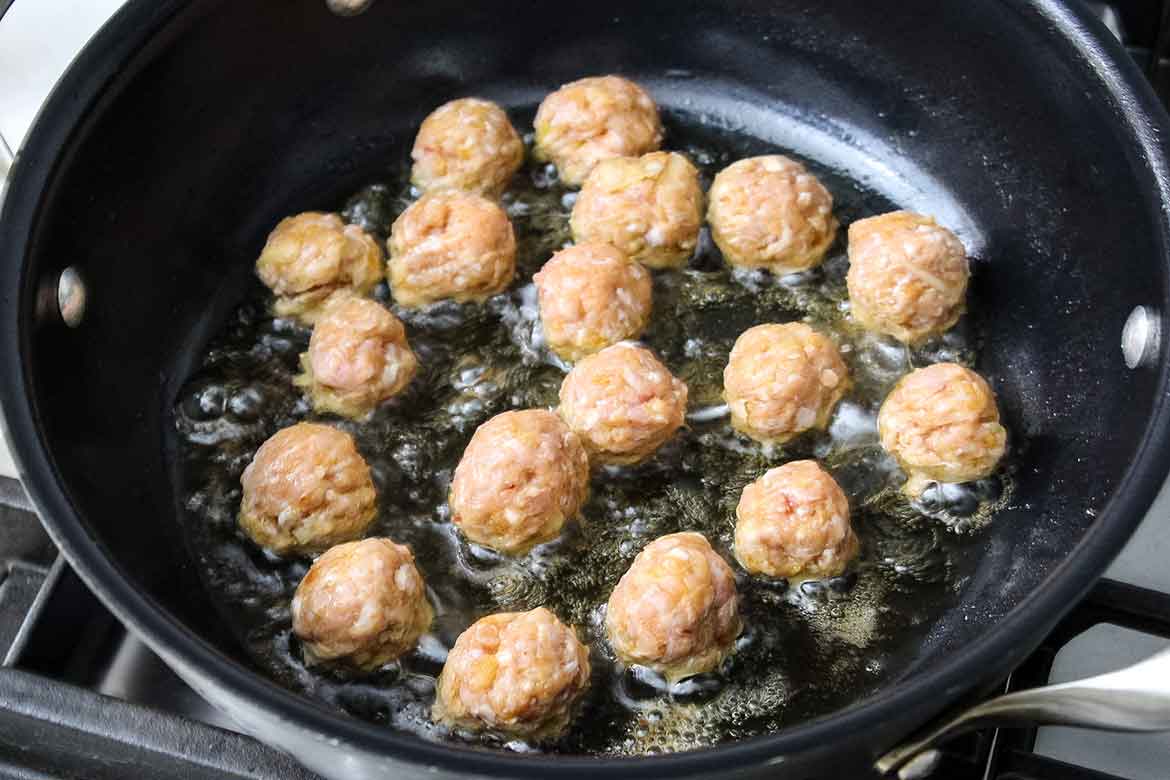
- In a large skillet, over medium heat, add the onion, and ground venison.
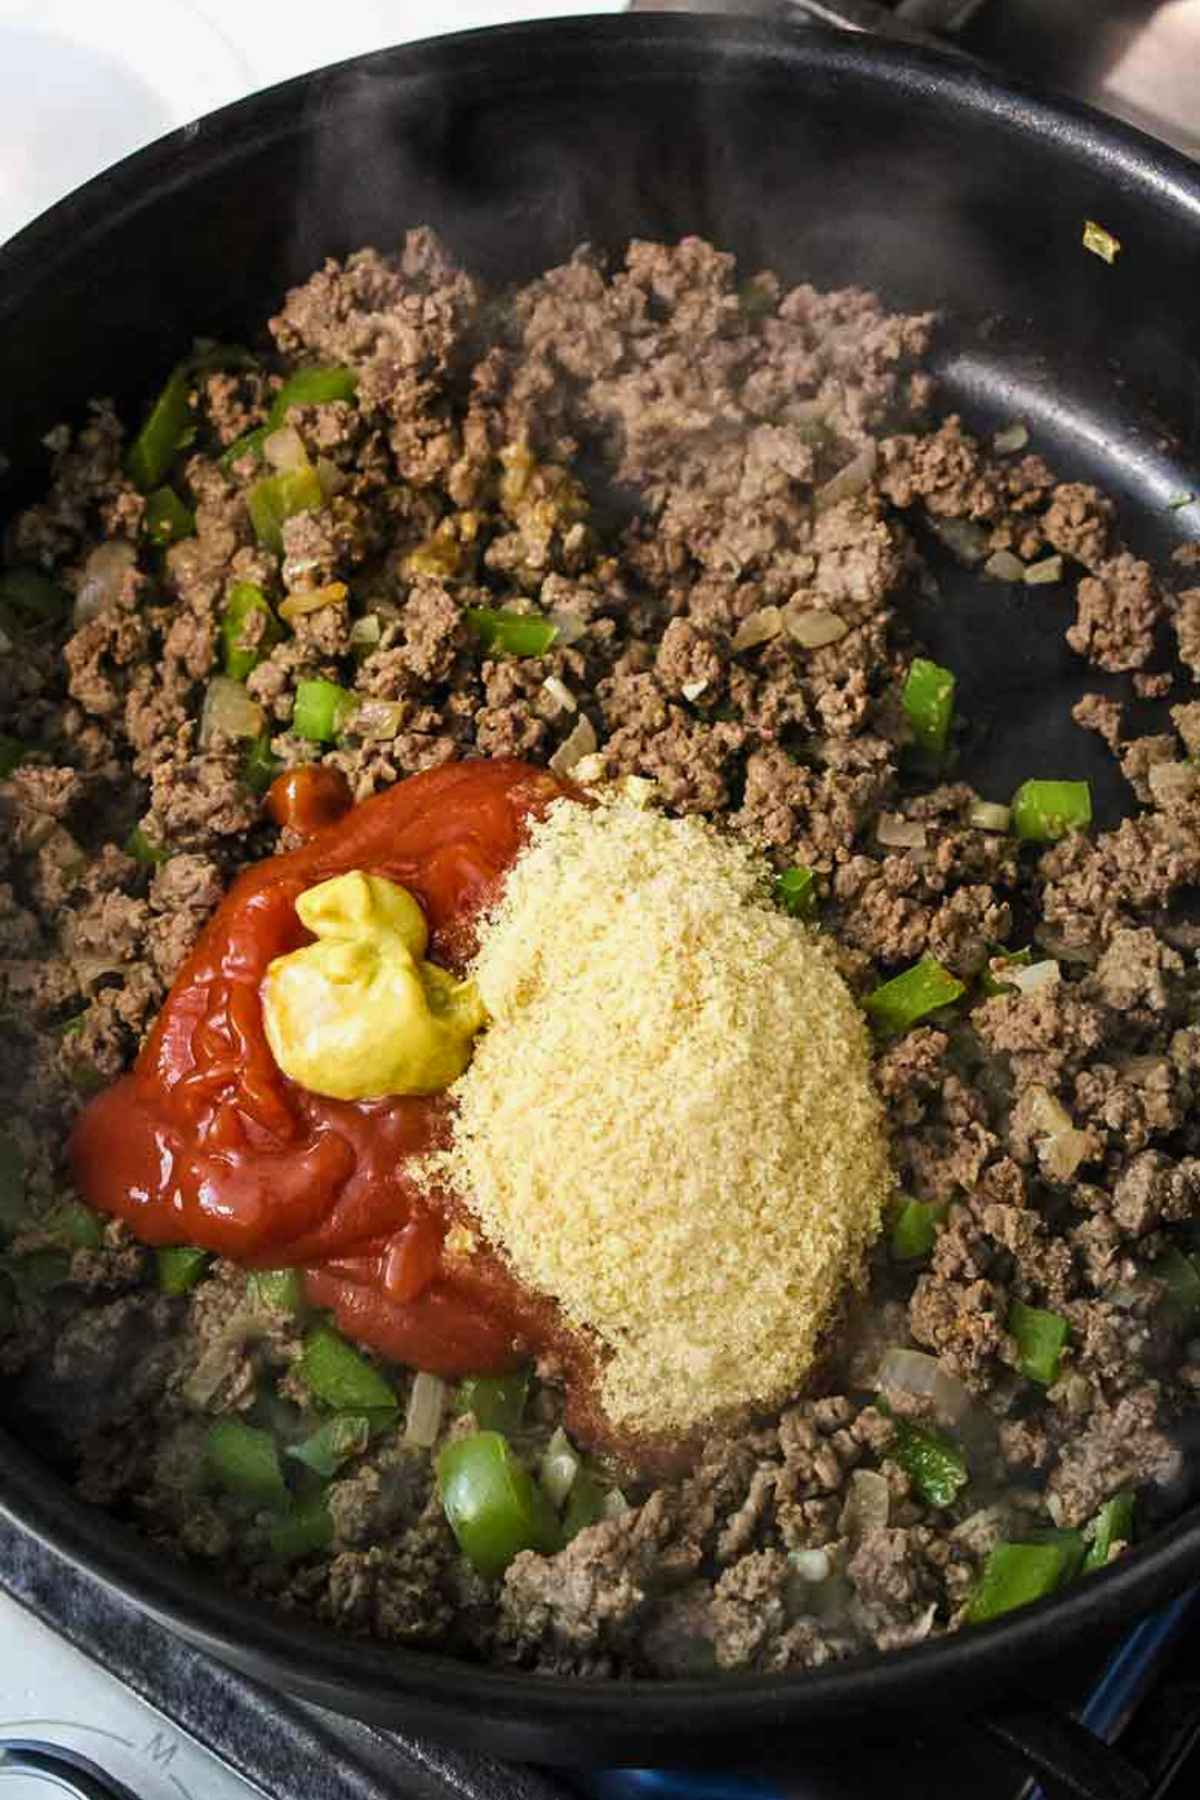
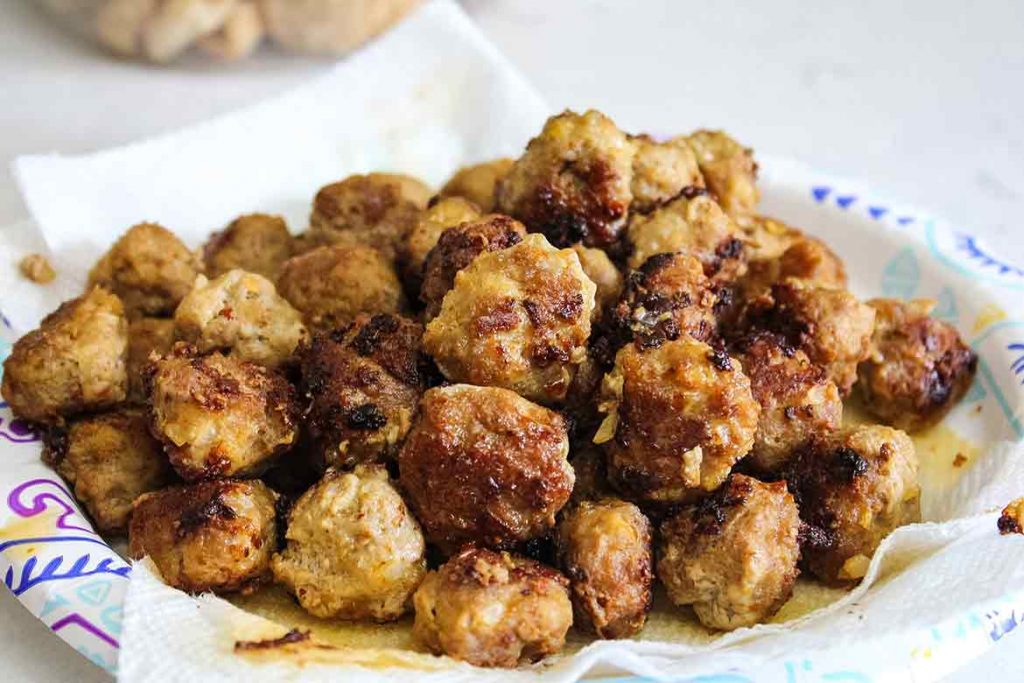
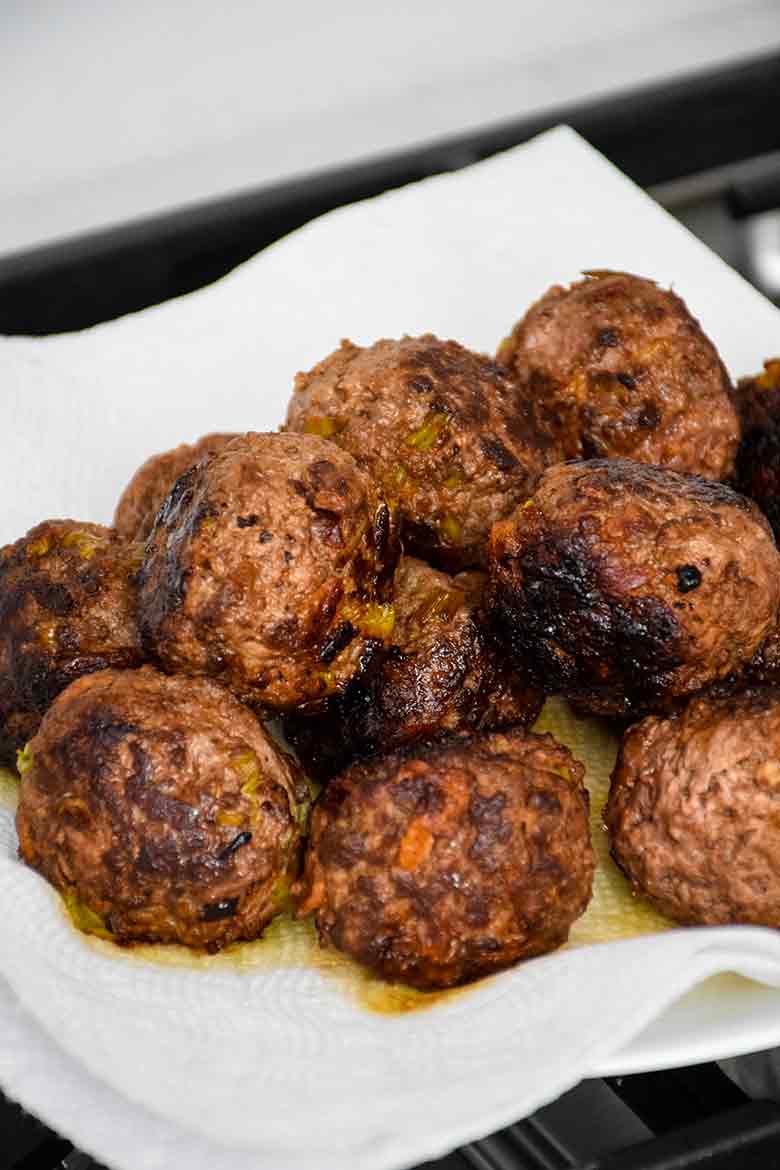
- Using a flat head wooden spoon, cook and stir the venison for 6 minutes, or until the meat has browned.
- Add the green pepper, garlic, and ½ cup water to meat mixture. Stir to combine, and cook with the lid on skillet for 1 minutes.
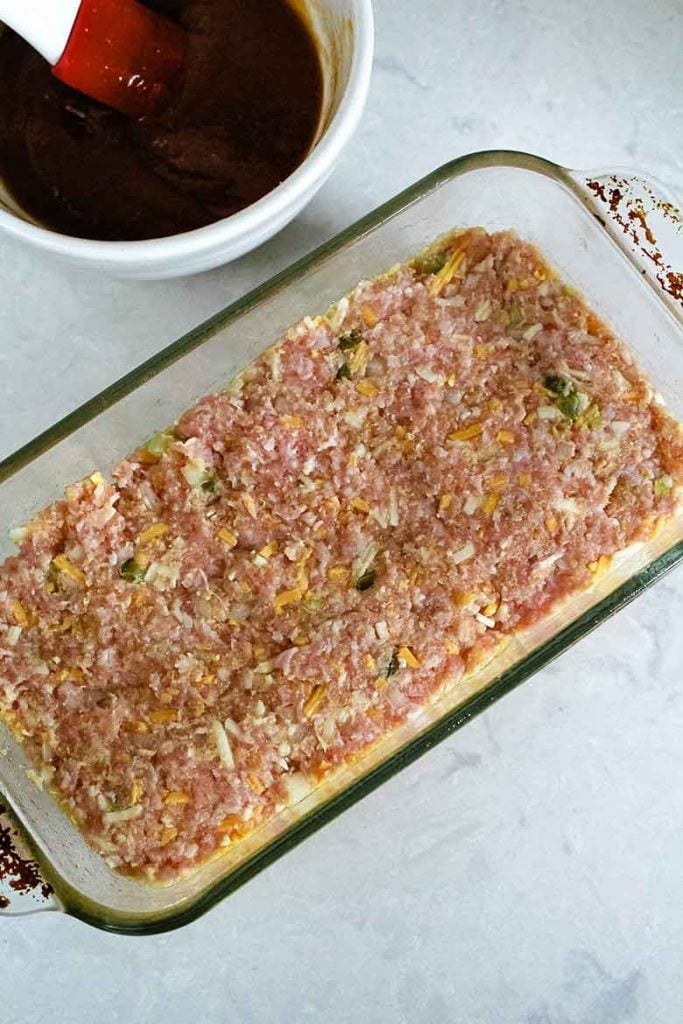
- Stir in the ketchup, mustard, golden monk fruit, Worcestershire sauce, salt and black pepper until combined. Add the remaining water.
- Bring the sloppy joe mixture to a boil, then reduce heat to simmer. Cook for 5 minutes, until the sauce has thickened. Serve over keto asiago bagels.


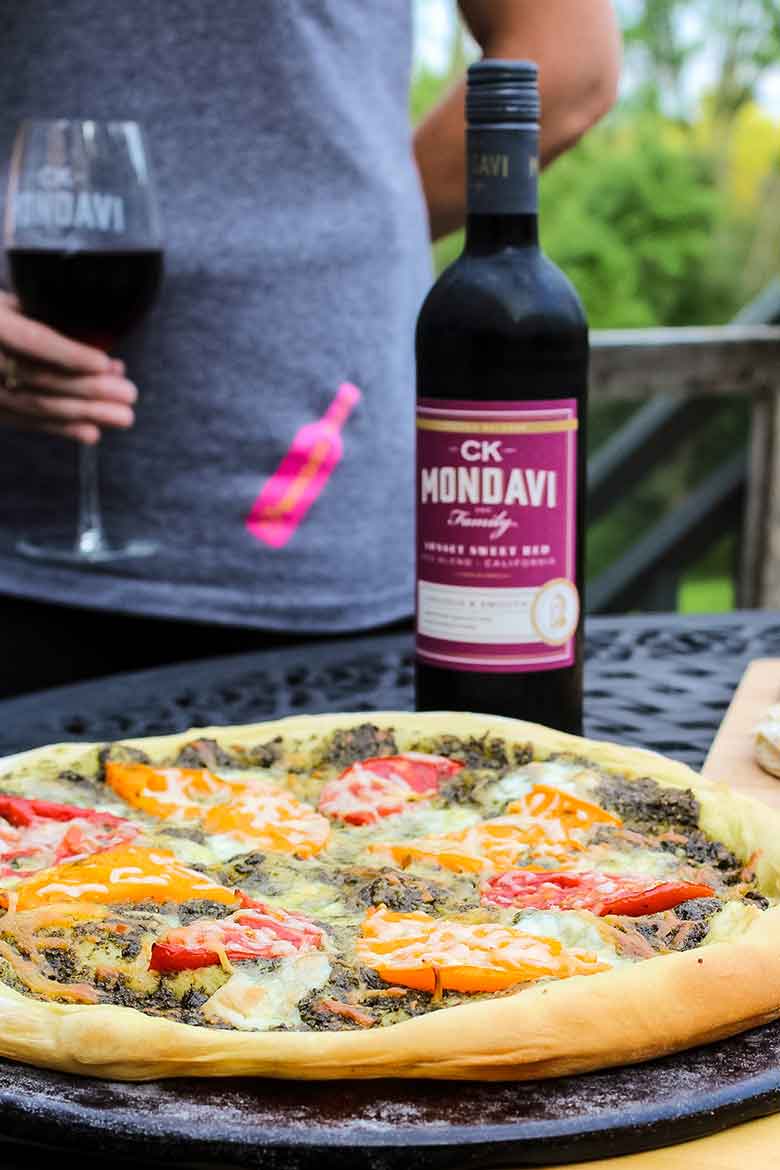
 Not all wine needs to be, or should be chilled. However, when you do want a bottle of wine chilled, what better way to do it than with a wine chiller? If you are someone who loves wine but don't have room for a chiller, this
  On the other hand, if you have a die hard wine lover, someone who likes to have more than one bottle chilled at all times, then this
  Wine lovers love to express themselves. That makes wall art a great gift for wine lovers! I really love the
  What better way to display wall art than with a
  This
This  This gift puts
  Every wine lover home needs an accessory kit. Corkscrew, wine stopper, and foil cutter to name a few. This
  We are not only wine lovers, but
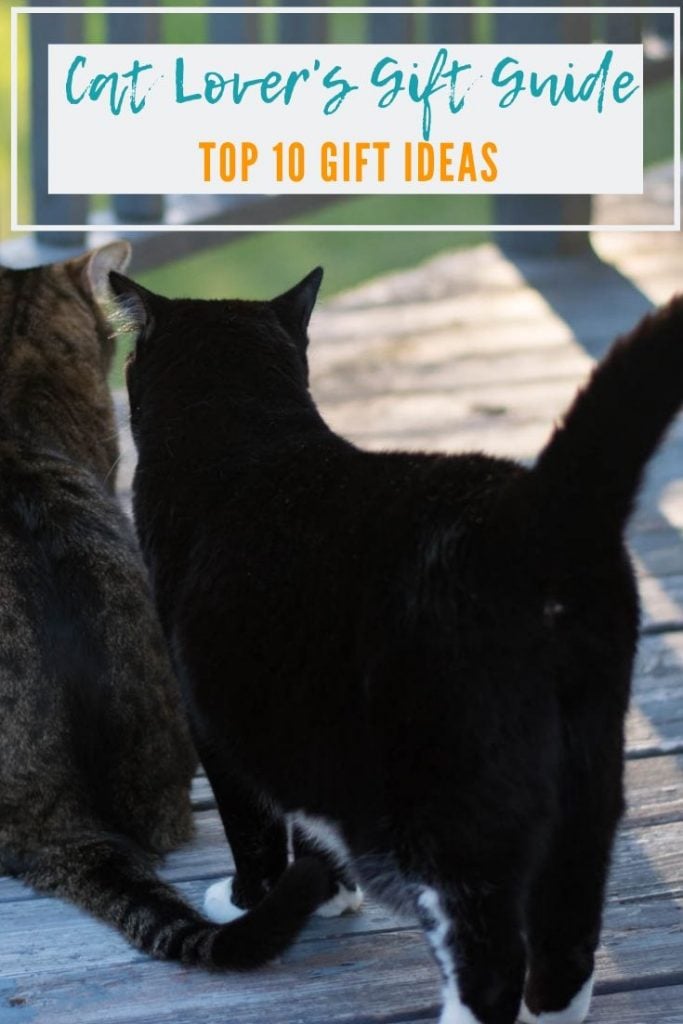
  Cat's not only like to hold your wine bottle for you, but they will also store your corks! I absolutely loves this
  Lastly, what good is wine without a glass to serve it in? I love these


