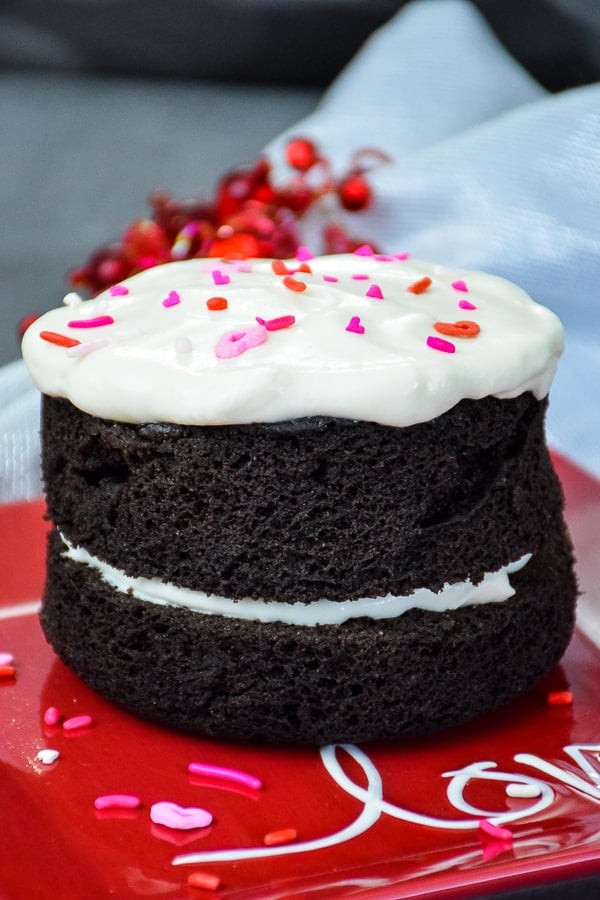
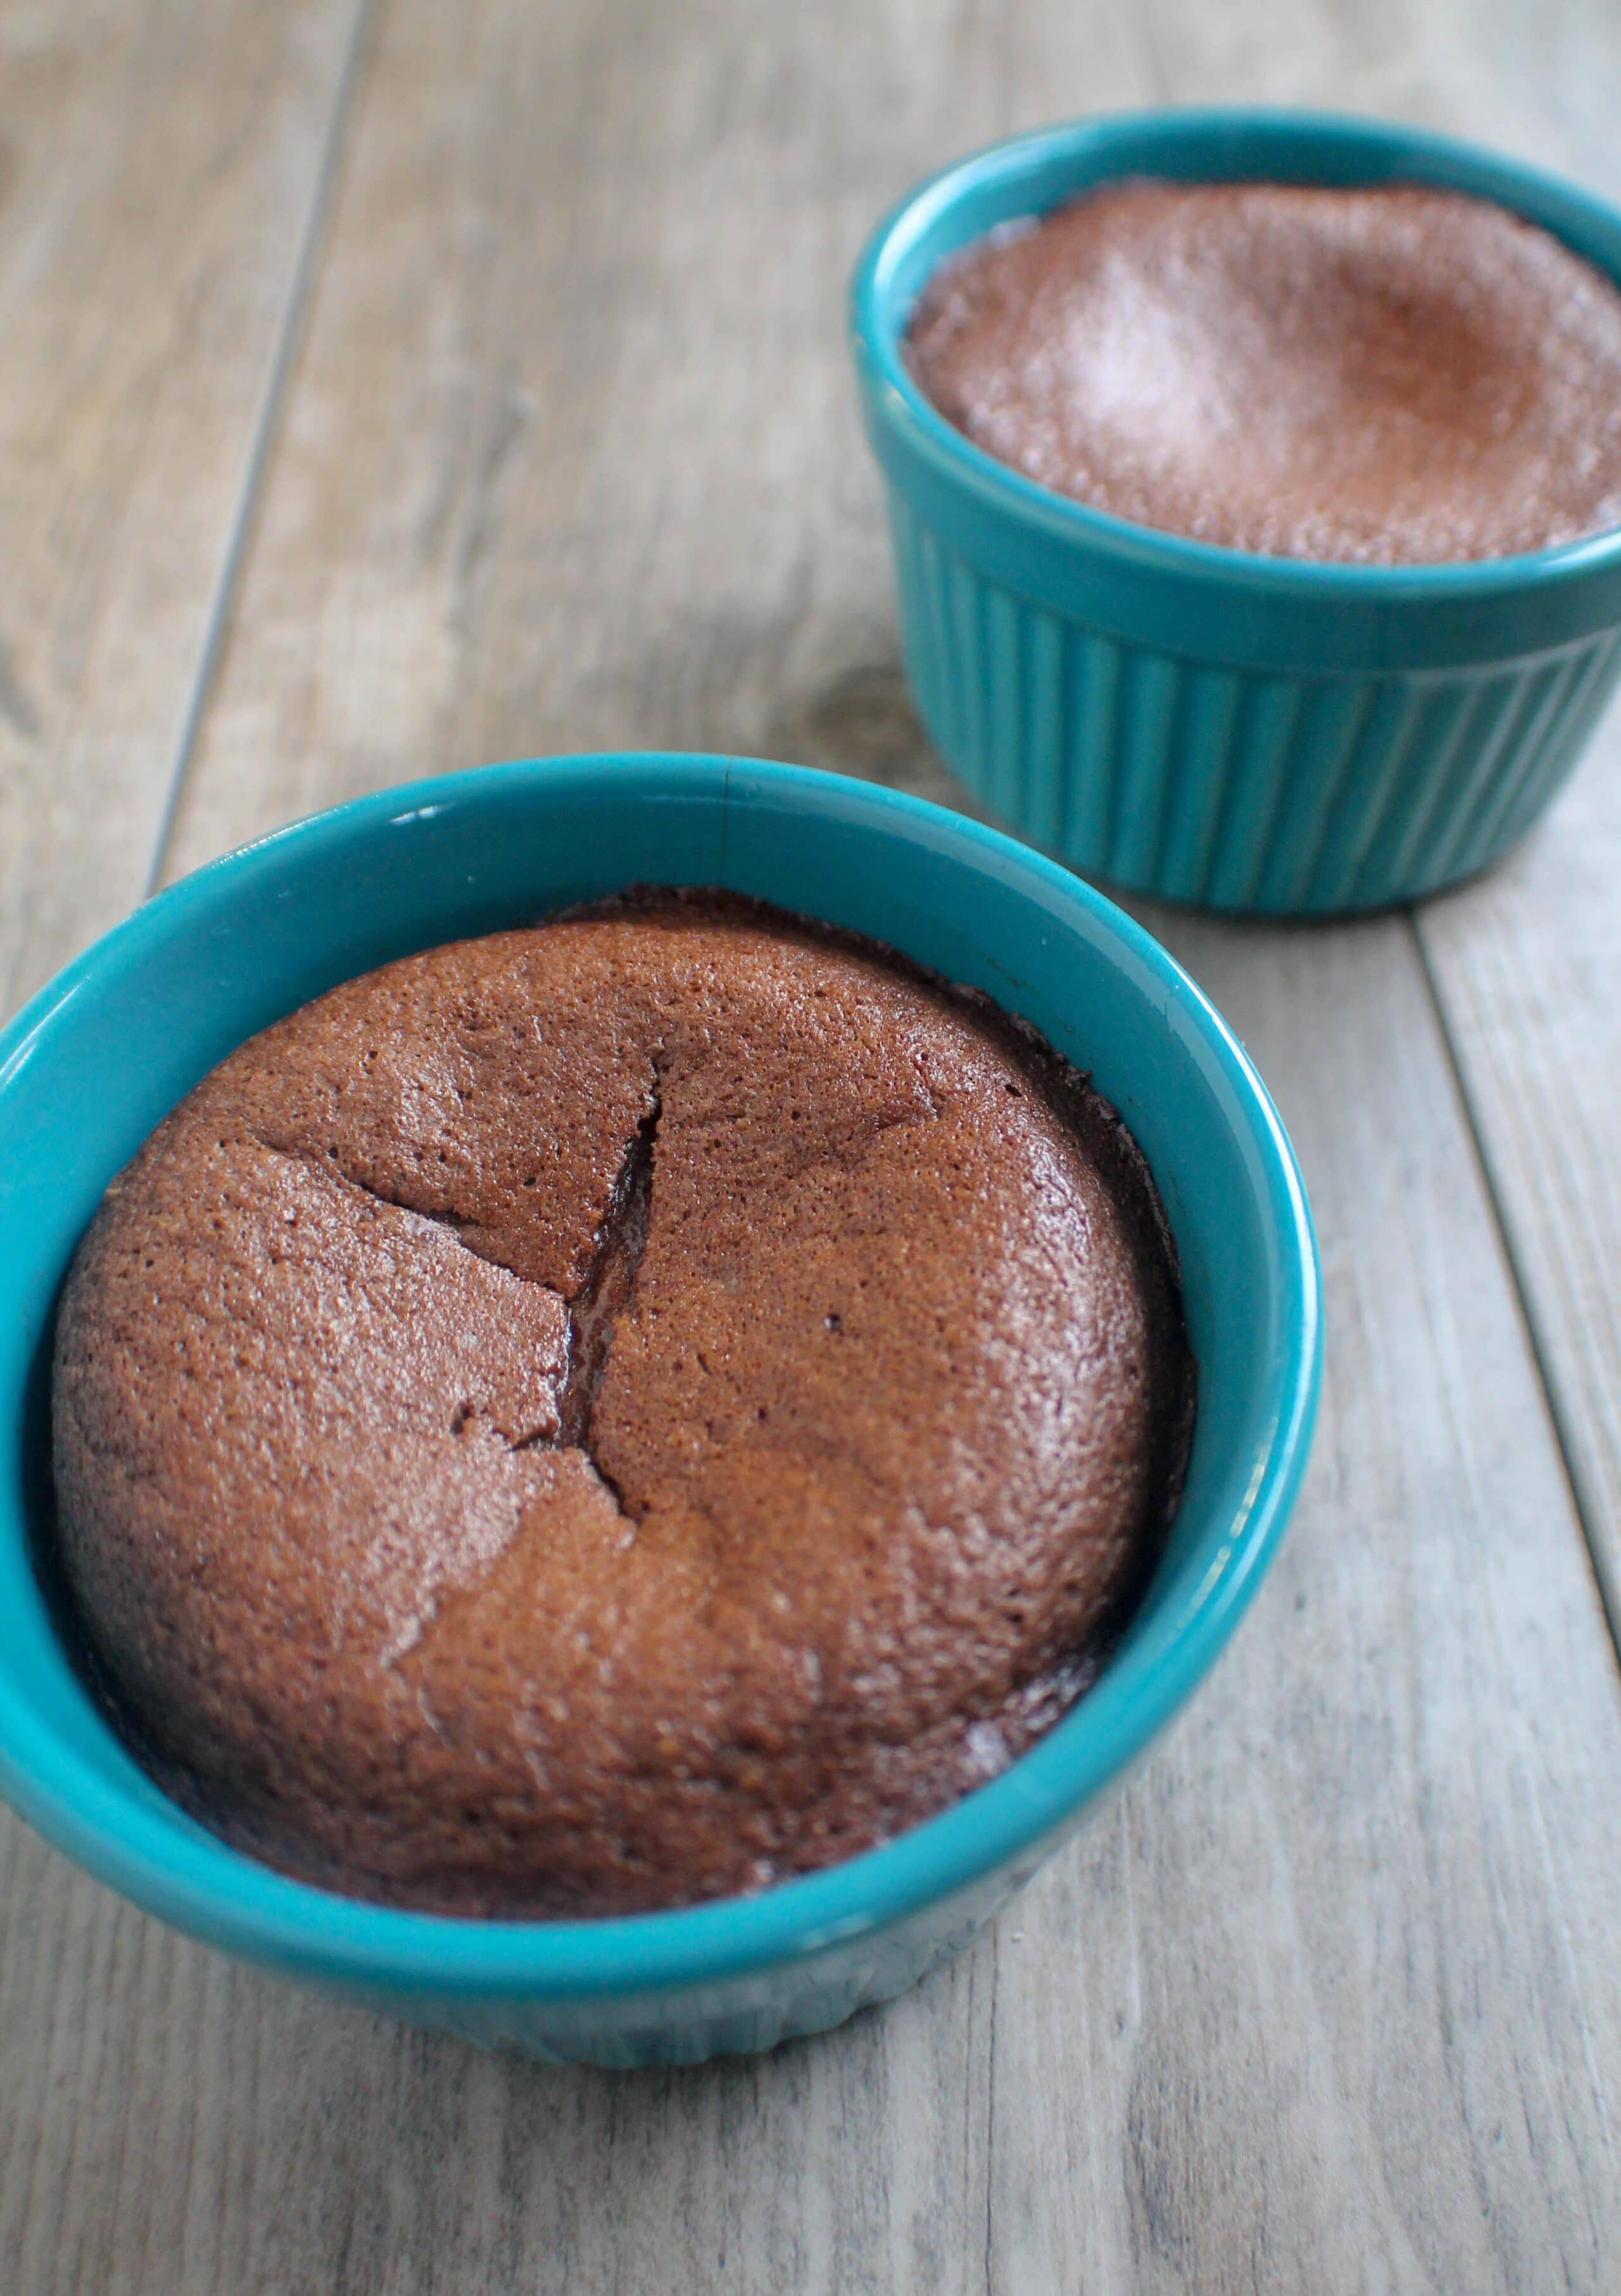
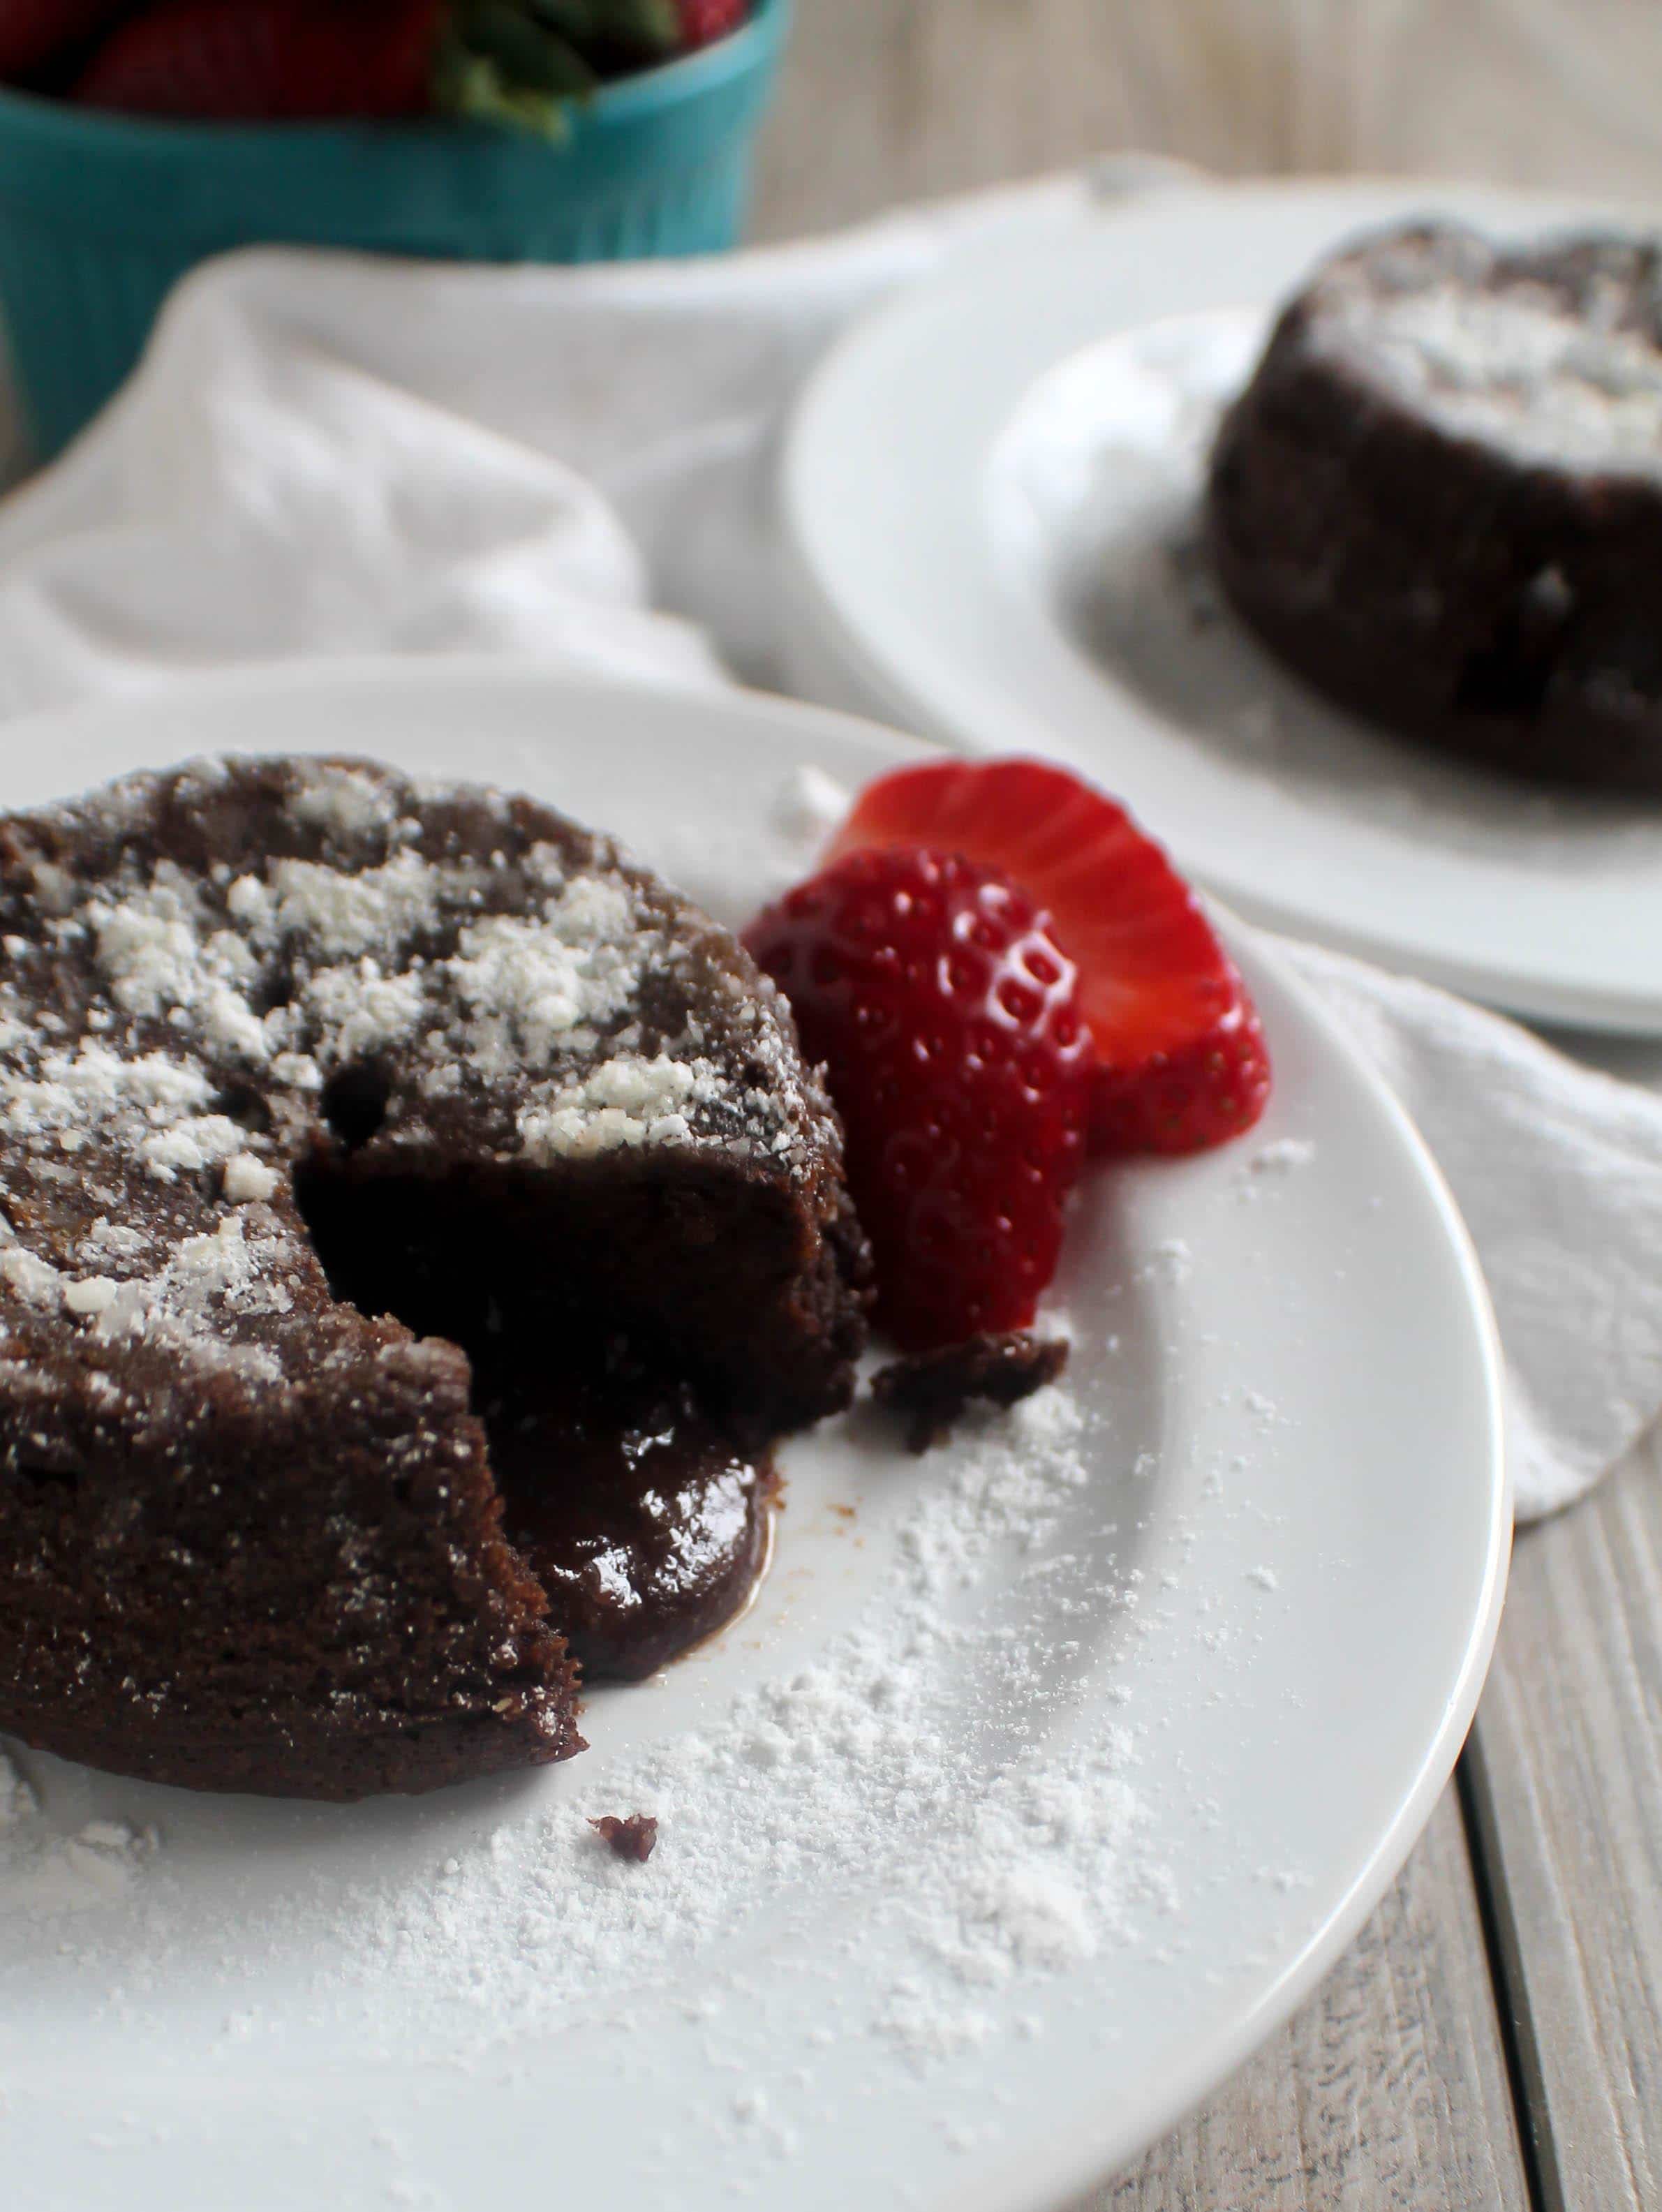
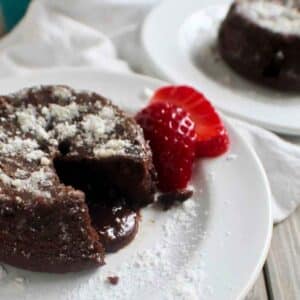
This Keto Chocolate Pudding Cake is a rich, dcadent dessert that will satisfy any chocolate lover's cravings without the sugar. Also known as chocolate lava cake, this recipe features a gooey, molten center that feels like indulgence.

This quick and easy low-carb dessert is specifically designed to be a keto-friendly treat for two. It's the best choice for a cozy date night or a simple way to enjoy a warm, chocolatey snack in under 30 minutes.
[feast_advanced_jump_to]Why You'll Love Keto Chocolate Pudding Cake
Quick preparation: this dessert is impressive looking, easy to make, and ready to enjoy within 30 minutes.
Diet friendly: you can indulge without guilt because the recipe is specifically designed to be low-carb and keto friendly.
Rich texture: the cake is dense and full of deep chocolate flavor with a creamy, molten pudding-like center.

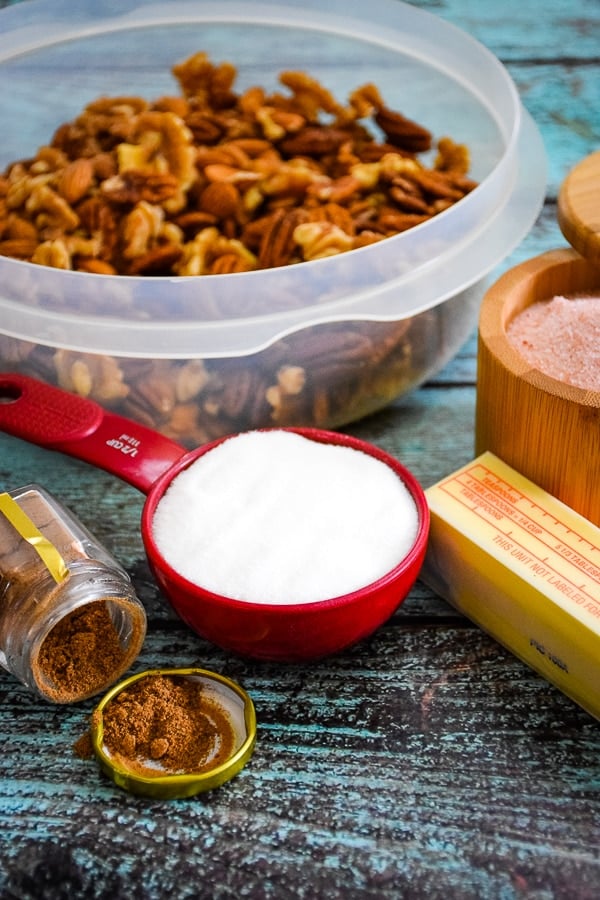
Key Ingredients for Molten Lava Cake
See the recipe card below for a full list of ingredients and instructions.
- Lily's Dark Chocolate Chips: these provide the deep chocolate flavor while keeping the recipe sugar free and keto-friendly.
- Butter: adds essential richness and helps create the smooth, molten pudding center.
- Large eggs: these act as the binding agent and provide the structure needed for the cake to rise.
- Lankanto Monkfruit or Swerve Sweetener: provides the necessary sweetness without the added carbs or impact on blood sugar.
- Blanched almond flour: a gluten free flour alternative that is the base structure for the cake portion of the dessert.
- Pure Vanilla extract: enhances the overall flavor profile by deepening the chocolate notes.
Ingredient Substituions
- Coconut oil: you can use an equal amount of coconut oil in place of butter for a dairy-free version of this cake.
- Sugar-free baking bar: if you don't have chips, you can use 2 ounces of a chopped sugar-free chocolate bar.
- Sunflour seed flour: for a nut free alternative to almond flour, sunflour seed flour works well as a 1:1 replacement to maintain the low-carb structure.
Keto Chocolate Pudding Cake Variations
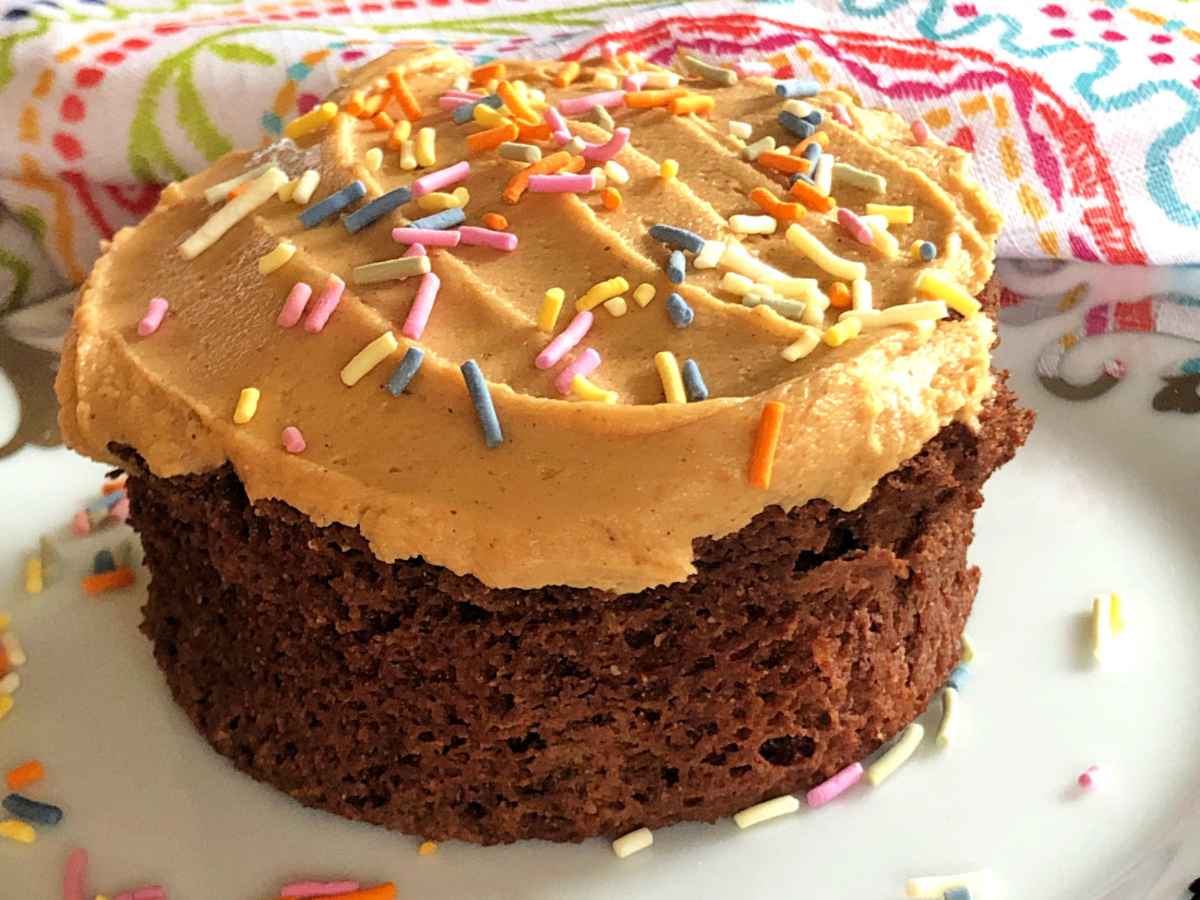
- Peanut Butter Swirl: stir a teaspoon of creamy, sugar-free peanut butter into the center of the batter before baking for a salty-sweet twist.
- Mint Chocolate: add a drop of peppermint extract to the melted chocolate mixture to create a refreshing, thin-mint inspired dessert.
- Espresso Infusion: mix half a teaspoon of instant espresso powder into the dry ingredients to intensify the deep cocoa notes of the cake.
Tips for the Best Keto Pudding Cake
- Use parchment paper: always place a small piece of parchment paper at the bottom of each ramekin to prevent the cake from sticking.
- Monitor baking closely: watch the oven carefully because overbaking will result in a firm center, rather than a gooey, molten one.
- Adjust sweetness: if you prefer a less sweet dessert, reduce the sweetener amount to 2 tablespoons instead of the full ¼ cup.
More Keto Desserts You'll Love
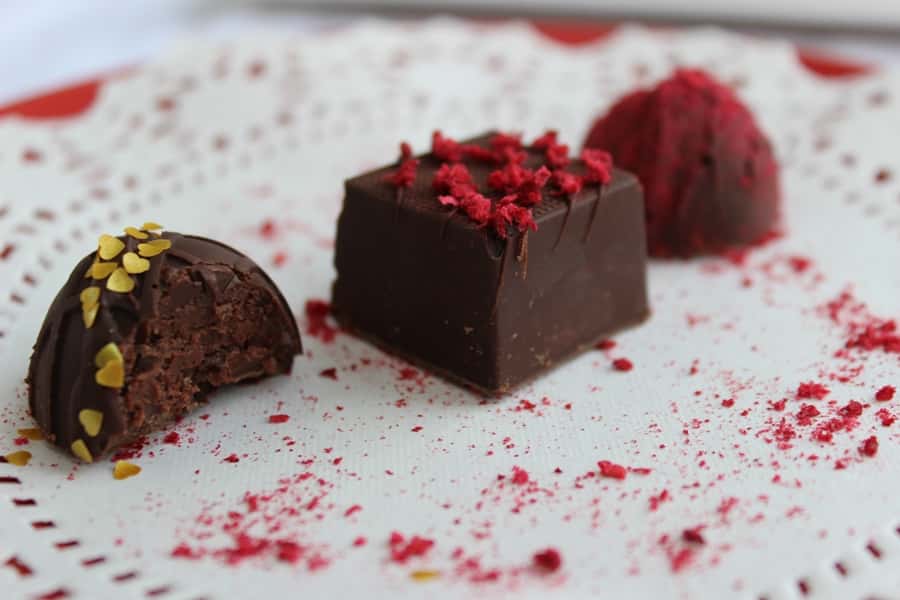
If you love this Keto Chocolate Pudding Cake for Two, you will want to try my Chocolate Mayonnaise Cake For Two, Chocolate Raspberry Truffles, Keto Blueberry Creme Brulee, and Keto Cannoli Poke Cake.
When you make this recipe, please comment below and let me know what you think. I'd love it if you tag me on Instagram @grumpyshoneybunch or #grumpyshoneybunch so I can see your photos!
If you love this recipe, please leave a ⭐⭐⭐⭐⭐ rating
📖 Recipe
Keto Chocolate Pudding Cake
Equipment
- (2) 6-ounce ramekins
- Handheld electric mixer
- Butter knife
As an Amazon Associate I earn from qualifying purchases.
Ingredients
- avocado oil for greasing ramekins
- 2 ounces Lily's Dark Chocolate Chips approximately ⅓ Cup, or chocolate chips of choice
- ⅓ cup butter
- 2 large eggs
- ¼ cup Lakanto Monkfruit Sweetener or Swerve Sweetener
- ¼ cup blanched almond flour very finely ground
- ½ teaspoon Vanilla extract
- Lakanto or Swerve Powdered Sweetener for garnish
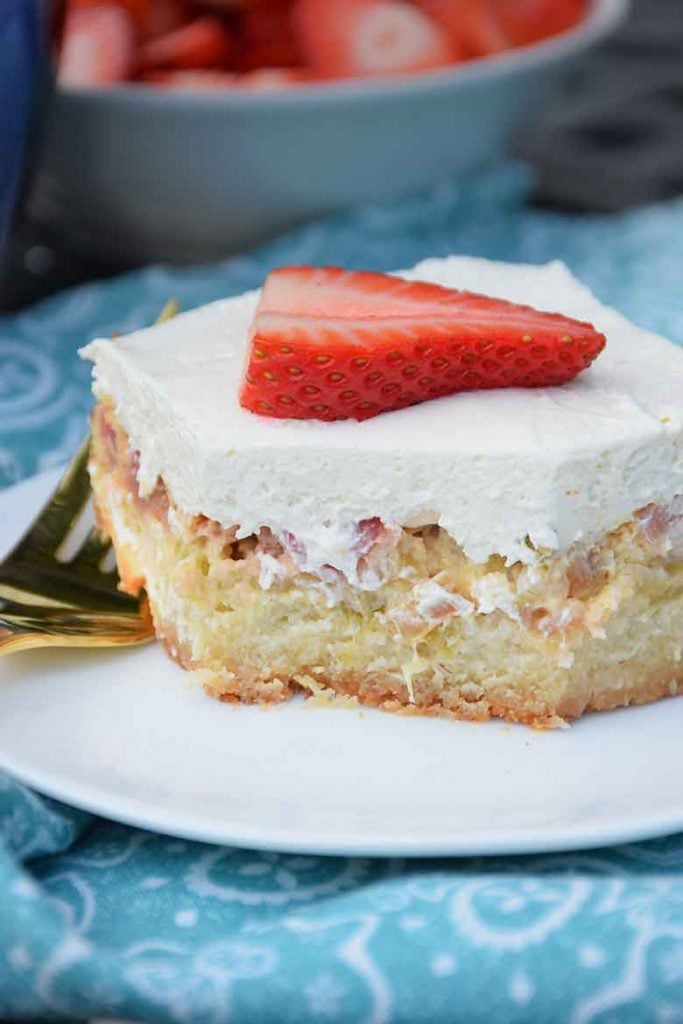
- Fresh Strawberries for garnish
Instructions
- Preheat oven to 350 degrees.
- Grease 2 ramekins very well and place a small piece of parchment paper in the bottom of each ramekin to prevent sticking.
- Place the chocolate chips and butter in a microwave-safe bowl*. Heat 30 seconds. Stir. Heat 15 seconds then stir until completely melted. Can heat another 15 seconds if needed.
- In a separate mixing bowl, beat the eggs and sweetener on high for 2 minutes.
- Add the chocolate/butter mixture, blanched almond flour, and vanilla to the egg/sugar mixture. Mix well.
- Divide the batter between the 2 ramekins and smooth the tops with the back of a spoon.
- Bake for 14-18 minutes, or until the edges are firm and only the very centers are still slightly soft. The longer you cook them, the less pudding center they will have.
- Let stand one minute. Then, run a butter knife around the edges and invert onto a plate. Garnish with Lakanto or Swerve Powdered Sweetener and fresh strawberries.