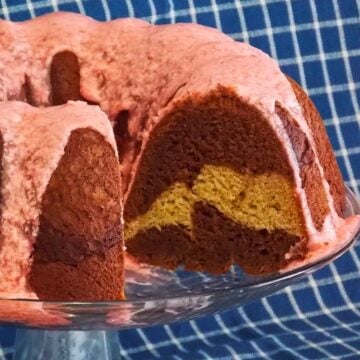
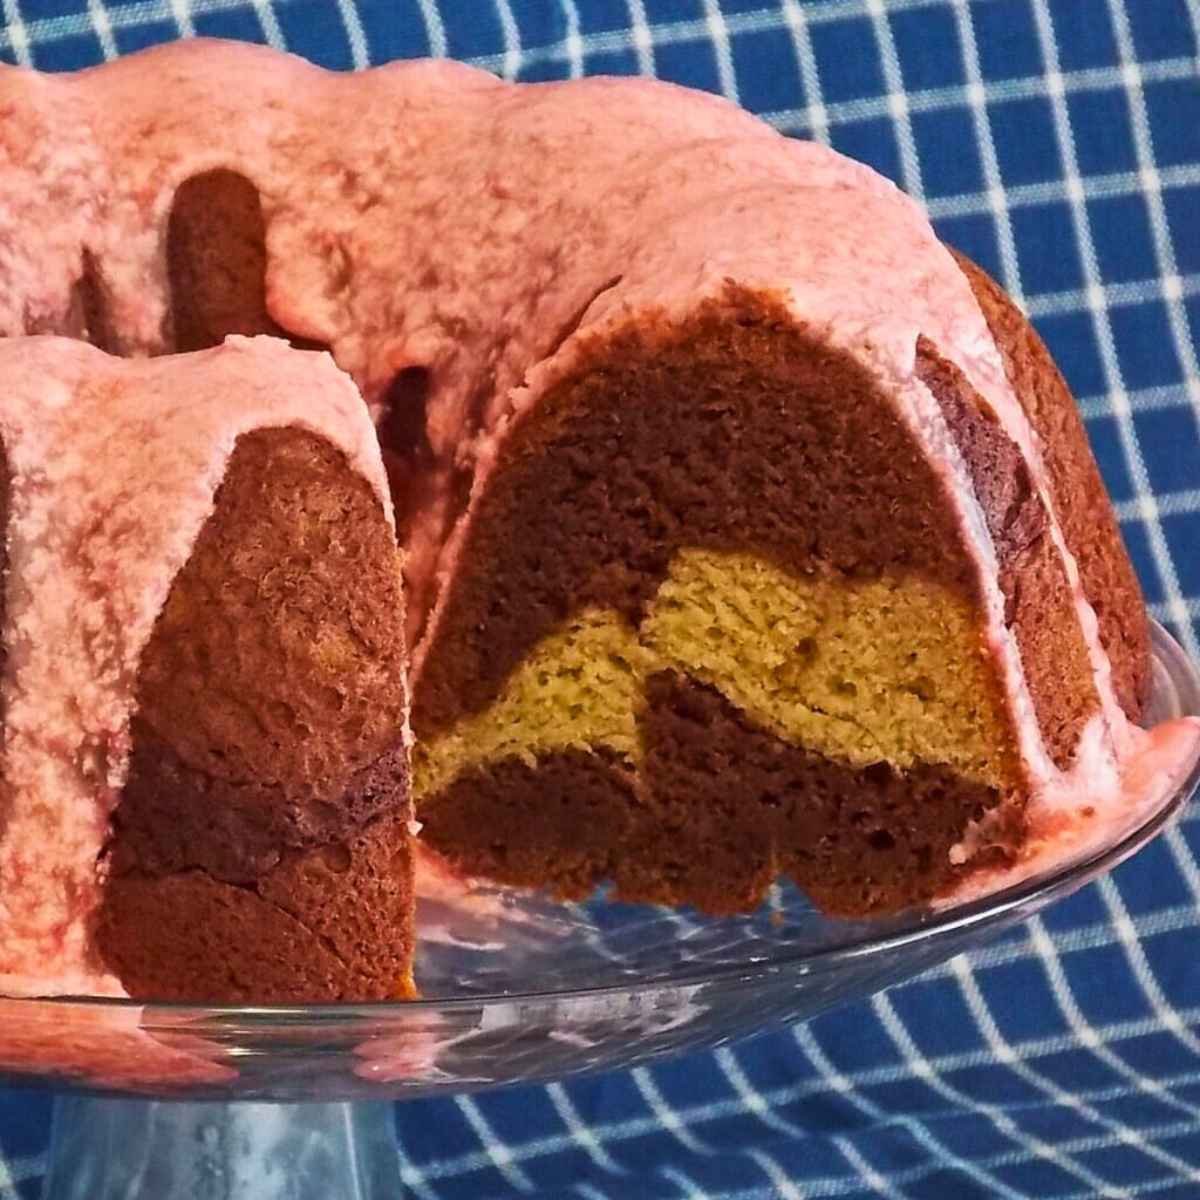
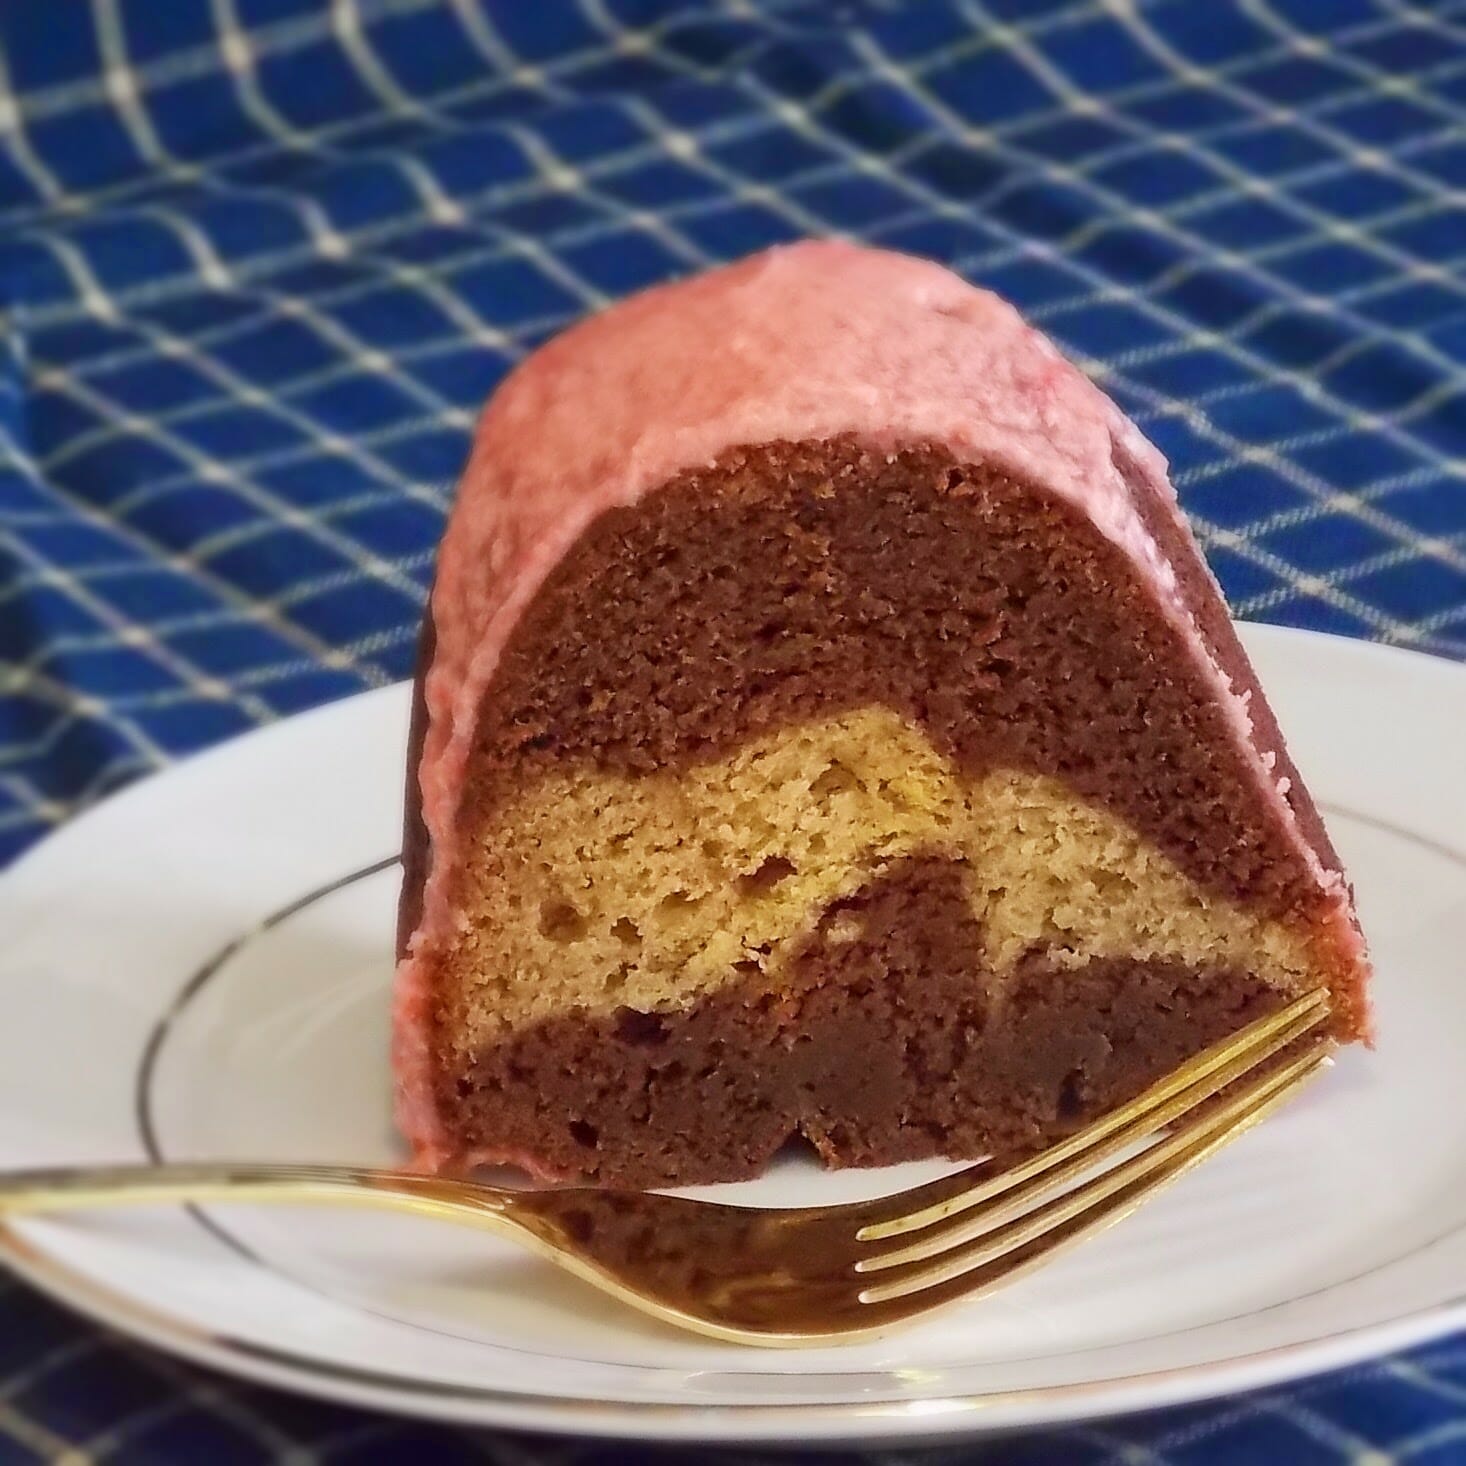
This Banana Marble Bundt Cake is a soft and tender dessert with swirls of chocolate running through every slice. The sweet banana flavor pairs beautifully with rich dark chocolate, making it a perfect treat for sharing.
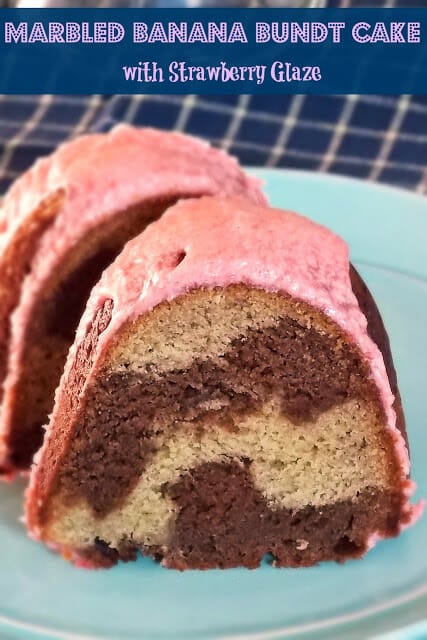
It reminds me of my children's love for banana bread, but with a little twist that feels more special. The marbled effect always makes this cake look like it took a lot more effort than it really does, which I love for family gatherings.
[feast_advanced_jump_to]Why You'll Love Banana Marble Bundt Cake
Chocolate swirl gives each bite a balance of flavors.
Moist texture from sour cream and bananas and keeps it soft for days.
Simple prep with pantry staples makes this cake easy to bake.
Key Ingredients for Marble Cake
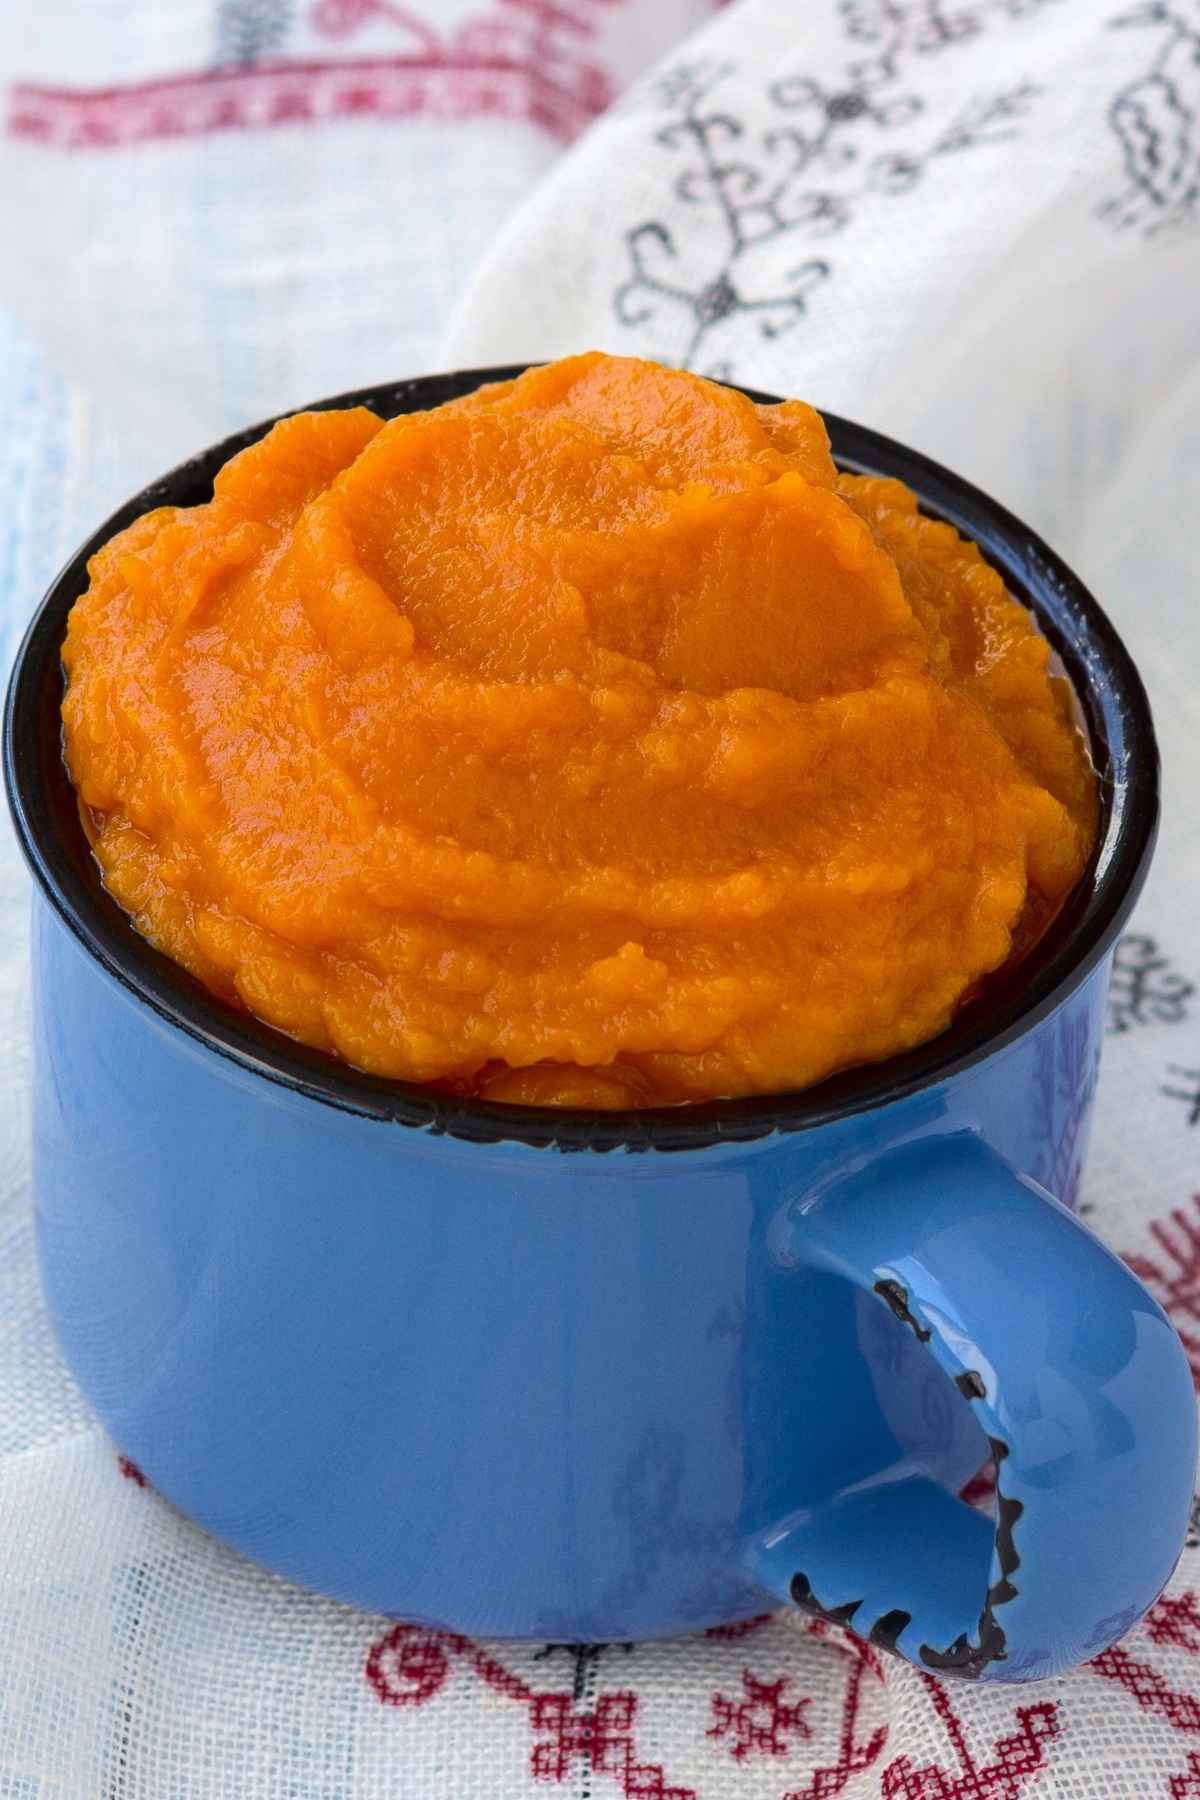
- Bananas: pureed bananas bring natural sweetness and a soft texture.
- Dark chocolate: mixed into part of the batter, it creates a bold swirl.
- Sour cream: adds moisture and a tender crumb.
- Butter: provides richness and flavor.
- White whole wheat flour: keeps the cake hearty without being heavy.
Ingredient Substitutions
- Use plain Greek yogurt instead of sour cream.
- Swap semi-sweet chocolate for dark chocolate if you prefer.
- Use all-purpose flour in place of white whole wheat flour.
Variations on Banana Marble Bundt Cake
- Peanut butter swirl: add a few spoonfuls of creamy peanut butter to part of the batter instead of chocolate.
- Nut crunch: fold in chopped walnuts or pecans before baking.
- Glaze twist: try a cream cheese frosting or simple chocolate buttercream instead of strawberry
Tips for The Best Marble Cake
- Room temperature butter: creams more easily with sugar for a fluffy batter.
- Don't overmix: stir just until combined to avoid a dense cake.
- Deep swirl: drag the knife through all layers of batter for a distinct marble effect.
How to Store
Keep leftover cake covered at room temperature for up to 2 days or refrigerate for up to 5 days.
Serve With...
This Banana Marble Bundt Cake pairs well with a hot cup of coffee or tea. It also goes well with a scoop of homemade vanilla ice cream.
More Easy Cake Recipes You'll Love
If you enjoy banana desserts you might also like my Bananas Foster Snacking Cake and Banana Cake with Browned Butter Maple Frosting. You may also like my Banana Layer Cake with Cream Cheese Frosting and Banana Coffee Cake with Praline Topping.
When you make this recipe, please comment below and let me know what you think. I'd love it if you tag me on Instagram @grumpyshoneybunch or #grumpyshoneybunch so I can see your photos!
If you love this recipe, please leave a ⭐⭐⭐⭐⭐ rating
📖 Recipe

Marbled Banana Bundt Cake
Equipment
- Knife or skewer, for swirling
As an Amazon Associate I earn from qualifying purchases.
Ingredients
For the bundt cake
- 3 cups white whole wheat flour
- 2 teaspoons baking soda
- ½ teaspoons salt
- 1½ cups sugar
- 1 cup butter unsalted
- 2 teaspoons vanilla extract
- 2 large eggs
- 2 cups pureed banana
- 1 cup sour cream
- 4 ounces dark chocolate melted
For the icing
- 3 ounces ⅓-less-fat cream cheese
- ½ cup butter softened
- 1 tablespoons Grand Marnier orange-flavored liqueur
- 4 cups powdered sugar
- ¼ cup strawberry puree
Instructions
For the cake
- Preheat oven to 350 degrees. Spray a non-stick bundt pan with cooking spray and set aside.
- Melt 4 ounces of dark chocolate in microwave safe bowl at 20 second intervals until smooth.
- Combine the flour, baking soda and salt in medium size bowl. Whisk to combine then set aside.
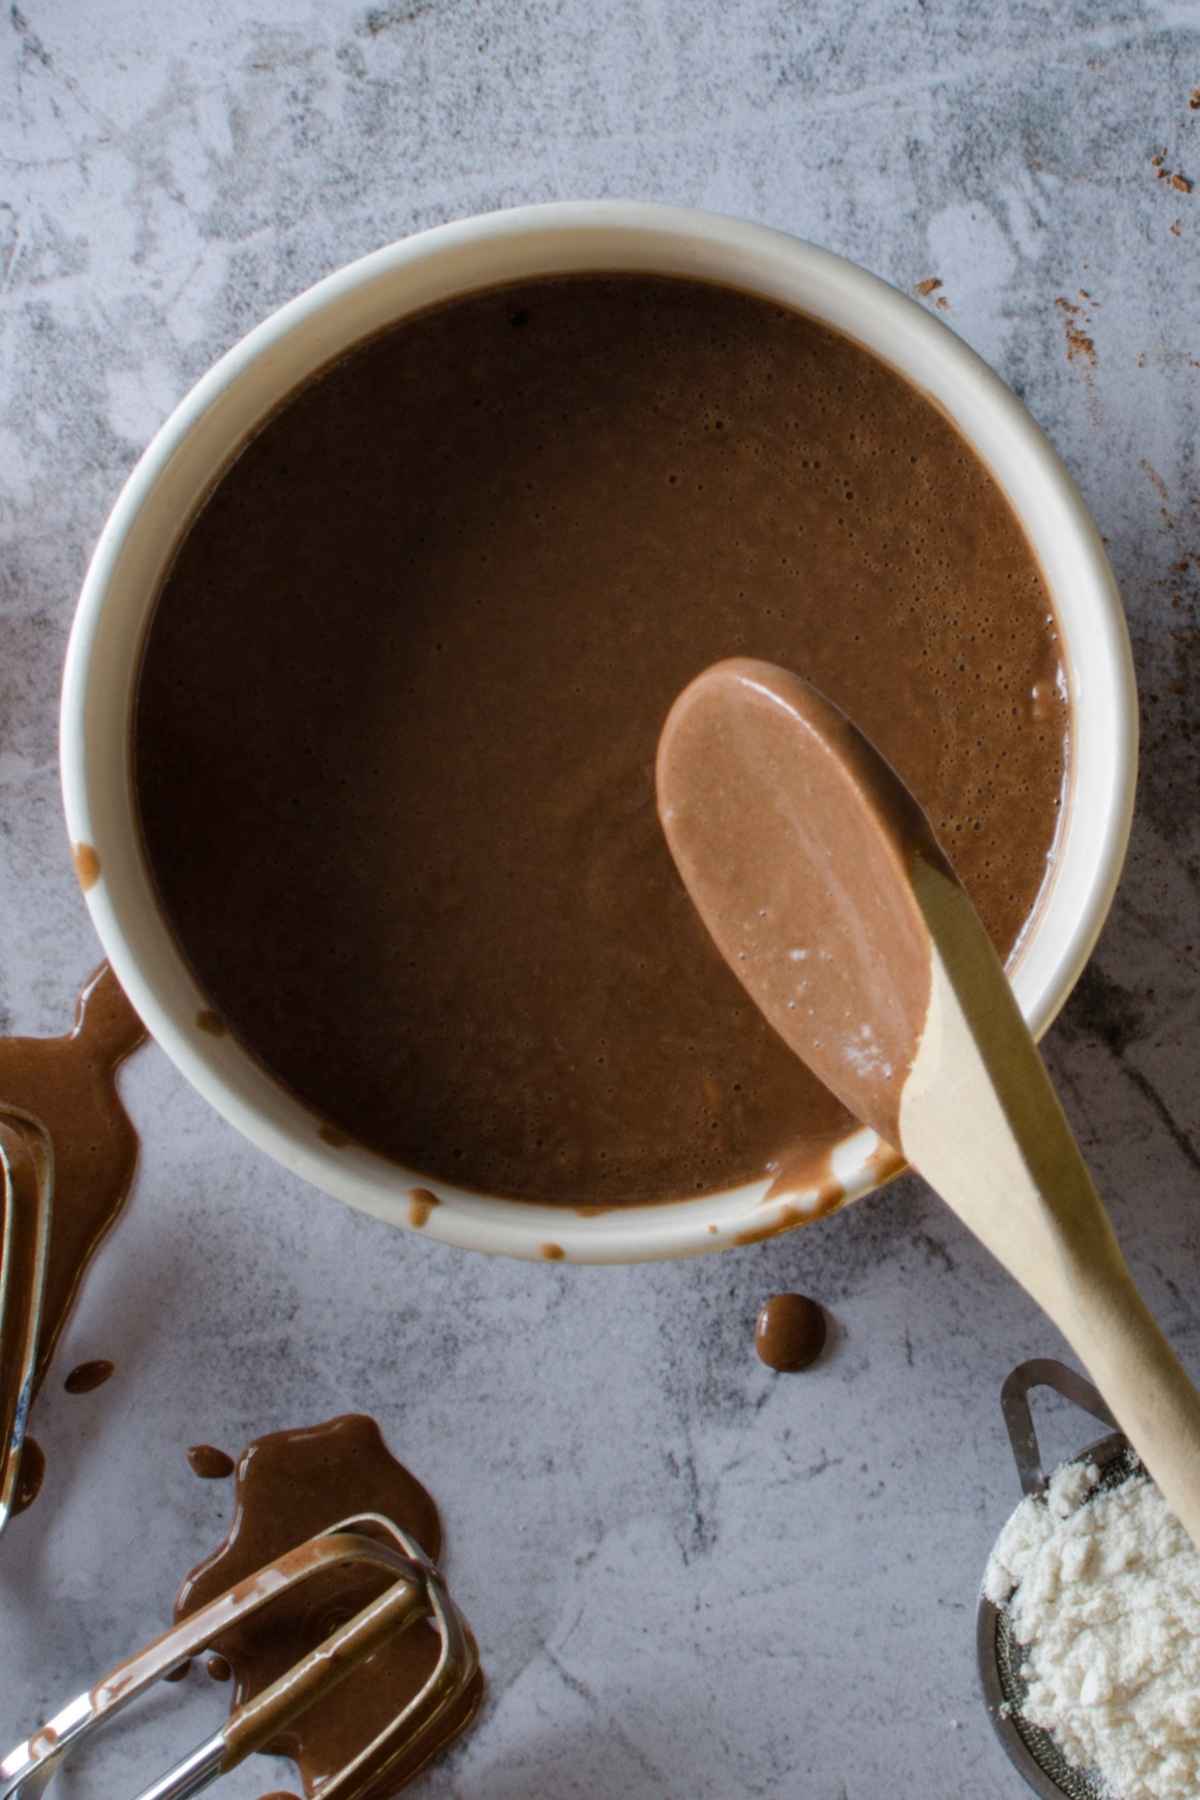
- In a large mixing bowl using hand mixer, cream the butter until smooth. Add the sugar and mix until light and fluffy. Add the eggs, one at a time, mixing completely after each addition. Mix in the vanilla extract and bananas and mix until combined.
- Add flour and sour cream alternately, starting with flour and ending with flour, stirring until just combined.
- Pour ½ of the batter into a medium sized mixing bowl. Add the melted chocolate and stir until combined.
- Add the two batters by heaping spoonfuls alternately around the pan in layers until both batters are used. Swirl all the way to the bottom of the pan with a knife to marble the cake.
- Bake for 50-60 minutes or until a cake tester inserted into center of cake comes out clean. Set cake on cooling rack for 10 minutes. Remove cake from pan to finish cooling.
For the icing
- Place cream cheese, butter, and liqueur in a medium bowl; beat with a mixer at medium speed until blended.
- Gradually add powdered sugar, and beat just until blended.