 |
| Add caption |
When I found out I had Love and Flour for my Secret Recipe Club project this last month, I knew exactly what I was going to do! You see, last Christmas, I participated in the food blogger cookie exchange and LeAndra, who is the author of Love and Flour, made and sent cookies to me. The cookies she sent were probably one of Grumpy's favorite cookies from the season. He's a huge vanilla chip fan. What made me happy is
that they were salted 🙂 So, I just knew since I had LeAndra's blog that I would have to go ahead and make these cookies!
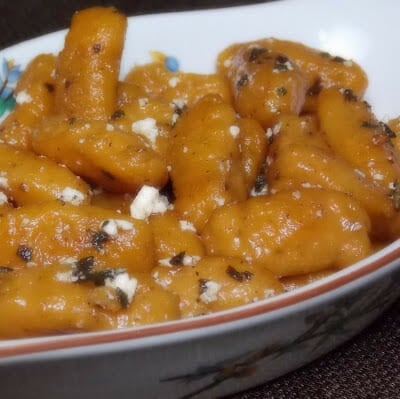
LeAndra has so many goodies on her blog though. At one point in time I had so many new tabs open on my browser I thought I was going to crash my computer! I did end up making one other item from her blog, and that was the Slow Cooker Coconut Curried Eggplant. I had just received two eggplant from the field goods produce day and when I saw the recipe, I immediately set out to make it!

The eggplant dish was definitely just a treat for me because Grumpy won't touch it. However, it was a nice treat, a little sweet, a little heat and the creamy coconut feel. I loved it!
Make sure you visit Love and Flour for these delicious recipes along with all the other yummy goodness on her blog! Then, when you done, you may want to go check out all the other posts from SRC members!
Salted Vanilla Chip Oatmeal Cookies
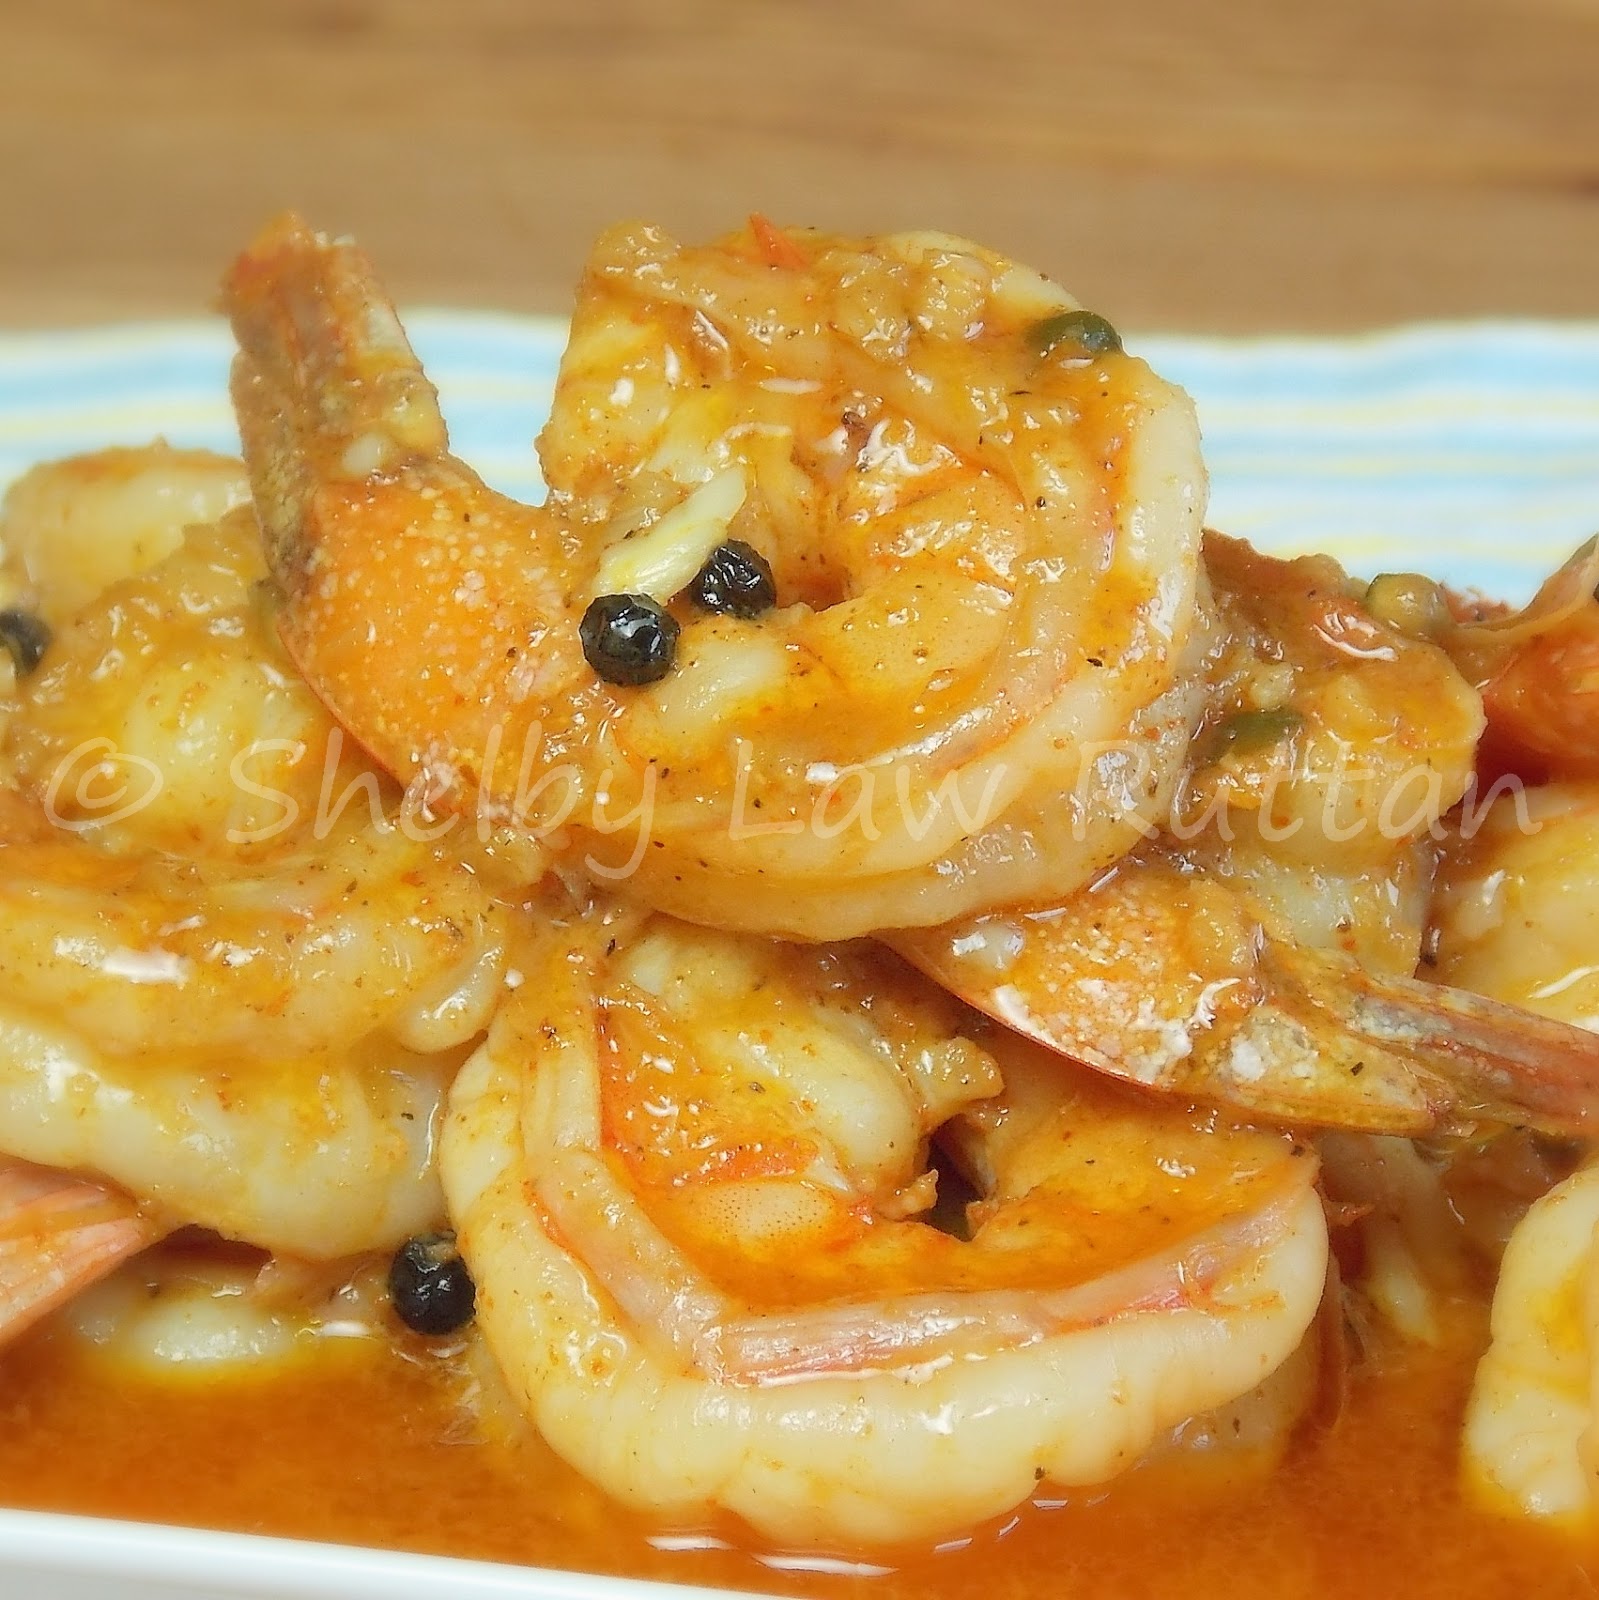
Coconut Curry with Eggplant