

Today is the Secret Recipe Club reveal day! This month I was honored to receive Evelyne's blog, Cheap Ethnic Eats. Evelyne had my blog a while back and she made my Nanny's Brown Sugar Fudge! I'm glad to be able have her blog finally so I can return the favor and tell you what I found on her blog 🙂
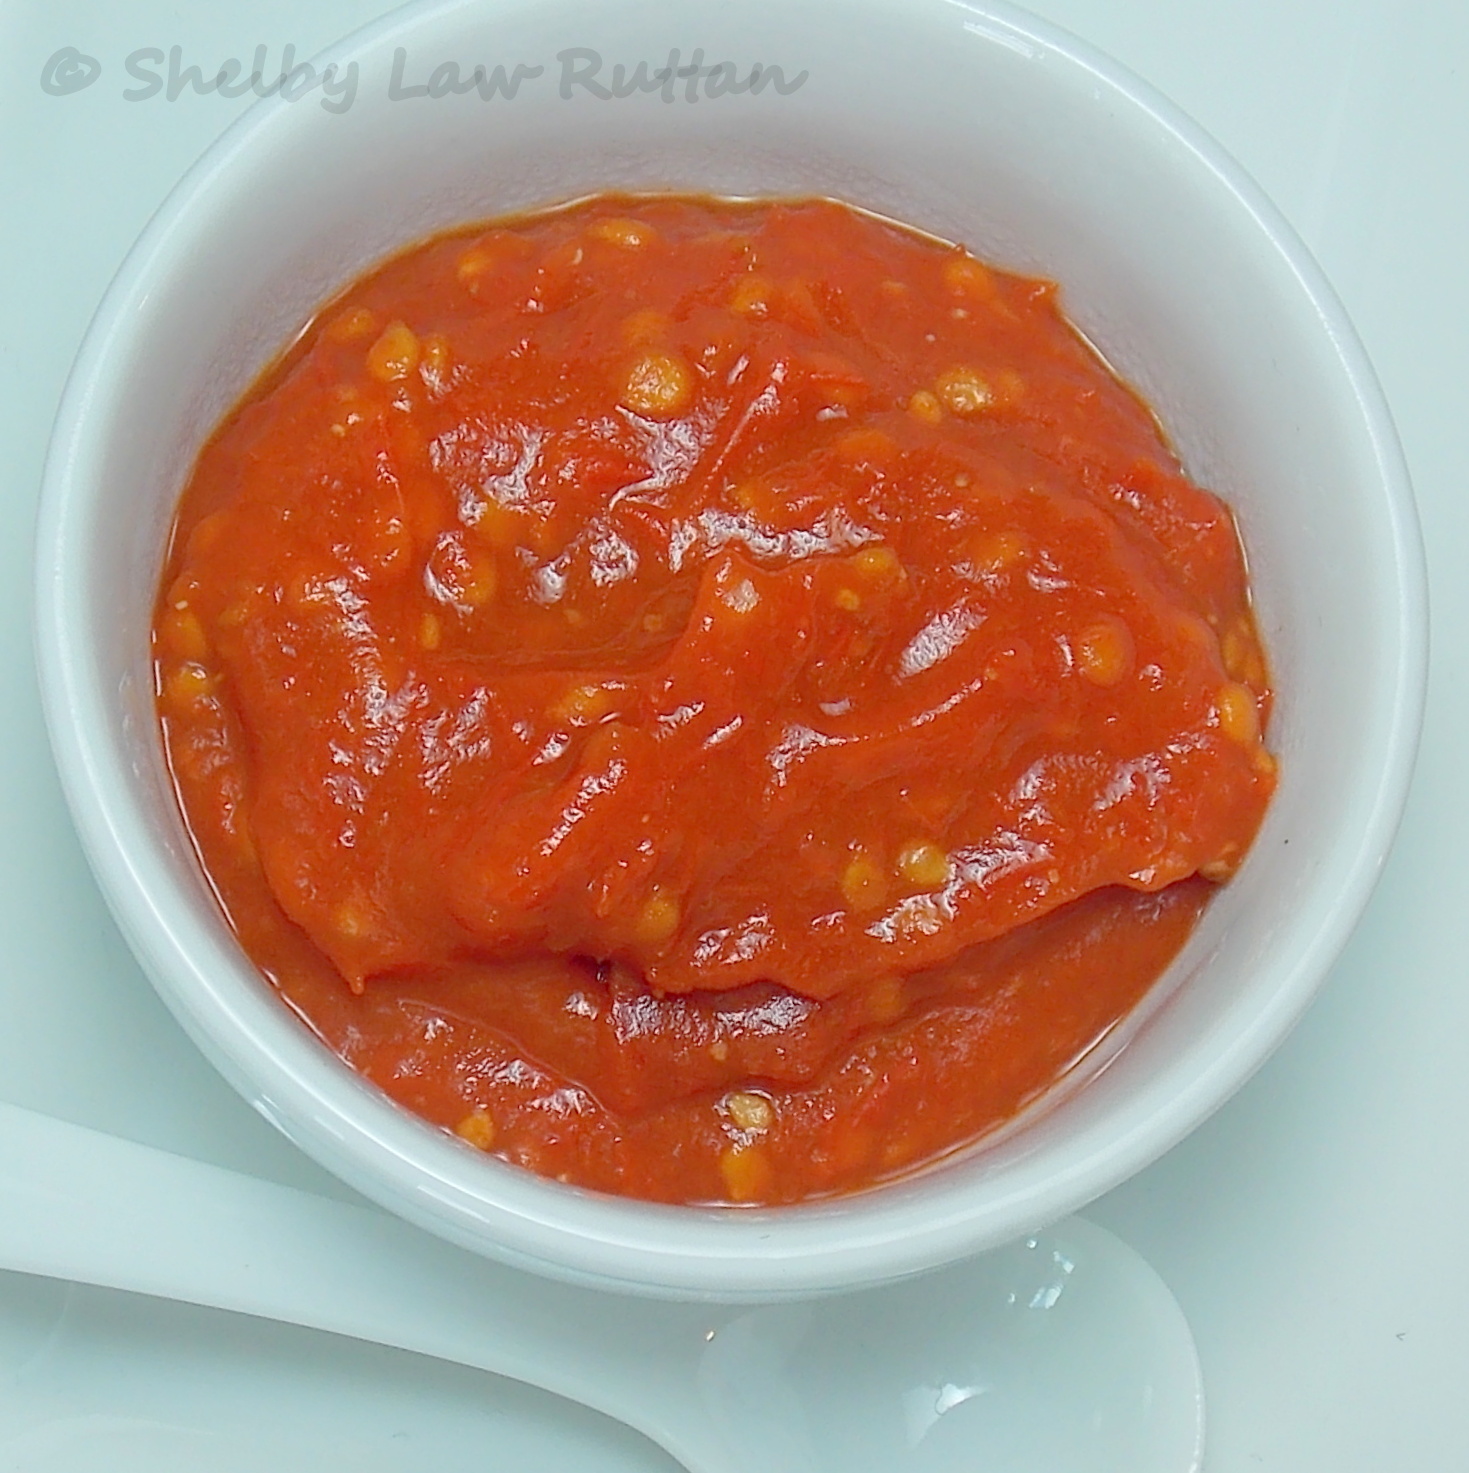
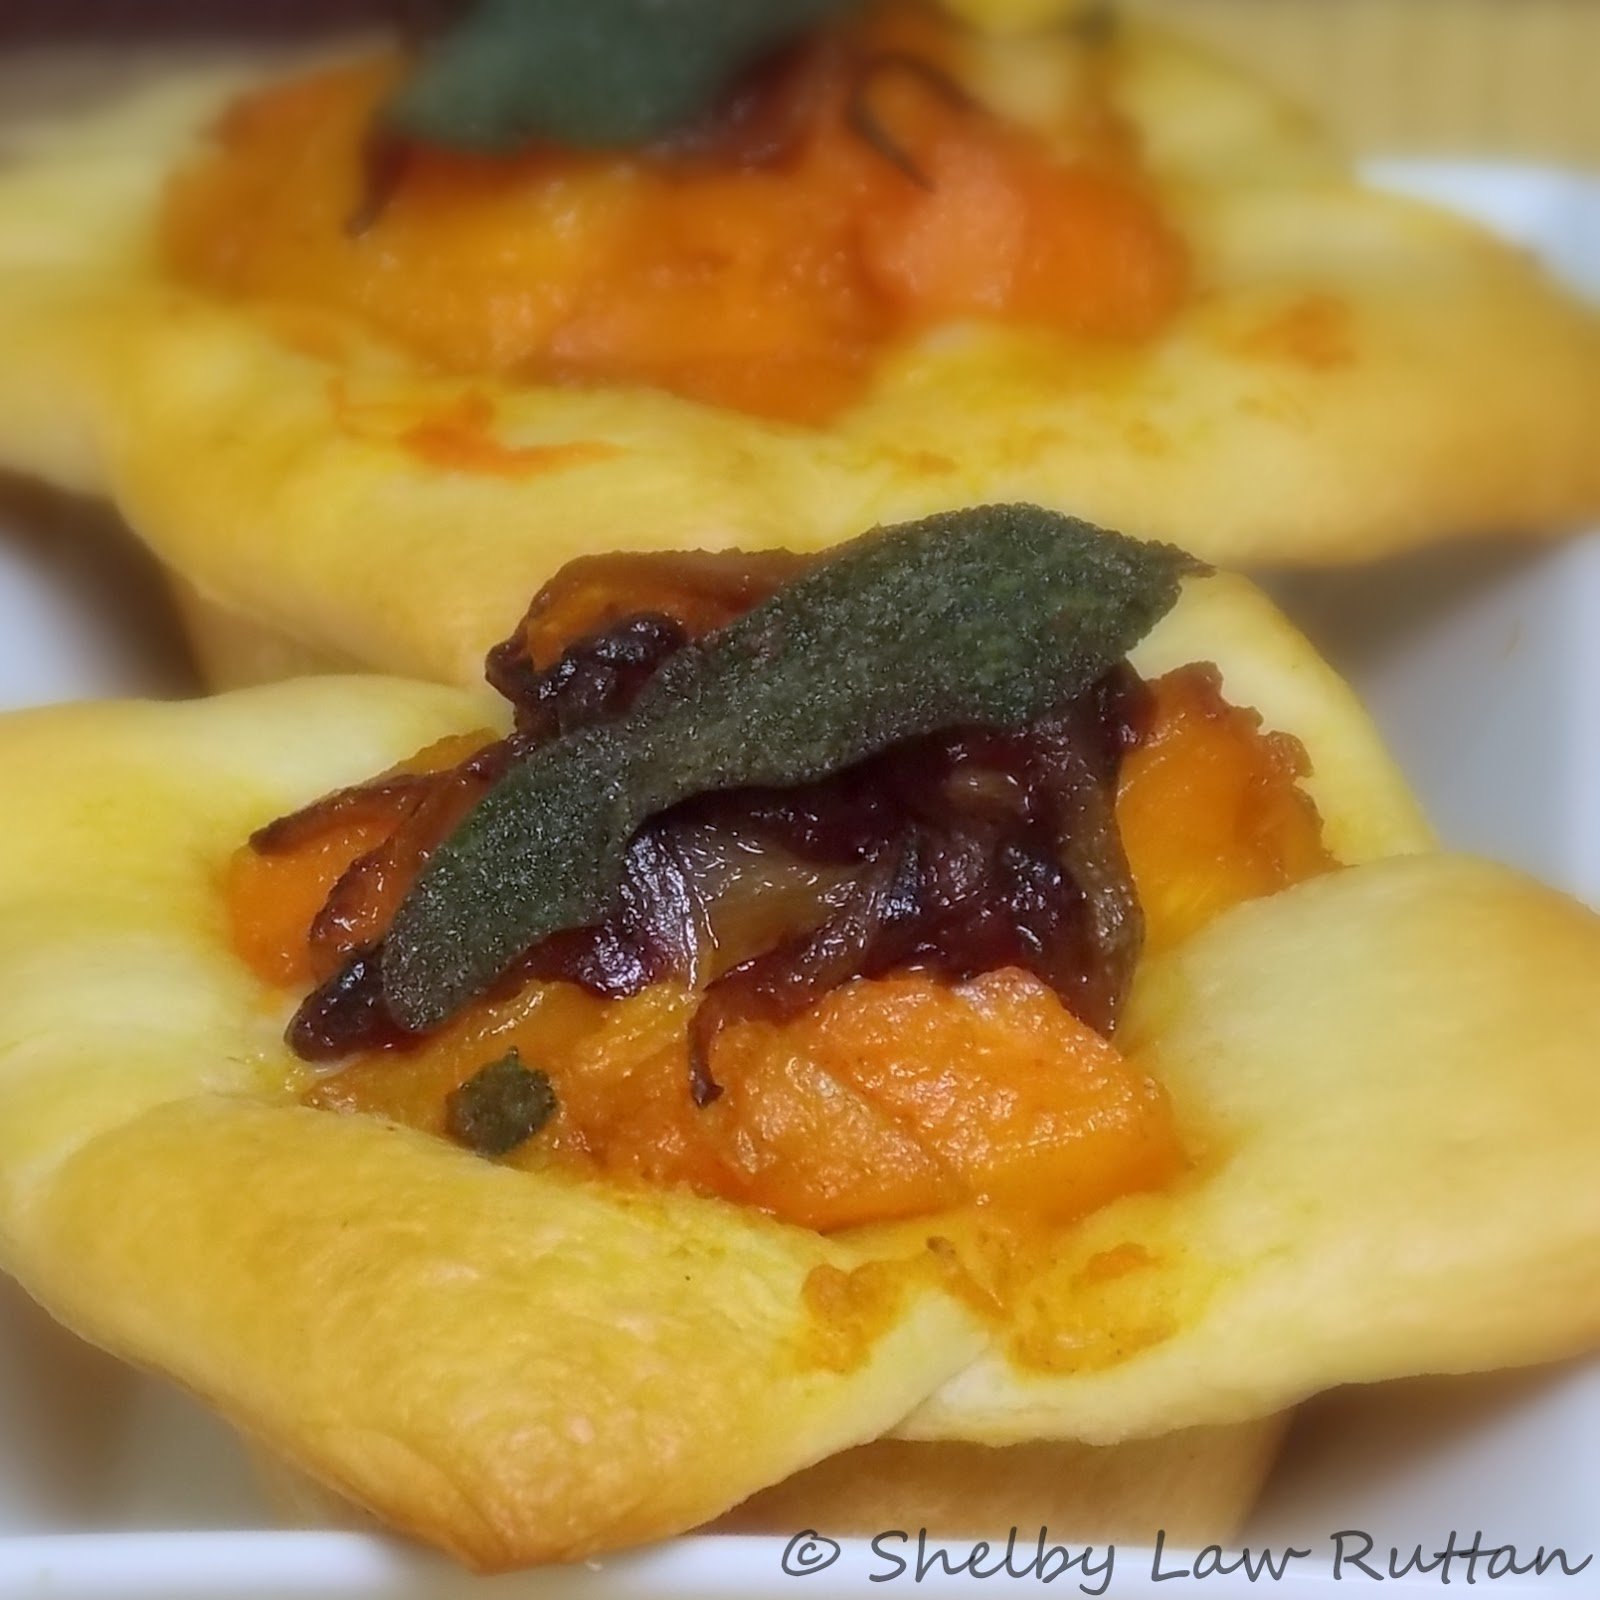
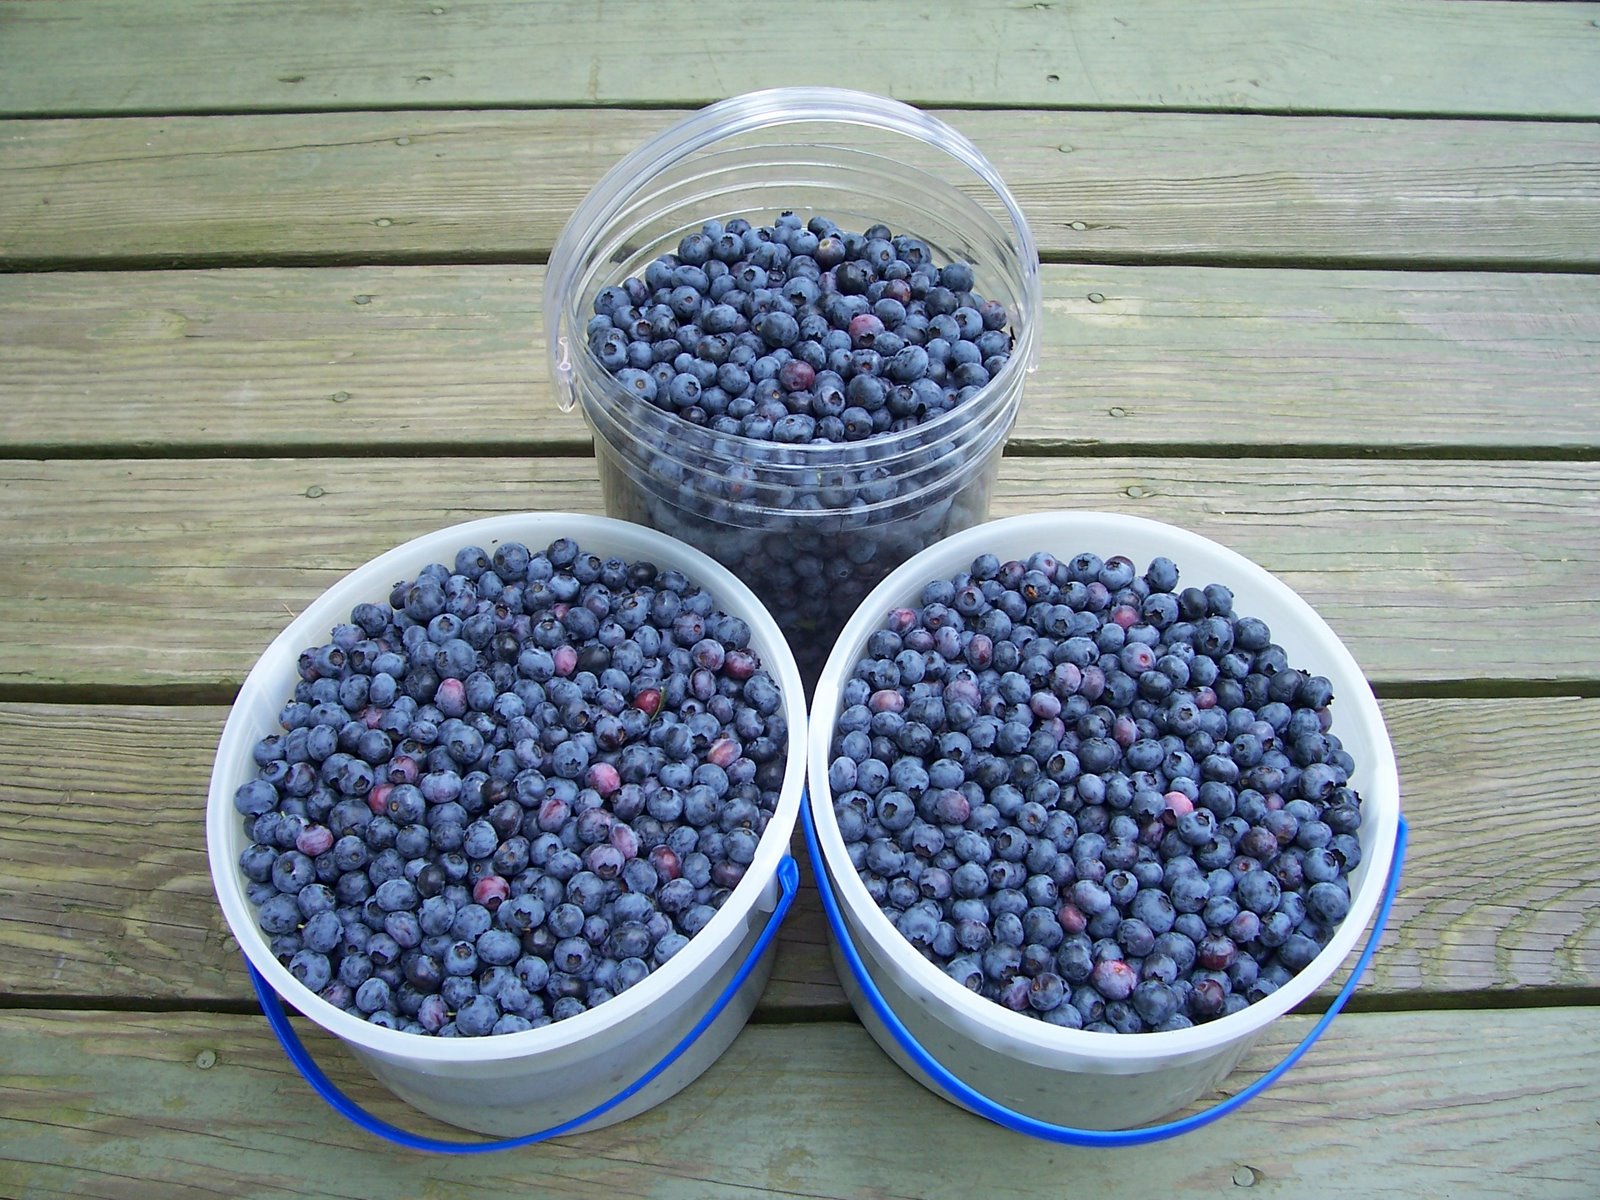
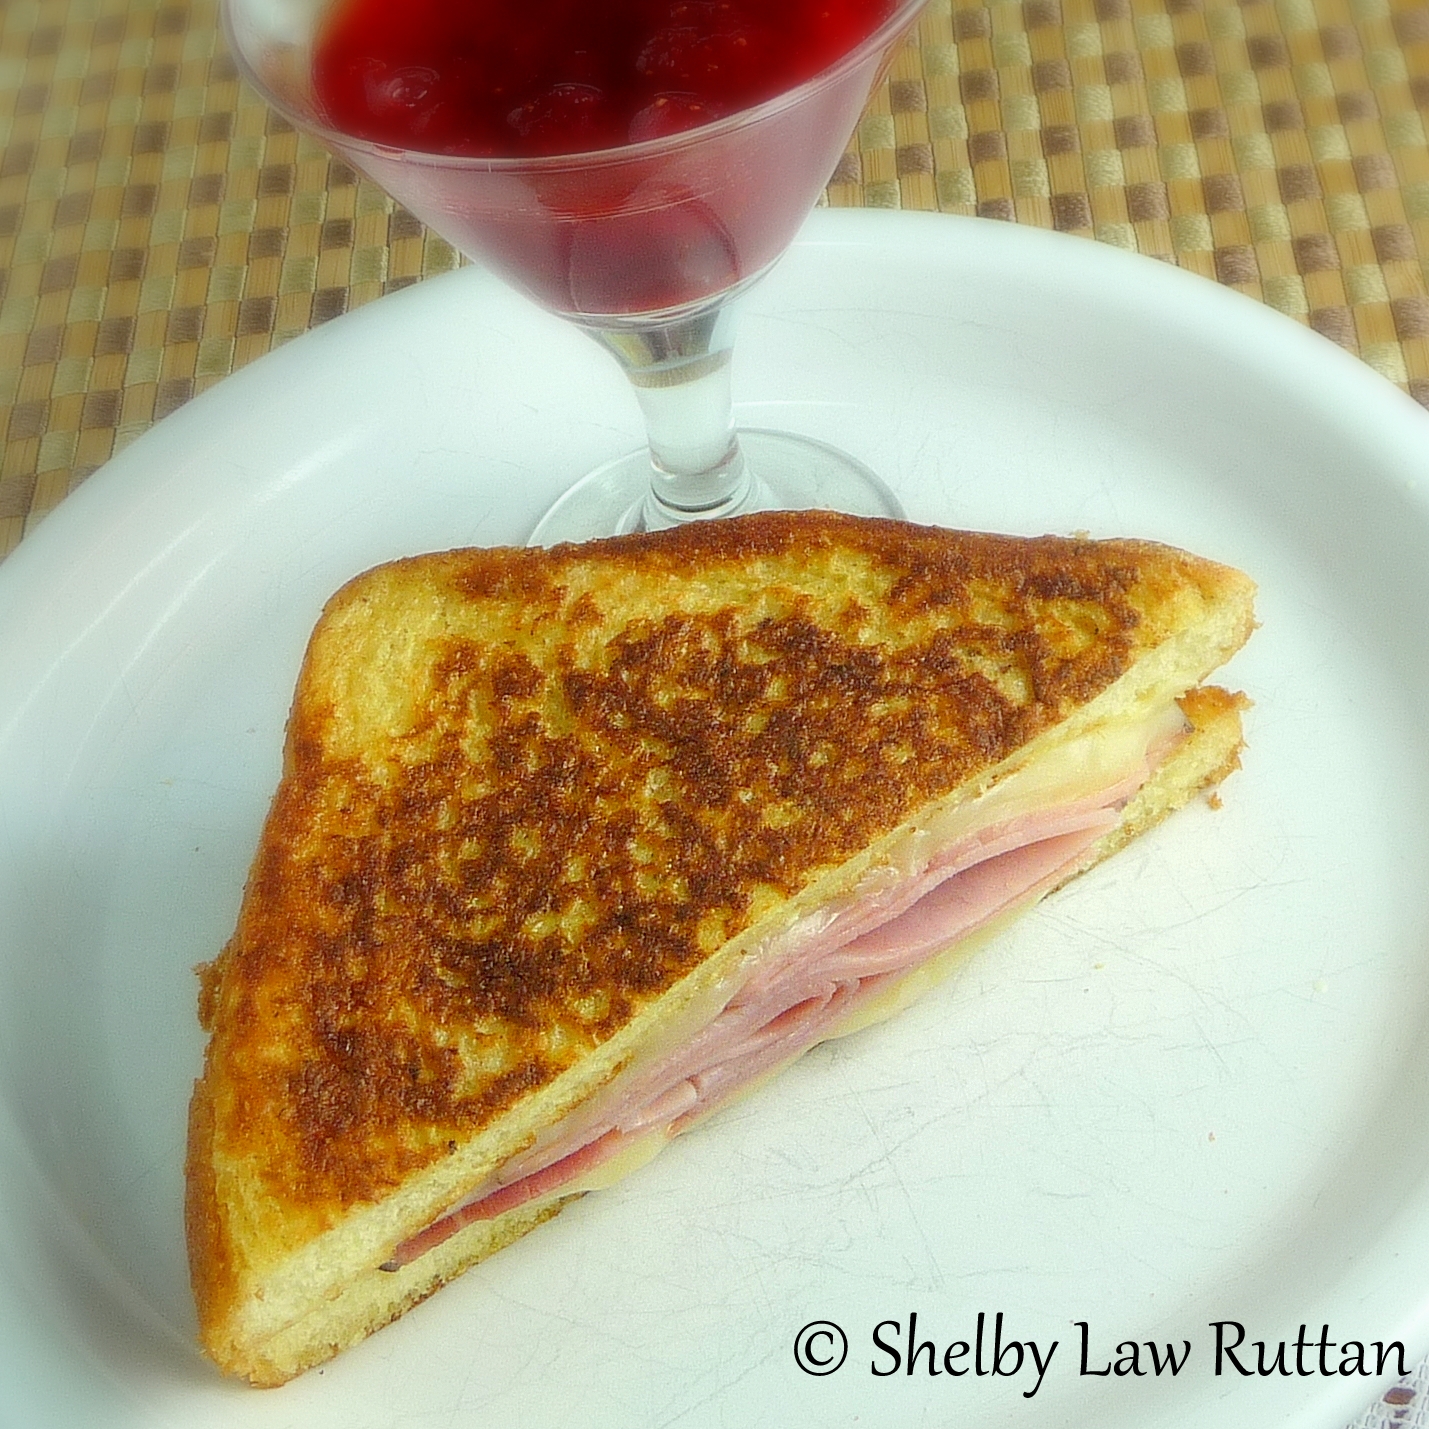
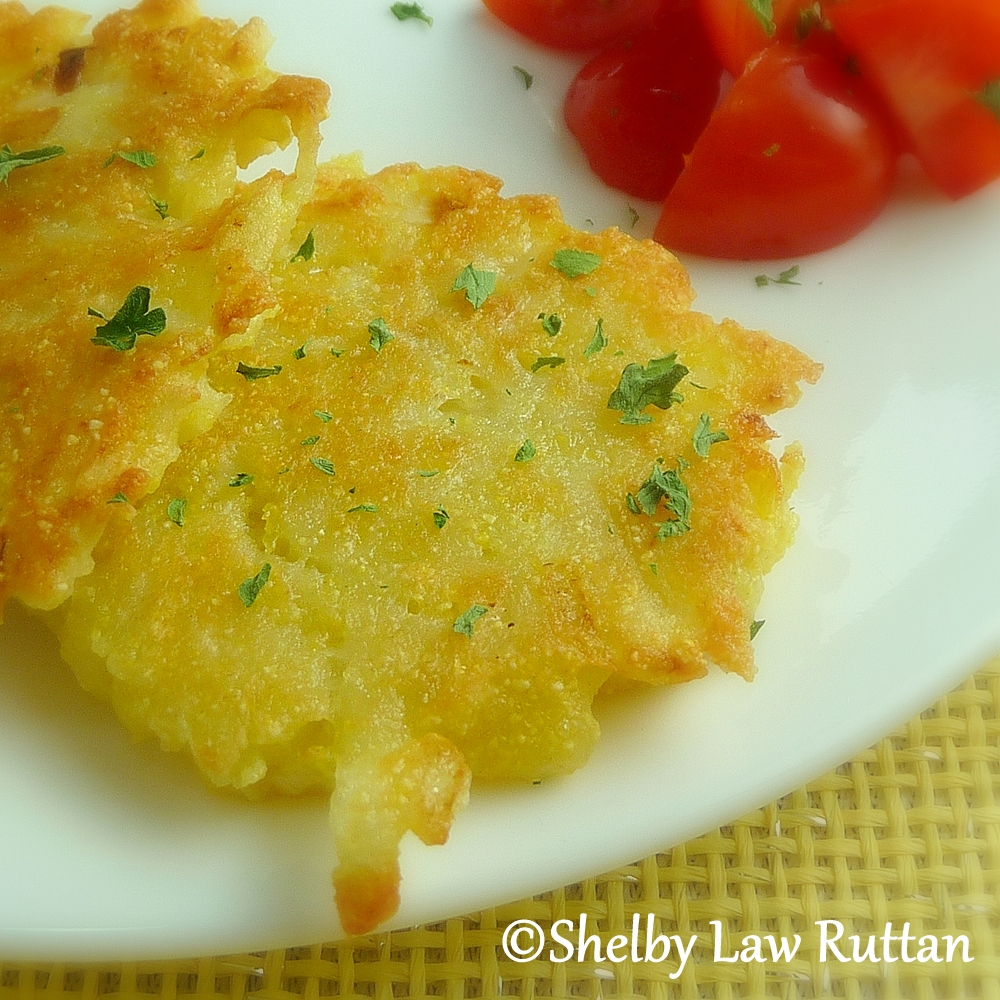
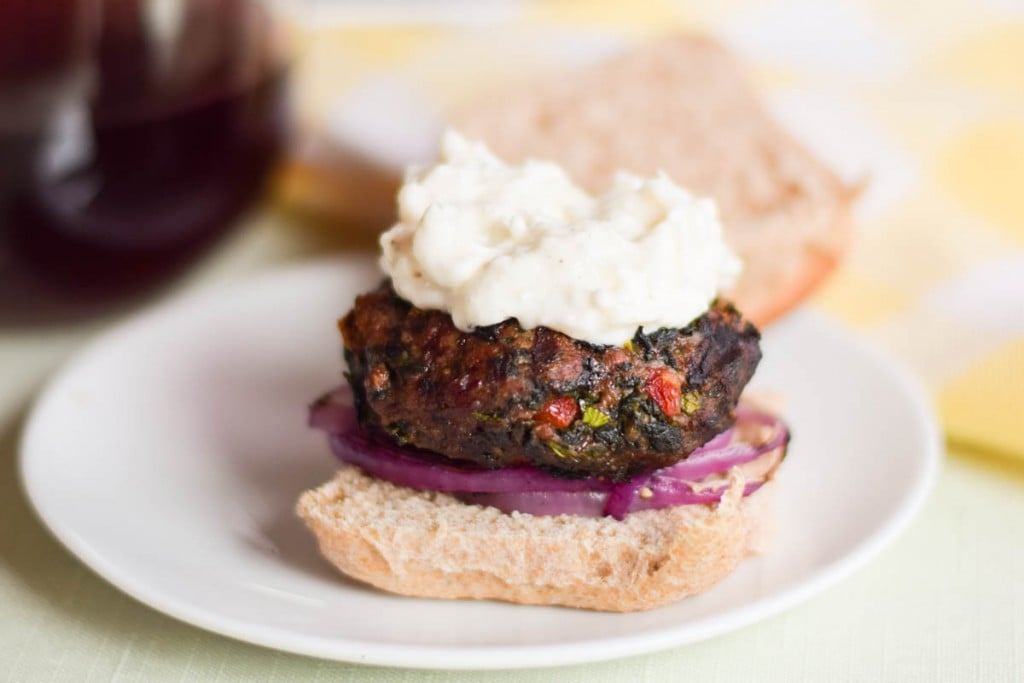
I did a lot of browsing. The first thing I came across that I knew I would make would be the tomato butter that you see posted here today. I think of this as more of a jam and I loved it on my morning toast. Mom and Dad had treated us to so many goodies on their visit, and fresh garden tomatoes were some of them - so I had some great produce for my recipe!
There are a couple of things I want to share with you (and of course Evelyne!) in relation to Cheap Ethnic Eats and herself. First of all, she lives not too far away from where I lived all my life until a couple of years ago. I lived right near the Canadian border for about 45 years! Grumpy and I went to Montreal when we were first together and I had the Lasik surgery there and years before that I remember going on a camping trip up that way and took the boys to see the Colorado Rockies pay the Montreal Expos. Sorry, Evelyne, they were both Rockies fans.
Evelyne also talks about something on her blog that I grew up with. She has a post that she does called Thursday's Thingamijig. This particular post talked about food in cans and how they don't belong there. I couldn't help but smile when I saw the Worthington Fri-Chik. Because I grew up with a vegetarian Mom, the Fri-Chik was a stable in our home. LOL. Seriously, that stuff is good, but you can't expect it to taste like real chicken. That would just be wrong. 😉 The real chicken in a can though, well, yeah. That one does gross me out. I don't have much of a problem with vegetarian soy protein in a can though. Another food that is in a can that is from Worthington is the Big Franks (hot dogs). LOVE THOSE THINGS!
Thanks for the walk down memory lane Evelyne. I had a lot of fun browsing through your blog! I hope you enjoy my rendition of the Tomato Butter!
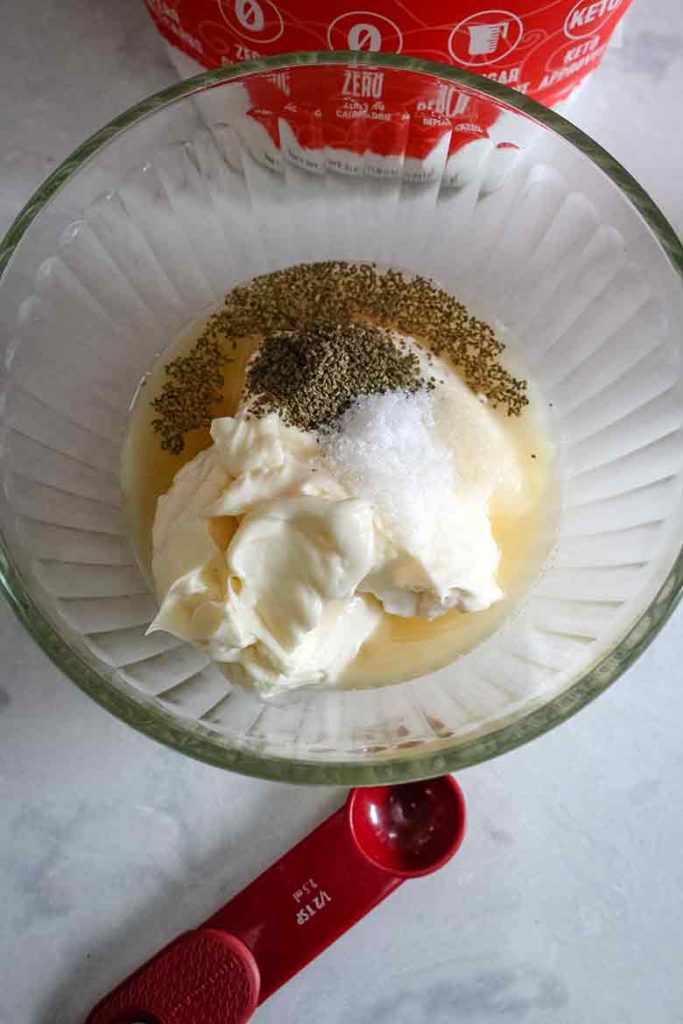
- 3 large Tomatoes, diced
- ¼ cup sugar
Prep time: :10 minutes
Cook time: :20 minutes
Total time: :30 minutes
Yield: 1 cup


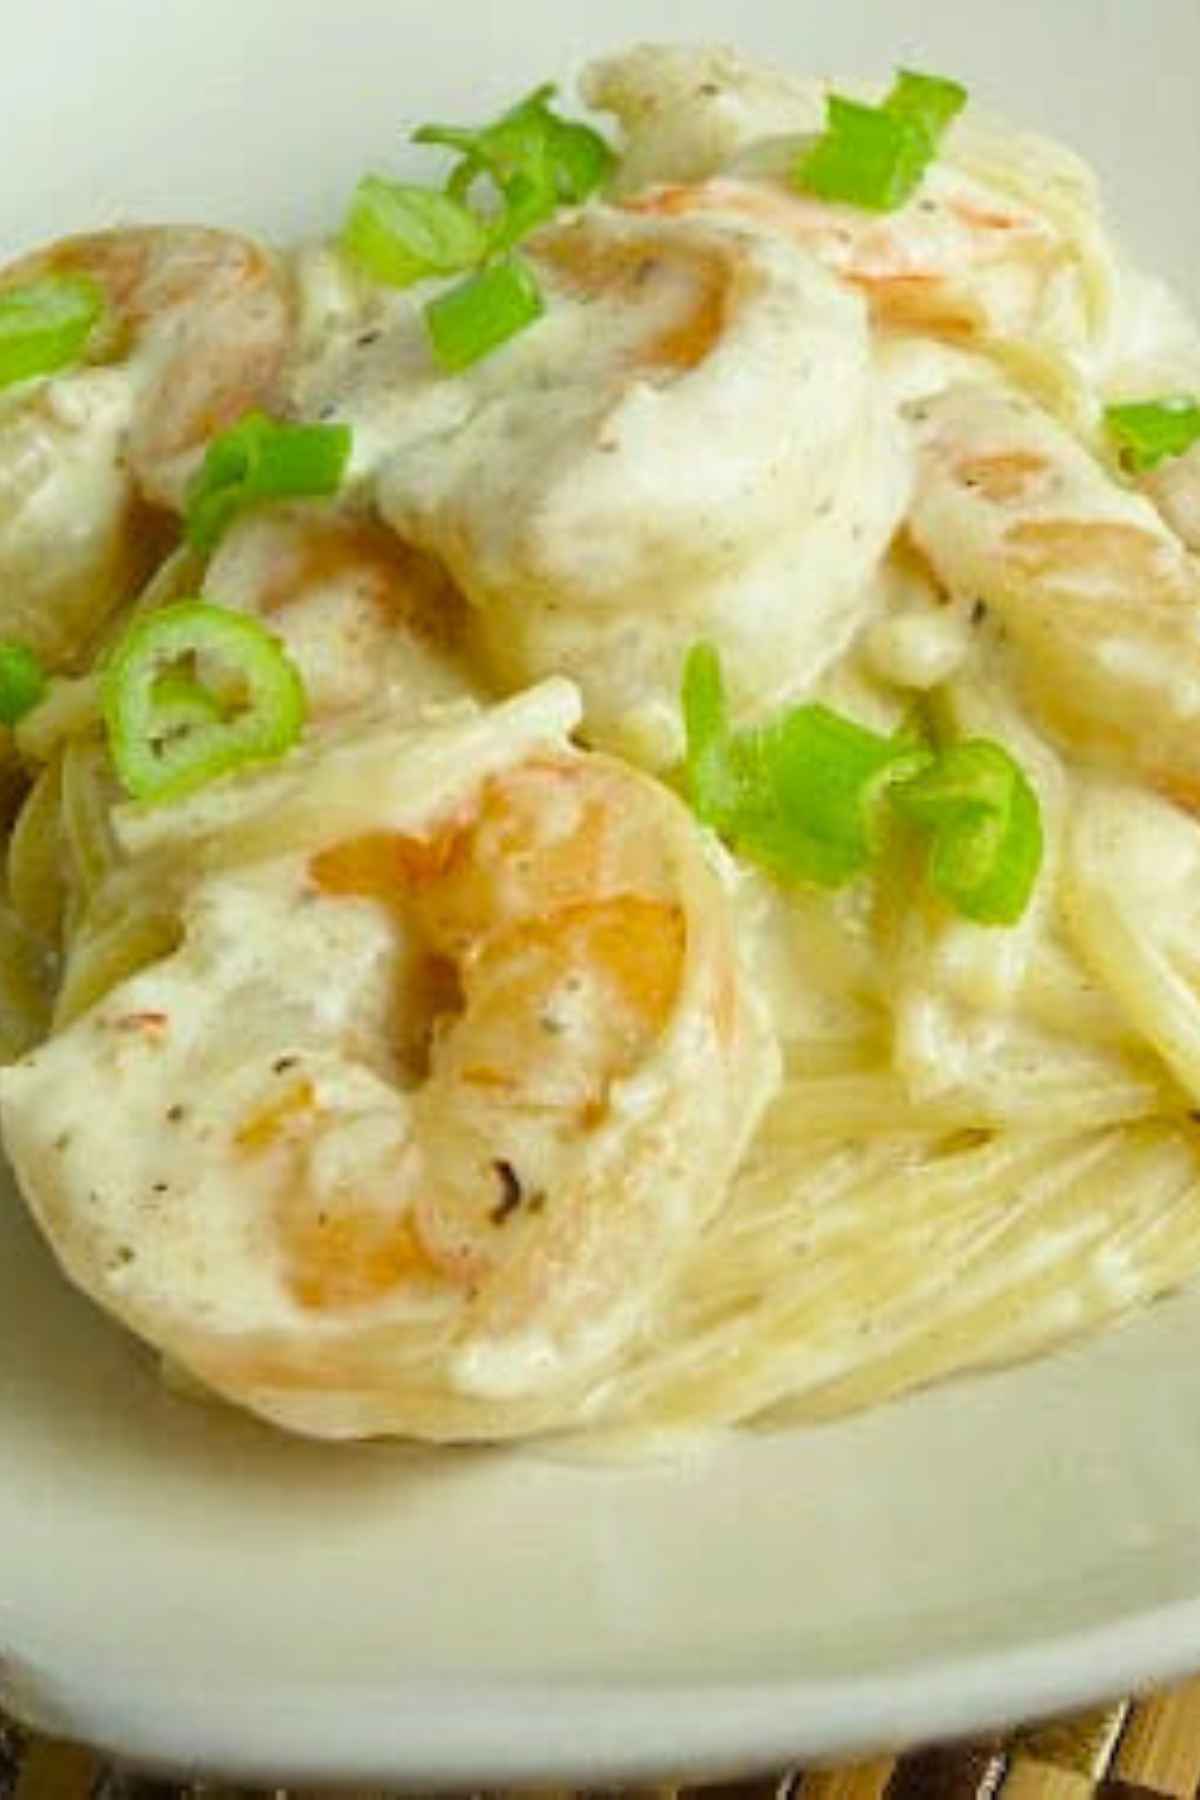
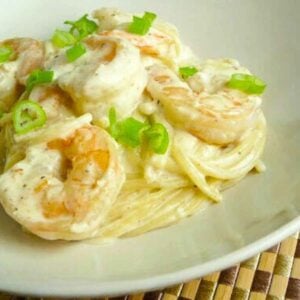


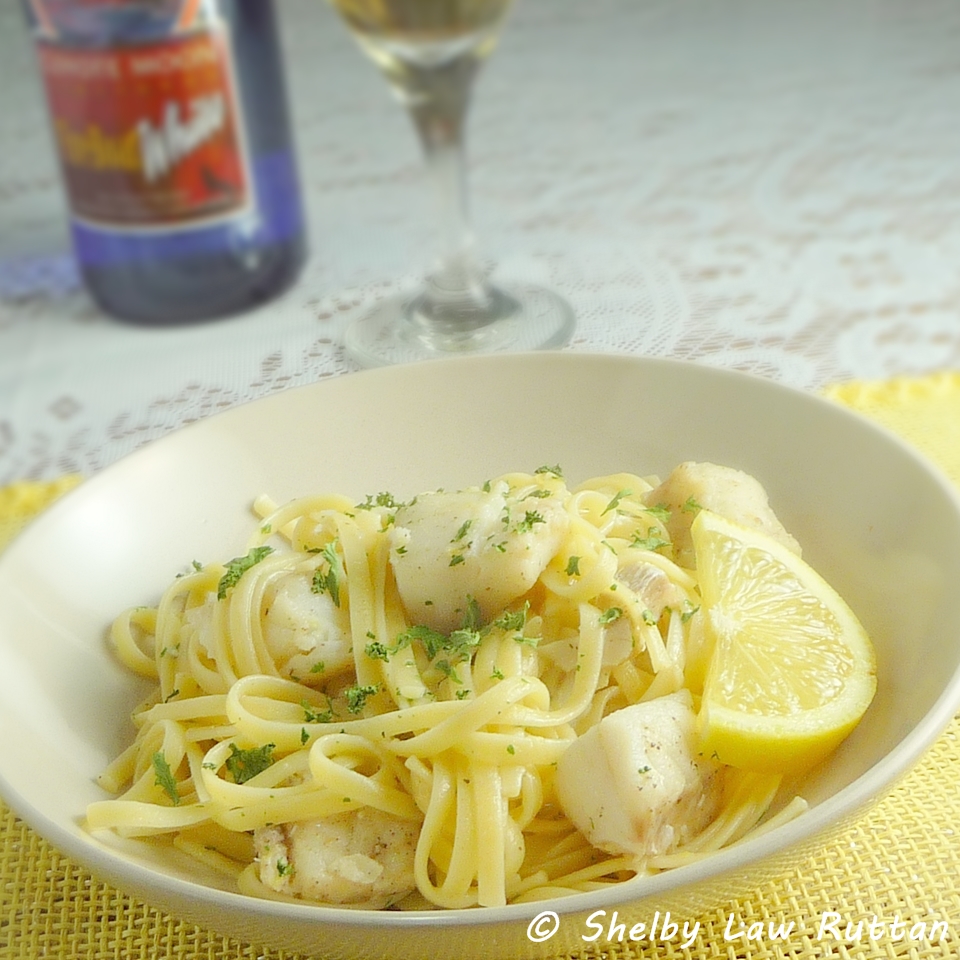
 I am submitting this post to this week's Presto Pasta Nights. This week the host will be by the founder of Presto Pasta Nights, Ruth of
 When I was working at Clarkson University, there was a faculty member whose spouse brought falafel to one of our departmental parties. That first taste had me hooked. I absolutely loved it and wanted to know how to make them! I ended up being invited to their house to be taught how to make them! I felt like I had a pretty good lesson considering they were from Jordan and I was getting an authentic recipe!
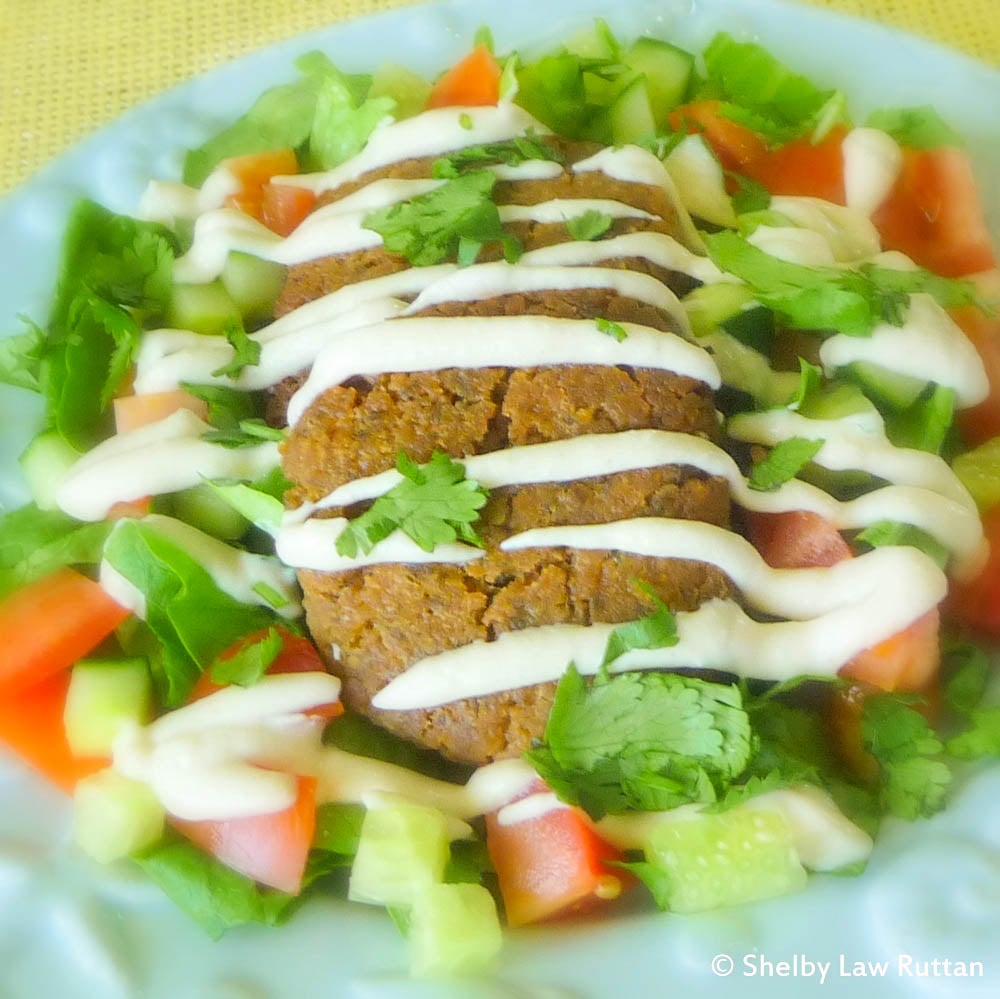


%20%40The%20Life%20and%20Loves%20of%20Grumpy%27s%20Honeybunch "Pin It")


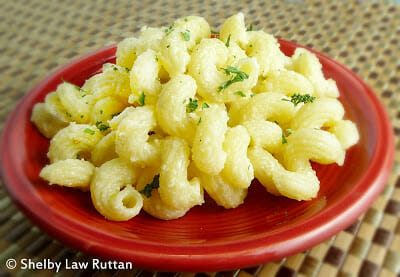


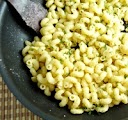


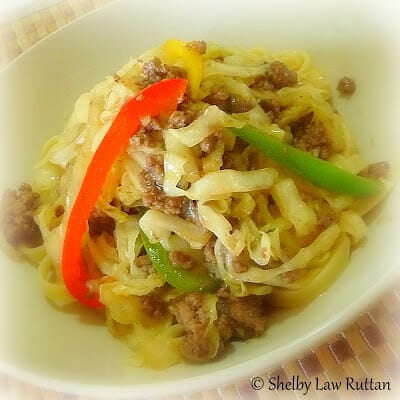

 I'm submitting this post to Presto Pasta Night's which is being hosted by Juli over at Pictures of all my Princesses. There is still time to join in - just send your submission to Juli by end of the day on Thursday. Rules and Guidelines are on the Presto Pasta Night's page.


