
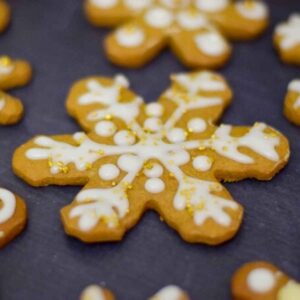
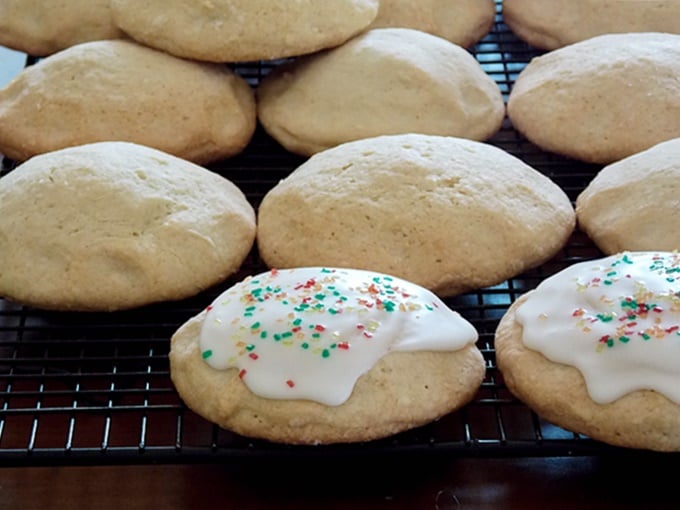
Gingerbread Cookies are a holiday classic with warm spice, deep molasses flavor, and a balance of soft centers and crisp edges. They bake up beautifully and hold their shape, making them great for decorating.

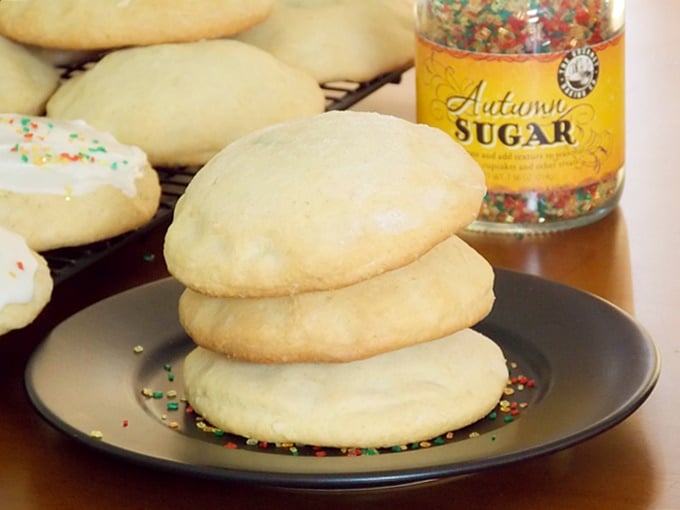
These cookies take me right back to winters of my childhood in Northern New York, when my grandmother would let me help roll and cut the dough. It reminds me of the same joy I shared with my own sons, especially when we turned them into gingerbread snowflake cookies covered in icing and tiny sugar pearls.
[feast_advanced_jump_to]Why You'll Love This Gingerbread Cookies Recipe
Perfect texture: soft in the center with lightly crisp edges that make decorating easy.
Holiday flavor: classic gingerbread spices with rich molasses for that timeless Christmas taste.
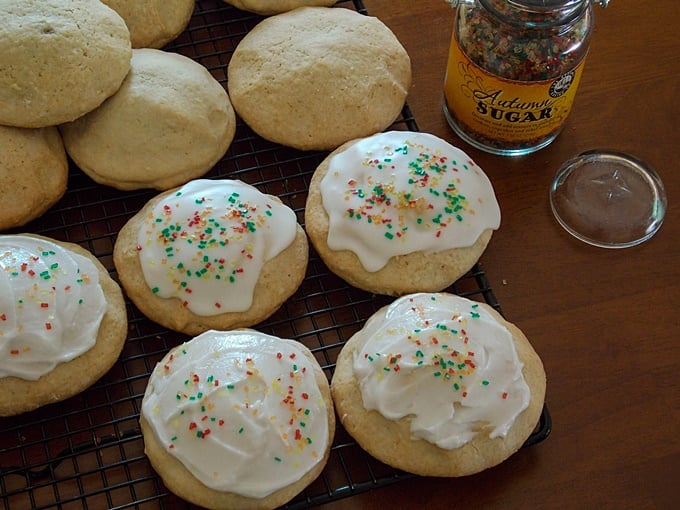
Festive fun: a great dough for cutting into snowflake shapes and decorating with icing and sugar pearls.
Key Ingredients for Molasses Gingerbread Cookies
See the recipe card below for a full list of ingredients and instructions.

- Molasses: gives these cookies their signature deep color and warm, rich flavor.
- Ginger and cinnamon: classic spices that bring the cozy holiday aroma.
- Allspice: adds a subtle warmth that rounds out the flavor.
- Butter: softened butter creates a tender cookie that bakes evenly.
- Confections sugar icing: perfect for decorating and dries beautifully on snowflake shapes.
Ingredient Substitutions
- Use dark brown sugar in place of white sugar for a deeper flavor.
- Swap milk for water in the icing if you want a slightly creamier finish.
- Replace vanilla extract with almond extract for a different decorative icing flavor.
Variations on Gingerbread Cookies
- Instead of gingerbread snowflake cookies make gingerbread men and decorate with festive icing.
- Add a hint of orange zest to the dough to brighten the flavor.
- Turn them into gingerbread sandwich cookies with a thin layer of vanilla or maple frosting.

Gingerbread Dough Tips
- Chill the dough: cold dough holds its shape best when cutting out snowflake shapes.
- Roll evenly: keep the dough ¼ inch thick to ensure consistent baking and soft centers.
- Cool completely: wait until cookies are fully cooled before decorating so the icing sets neatly.

How to Store
Store decorated cookies in an airtight container for up to 5 days at room temperature. Can freeze cookies for up to 3 months.
More Holiday Cookie Recipes You'll Love
For more seasonal baking, try my Air Fryer Eggnog Cookies, Lime Shortbread Cookies, Almond Filled Cookies, and Craisins Filled Cookies.

When you make this recipe, please comment below and let me know what you think. I'd love it if you tag me on Instagram @grumpyshoneybunch or #grumpyshoneybunch so I can see your photos!
If you love this recipe, please leave a ⭐⭐⭐⭐⭐ rating
📖 Recipe
Traditional Gingerbread Cookies with Icing
Equipment
- Snowflake cookie cutters
- Icing decorator bags (with small tips)
As an Amazon Associate I earn from qualifying purchases.
Ingredients
For the Cookie Dough:
- 1 cup unsalted butter softened
- 1 cup sugar
- 1 cup molasses
- ¼ cup water
- 5 cups all-purpose flour
- 2½ teaspoons ground ginger
- 1½ teaspoons baking soda
- 1½ teaspoons ground cinnamon
- ½ teaspoon ground allspice
- ¼ teaspoon salt
For the Icing:
- 3¾ cups confectioners' sugar
- ¼ cup water
- 1½ teaspoons light corn syrup
- ½ teaspoon vanilla extract
Instructions
- In a large bowl, cream butter and sugar. Beat in molasses and water.
- In another mixing bowl, combine the flour, ginger, baking soda, cinnamon, allspice and salt. Gradually add this to creamed mixture and mix well. Cover and refrigerate for 1 hour or until easy to handle.
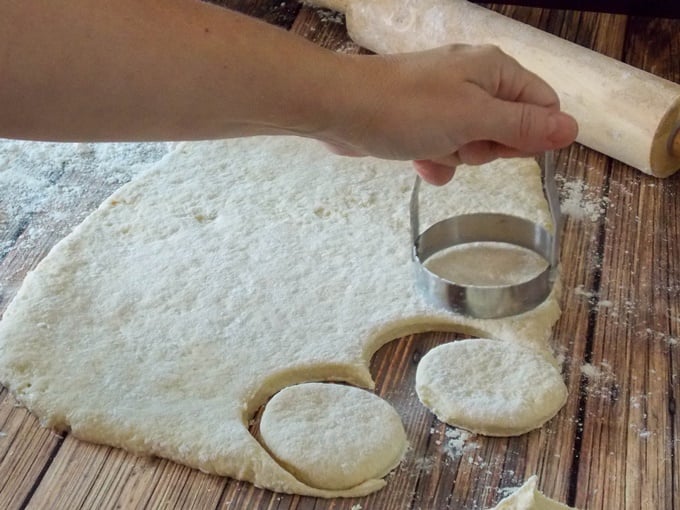
- On a lightly floured surface, roll out to ¼-in. thickness. Cut with 2-½-in. cookie cutters dipped in flour. Place 2 in. apart on parchment lined baking sheets.
- Bake at 350° for 10-12 minutes or until edges are firm. Remove to wire racks to cool.
- In a small bowl, combine frosting ingredients and beat until smooth. Transfer to a decorator bag with a small tip. Cut a small hole in a corner of the bag; pipe frosting onto cookies. Yield: about 5 dozen.


