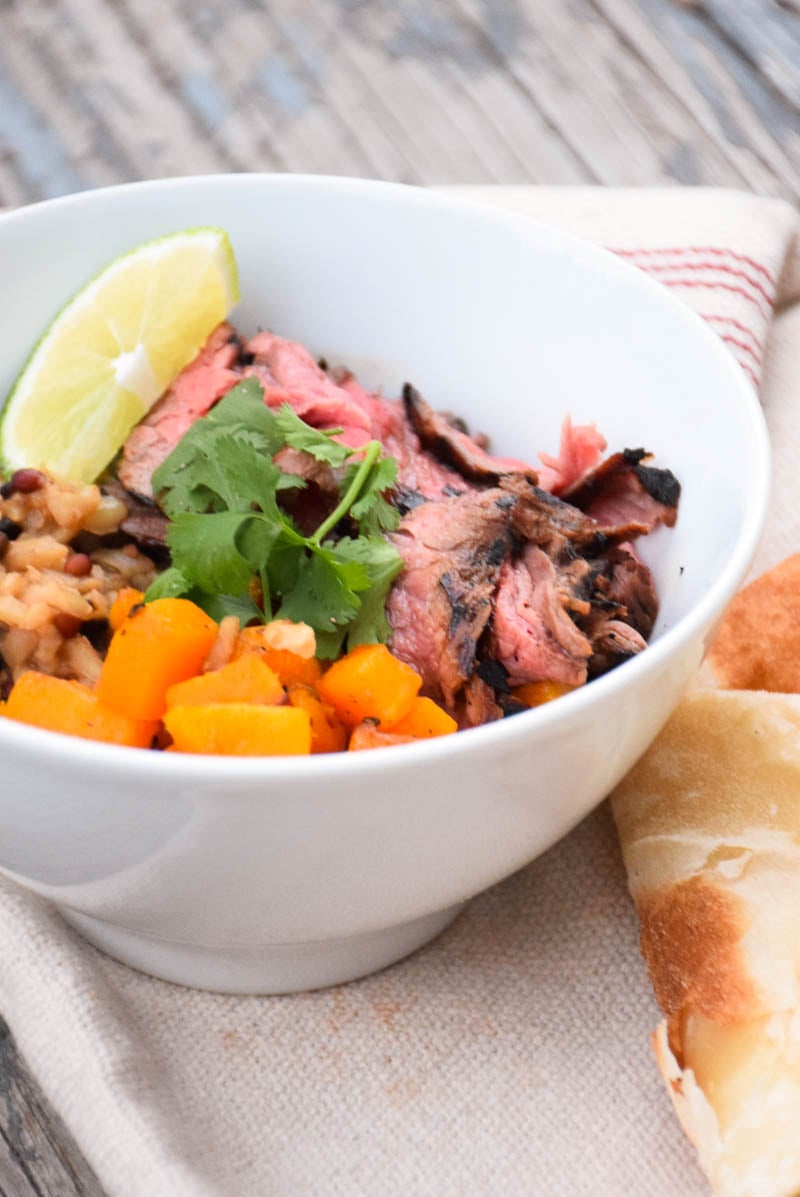
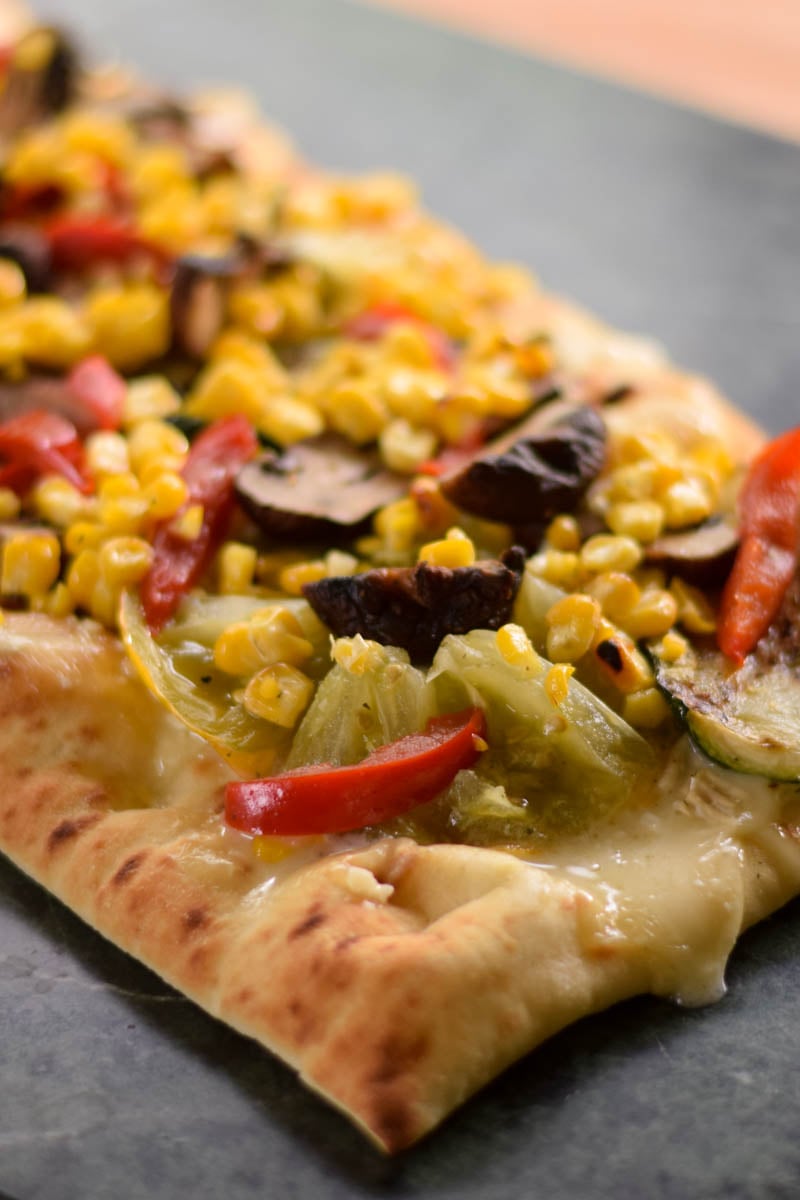
Are you looking for a crowd-pleasing easy football recipe for the upcoming big game day? If so, this Steak and Potato Pizza is going to fit the bill and meet your expectations!
This post for Steak and Potato Pizza is sponsored by the Idaho® Potato Commission in conjunction with Sunday Supper LLC. All opinions are my own.

This pizza is chock full of lean steak, golden potatoes cubes, and cheese! Pure good and hearty finger food for all those happy gamers! So, get that pizza dough recipe going and let's make some hearty party food!
Scroll to the end of this post to find out how to keto adapt this recipe!
Steak and Potato Pizza for the win!
If you love a dinner filled with lean flavorful steak and potatoes, then this pizza is for you! Made with golden Idaho® potatoes and complemented with cheese both mild and bold. The garlic flavored steak bites, and red onion slices, are like having a steakhouse dinner except your plate is the pizza crust!
I absolutely loved this pizza! It is a great way to use any leftover steak you may like, is hearty and satisfying and will win over a football party crowd in a heartbeat!
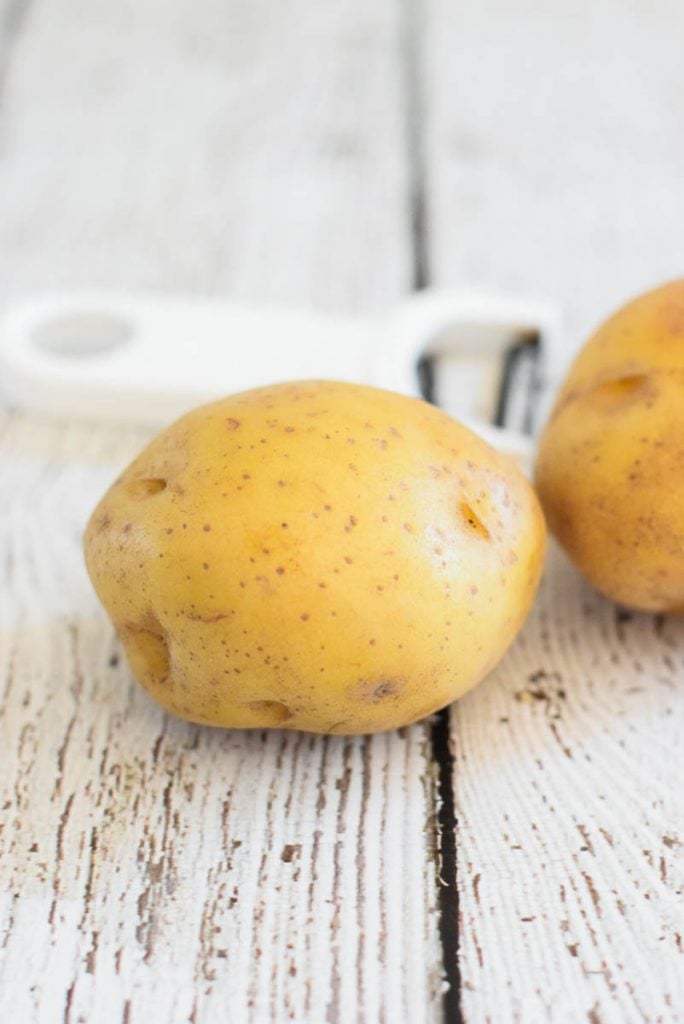
The best way to cook an Idaho potato
It is best to cook the potato ahead of time for this recipe. While preparing to write this post, I went over to the Idaho® Potato website to see what I could learn about the best method of cooking.
They recommend cooking the potatoes with the skins on. Baking the potato is the best way to get all of its nutrients. Before boiling, scrub the potato clean and once they are cooked, you can remove the skins if you wish.

Did you know that you can cook potatoes in your microwave and still have them come out like you had baked them in the oven? Idaho® Potato tells you how to do it on their website!

Boosting the flavor of your potatoes
I decided to boil my potatoes for this recipe. When I did so, I added some salt and garlic cloves to infuse flavor into this recipe.
Once the potatoes were cooked I had a hard time keeping my fingers out of the bowl and snatching up a few pieces to pop in my mouth. I absolutely love the golden Idaho® Potato and how creamy and flavorful it is!

How to make a Steak and Potato Pizza
Now, about this Steak and Potato Pizza! It is so easy to have it ready to put together in no time flat for your party gathering. You can make your own pizza dough recipe, or buy a premade dough right at the grocery store.
Steak and Potato Pizza is also a great way to use up any leftover steak you may have in the refrigerator. If you don't have leftover, it is cool to buy the stir-fry steak pieces in the store and quickly cook them up with some butter and lots of garlic. You want a lot of garlic flavor in this pizza!

For more information on Idaho® potatoes be sure to visit them on all their social channels!
Substitutions
Sometimes you may not have all the ingredients needed, but you do have something in your kitchen that will work. Here are a few substitution suggestions to help you out!
- Canned potatoes - many will keep canned potatoes in their pantry, these will work great for the potato portion of this recipe.
- Meat swap - this is a great way to use leftover burgers, chicken or steak.
- Vegetarian - replace the steak with your favorite vegan protein. MorningStar Farms grillers are a great choice to try.
- Keto version: Want to make this low carb and keto friendly? You absolutely can! Sub roasted radishes for the potatoes and use this keto pizza crust.
Variations
Giving the visitor ideas on how they can change this recipe to better suit their dinner guests, or their cultural cuisine, is a great way to increase the chances they make the recipe.
- Spicy - add chili pepper flakes while cooking the steak to infuse heat into the dish or sprinkle with crispy fried jalapeno topping (affiliate link)
- Deluxe - sprinkle with diced tomato and shredded lettuce and drizzle with ranch or blue cheese dressing.
- Individual pizzas: use this two ingredient pizza dough and portion onto single serve pizza pans for party time fun!
Related Recipes


When you make this recipe, please comment below and let me know what you think. I'd love it if you tag me on Instagram @grumpyshoneybunch or #grumpyshoneybunch so I can see your photos!
If you love this recipe, please leave a ⭐⭐⭐⭐⭐ rating
📖 Recipe

Steak and Potato Pizza Recipe
As an Amazon Associate I earn from qualifying purchases.
Ingredients
- 1 pound Pizza dough
- 1½ cup lean steak , cut into bite sized pieces
- 1 tablespoon butter
- 2 cloves fresh garlic , chopped
- 1½ cups shredded mozzarella cheese
- ¼ cup crumbled blue cheese
- 2 medium Potatoes , boiled and cubed
- ½ cup sliced red onion
Instructions
- Press pizza crust out on a large pizza pan that has been coated with cooking spray. Melt butter in microwave and stir in garlic cloves. Spread this mixture over top of pizza crust. Layer as follows:
- Mozzarella cheese, cubed potatoes, steak pieces, red onion.
- Bake in 425 oven for 20 minutes or until crust is golden and cheese begins to turn brown.
- Remove from oven and immediately sprinkle with blue cheese crumbles. Cut and serve.