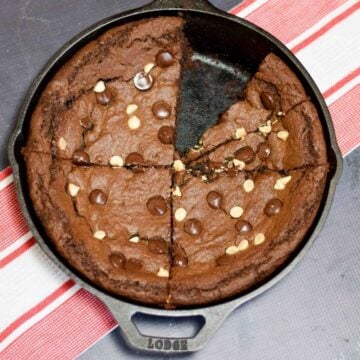
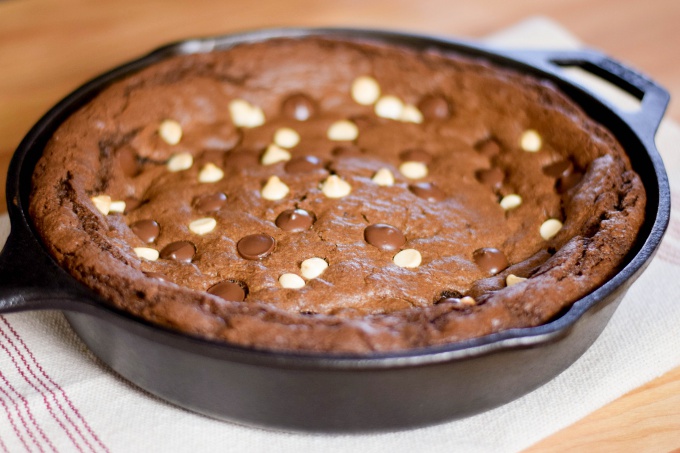
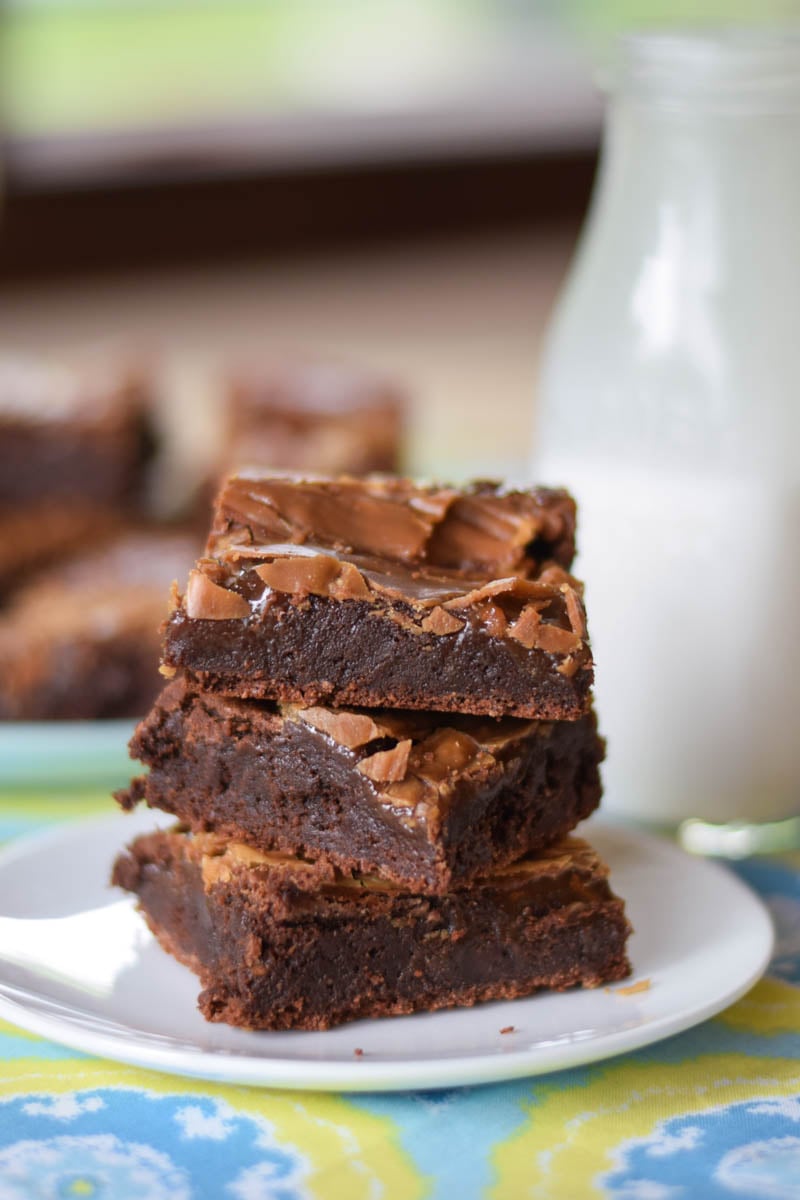
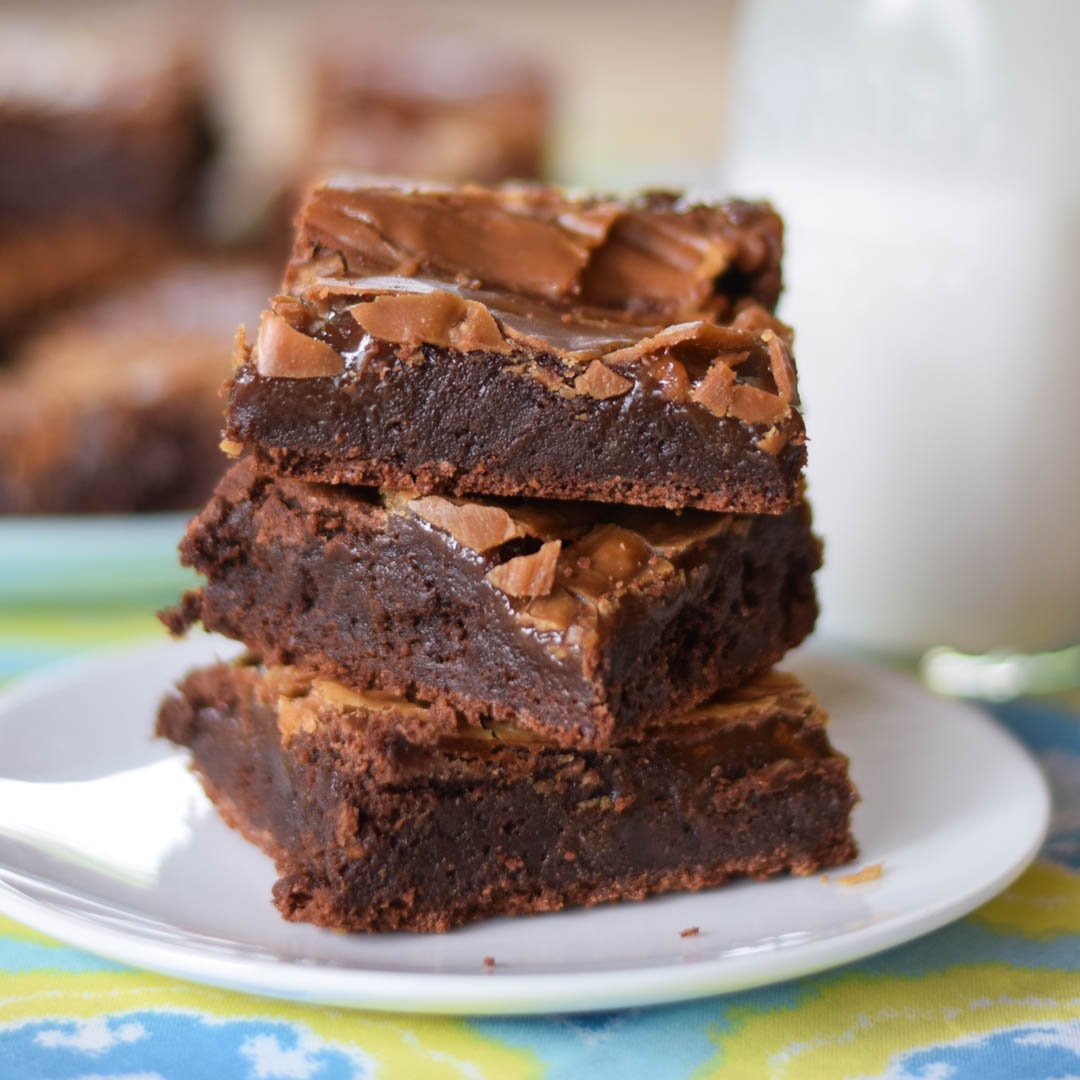
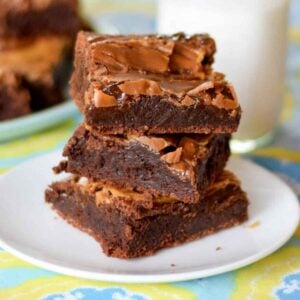
Cookie Butter Caramel Swirled Brownies are fudgy squares of chewy chocolate swirled with a cookie butter caramel adding another texture of chewy! Delicious and addicting, you will not regret making these!
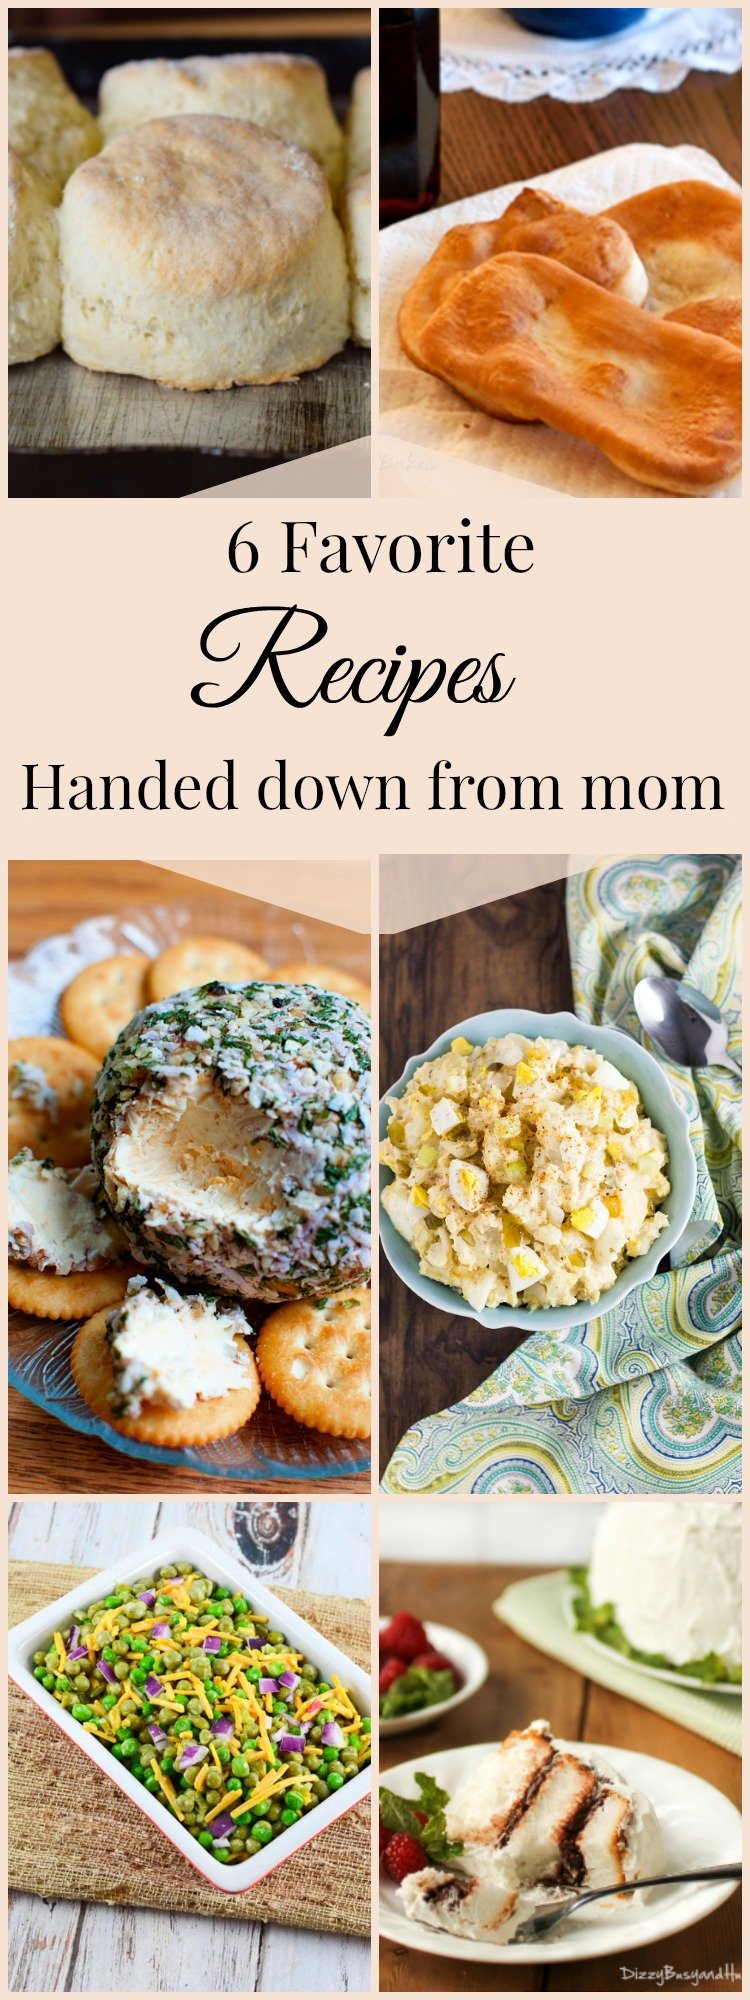
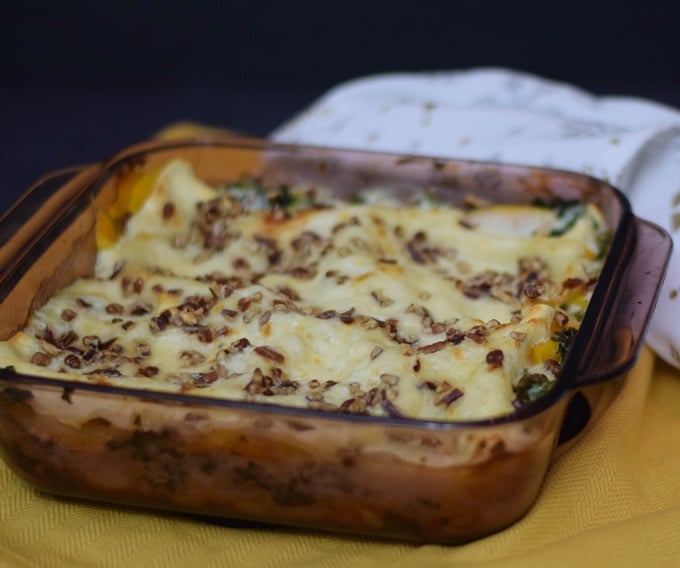
Potluck brings back memories of family reunions, church picnics, and get togethers at the beach when I was a young girl. Now that the kids are grown and moved away and we aren't as close to our families anymore, I really miss those days. Potluck means your taking a chance that a dish that someone is bringing to your gathering will be good. More often than not, you leave a potluck dinner with a new recipe in hand that you have to make yourself because it was so delicious! This week the Sunday Supper Tastemakers are sharing Summer's Best Potluck Dishes with you. I guarantee you're bound to see several you must make!
Thanks to T.R. of Gluten Free Crumbley for hosting this week's event!

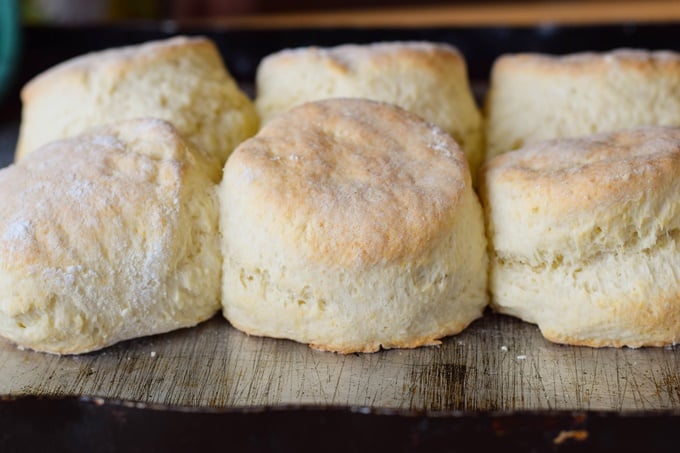
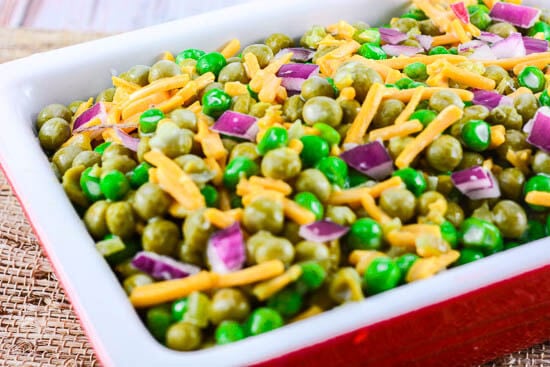
When I think of potluck I usually think casseroles or big salads. Those are easy to carry and share and you can make a LOT of food! I also think dessert like cookies, bars, or cupcakes. Dessert that is easy to eat with your fingers, no utensils needed! My favorite of all desserts to take to a potluck is the fudgey brownie.

I have a basic brownie recipe that I always use when making brownies. It's the best one I have ever encountered and just as easy as opening a box. I also like to doctor my brownies up and this time I decided to do it with a cookie butter caramel!

I'm so in love with cookie butter! I was talking to T.R. about the brownies this week and he said he had never had it. I snapped a shot of the ingredient list so he could see and his response was, it's basically flour and sugar! lol Oh well, it's still ah-mazing! If you haven't tried it, then you really should find some and dig in with a spoon. Seriously!

The cookie butter caramel was homemade by making a caramel sauce then stirring in some cookie butter. If you don't want to take the time to make your own caramel, you can easily just take about ½ cup caramel topping that has been heated up and stir in the cookie butter until smooth. Easy peasy!

Just one of these brownies will have you craving more. While they are sweet, they are hard to stop eating. You will definitely be the star at your potluck if you take these brownies!
More Brownie Recipes To Try
Fudgy and Delicious Black Forest Brownies
Peppermint Surprise Brownie Bites
*If you made this recipe, please give it a star rating*
📖 Recipe
Cookie Butter Caramel Swirl Brownies
As an Amazon Associate I earn from qualifying purchases.
Ingredients
FOR THE COOKIE BUTTER CARAMEL
- ½ cup heavy cream
- ¼ cup granulated sugar
- ⅓ cup water
- ½ cup cookie butter
- 1 tablespoon corn syrup
- ⅛ teaspoon salt
- ⅛ teaspoon vanilla extract
FOR THE BROWNIES
- 1 cup butter , melted
- 3 cups granulated sugar
- 1 tablespoon vanilla extract
- 4 large eggs
- 1½ cup all purpose flour
- 1 cup unsweetened cocoa powder
- 1 teaspoon salt
Instructions
FOR THE COOKIE BUTTER CARAMEL
- Add the cream to a small saucepan over low heat, bringing it to a simmer.
- Combine the sugar and water in another small saucepan over medium heat and cook without stirring, until amber brown.
- Slowly pour the warm cream into the sugar mixture whisking constantly until smooth. Cook for 1 minute.
- Remove the saramel from the heat and whisk in the cookie butter, corn syrup, salt, and vanilla until smooth.
- Transfer the caramel to a small bowl and let cool for 30 minutes, until at room temperature.
FOR THE BROWNIES
- Preheat the oven to 350 degrees F. Prepare a 9 x 13 glass baking dish by lining with aluminum foil. Spray the foil with cooking spray and set aside.
- Add the melted butter to a medium sized bowl. Stir in the sugar until combined.
- Add the eggs, one at a time, mixing after each addition until well blended. Stir in the vanilla extract and set aside.
- In a separate large bowl, combine the flour, cocoa powder, and salt. Fold the wet ingredients into the dry ingredients.
- Pour the brownie batter into the prepared baking dish. Spread the batter with the back of a spoon to smooth.
- Using a tablespoon, drop 9 spoons of cookie butter caramel on top of the brownie batter.
- Drag a butter knife through the batter and caramel to swirl.
- Bake for 30 minutes, or until brownies are no longer wet on top. Cool completely before cutting.