
1 cup packed brown sugar, divided
5 tablespoons butter, melted
3 Tabkespoons dark rum
⅓ cup applesauce
2 large eggs
1-½ cups all purpose flour
¼ cup pecan meal
¾ teaspoon baking soda
½ teaspoon salt
½ teaspoon ground cinnamon
⅛ teaspoon ground allspice
Cooking spray
⅔ cup powdered sugar
2 tablespoons butter
2 tablespoons dark rum
Preheat oven to 350°.
Combine banana, ½ cup brown sugar, 5 tablespoons butter, and 3 tablespoons rum in a nonstick skillet. Cook over medium heat until mixture begins to bubble. Remove from heat; cool. Place banana mixture in a large bowl. Add applesauce, remaining ½ cup brown sugar, and eggs. Beat with a whisk until blended.
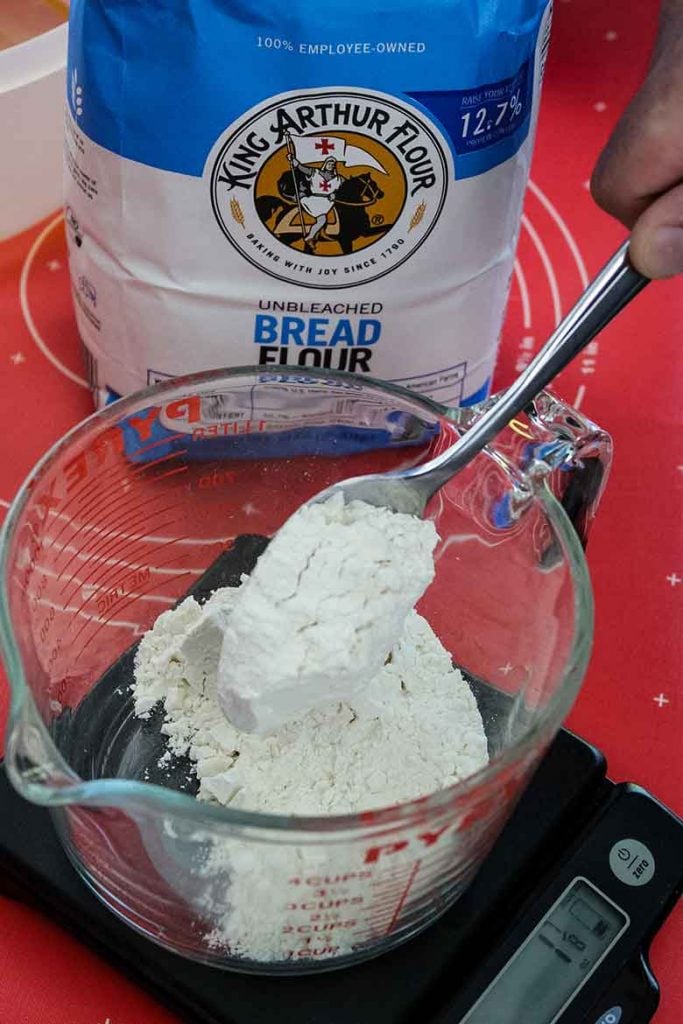
Lightly spoon flour into dry measuring cups; level with a knife. Combine flour and next 5 ingredients (through allspice) in a small bowl. Fold flour mixture to banana mixture until just blended. Pour batter into a 8x8-inch cake pan coated with cooking spray. Bake at 350° for 30-35 minutes or until a wooden pick inserted in center comes out clean. Remove from oven; cool 10 minutes in pan on a wire rack.
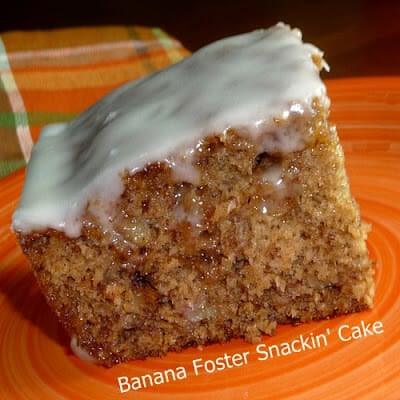
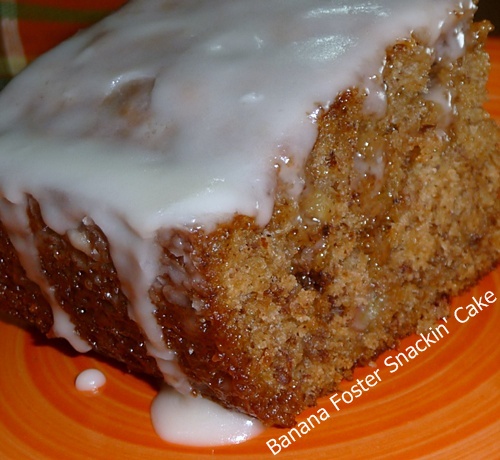
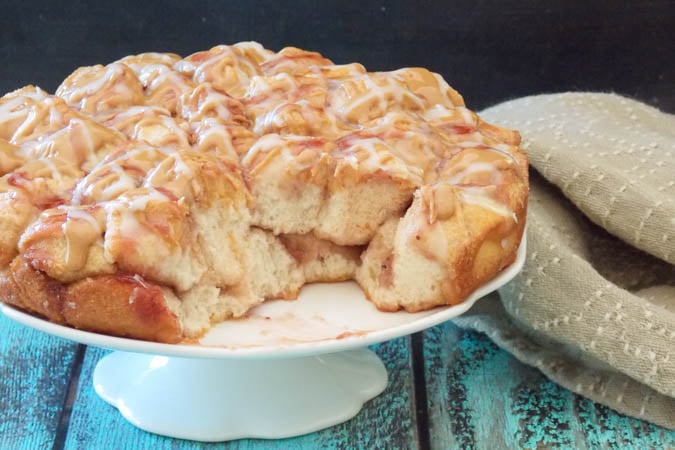
Combine 2 tablespoons melted butter, 2 tablespoons cognac, and powdered sugar; stir until well blended. Drizzle over the warm cake and spread with back of spoon over top of cake.


