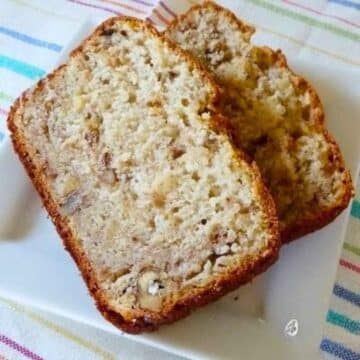
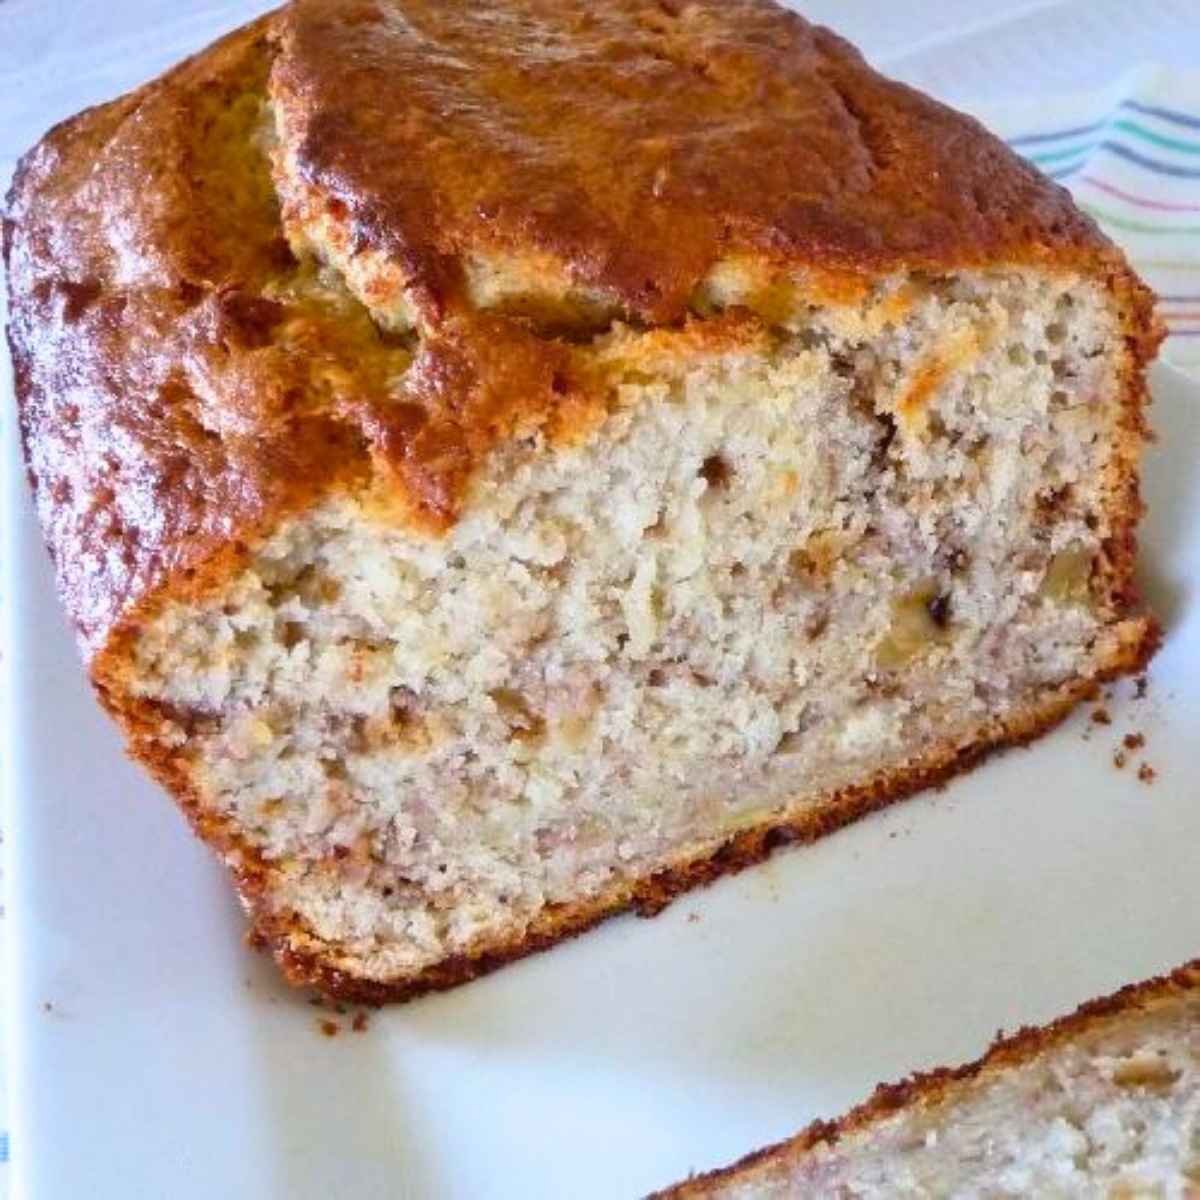
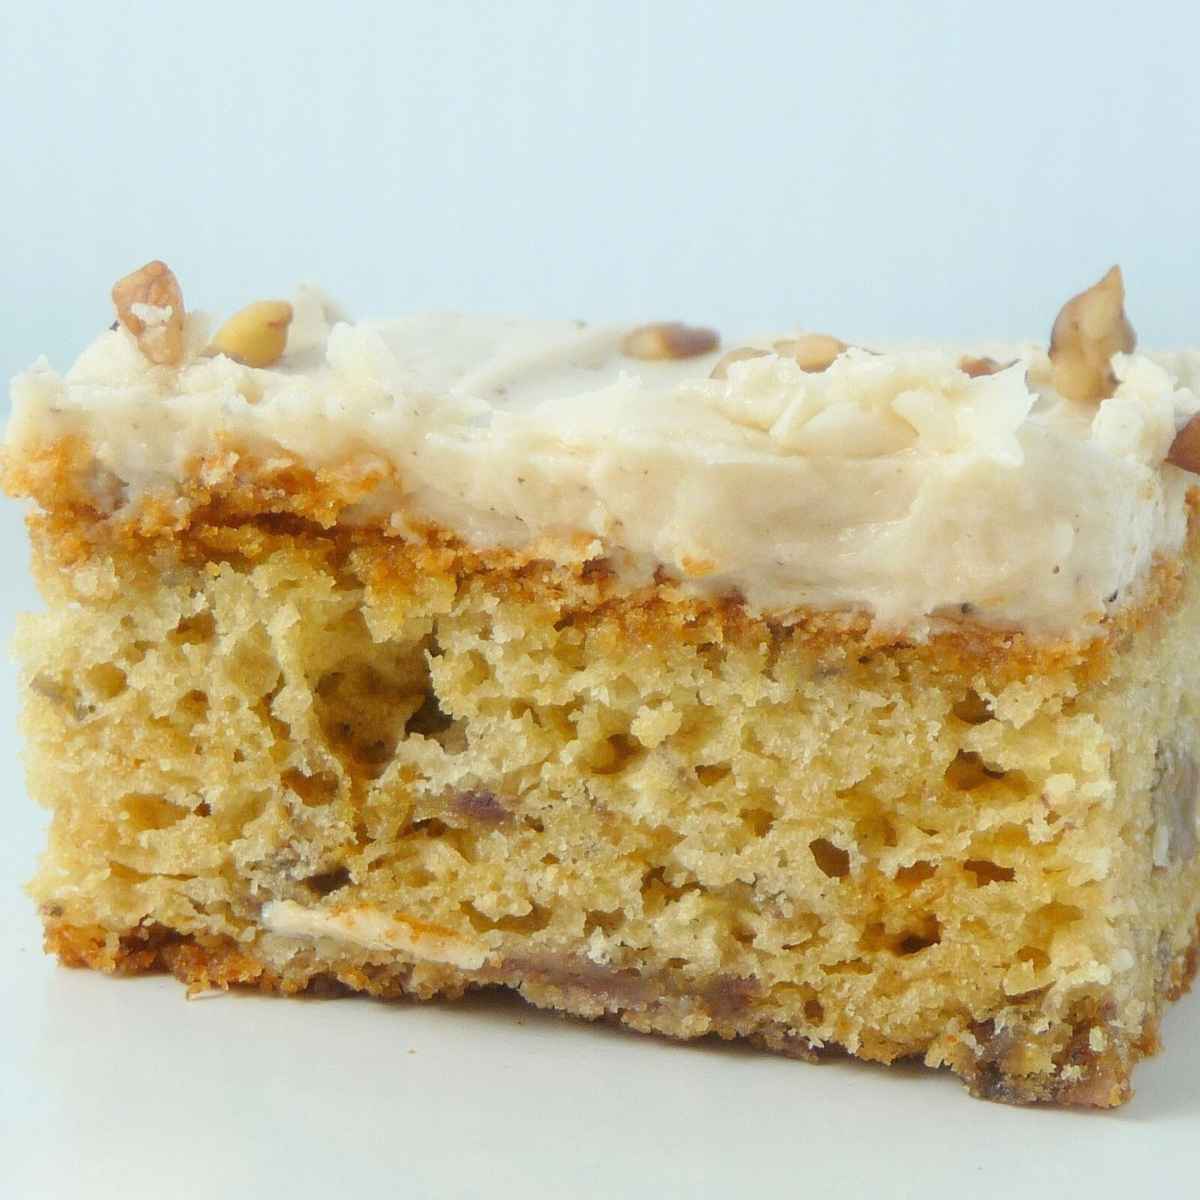
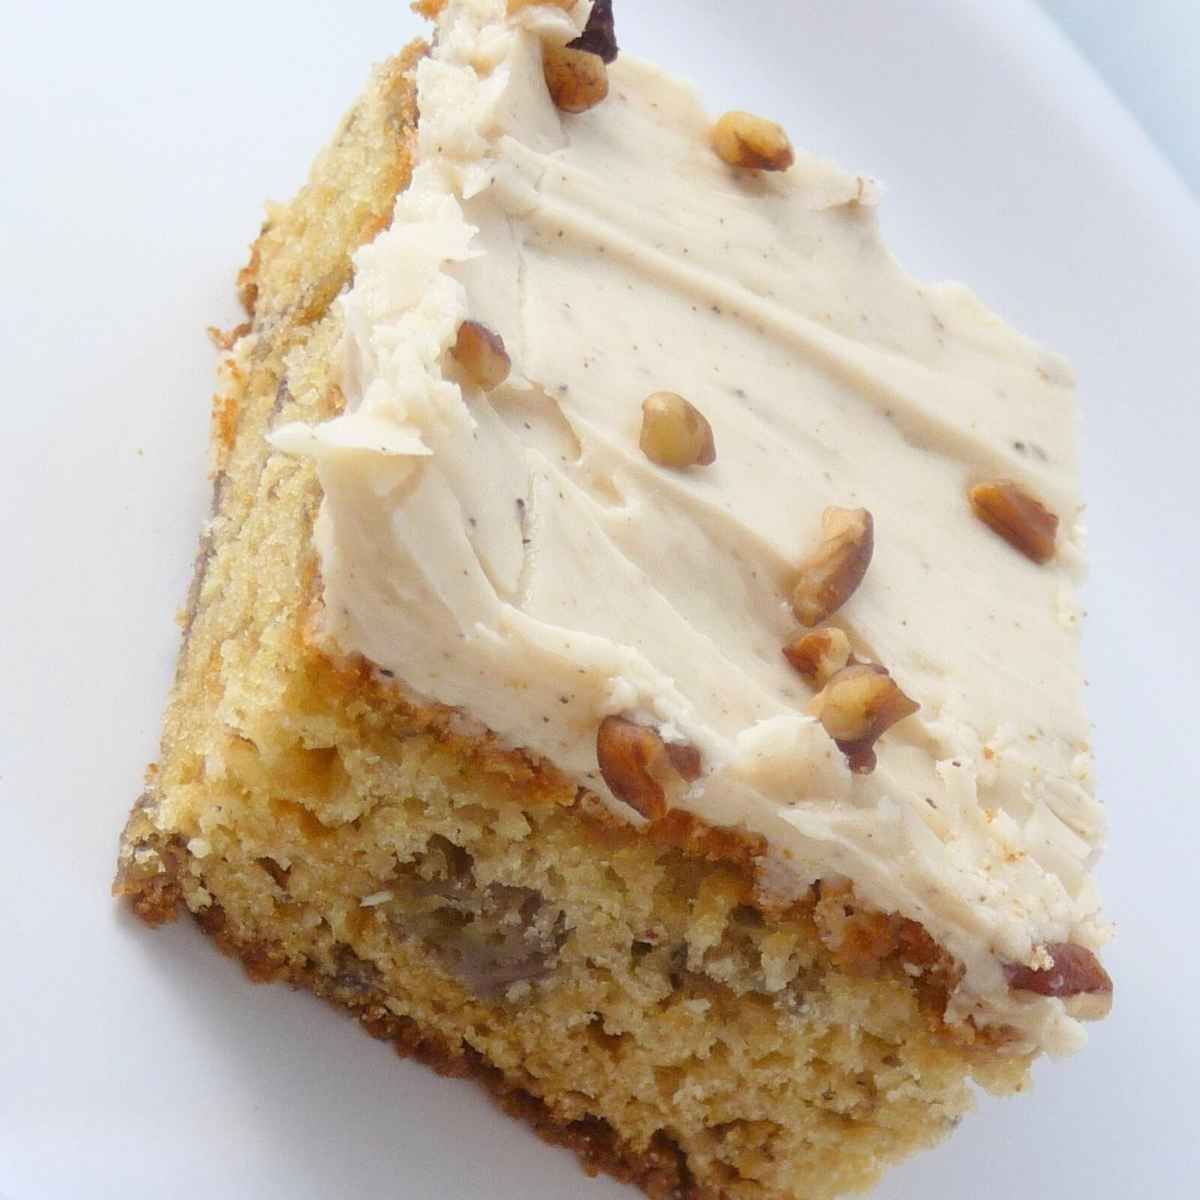
This Low Fat Banana Bread is soft, moist, and full of sweet banana flavor with less butter and sugar than traditional versions. It's a lighter take on a comfort classic that still tastes indulgent.
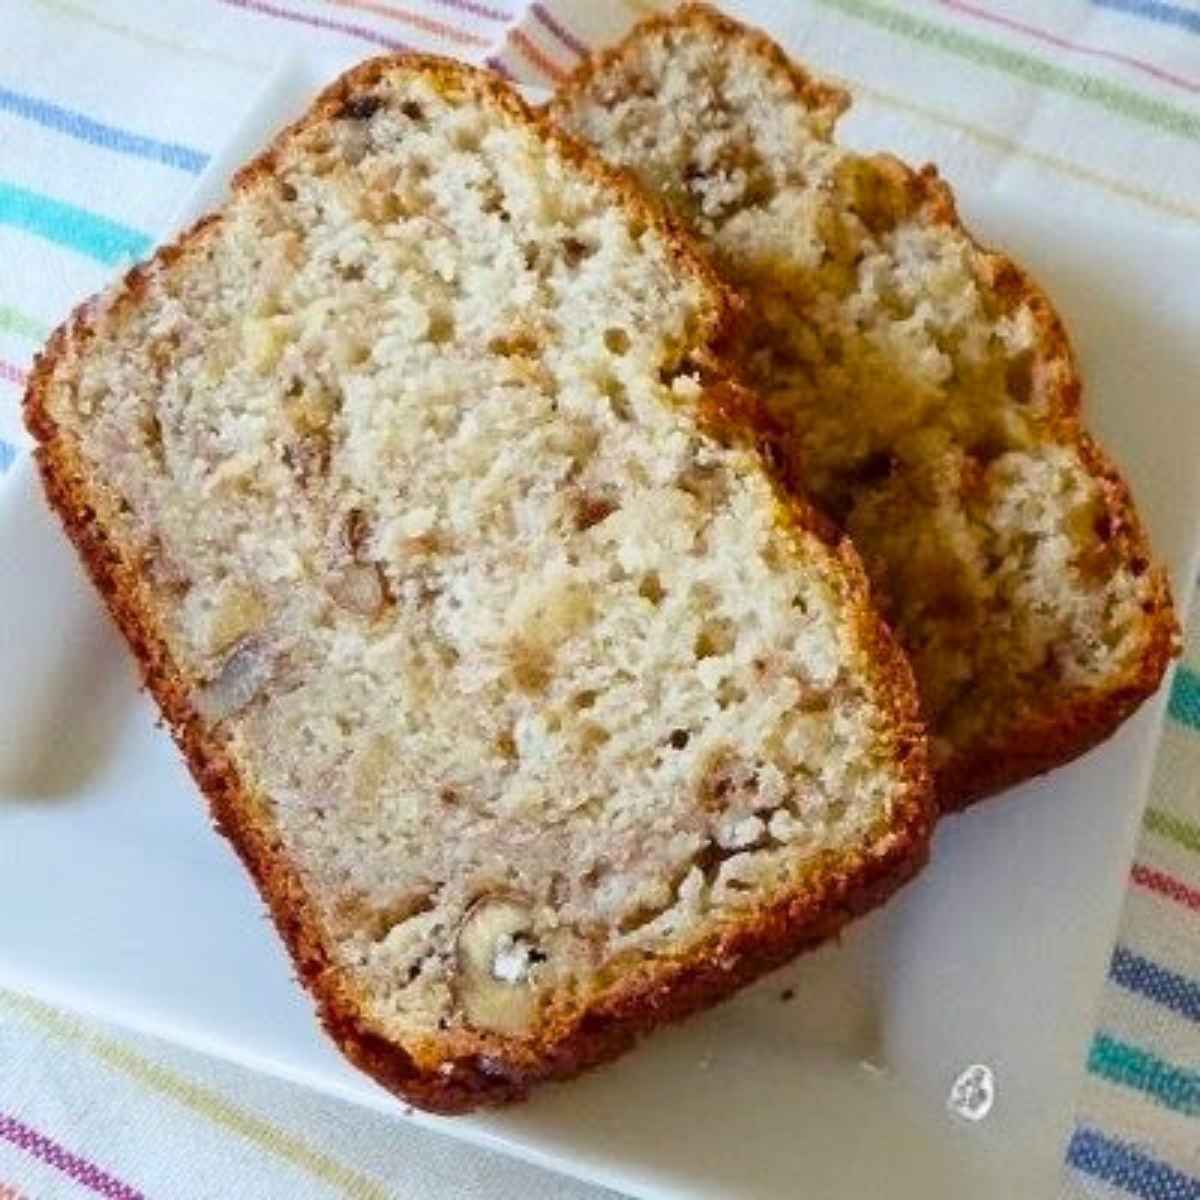
I started making this recipe years ago when I wanted a banana bread that felt wholesome enough for breakfast for special enough for a treat. The yogurt adds moisture without extra oil, making it one of my favorite guilt-free quick breads to bake on a Sunday morning.
[feast_advanced_jump_to]Why You'll Love This Recipe
Moist texture: Yogurt keeps the crumb tender and soft without adding extra fat.
Naturally sweet: Ripe bananas and just the right amount of sugar bring a warm, balanced sweetness.
Healthier choice: A great way to enjoy banana bread flavor with fewer calories and less fat.
Key Ingredients for Yogurt Banana Bread
See the recipe card below for a full list of ingredients and instructions.
- Ripe bananas: The riper the better. They're the natural sweetener that gives rich flavor and texture.
- Plain low-fat yogurt: adds creaminess and tang while cutting down on butter.
- Butter: just a touch helps create that classic banana bread flavor.
- All-purpose flour: keeps the loaf soft and tender.
- Vanilla extract: adds warmth and enhances the banana aroma.
Ingredient Substitutions
- Greek yogurt instead of regular yogurt for extra protein and a slightly denser texture.
- Coconut sugar in place of white sugar for a deeper caramel-like sweetness.
- Whole wheat pastry flour for a heartier, fiber-rich loaf.
Variations on Low Fat Banana Bread
- Chocolate Chip Banana Bread: stir in ½ cup mini chocolate chips for a touch of indulgence.
- Nutty Banana Bread: add chopped walnuts or pecans for a bit of crunch.
- Blueberry Banana Bread: fold in ¾ cup of fresh or frozen blueberries for a fruity twist.
Tips for the Best Yogurt Banana Bread
- Use overripe bananas: the more speckled, the sweeter and softer your bread will be.
- Don't overmix: gently combine the wet and dry ingredients to keep the crumb light.
- Cool completely: let the loaf rest before slicing. It continues to set as it cools.
How to Store
Store leftover Low Fat Banana Bread in an airtight container at room temperature for up to 3 days or refrigerate for up to 5 days.
Serve With...
Serve a slice of banana bread with a hot mug of coffee or tea for a cozy morning treat. It's also delicious topped with a spread of Salted Maple Butter or Whipped Cinnamon Honey Butter. For a heartier breakfast, pair it with a side of Air Fryer Bacon or Venison Breakfast Sausage.
More Easy Quick Bread Recipes You'll Love
If you enjoy this Low Fat Banana Bread, you might like my Cherry Banana Bread, Chocolate Pistachio Bread, Spiced Pumpkin Bread, and Chocolate Banana Marble Bread.
When you make this recipe, please comment below and let me know what you think. I'd love it if you tag me on Instagram @grumpyshoneybunch or #grumpyshoneybunch so I can see your photos!
If you love this recipe, please leave a ⭐⭐⭐⭐⭐ rating
📖 Recipe

Low Fat Banana Bread
As an Amazon Associate I earn from qualifying purchases.
Ingredients
- 2 cups all-purpose flour
- ¾ teaspoon baking soda
- ½ teaspoon salt
- 1 cup sugar
- ¼ cup butter softened
- 2 large eggs
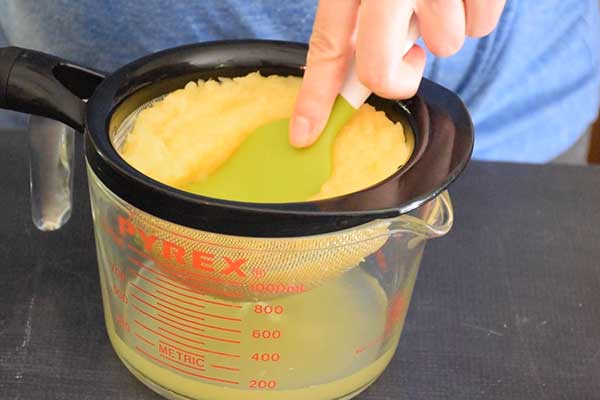
- 3 medium bananas , mashed
- ⅓ cup plain low-fat yogurt
- 1 teaspoon vanilla extract
- Cooking spray
Instructions
- Preheat oven to 350°. Coat loaf pan with cooking spray, set aside.
- Lightly spoon flour into dry measuring cups; level with a knife.
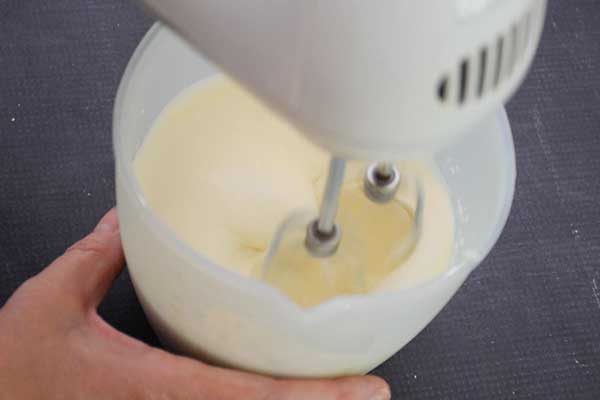
Combine the flour, baking soda, and salt, stirring with a whisk. - Place sugar and butter in a large bowl, and beat with a mixer at
medium speed until well blended (about 1 minute). - Add the eggs, 1 at a time, beating well after each addition.
- Add banana, yogurt, and vanilla.Beat until blended.
- Add flour mixture, beat at low speed just until
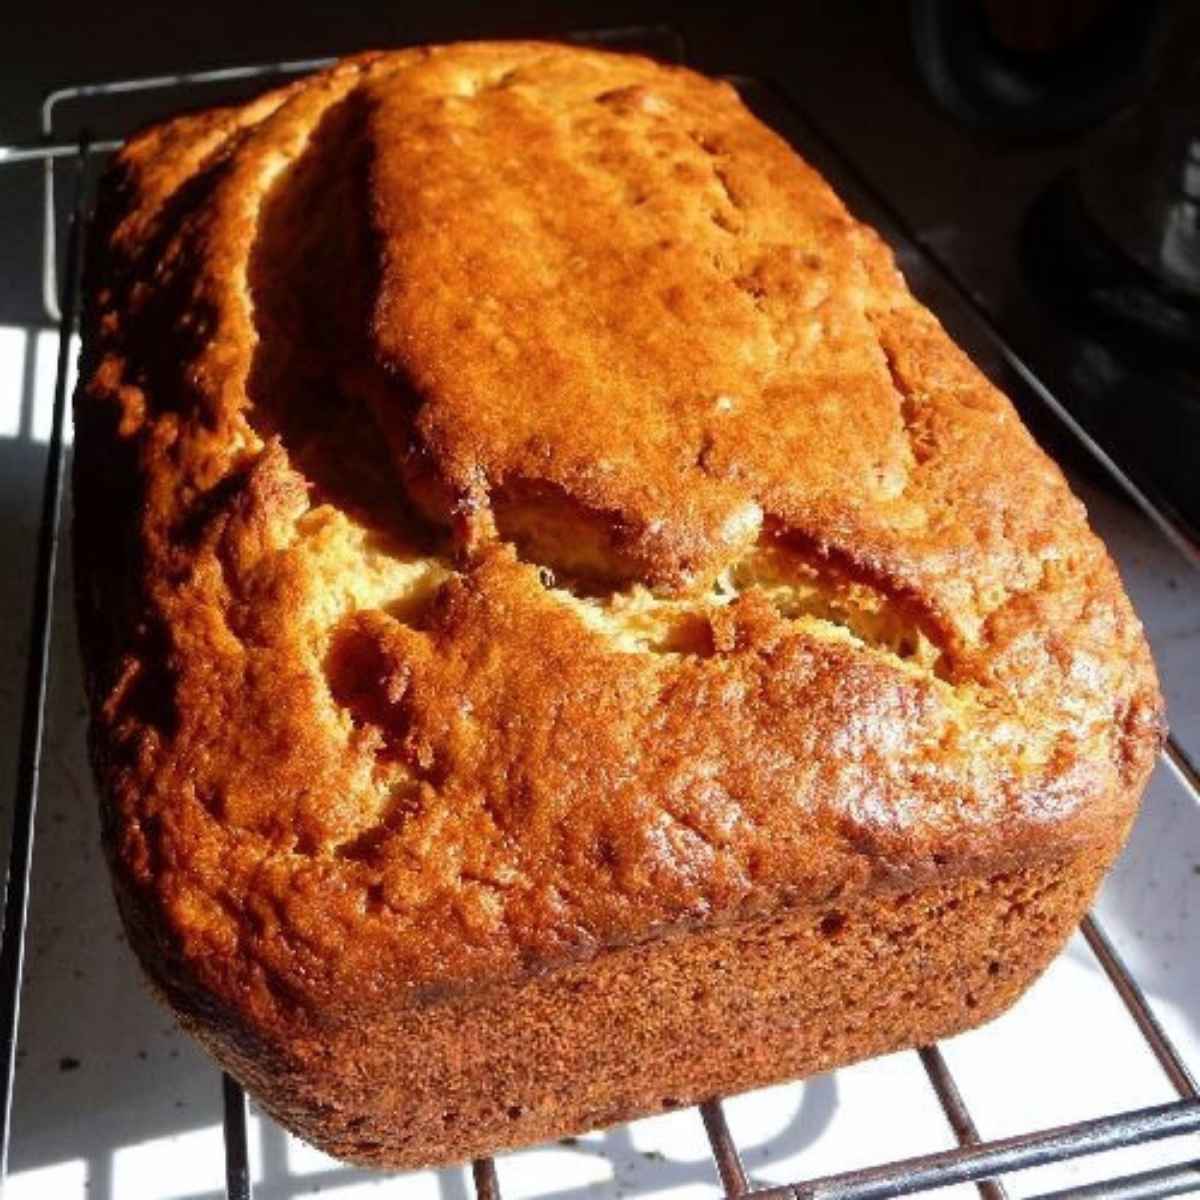
moist. - Spoon batter into prepared loaf pan. Bake for 1 hour or until a wooden pick inserted in center comes out clean.
- Cool 10 minutes in pan on a wire
rack; remove from pan. Cool completely on wire rack.
 Steve is the official


