
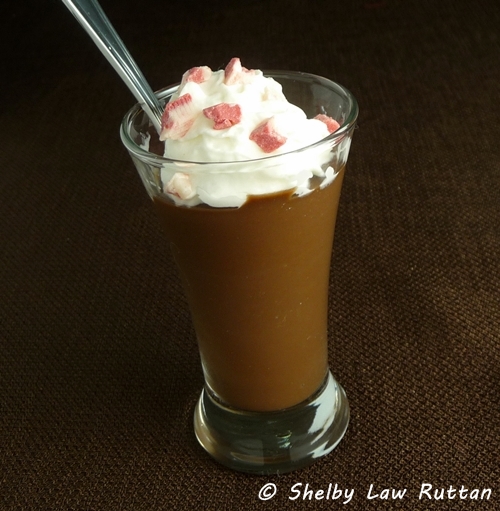
This is the result of an evening where dinner plans were supposed to be one thing that turned into something else because of the lack of an ingredient. I originally was going to make beef stroganoff. I had a couple of small steaks in the fridge that I had to cook and we were originally going to grill them! So, these steaks went from 1 recipe to another, then yet to another recipe. What I ended up with was a quick, easy, yummy meal full of flavor! It got a big old seal of approval from Grumpy!

I am submitting this post to Presto Pasta Nights being hosted this week by Emma of Souperior. There is still time to submit for this week so if you made a yummy pasta meal this that you want to share you can do so! The guidelines as well as the future hosts and link to the round ups can be found on the Presto Pasta Night's web page run by Ruth of Once Upon a Feast. If your interested in hosting, you can find Ruth's contact information on the web page also! Hope to see you there!

Related Recipes
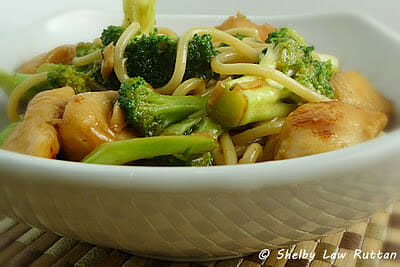
Keto Spicy Beef and Broccoli Stir-Fry
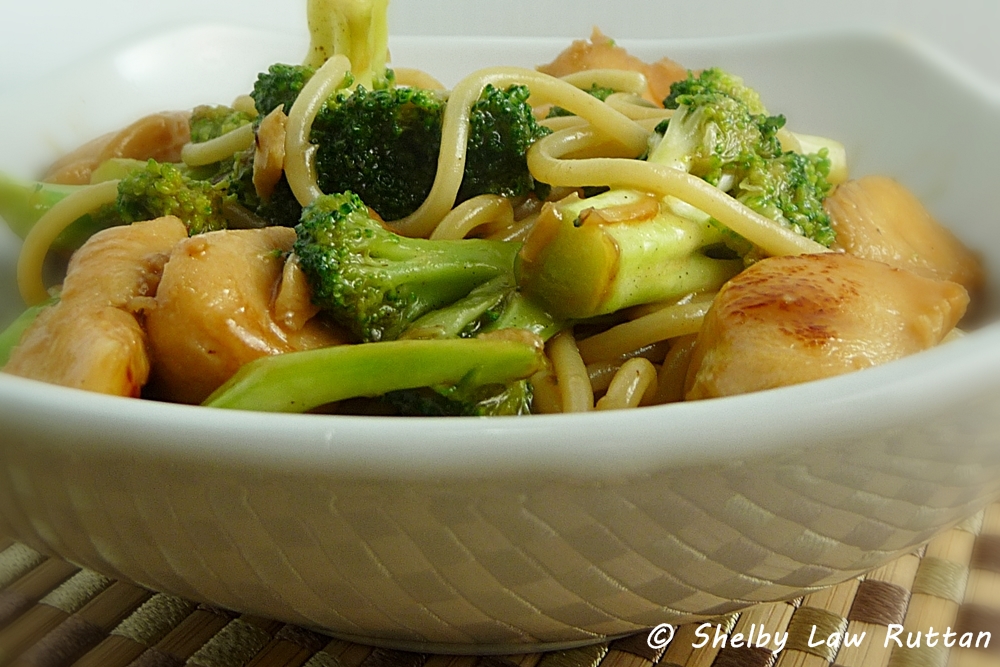
Keto Beef and Broccoli Lo Mein
Don't forget to check out my Amazon storefront for some of my favorite products!
When you make this recipe, please comment below and let me know what you think. I'd love it if you tag me on Instagram @grumpyshoneybunch or #grumpyshoneybunch so I can see your photos!
If you love this recipe, please leave a ⭐⭐⭐⭐⭐ rating
📖 Recipe

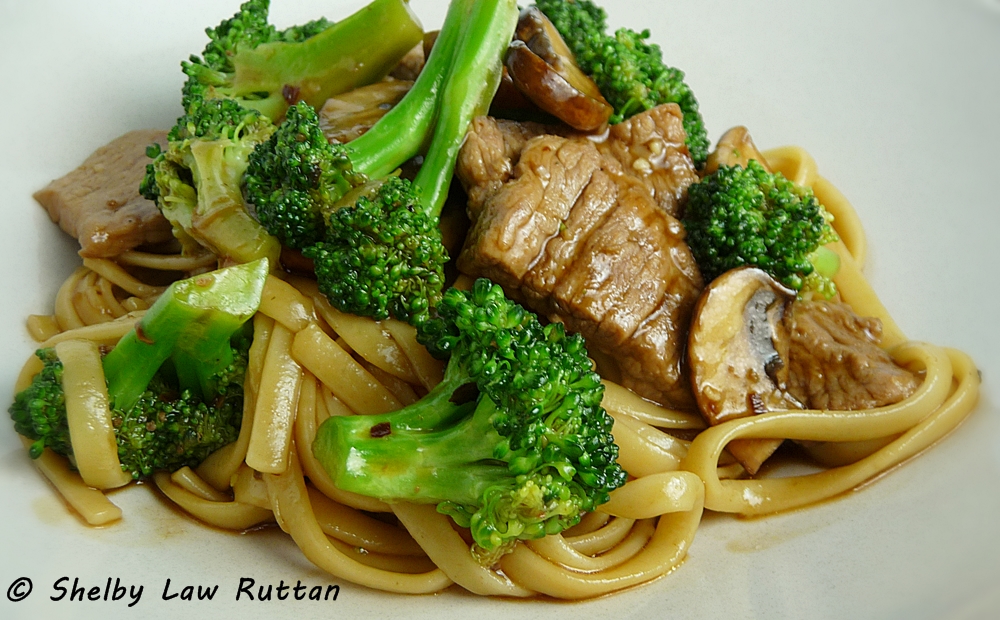
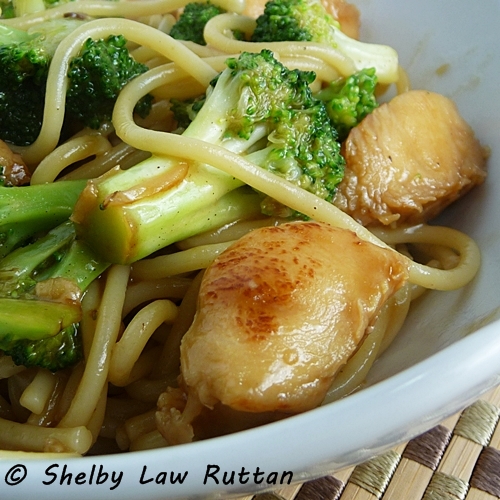
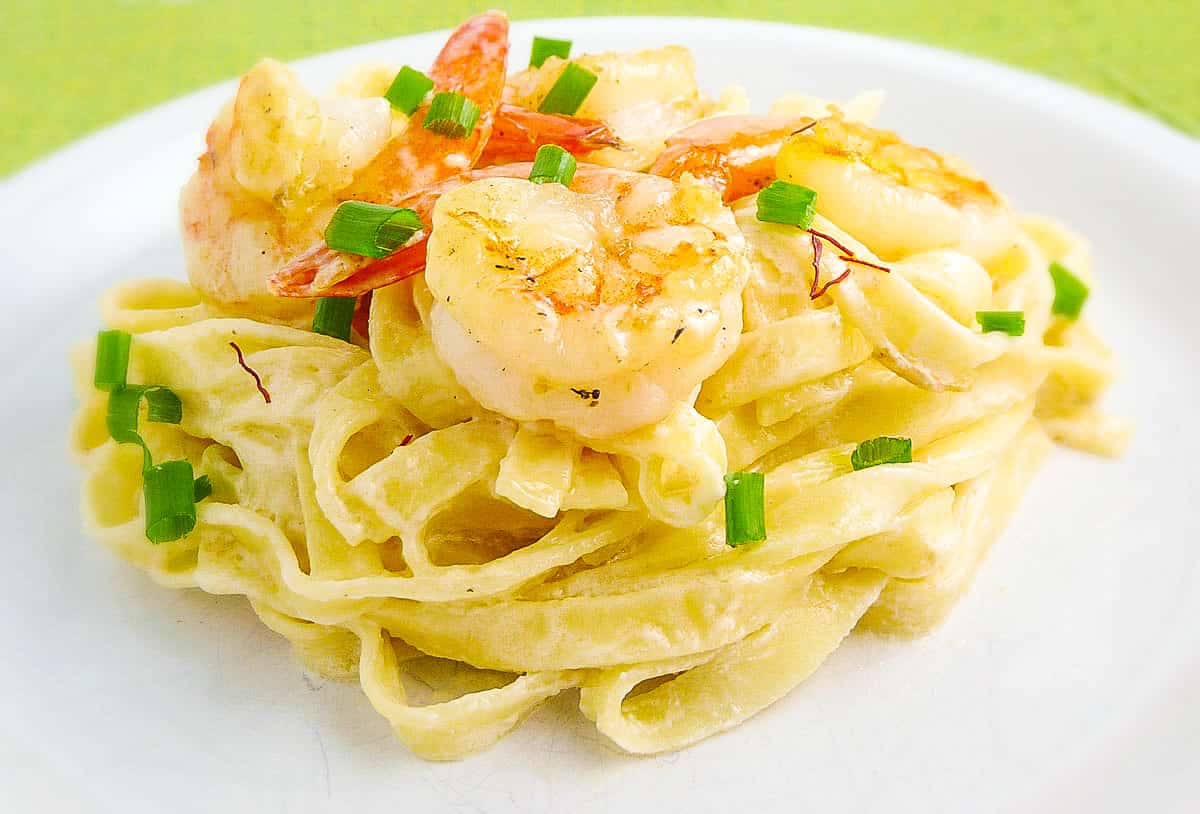
Beef Broccoli with Black Bean Mushroom Sauce
As an Amazon Associate I earn from qualifying purchases.
Ingredients
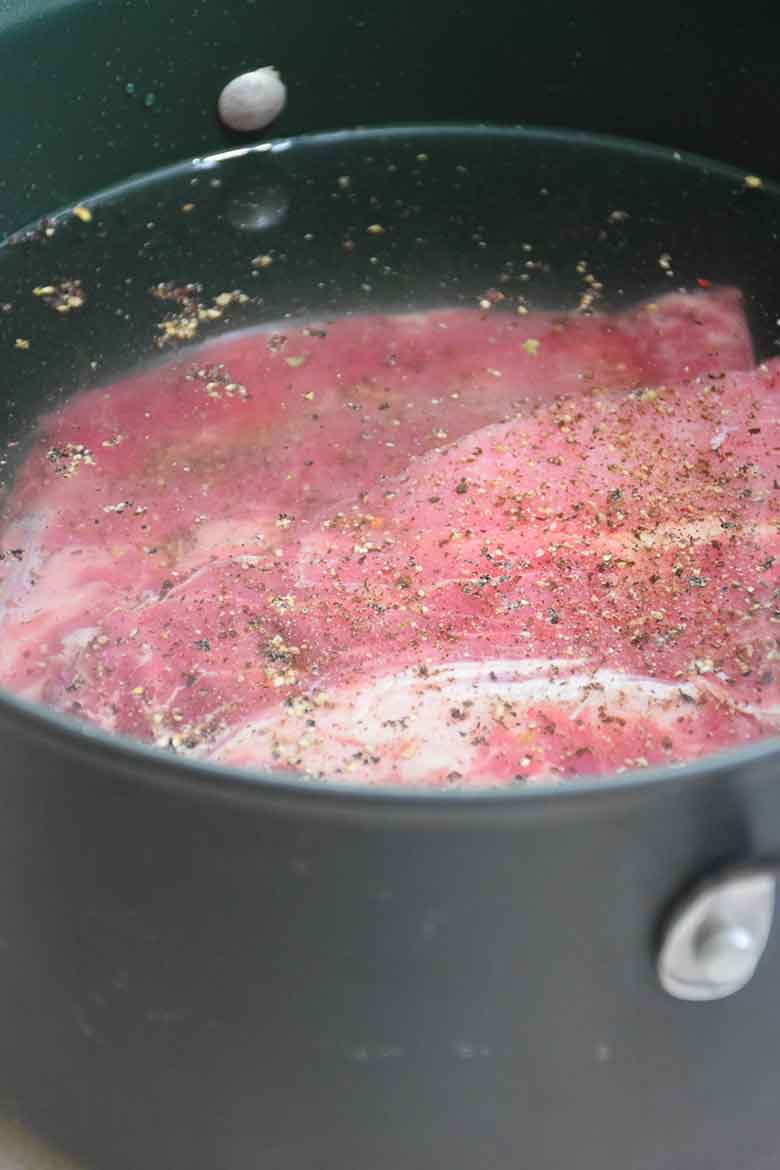
- 8 ounces steak , thinly sliced
- 4 ounces baby portobello mushrooms , sliced
- 1 crown broccoli
- 1 tablespoon olive oil , divided
- 1 cup beef broth
- 1 tablespoon mushroom flavored soy sauce
- 1½ teaspoon black bean chili sauce
- 2 tablespoons brown sugar
- ½ cup water
- ½ tablespoon cornstarch
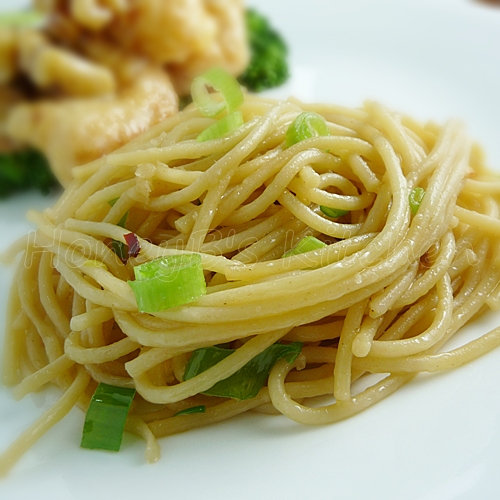
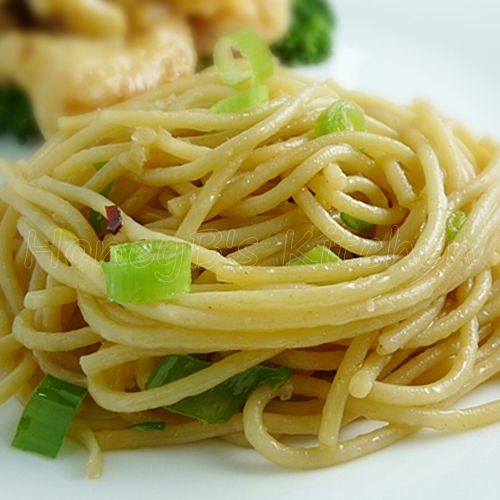
- 8 ounces linguini , cooked according to package
Instructions
- In a small bowl, mix the beef broth, soy sauce, black bean chili sauce, and sugar, stirring until combined. Set aside.
- Preheat a large skillet over medium-high heat. Add the ½ tablespoon of the olive oil and swirl the pan to coat the bottom.
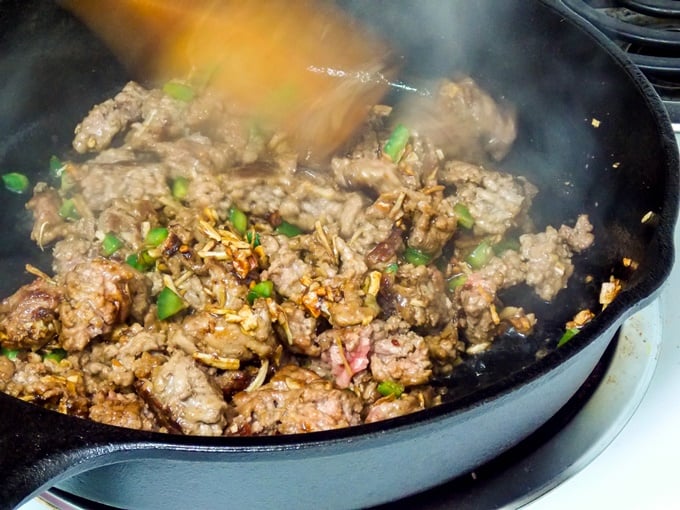
- Add steak slices and stir-fry for 4 minutes, until the meat just loses its pink color. Remove the steak from the skillet and cover to keep warm.
- Add a the remaining olive oil to the skillet. Add the mushrooms and stir to coat, cooking over medium heat for 4 minutes, until the mushrooms have released their water and begun to brown.
- Transfer the mushrooms to the same bowl as the beef and cover to keep warm.
- Add the broccoli to the hot skillet along with 1-2 tablespoons of water. Cover immediately and steam for 3 minutes, , until broccoli is bright green and just tender. Transfer the broccoli to a separate bowl and keep warm.
- Pour the sauce mixture into the hot skillet that you cooked all the other ingredients in. Bring the sauce mixture to a boil. In a small bowl, mix together the water and cornstarch until smooth.
- Add the cornstarch slurry to the sauce mixture, whisking constantly. Bring the sauce to a boil the turn the heat down to low and cook for 2 minutes, or until the sauce begins to thicken.
- Remove the skillet from the heat and add steak/mushroom mixture stirring to coat with the sauce sauce.
- Add the cooked broccoli and pasta, tossing to coat well with sauce.


