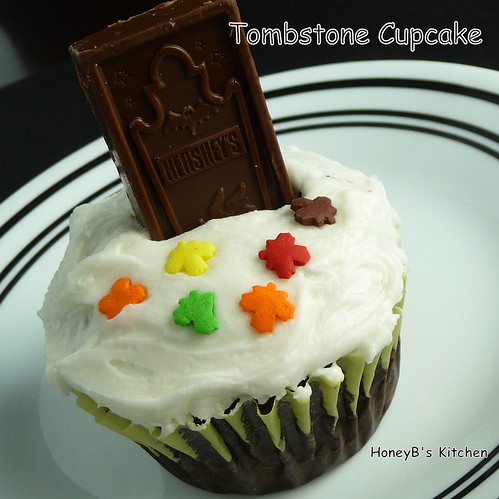
Kristina's birthday wasn't too long ago. I believe we all know by now that Kristina loves coconut as does Justin and myself! Even Grumpy & Chris love it!
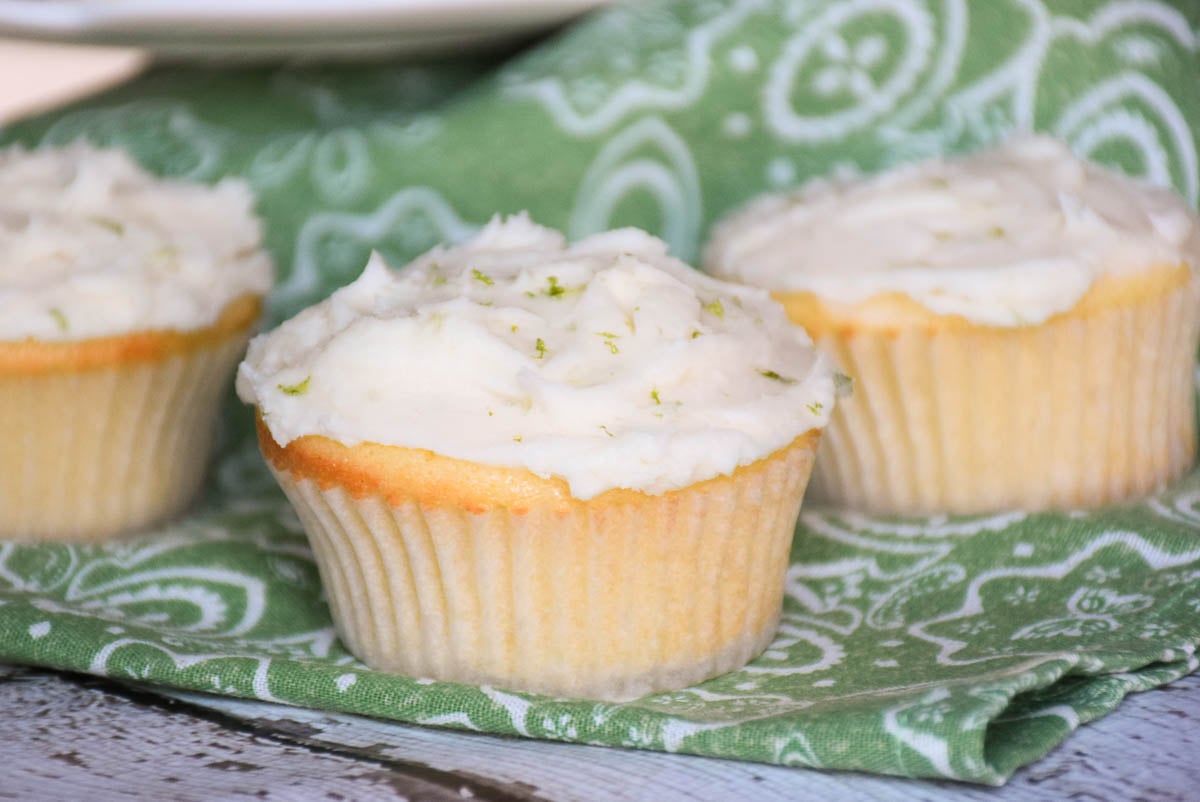
I can't take the credit at all for this cupcake idea. I found it in the Food Network Magazine. I knew the moment I saw the cupcake concept that I was going to do it for Kristina's birthday. We share a love for Hershey's Coconut Cream Kisses and I was really wishing to find a coconut cream topping that reminded me of them....but this topping is close and good enough for now. The cupcake recipe I used is the Cooking Light recipe for Coconut Cupcakes with Lime Buttercream Frosting (an amazing recipe!). I made the toppings as follows:
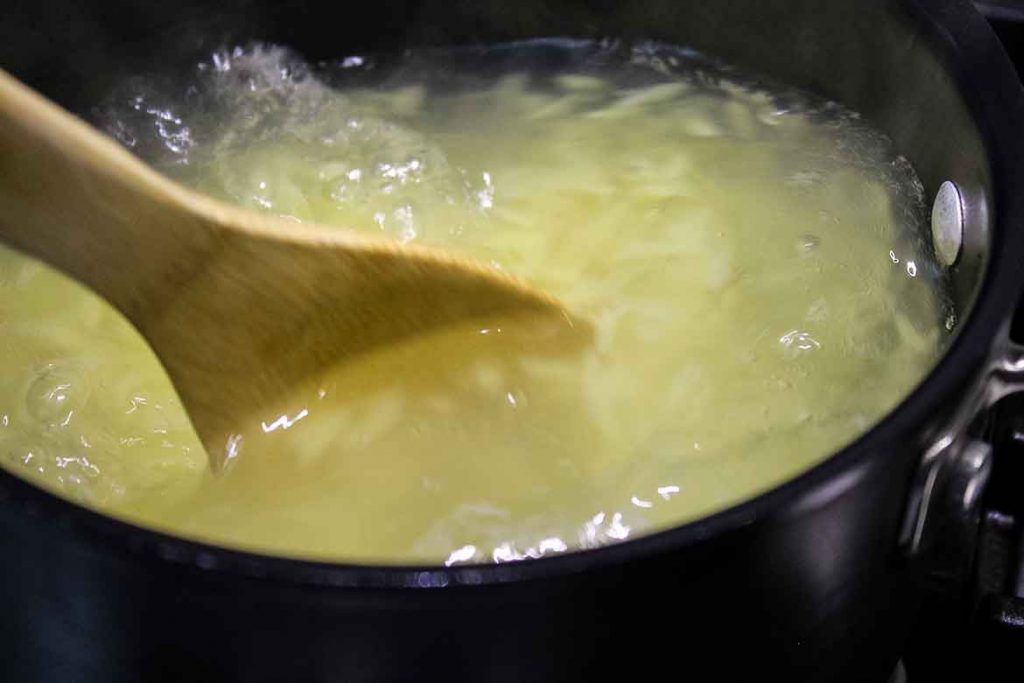
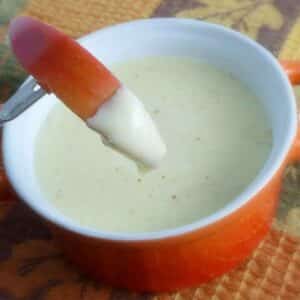
Coconut topping:
7 oz coconut
½ cup coconut milk
½ cup water
2 tablespoons water
Mix all of the above and cook over medium heat until liquid is absorbed and coconut mixture thickens. Set aside to cool.

Chocolate topping:
6 oz semi sweet chocolate chips
1-½ tablespoons corn syrup
1 tablespoon unsalted butter
Place all of the above in a microwavable measuring cup and microwave 30 seconds at a time until melted and smooth (don't microwave too long or it will seize!).
Top cupcake with a spoonful of coconut then with a dollop of chocolate mixture. Place 1-2 almonds (roasted and salted) 🙂 Enjoy!