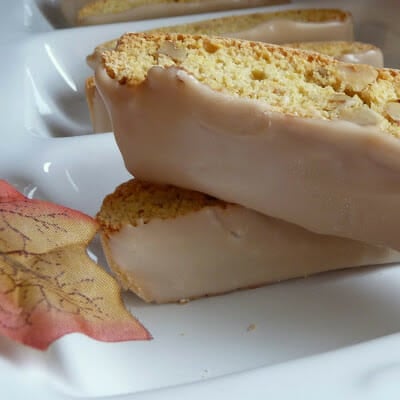
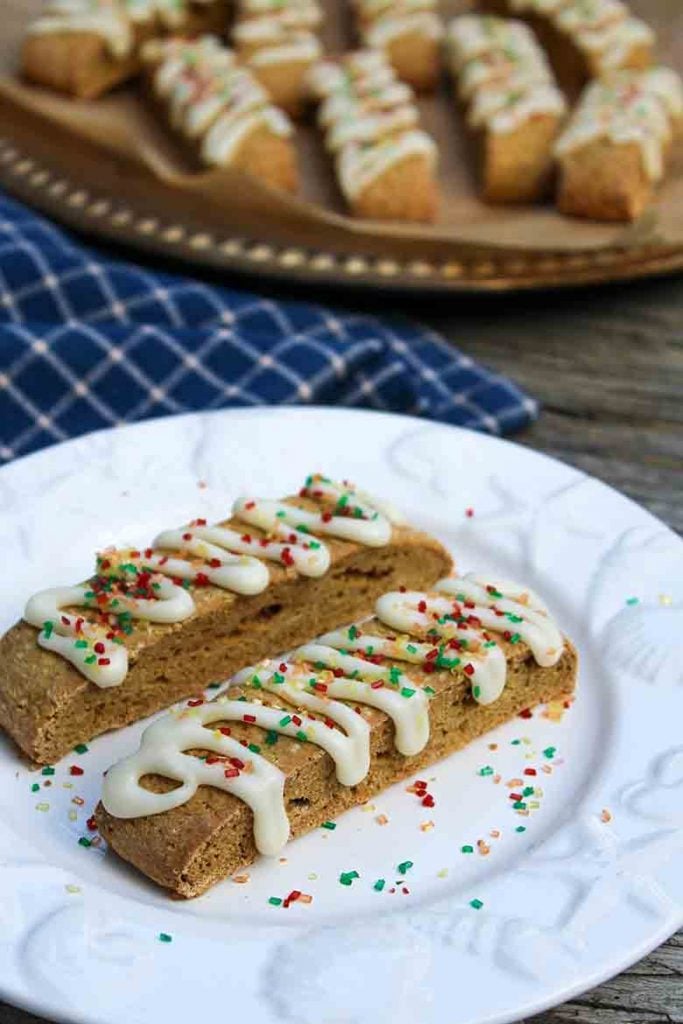
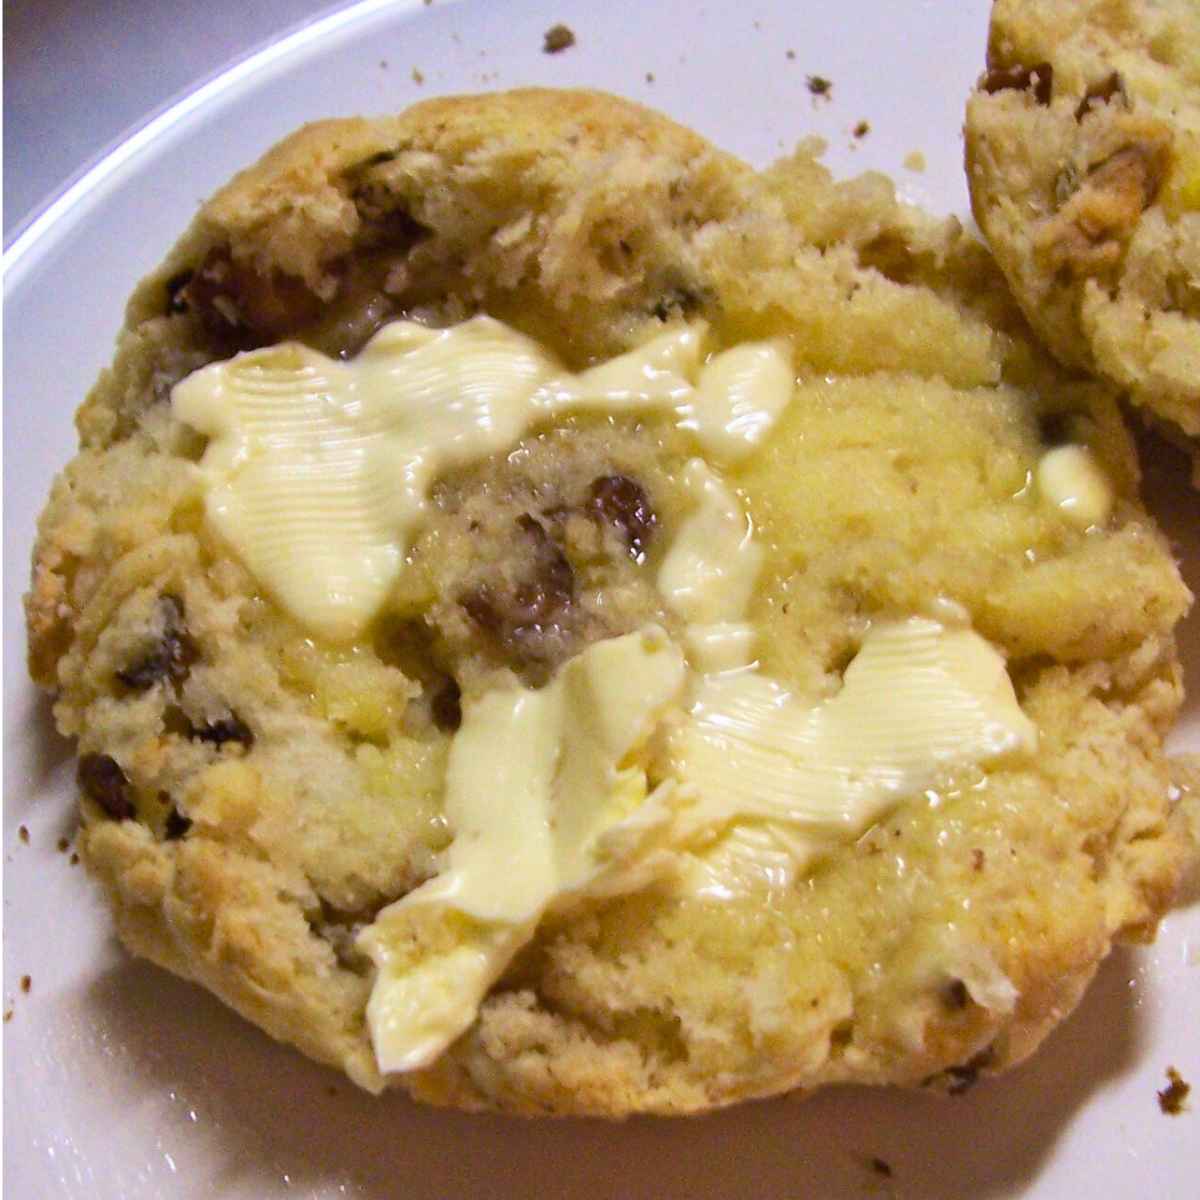
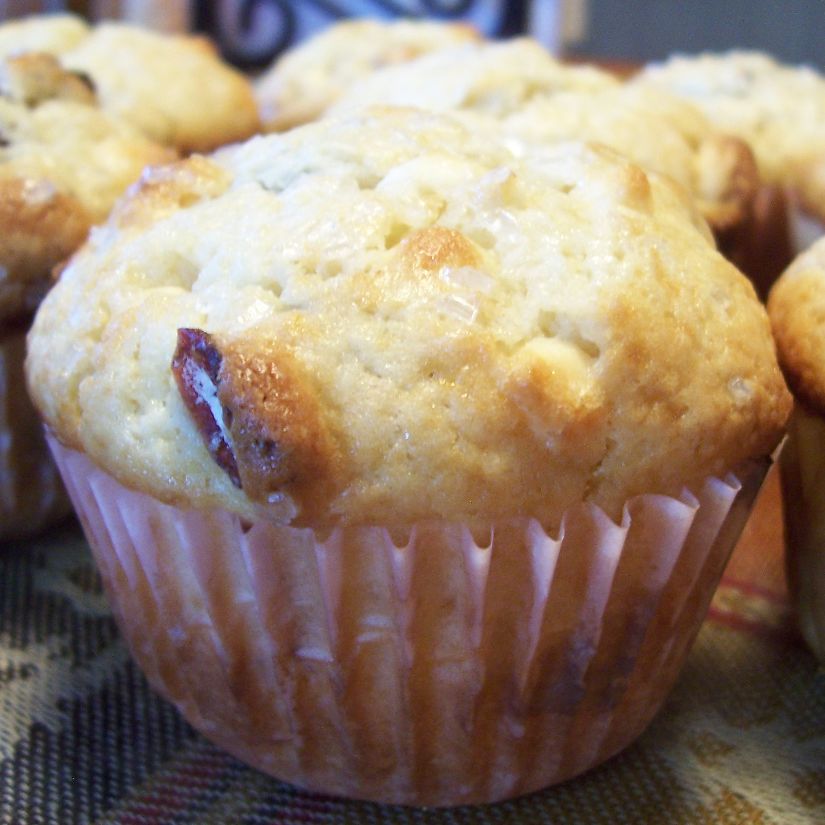
Butternut Squash Rolls are buttery and sweet with a soft and tender texture. They are a golden color and a wonderful way to use butternut squash from the garden.

❤️ Why you'll love it
Buttery and sweet flavors: Butternut Squash Rolls are the perfect recipe to make a soft and delicious dinner roll for your Thanksgiving and Christmas tables.
A good source of vitamins: butternut squash is high in vitamin A and C!
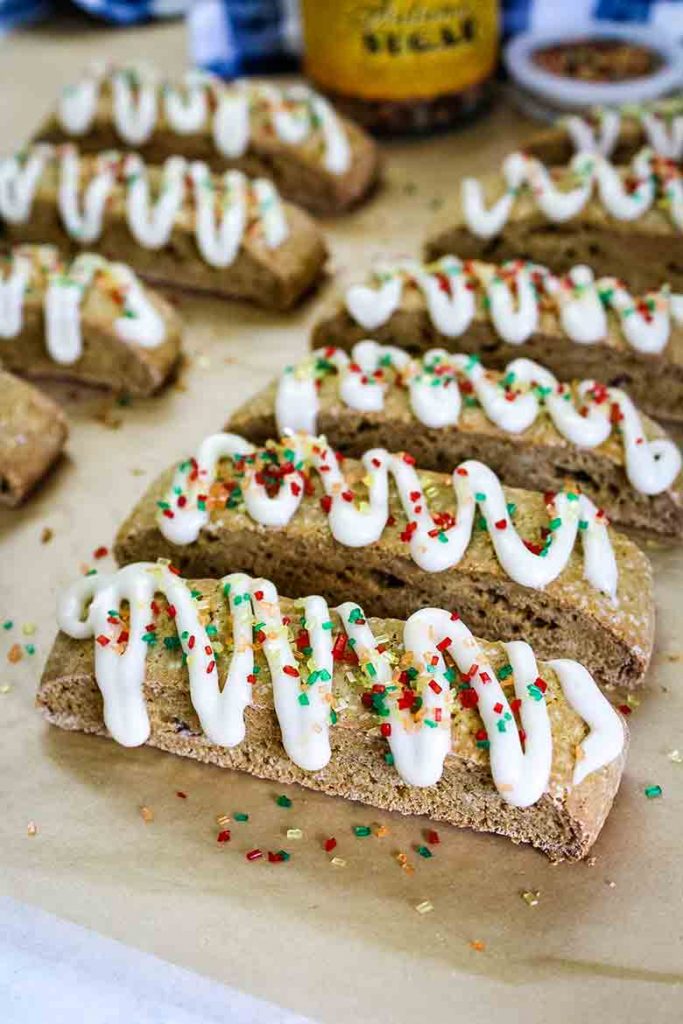
Soft and tender dinner rolls: these dinner rolls are super soft and remind me of the sweet Hawaiian rolls with their fluffy texture and sweet flavor.

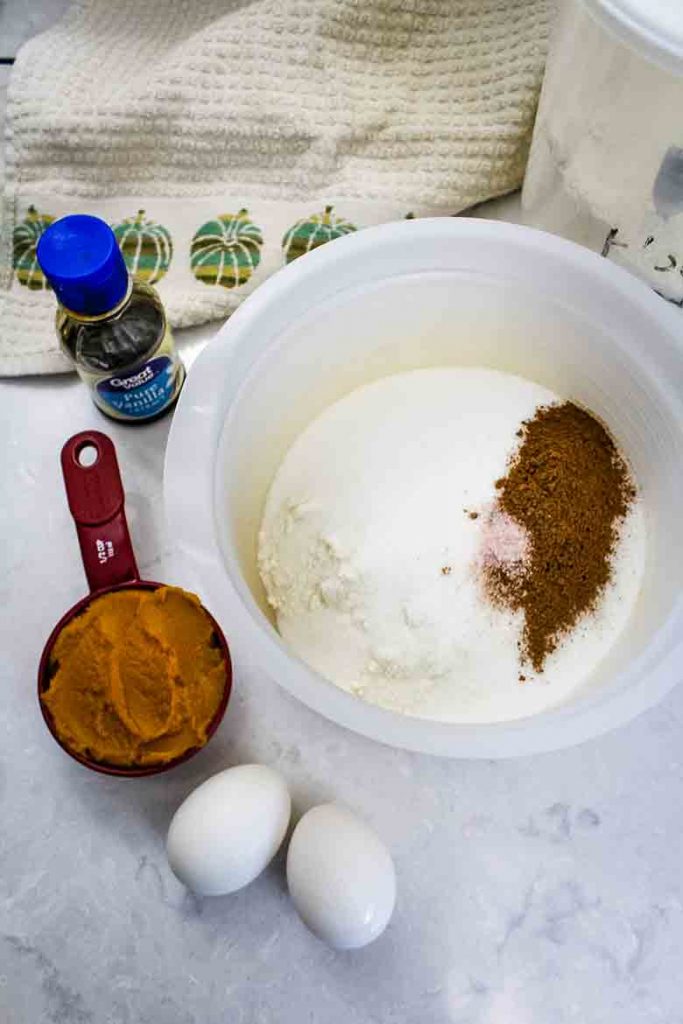
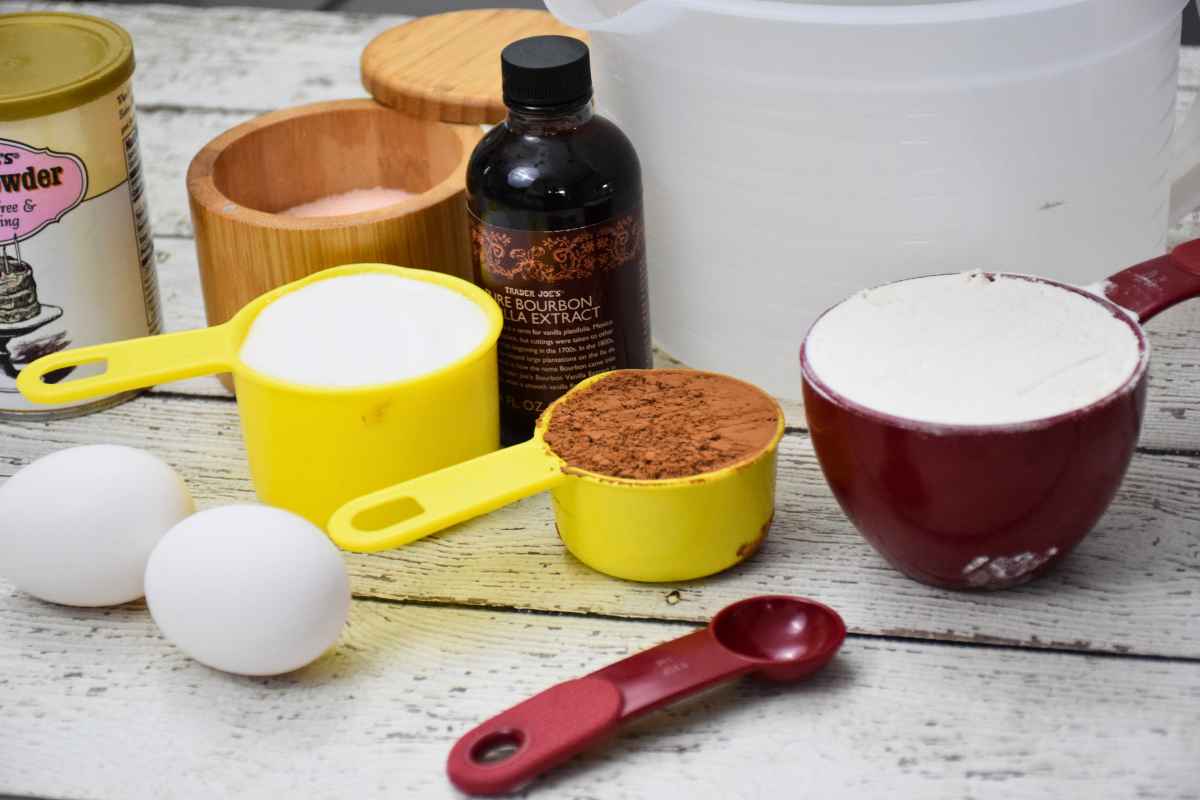
🥘 Ingredients
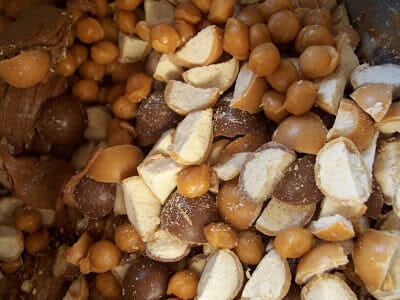
Butternut Squash, cooked, mashed, and cooled
Milk
White Whole Wheat Flour - this is my go to brand.
Bread Flour - the only bread flour I will use!
🥄 Equipment
Kitchenaid Mixer (optional) - this is the one that I own.

⏲️ Baking time
From start to finish, prep, proofing time, and baking time, you should allow up to 2 ½ hours to make these Butternut Squash Rolls.
🔪 Instructions
Step 1:
- In the mixing bowl of a kitchenaid mixer, dissolve the yeast and sugar in warm water. Allow to stand for 5 minutes.
- Add the milk, butter, brown sugar, squash, and salt. Stir to combine.
- Gradually add the white whole wheat flour. Mix the dough on medium speed for 2 minutes. Stir in enough bread flour to form a soft dough ball.
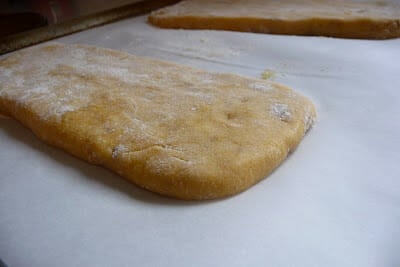
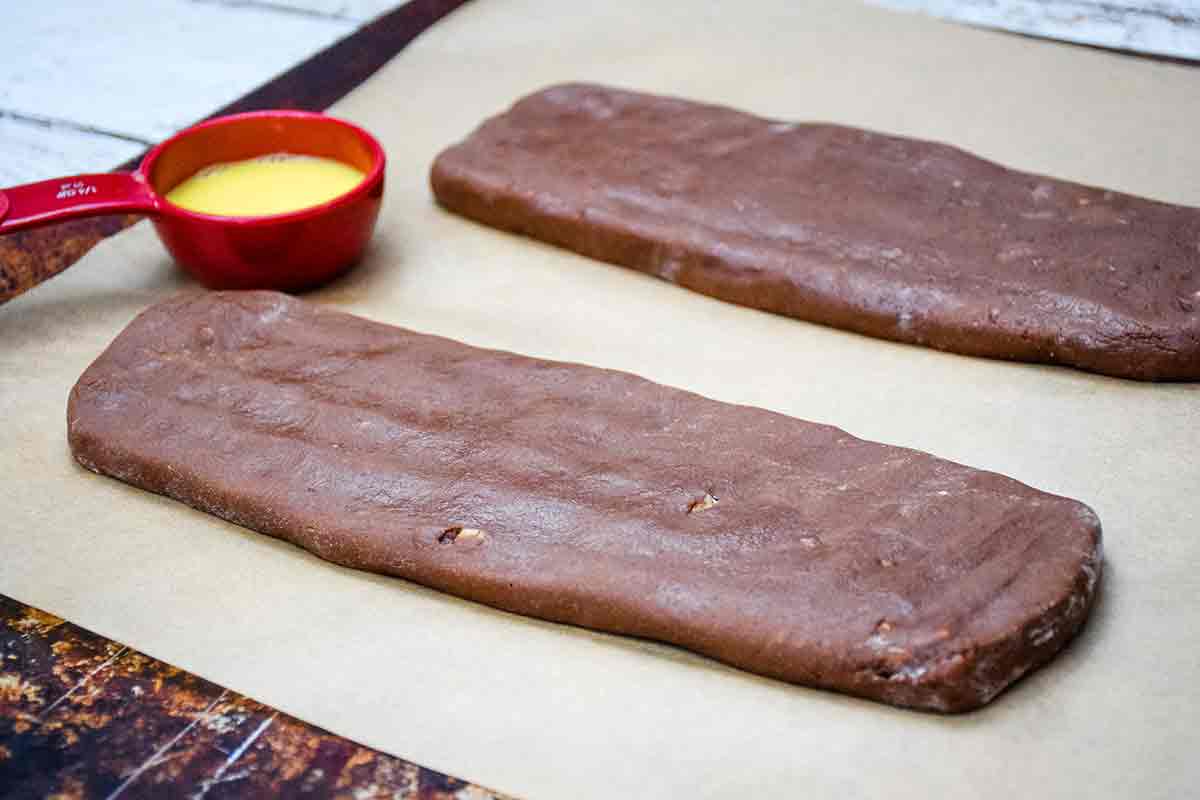
Step 2:
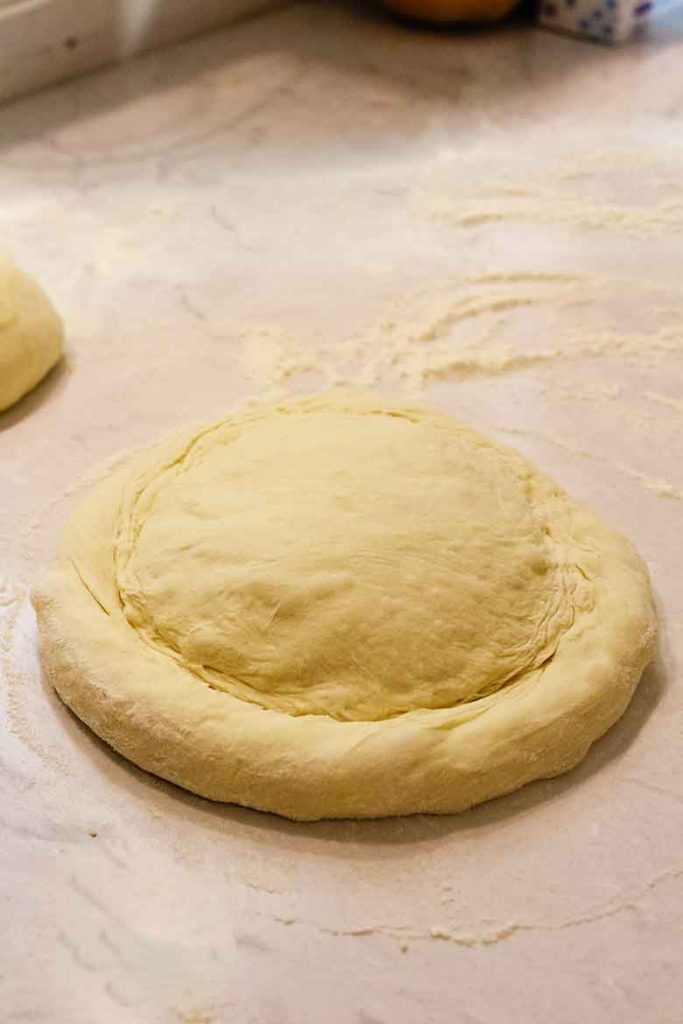
- Turn the dough out onto a floured surface. Knead until smooth and elastic.
- Place the dough in a bowl coated with olive oil, turning once to coat top. Cover with plastic wrap and let rise in a warm place until doubled, about 1 hour.
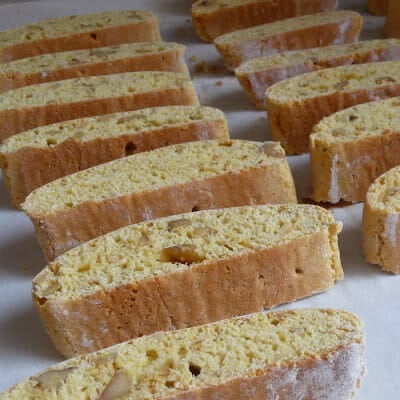
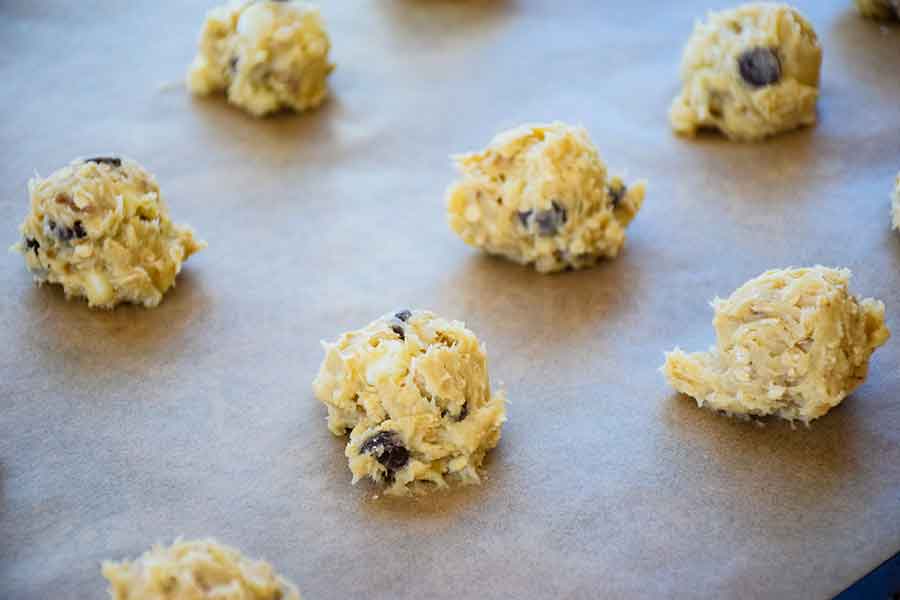
Step 3:
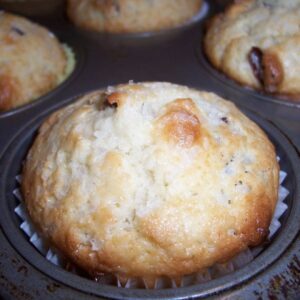
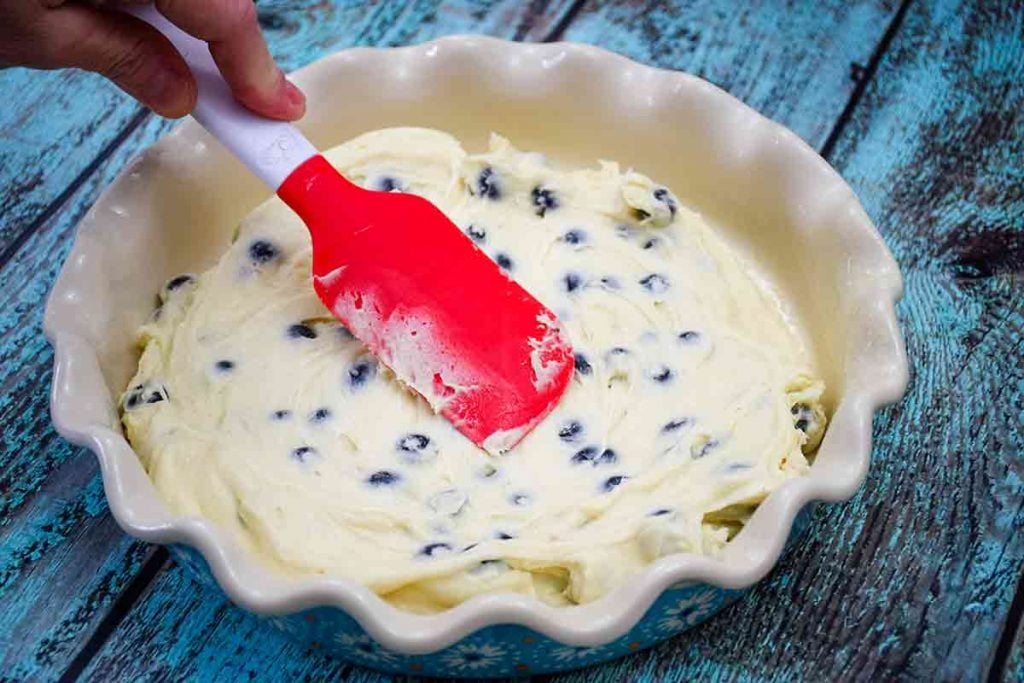
- Punch the dough down and turn onto a floured surface. Divide into 16 portions. Place in a 9x13 glass baking dish coated with nonstick cooking spray. Cover and let rise until doubled, about 45 minutes.
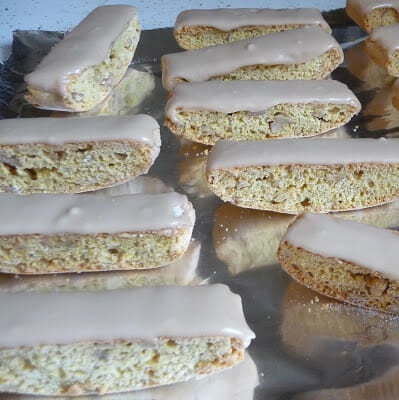
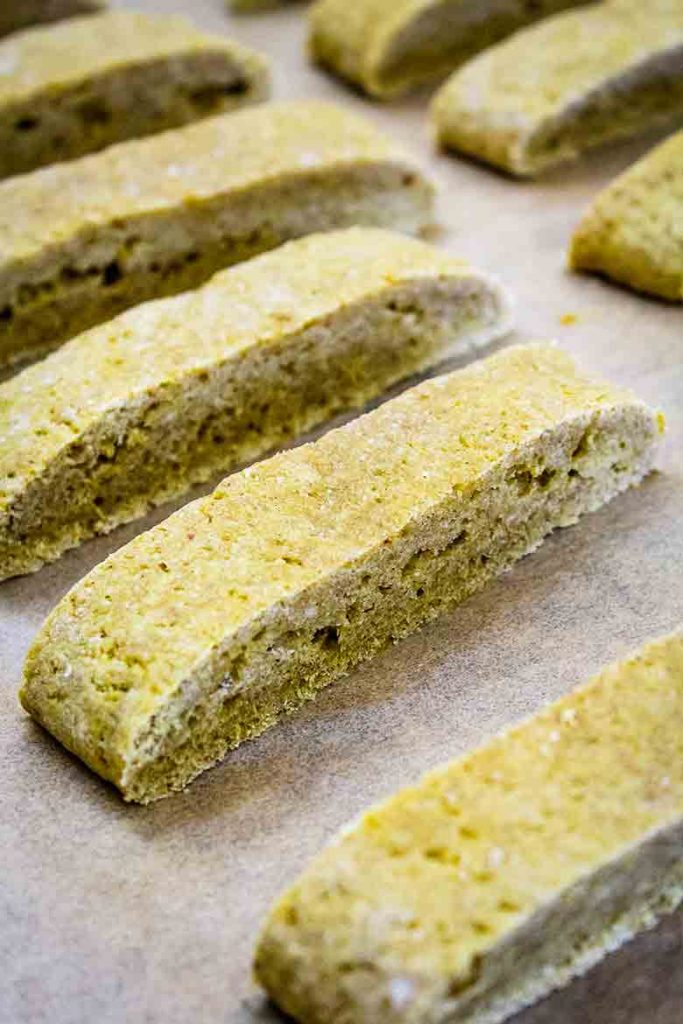
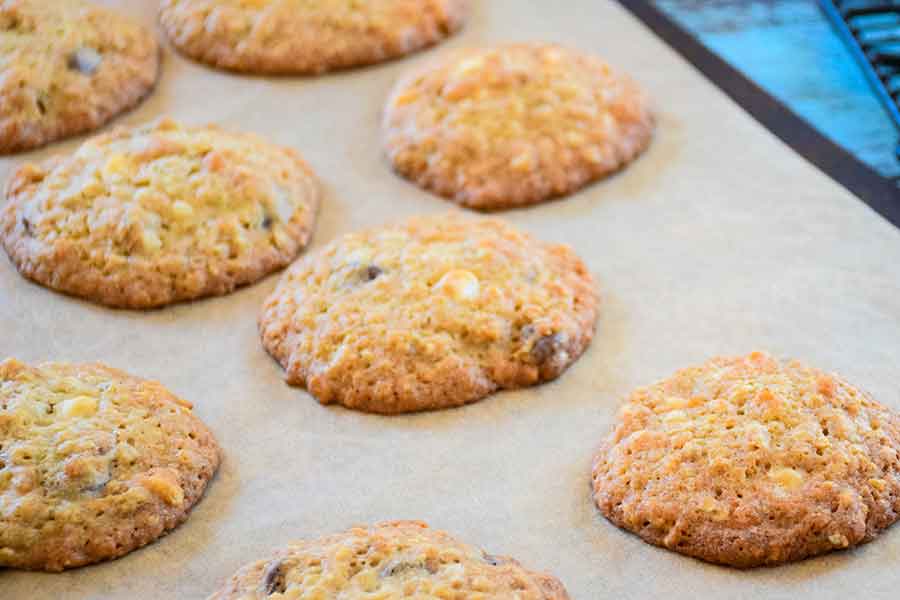
Step 4:
- Bake at 400 degrees 13 minutes or until golden brown. Remove from pans to wire racks to cool.
Storage:
Room temperature: store in an airtight container up to 4 days.
Freezer: freeze butternut squash rolls in an airtight freezer bag up to 3 months.
Make ahead: make the dough the dough the night before and refrigerate shaped rolls overnight. To bake, remove from fridge and bring to room temperature, bake as directed.
📖 Variations
- Substitute any winter squash, such as acorn or pumpkin for the butternut squash.
- Stir in 1 cup of shredded cheddar cheese with the flour mixture.
- Add 1 teaspoon rubbed sage to the flour mixture.
💭 Top Tips
- If buying butternut squash from the store, buy pre-cut squash for quicker prep time.
- Test the yeast before using it. Allow the yeast to set for 5 minutes in the water and sugar. It should look foamy on top. If it doesn't, the yeast is no good and shouldn't be used.
- If kneading the dough by hand, be sure to knead for about 10 minutes.
- Check the temperature of the roll to be sure it is baked through. The internal temperature of the dough should be 185-190 degrees.
- Don't over knead the dough if using a kitchenaid. Once the dough starts to form a smooth ball that holds it shape, stop using the mixer and proceed with your hands to work the remaining flour in.

📚 Related Recipes
Honey Baked Butternut Squash Fries
Instant Pot Moroccan Spiced Butternut Squash Soup
Butternut Squash Mac and Cheese
Chipotle Butternut Squash Enchiladas
🍽 Serve with...
These are a perfect bread to serve for Thanksgiving and Christmas dinner! I also love to make sandwiches with the leftover rolls.
Don't forget to check out my Amazon storefront for some of my favorite products!
When you make this recipe, please comment below and let me know what you think. I'd love it if you tag me on Instagram @grumpyshoneybunch or #grumpyshoneybunch so I can see your photos!
If you love this recipe, please leave a ⭐⭐⭐⭐⭐ rating
📖 Recipe

Butternut Squash Rolls
As an Amazon Associate I earn from qualifying purchases.
Ingredients
- 1 tablespoon active dry yeast
- ¼ cup warm water
- 1 teaspoon sugar
- ⅔ cup warm milk
- 1 cup mashed cooked butternut squash
- ⅓ cup butter melted
- ⅓ cup brown sugar packed
- 1 teaspoon salt
- 2 cups white whole wheat flour
- 2 cups bread flour
Instructions
- In the mixing bowl of a kitchenaid mixer, dissolve the yeast and sugar in warm water. Allow to stand for 5 minutes.
- Add the milk, butter, brown sugar, squash, and salt. Stir to combine.
- Gradually add the white whole wheat flour. Mix the dough on medium speed for 2 minutes. Stir in enough bread flour to form a soft dough ball.
- Turn the dough out onto a floured surface. Knead until smooth and elastic.
- Place the dough in a bowl coated with olive oil, turning once to coat top. Cover with plastic wrap and let rise in a warm place until doubled, about 1 hour.
- Punch the dough down and turn onto a floured surface. Divide into 16 portions. Place in a 9x13 glass baking dish coated with nonstick cooking spray. Cover and let rise until doubled, about 45 minutes.
- Bake at 400 degrees 13 minutes or until golden brown. Remove from pans to wire racks to cool.
Video
Notes
- Purchase butternut squash that has already been cut for quicker prep time.
- Test the yeast before using it. Allow the yeast to set for 5 minutes in the water and sugar. It should look foamy on top. If it doesn't, the yeast is no good and shouldn't be used.
- If kneading the dough by hand, be sure to knead for about 10 minutes.
- Check the temperature of the roll to be sure it is baked through. The internal temperature of the dough should be 185-190 degrees.
- Don't over knead the dough if using a kitchenaid. Once the dough starts to form a smooth ball that holds it shape, stop using the mixer and proceed with your hands to work the remaining flour in.
- Substitute any winter squash, such as acorn or pumpkin for the butternut squash.